DIY Thanksgiving Placesetting Ideas

Setting the table for your Thanksgiving dinner may be the last thing on your mind if you are worried about prepping an entire meal for your guests. We have three simple yet lovely ideas for setting each placesetting. All three use items that we happen to have around. 

DIY Thanksgiving Placesetting Ideas (click through for details)

The first placesetting was made by using burlap and fabric that we have saved in our craft closet. We happened to have several large squares of burlap left from Brittnee's wedding decorations. If you had any neutral fabric or even just neutral colored placemats laying around either would work perfectly. 

We love the pop of color with the fabric on top of the burlap. You could do all of your placesettings in the same color fabric. Or it could be very fun and cute to do different and coordinating colors for all of them. All we did was iron our fabric and cut a rectangle that was a little bit smaller than out burlap. 

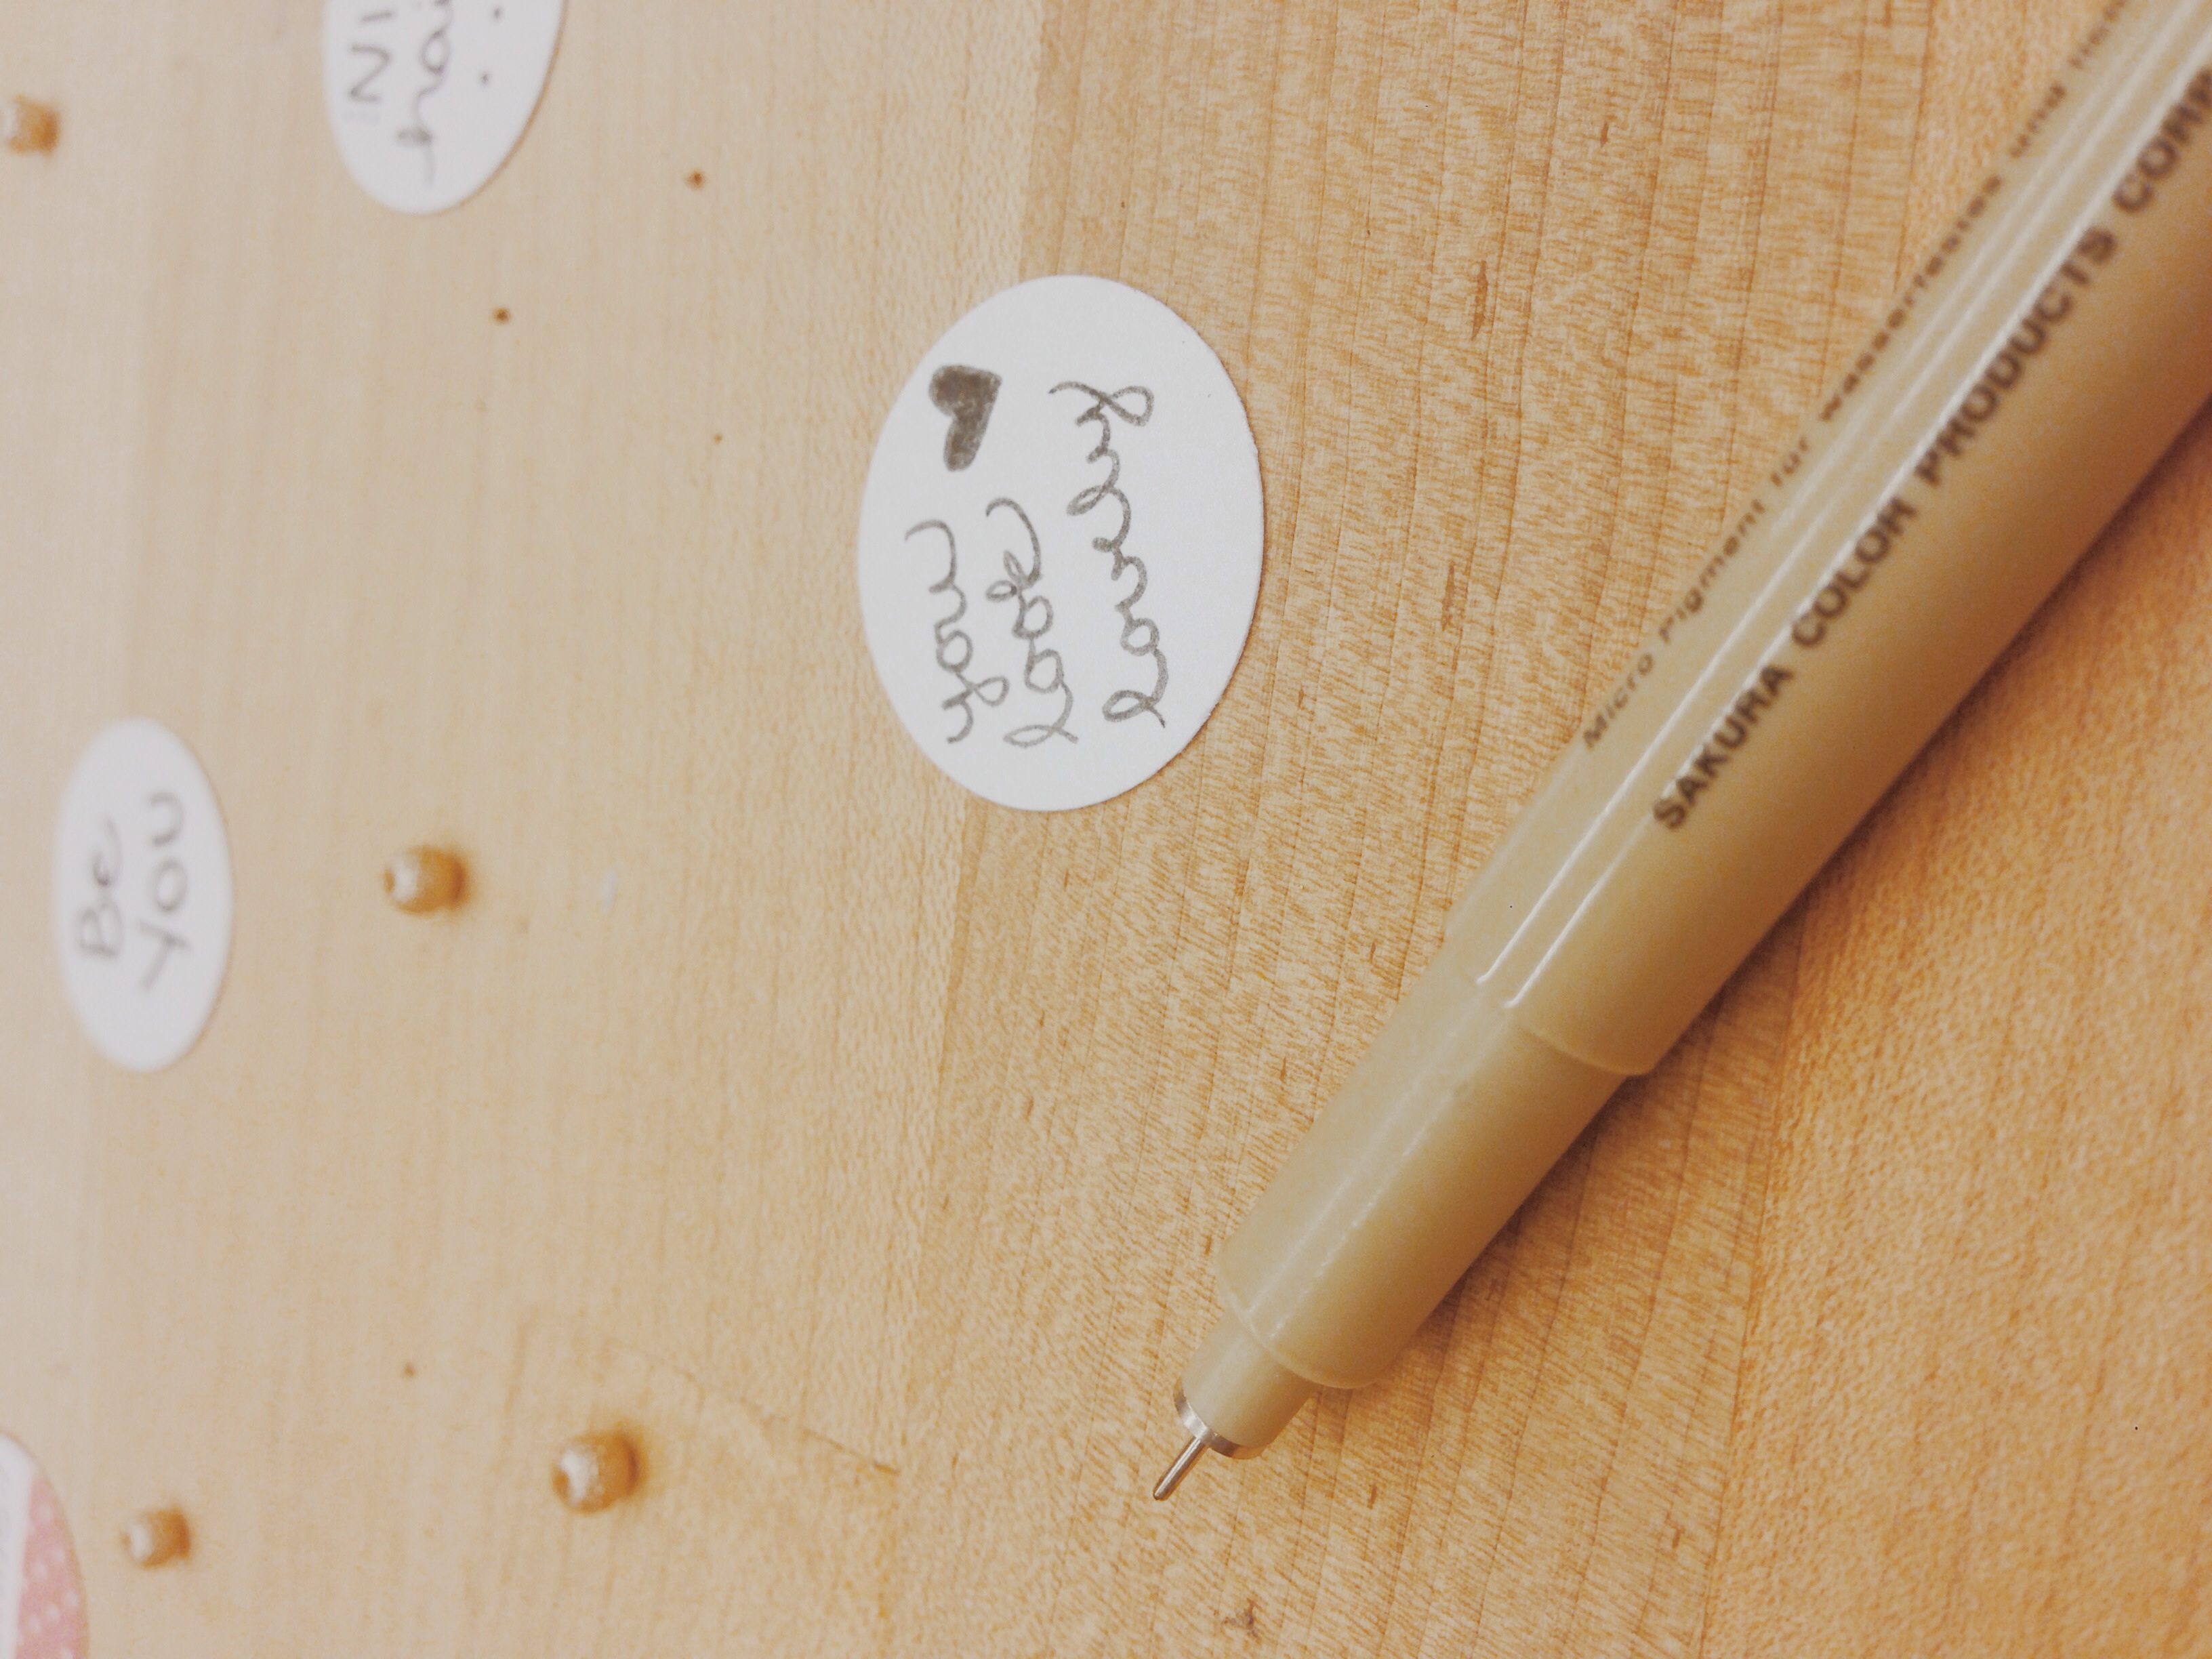
We recycled our pumpkins from our DIY fall centerpiece for the name cards. All we did was add glitter to the stem of our already white pumpkins. Then we cut some chipboard into rectangles, wrote on the names, then placed them on the pumpkins by sticking a pin through on the two sides. To dress it up a bit more we put the pin through a sequin before putting it through the chipboard. 

DIY Thanksgiving Placesetting Ideas (click through for details)

For the second placesetting, you need burlap, cloth napkins, twine, small flowers and card stock. We had all of these things on hand as well. Again you can use burlap if you'd like. Or if you have a neutral fabric or neutral colored placemats they will work too. 

Fold your napkin and lay that on your plate. Then using twine, other cute string would work too, wrap your silverware together. We had some cute little fake flowers that we cut apart and used as a little embellishment for the silverware. 

We cut a rectangle out of card stock and folded it in half. Instead of having name cards for this one, we decided it would be fun for each person to write what they are thankful for.  

DIY Thanksgiving Placesetting Ideas (click through for details)

Our third and final placesetting is the most simple, but could be so much fun for you or even your kids!!

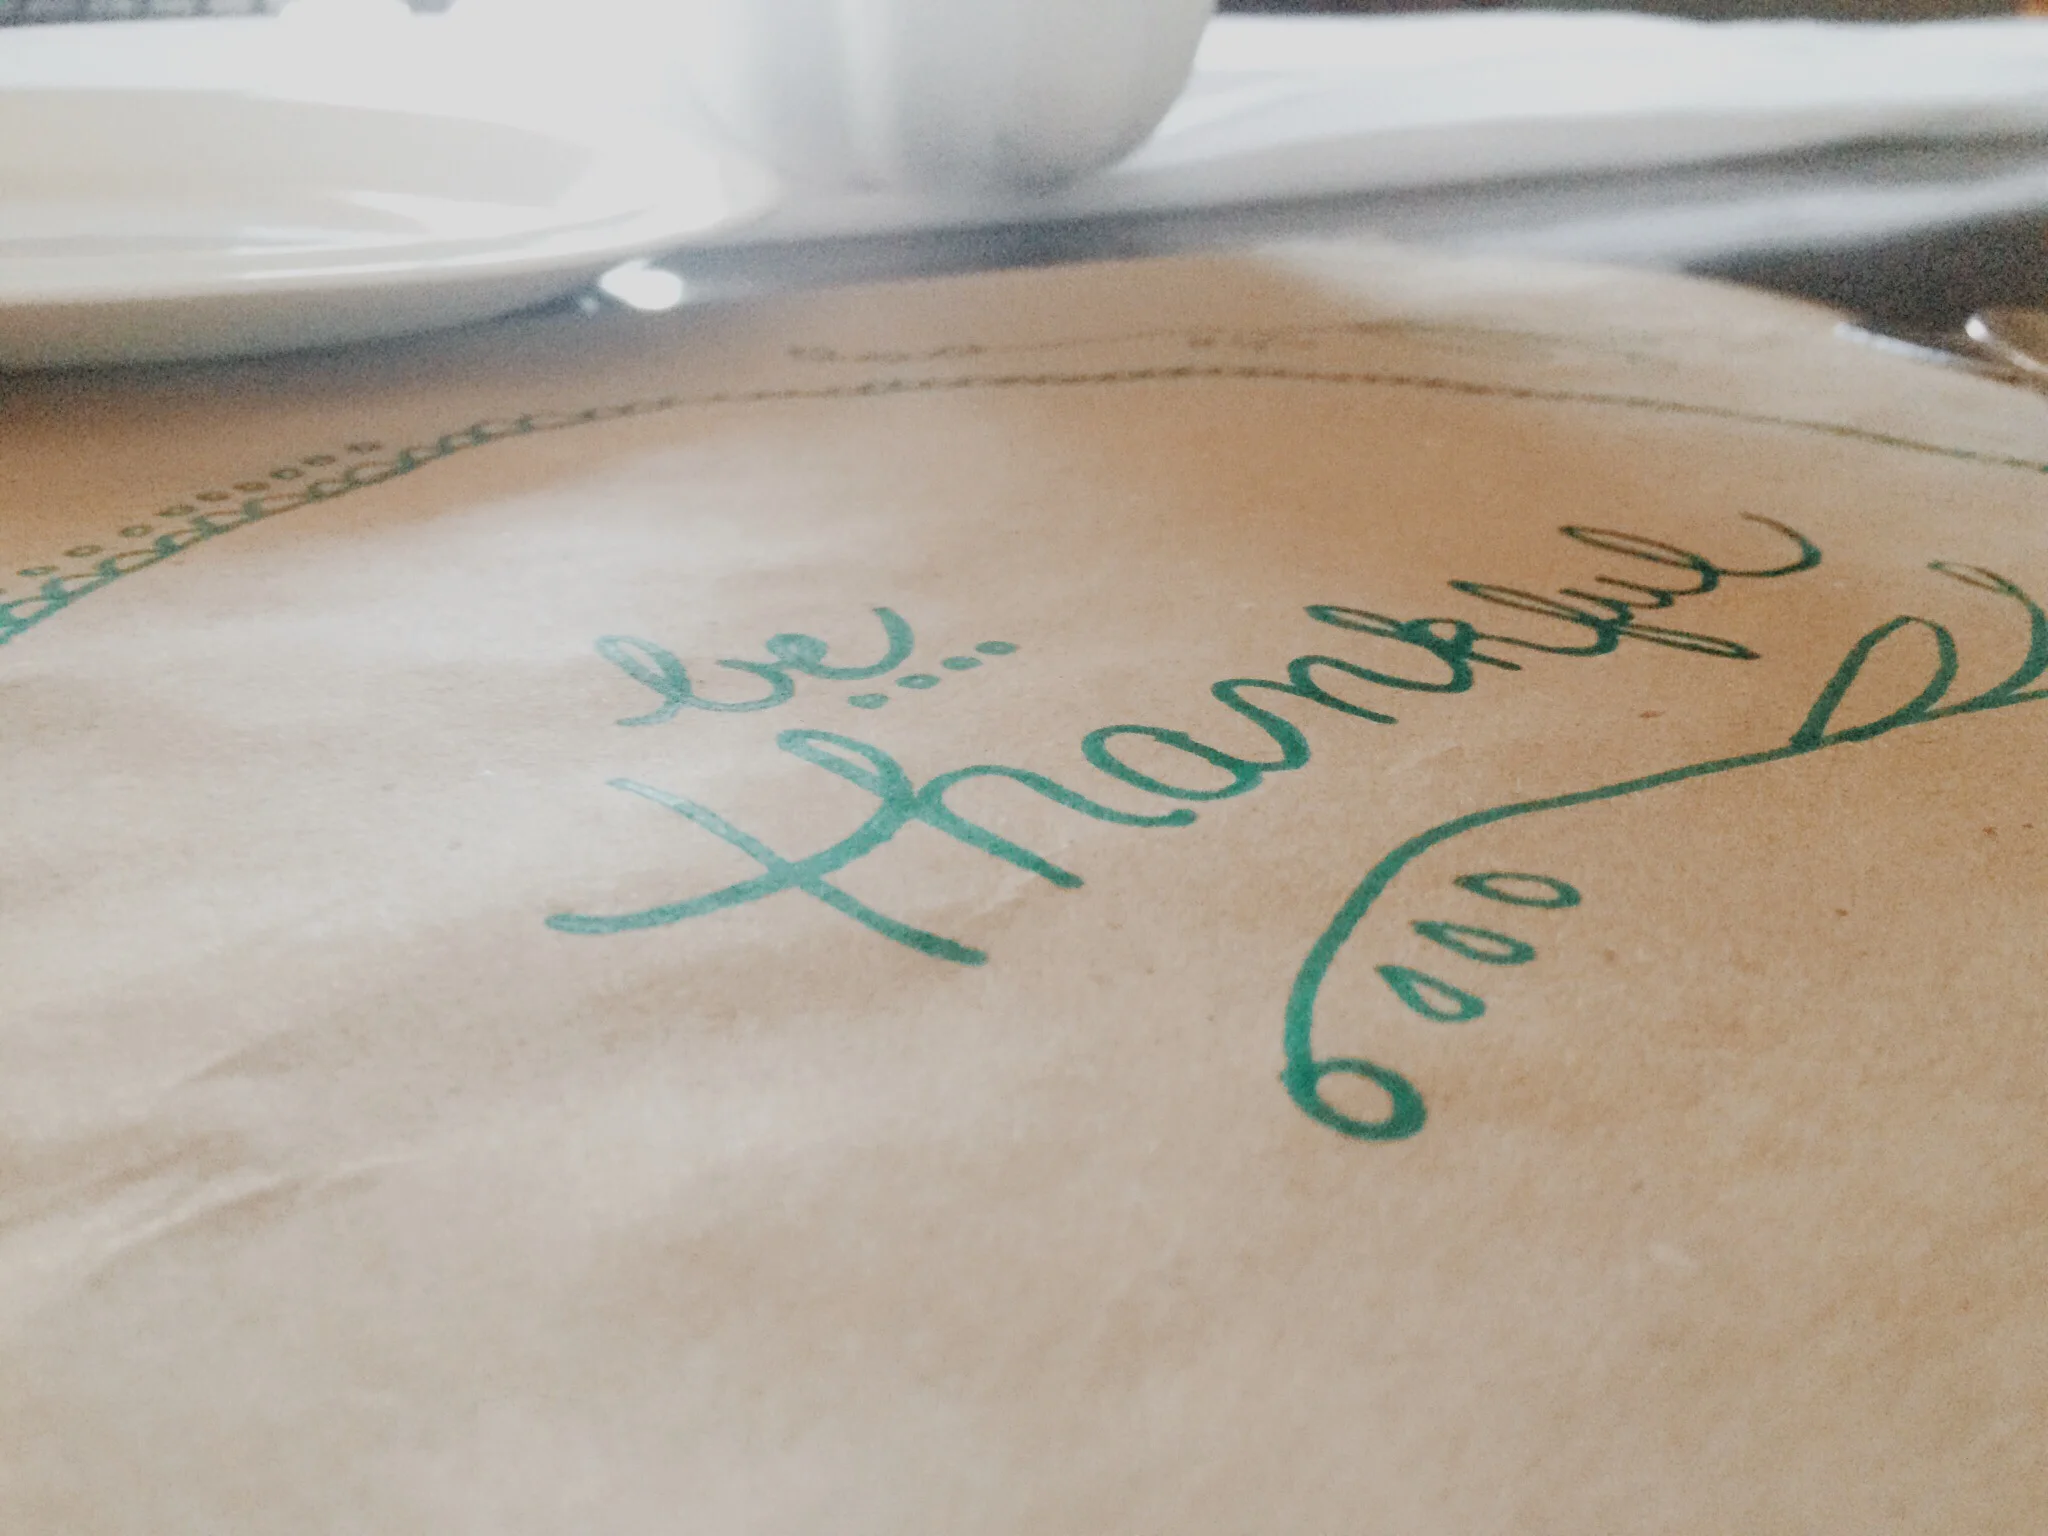
You can buy a roll of craft paper at the dollar tree. We always have some laying around because we use it for so much. We cut out the number of rectangles we needed. And then used washi tape to put them in place. This also helps because the corners tend to roll up. Then we traced a large dinner plate. After that we drew on fun embellishments and wrote "be thankful." This is one that even the kids could help with. It could also be fun to write different sayings on each one or each persons name. 

Each of these ideas are simple and quick for you to make, but they are so fun and cute and we know your guests will be so impressed. We hope you get inspired to dress up your table for Thanksgiving! 

Make sure you show us! Just follow and tag us on FacebookTwitter, + Instagram. 

Have a great weekend!!
xoxo
Britt & Sky

DIY Printable Thankful Garland

We made a fall Garland (here), but we really wanted to make a special Garland to hang just for Thanksgiving.

Sometimes as the holidays are approaching and all of our weekends are being booked up and we are buying Christmas presents for everyone, it's hard to always remember to just be thankful. We wanted something that we could see daily that would be a constant reminder to be thankful. 

DIY Printable Thankful Garland (click through for tutorial)

 Here's what you need:

  • printable (here)
  • paper (We used maroon card stock. You can use whatever you'd like)
  • glitter
  • washi tape
  • scissors
  • glue
  • paintbrush
  • string (We used twine) 
  • paperclips

Here's what we did: 

1. First we printed out all of our letters we needed and a few super cute acorns.  

2. We cut out all of the letters/acorns and laid them out side-by-side in order.  

3. We randomly selected which letters/acorns to put on washi tape, glitter, or to leave blank. 

4. While adding the glitter, we used Elmer's glue and a small paintbrush to spread the glue evenly.  

DIY Printable Thankful Garland (click through for tutorial)

5. For the washi tape, we placed it on the letter/acorn where we wanted it and then trimmed off the excess with scissors.  

DIY Printable Thankful Garland (click through for tutorial)

6. Next we cut our string based on the place we wanted to hang it. Then hung it on the wall using washi tape.  

5. Once all of our pieces were finished and the glue had dried, we started hanging them up. We just used our paper clips to hook them to our twine. It's easier to hang them evenly if you start by placing the center of your word on the center of the string and them moving outward.

And that's it! You have a super simple and super cute hanging reminder to be thankful this season.

DIY Printable Thankful Garland (click through for tutorial)

Have a great Wednesday!  

xoxo

Britt + Sky

DIY Pincushion

We love this DIY! We actually made this a long time ago and use it so much that we decided that we should share it with you!

DIY Pincushion (click through for tutorial)

Here’s what you need:

  • Small jar with lid
  • Fabric (you only need approximately a 5-inch by 5-inch piece)
  • Small amount of stuffing
  • Hot glue gun

Here’s what we did:

1.     We cut out approximately a 5-inch by 5-inch circle. We just used a circle object to trace around that was an inch or so larger around than our jar lid.

2.     Laying our fabric face down on the table, we put a small amount of stuffing (you want enough to make the cushion tall enough to have your pins go most of the way in) in the middle and placed the inner circle of the jar lid on top.

3.     We pushed down on the circle and at the same time tightly pulled the edges of the fabric over it.

4.     Using the hot glue gun, we glued the fabric edges to the backside of the circle.

5.     Place the circle into the outer piece of the lid.

6.     Screw on the lid and start using!

DIY Pincushion (click through for tutorial)

Your pins are going to look so cute in your new DIY pincushion! Make sure if you make one you show us! Just follow and tag us on FacebookTwitter, + Instagram.

xoxo

Britt + Sky

DIY Decorative Initial

We have had a W hanging on our front door for a long time now. After we made the DIY Fall Door Hanger, we decided it was time to do something different with it. 

DIY Decorative Initial (click through for tutorial)

Heres what we had: 

  • cardboard letter
  • x-actor knife
  • spray paint
  • flowers (we bought ours at the dollar tree) 
  • wire cutters
  • hot glue gun

Here's what we did:

1. Using our x-acto knife, we cut off the front of the W. 

image.jpg
image.jpg

2. We spray painted the outside of our letter gold. Go figure. Right? :)

3. While that was drying, we cut all of the stems off of the flowers. It's best to cut the stem completely off. With some flowers, you can just pull the flowers off, no wire cutters required. 

DIY Decorative Initial (click through for tutorial)

3. Then we glued all of our flowers inside of our letter. 

DIY Decorative Initial (click through for tutorial)

It goes perfect on our gallery wall. Don't you worry, we'll be posting all about that soon. 

Happy Monday y'all!

xoxo

Britt + Sky

A Spot of Inspirational Tea DIY

Ha! See what we did there :) To go along with our week of inspirational posts, we have a project that can make a great gift for a tea-lover in your life.

DIY inspirational tea bags (click through for tutorial)

Here's what you need:

  • tea bags (you can just use the store bought kind or you can actually make your own)
  • paper
  • circle punch (other shapes would be super cute too)
  • pens
  • washi tape
  • beads (optional)
  • container to hold your tea bags
DIY inspirational tea bags (click through for tutorial)

Here's what to do:

1. Punch out circles from your paper. A lot or a little, depending on how many you want to make. 

2. Find fun inspirational words on one side of the circle.

DIY inspirational tea bags (click through for tutorial)

3. Unwrap your teabags. Based on your container or how many you want to make.

4. Optional. Using small beads, string a few onto the string of the teabags.

5. Using washi tape, put connect the paper cutout to the end of the string. 

DIY inspirational tea bags (click through for tutorial)

6. Place them in a cute container. 

DIY inspirational tea bags (click through for tutorial)

And voila! You have fun and inspiration tea bags that can brighten up anyones day.

xoxo

Britt + Sky