Printable: Surround Yourself

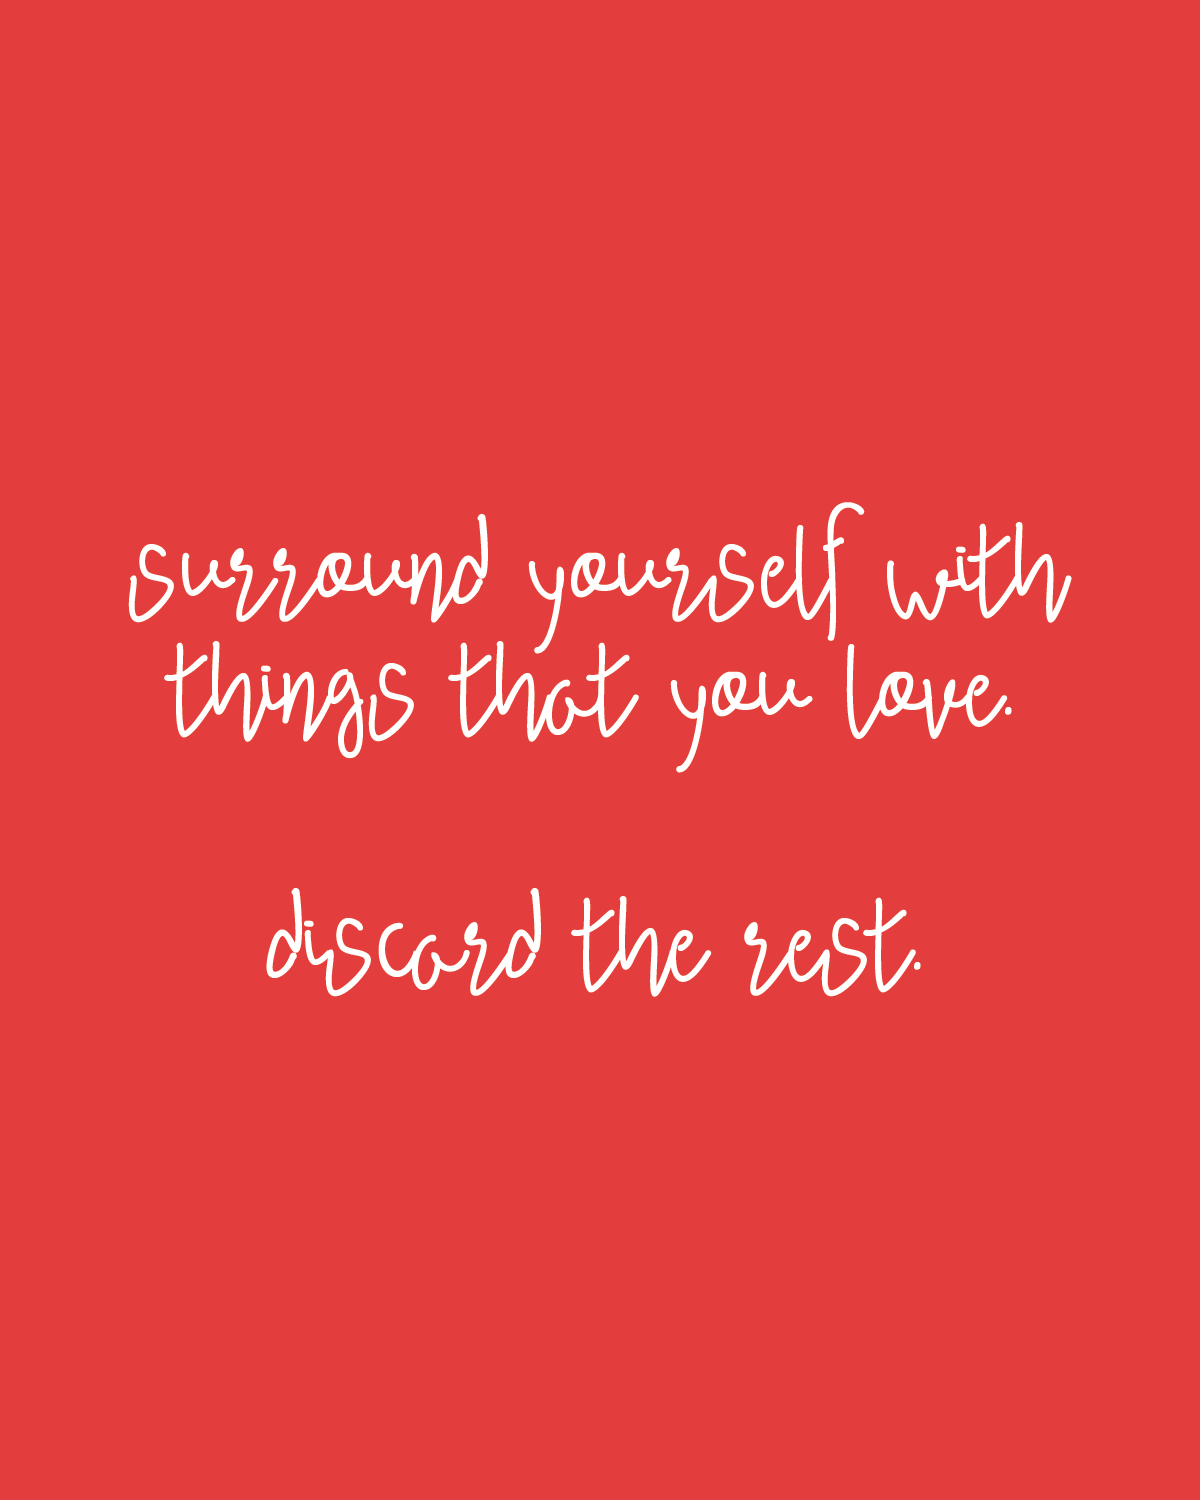
One thing that I have really been trying to do is make sure that I am getting rid of the things that bring me down or hold me back. And surround myself with the people and the things that matter most. Its nice have to something to look at daily that reminds you.

Download and print your printable reminder now. There are four color options for this 8x10 printable: mustard, blue, red, + pink.   

It feels good to clear things out and really prioritize and hang on to the things you love. We all need to be reminded sometimes. xo, Britt

Washi Tape Calendar Inspiration

Washi tape is amazing! It can basically be used for any project and there are so many patterns and colors that you can match it to almost any project. Our favorite part about washi tape is it sticks well, but it also doesn't ruin what you stick it to. Therefor, you can put it on your walls! This has made it easy for us to make cute calenders on our walls and doors. 

Today we have two cute washi tape calendars that will hopefully help inspire you to make your own! 

The first calendar we have has all seven days and room for five weeks. This is used as a personal calendar and we placed it on the back of door! 

Washi Tape Calender Inspiration. Click through for more details.

Everything on it is made of washi tape and permanent markers. Next month all we will have to do is turn January into February, move the numbered washi pieces, and cut new washi tape for our events on our calendar!

Washi Tape Calender Inspiration. Click through for more details.

For our second calendar we have our very own blog planning calendar! As you can see we only have five days on this one, this is because we only post during the week. But you can adjust it to fit all seven days. The calendar templet is made out of washi along with the box around the month.

Washi Tape Calender Inspiration. Click through for more details.

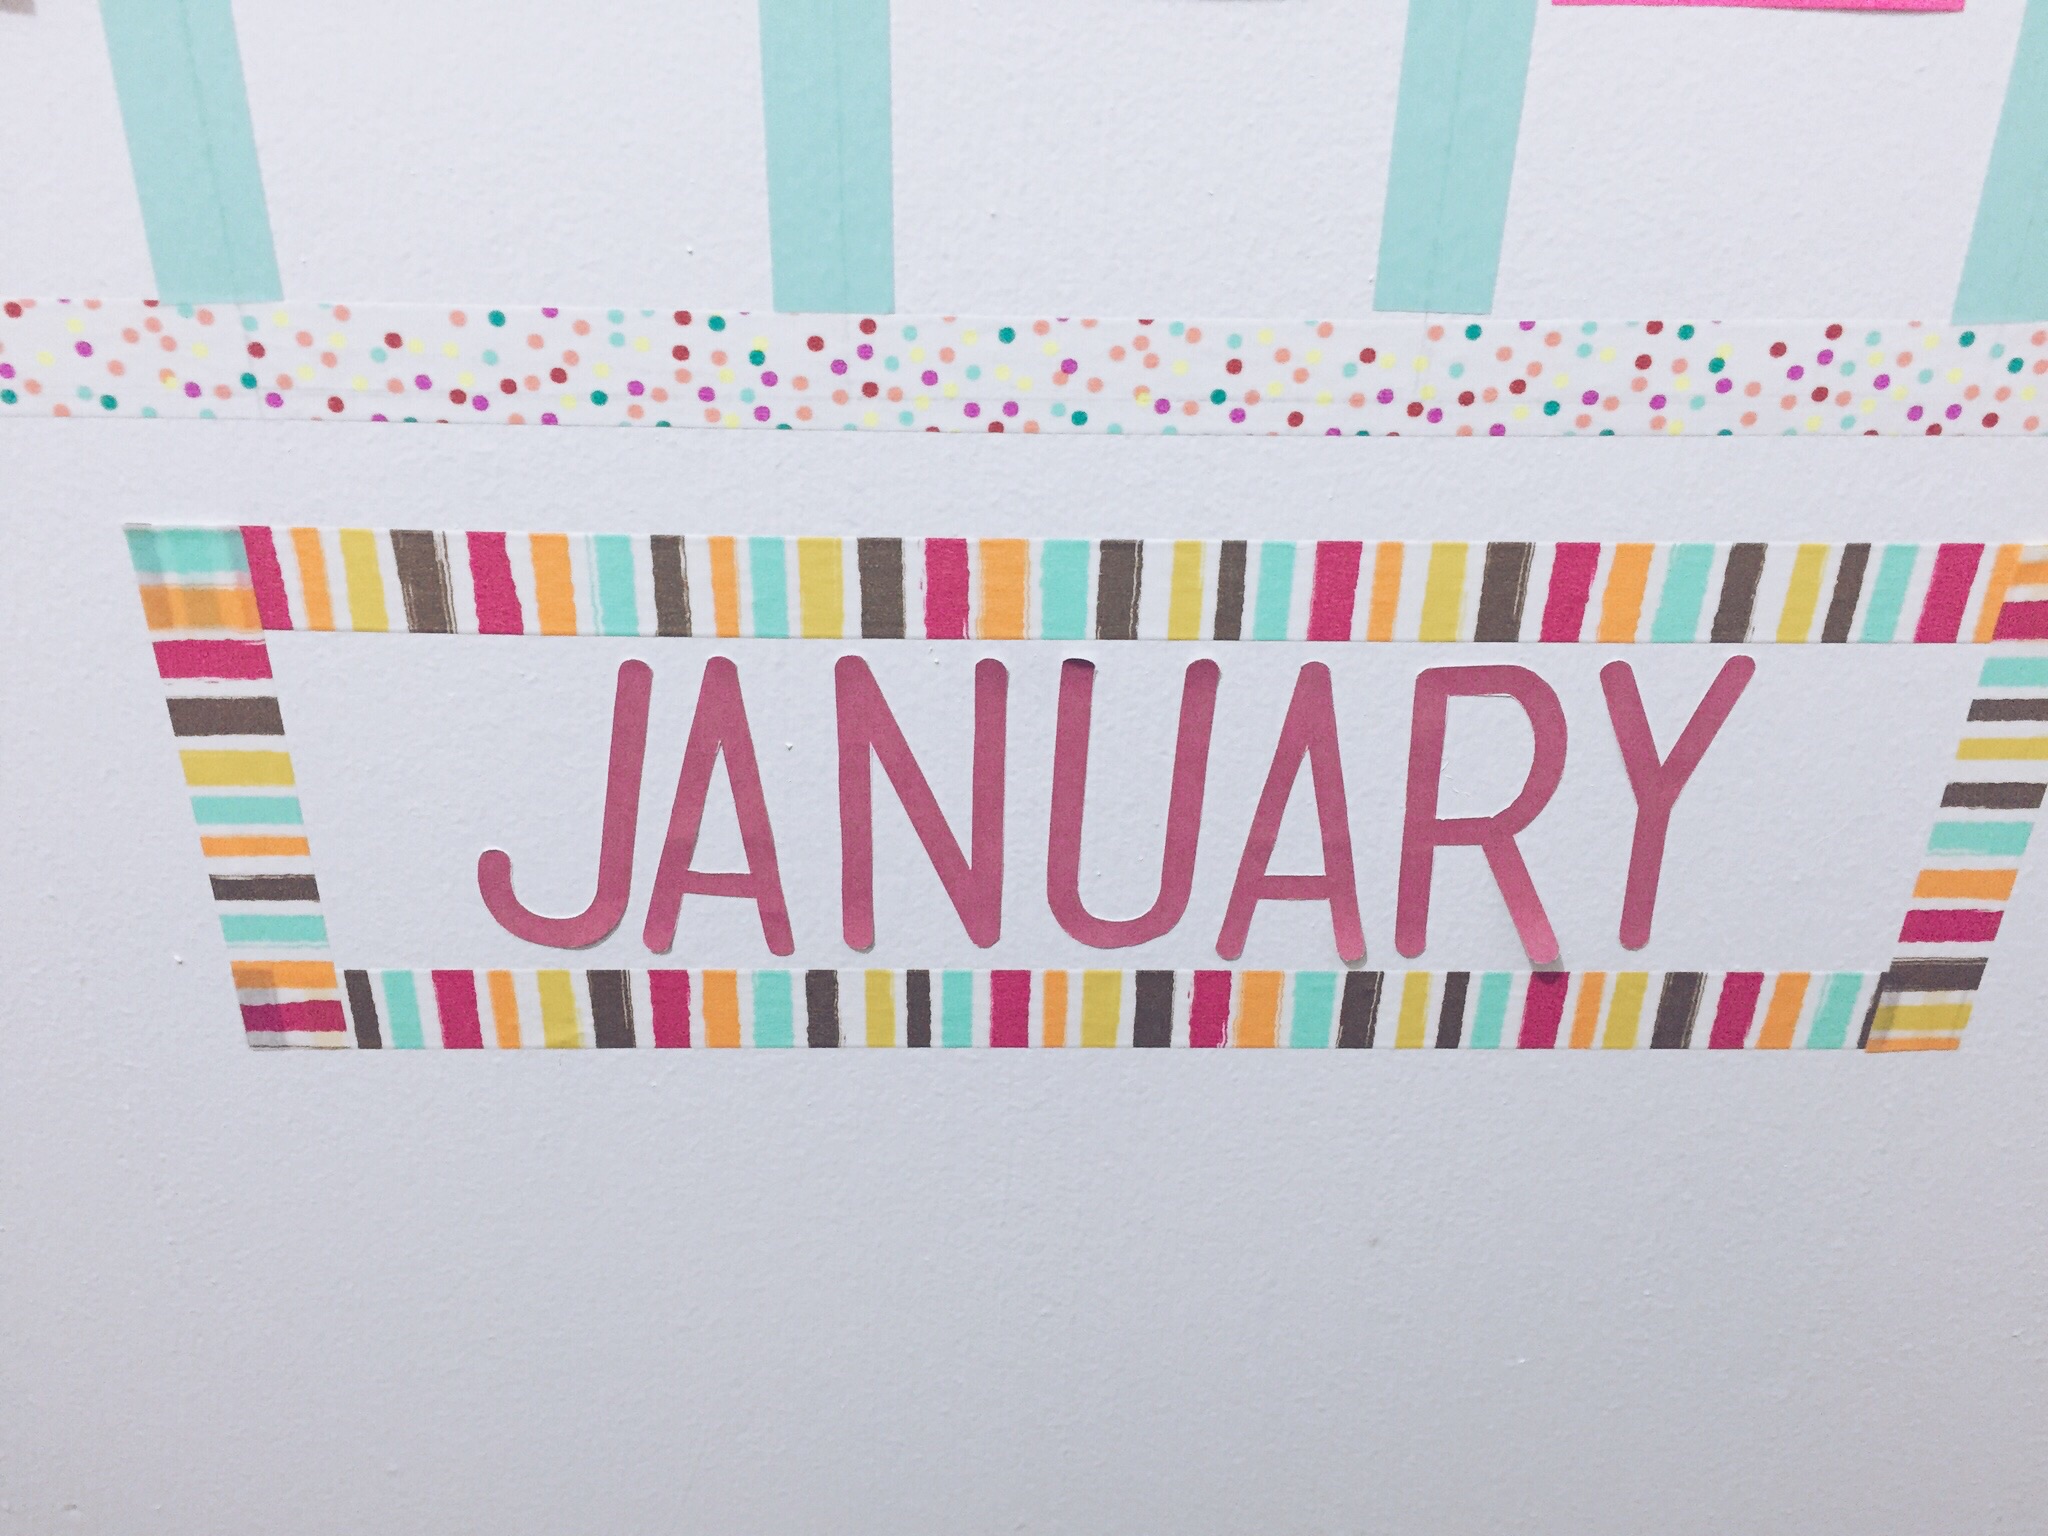
For the month, we just printed 'January' on sticky backed paper, printed it, cut it, and put it in the box! 

Washi Tape Calender Inspiration. Click through for more details.

For our content we used small sticky notes. We used the colored sticky notes to our advantage and color coded our blog posts, birthday, events, etc.! 

Washi Tape Calender Inspiration. Click through for more details.

These calendars are super easy and fun to make for any room of the house, office, etc. And the best part is if we want a new style or color, the washi tape easily comes up and we can start a new one. xoxo, Britt + Sky

Simple Personalized Gifts

Christmas is in less than two weeks! And we are sure many of you have not finished shopping yet. But don't worry! It's not too late. Today we have some quick and simple diy gifts that are super cute. Homemade gifts are great for anyone you need a gift for and can be personalized for any type of person.


Monogrammed Planter

What you will need:

  • planter
  • orange acrylic paint
  • clear coat spray
  • plant
  • sharpie
  1. Print and cut out a letter. You can use either the persons first initial or last initial.
  2. Trace the letter on the planter with sharpie.
  3. Paint in the letter with the color of your choice.
  4. Outline your letter with black paint. Allow it to dry fully.
  5. Spray two coats of clear coat spray on the planter to seal it.
  6. Add your plant to the pot and give as a gift!
Diy Personalized Gifts. Click through for more.

We really love how our planter turned out. The color of our 'M' and the plant look together. This planter was very inexpensive and simple to make. 

Diy Personalized Gifts. Click through for more.

Painted Candle Jar

What you will need:

  • small jar (we found ours at a thrift store for 25cents!)
  • red Martha Stewart glass paint
  • sticker paper
  • pebbles
  • small candle
  1. Print a Christmas Tree onto your sticker paper (other shapes can be used also) and cut it out.
  2. Stick the tree 'sticker' evenly on your jar.
  3. Paint the rest of your jar red.
  4. Allow to fully dry. (At least one hour)
  5. Bake on 350 degrees for 30 minutes. Allow to cool at least 15 minutes.
  6. Add pebbles and your candle. 
  7. Wrap up and give to a loved one!
Diy Personalized Gifts. Click through for more.

This is also a very simple but cute present that almost anyone would love to receive. And you could personalize it in anyway you can think of: family initials, special dates, fun shapes, or anything you could print out or draw! 

Diy Personalized Gifts. Click through for more.

Personalized Mug

What you will need:

  • white coffee cup
  • red Martha Stewart glass paint
  • marshmallows
  • hot chocolate packs
  • sticker paper
  1. Print out a letter on the sticker paper. Cut out the letter.
  2. Place the letter center on one side of the coffee cup.
  3. Paint over the letter sticker, like shown in the picture.
  4. Let the paint dry for at least one hour.
  5. Bake on 350 degrees for 30 minutes. Let cool for at least 15 minutes before picking up.
  6. Add marshmallows and hot chocolate packs to the cup for a perfect gift!
Diy Personalized Gifts. Click through for more.

This makes for the perfect present. Everyone loves a personalized gift and hot chocolate! Now you can get two-in-one! It's a yummy and cute gift.

Diy Personalized Gifts. Click through for more.

With the short days left before Christmas these gifts are a great idea to make for the people left on your list. Store bought gifts can be nice, but with hand made gifts you can insure no one else will get them the same gift! These gifts are simple, inexpensive, and adorable. We suggest you try these for some of your presents this year.

Our Birthday Board we made awhile back is also a cute, personalized handmade gift that is perfect for someone in your family.

And keep watching this week for many more simple gifts to make for this Christmas!

Have a wonderful Monday!

Britt + Sky

Source: http://

Diy Snow Globes

We made some pretty adorable winter snow globes. We have two tutorials today that you should try. They are pretty inexpensive, easy to make, and super fun! :)

Snowman Snow Globe

Here's what you'll need to get started:

  • small spice jar
  • clay
  • black, white, yellow paint
  • paint color of your choice (for the ear muffs)
  • small twig
Diy Snow Globes. Click through for instructions.

1. Paint the outside of your  jar to look like a winter landscape.

Diy Snow Globes. Click through for instructions.

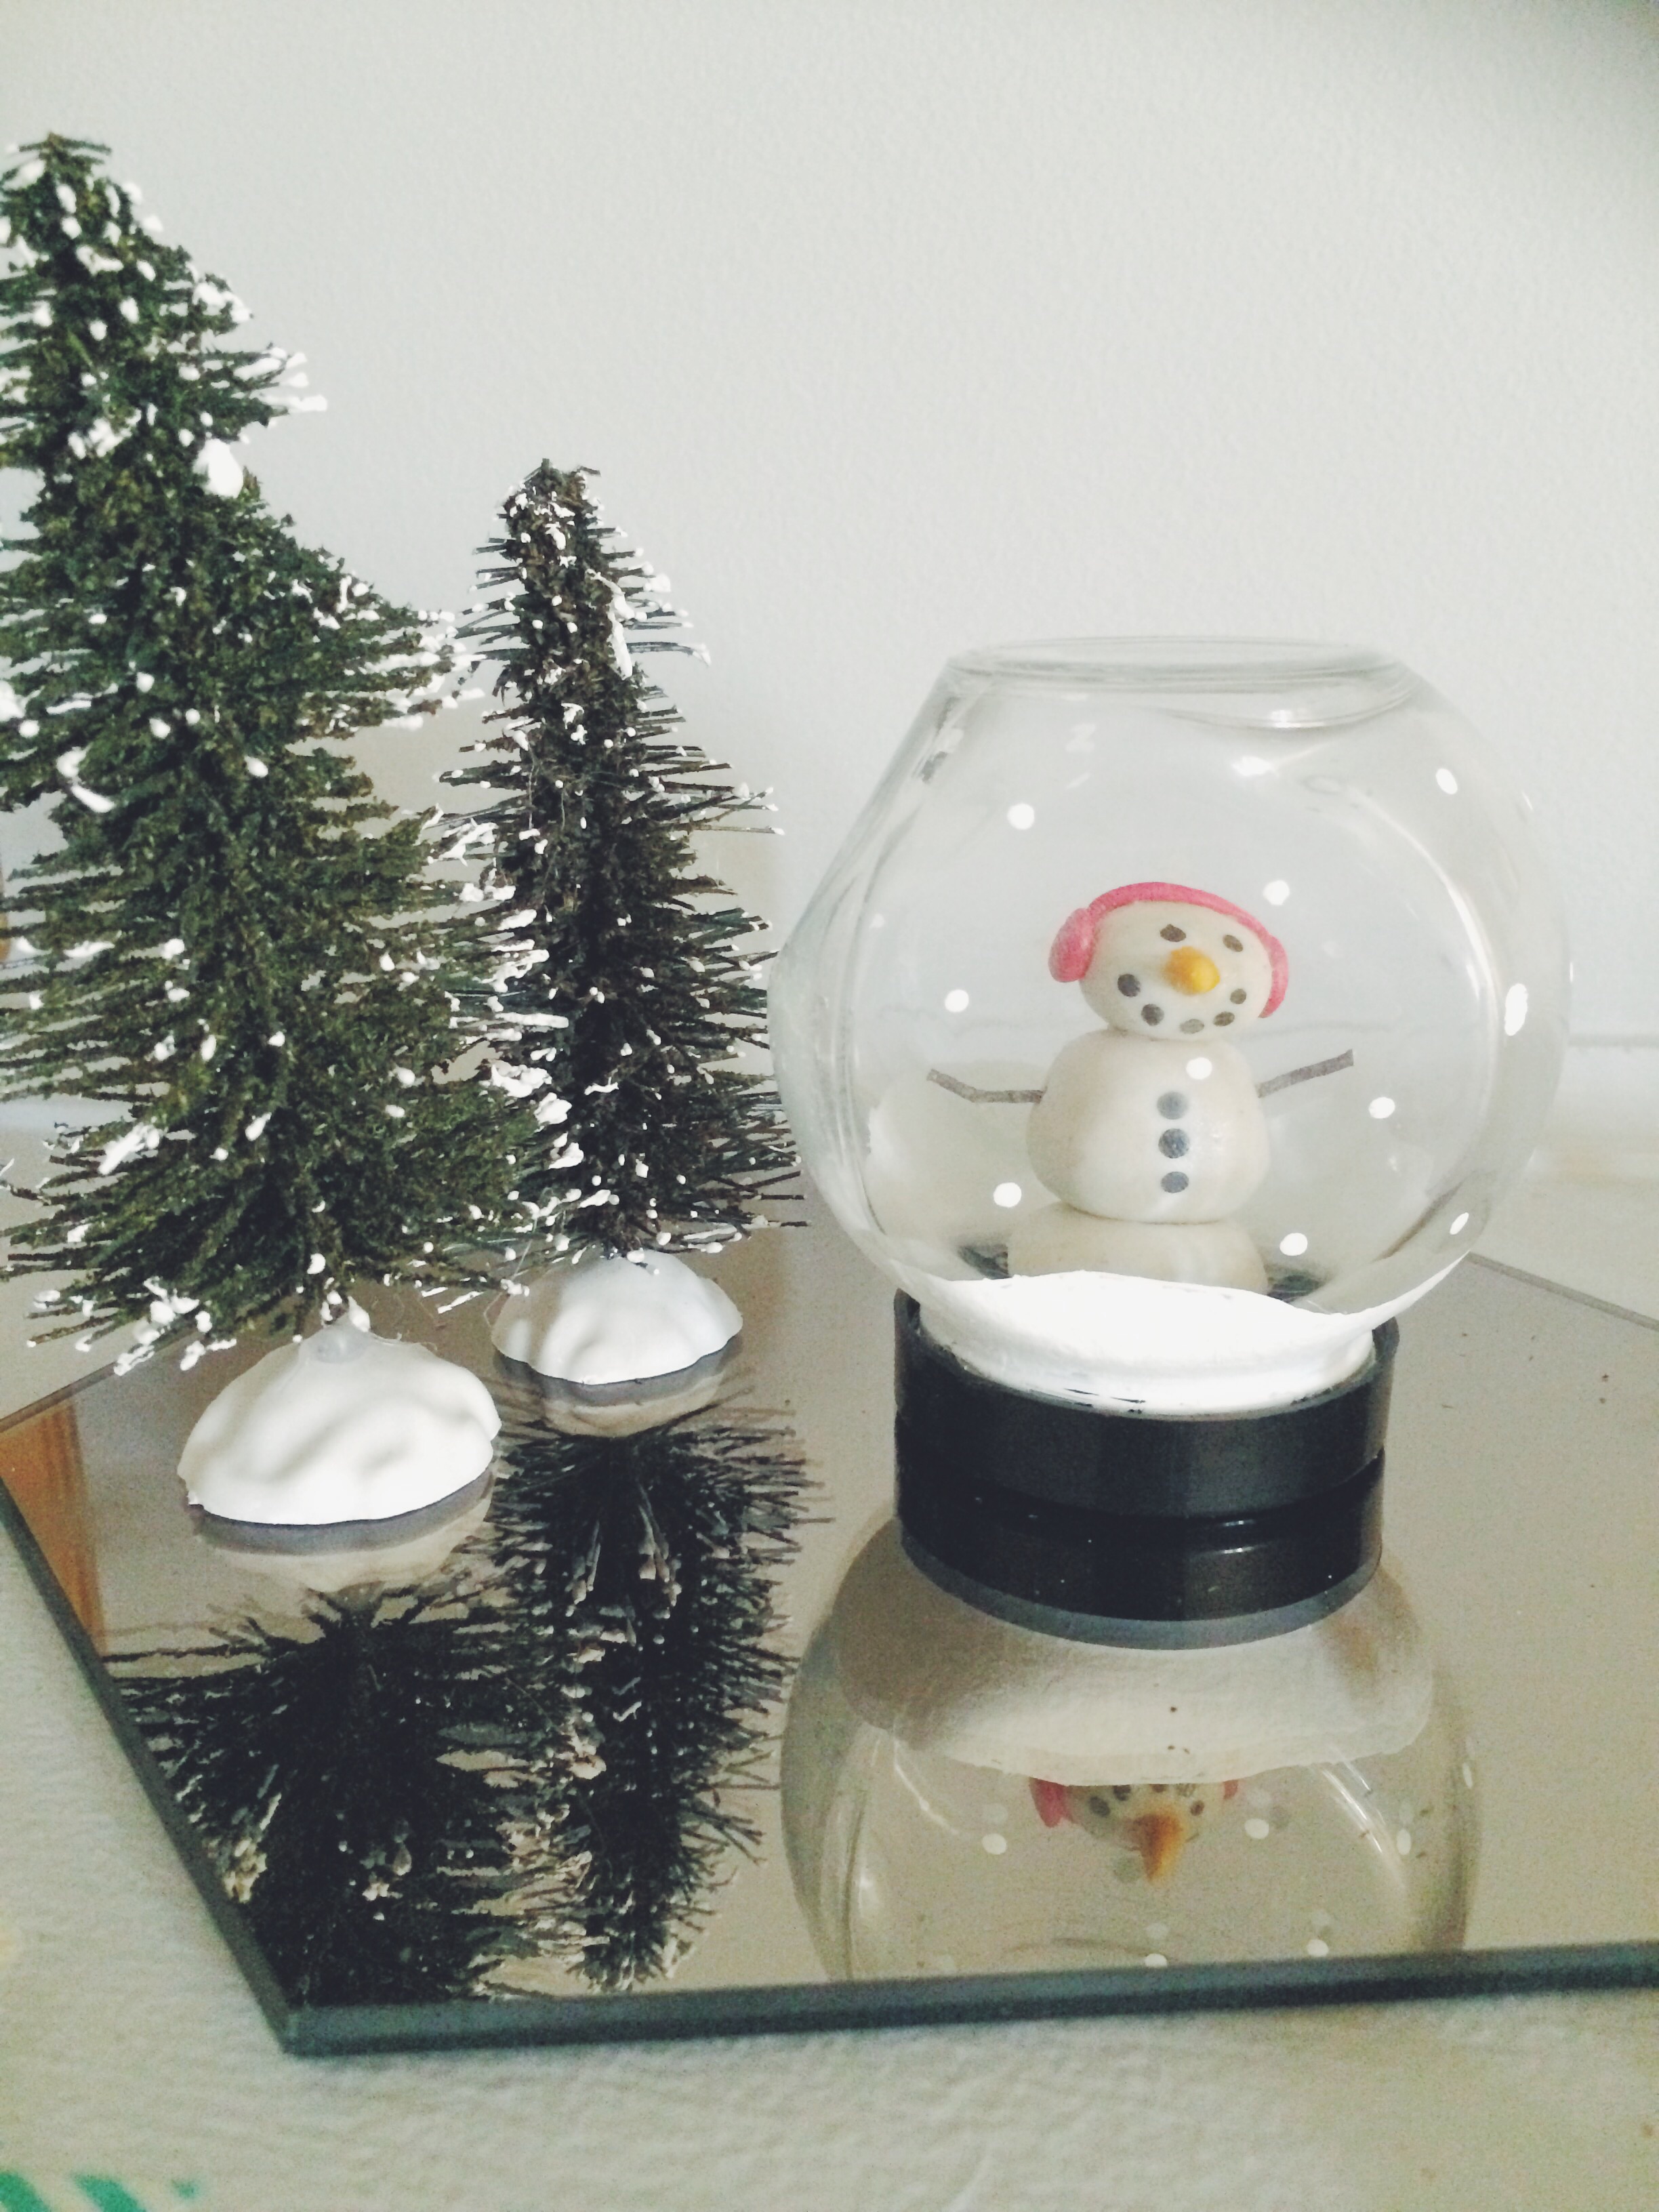
2. Form the three layers of your snow man from your clay; big ball, medium ball, small ball with nose and ear muffs.

Diy Snow Globes. Click through for instructions.

3. Put a tiny piece of clay between each layer of the snow man. This will help him stick. Then bake him in the oven at 350 degrees for 20-30 minutes. When done let cool for 10-15 minutes before moving on.

Diy Snow Globes. Click through for instructions.

4. Paint your snow mans features and add his arms!

Diy Snow Globes. Click through for instructions.

5. Glue your snow man with hot glue to the bottom of your lid.

Diy Snow Globes. Click through for instructions.

6. Screw your jar unto your lid and place it where you want it. That's it! Now you have an adorable tiny snow globe.

Diy Snow Globes. Click through for instructions.

Couple Snow Globe

Here's what you need:

  • mason jar
  • small decorative christmas tree
  • 10-12 mini white pom-poms
  • white thread
  • small wooden people
  • paint
Diy Snow Globes. Click through for instructions.

1. Paint your wooden people to your liking. Sit them aside to dry when finished.

Diy Snow Globes. Click through for instructions.

2. Thread pom-poms into your thread. We strung 2-3 pom-poms per piece of thread. 

Diy Snow Globes. Click through for instructions.

3. Tape the pom-pom strings to the inside of your jar lid.

Diy Snow Globes. Click through for instructions.

4. Hot glue the tree and people into your jar. 

Diy Snow Globes. Click through for instructions.

5. Place your lid on the jar. And now you have a perfect winter scene! 

Diy Snow Globes. Click through for instructions.

Our snow globes aren't like regular one's, they don't have liquid. BUT they are still super cute and better because we were able to make them exactly how we wanted them. Our favorite part was that we got to use cool jars to make them. We really hope you guys try these, they are easy and you can personalize them to your style!

Happy Friday!
Britt + Sky

Free Inspirational Printables

What kind of inspirational week would it be if we didn't have something that you could print and look at everyday for a reminder? So of course we decided to give you two to choose from ... or both.

Print them, frame them and put them somewhere that you will see them daily. They are also perfect to give as a gift to someone who could use a little inspiration.  

MOS_BeTheReasonSomeoneSmiles.jpg

Download the Be the Reason print here.

MOS_BeautyBeginsTheMoment.jpg

Download the Beauty Begins print here.

We hope that you download and use these as a little inspiration for yourself or someone you know that could use them. Make sure to show us where you put your prints by following us and tagging us on FacebookTwitter, + Instagram.

Tomorrow is the last day of our inspiration week and we cannot wait to show you what we have up our sleeve. :) Make sure you come back sometime tomorrow to check it out. 

xoxo

Britt + Sky