Gift Wrapping + 3 Printable Gift Tags

There is lots of gift giving this time of year. There is graduation and wedding season is back in full swing. Not to mention those people with summer birthdays. So today we have some super cute wrapping ideas + a free printable too!

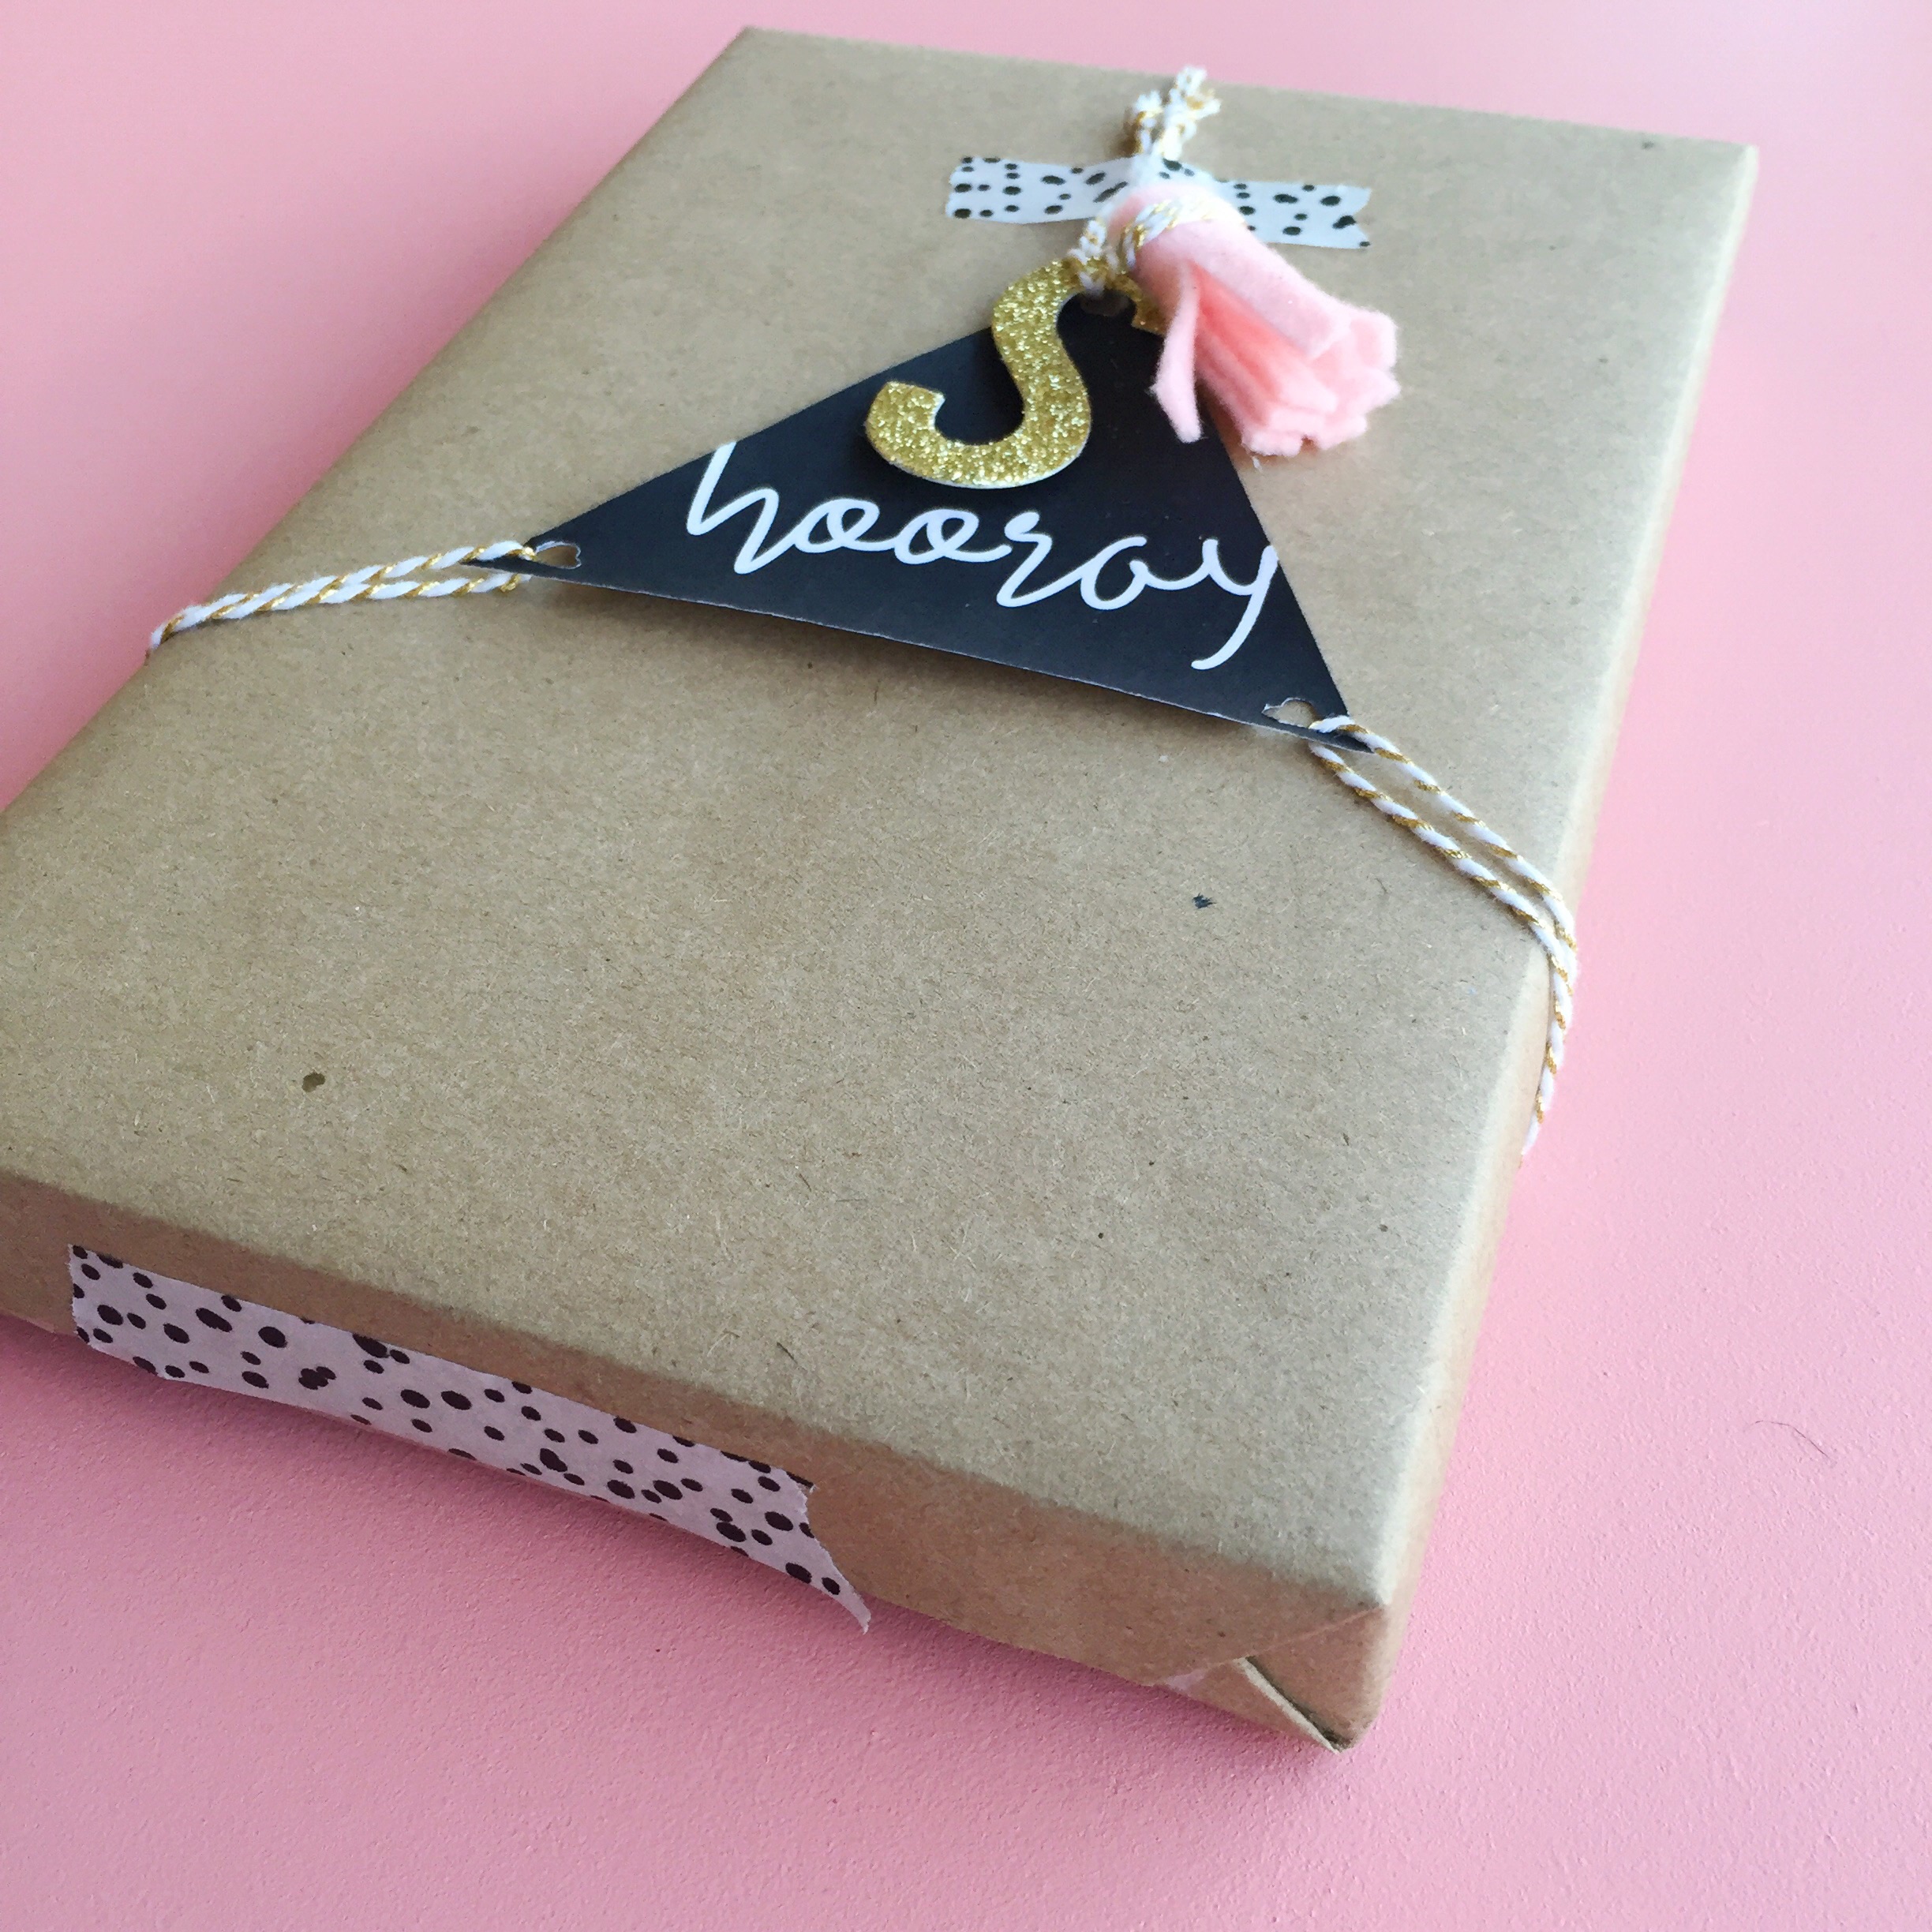
The printables are simple but they make a big impact on a gift. Use craft supplies you have laying around the house to dress them up for different gift wrapping options.

download + print three free printable gift tags

Supplies I used:

  • craft paper
  • printable tags
  • scissors
  • washi tape
  • string
  • hole punch
  • felt
  • glitter letter
  • hot glue gun
download + print three free printable gift tags

Download, print, + cut out your tags. Wrap your gift. Use tags to dress up your gift. That it! Scroll down to see different ways that I used the tags to dress up my gifts. 

download + print three free printable gift tags

What events do you need gifts for these days? Whose gift will you use the printable for? xo Britt

Last Minute DIY Gift Ideas

It is really hard to believe that Christmas is almost here! Like just a few days! If you are like me you have the best intentions of getting all of your gifts bought or made way before now. But there are always a few people that you struggle with finding the perfect gift and you still don't have anything. Have no fear. I have put together my favorite easy DIY ideas from our archives to help get you into gear.

1. DIY Simple Personalized Gifts

I hope these DIY ideas help you finish up your gifts. Only a few days left. No pressure :) xo, Britt

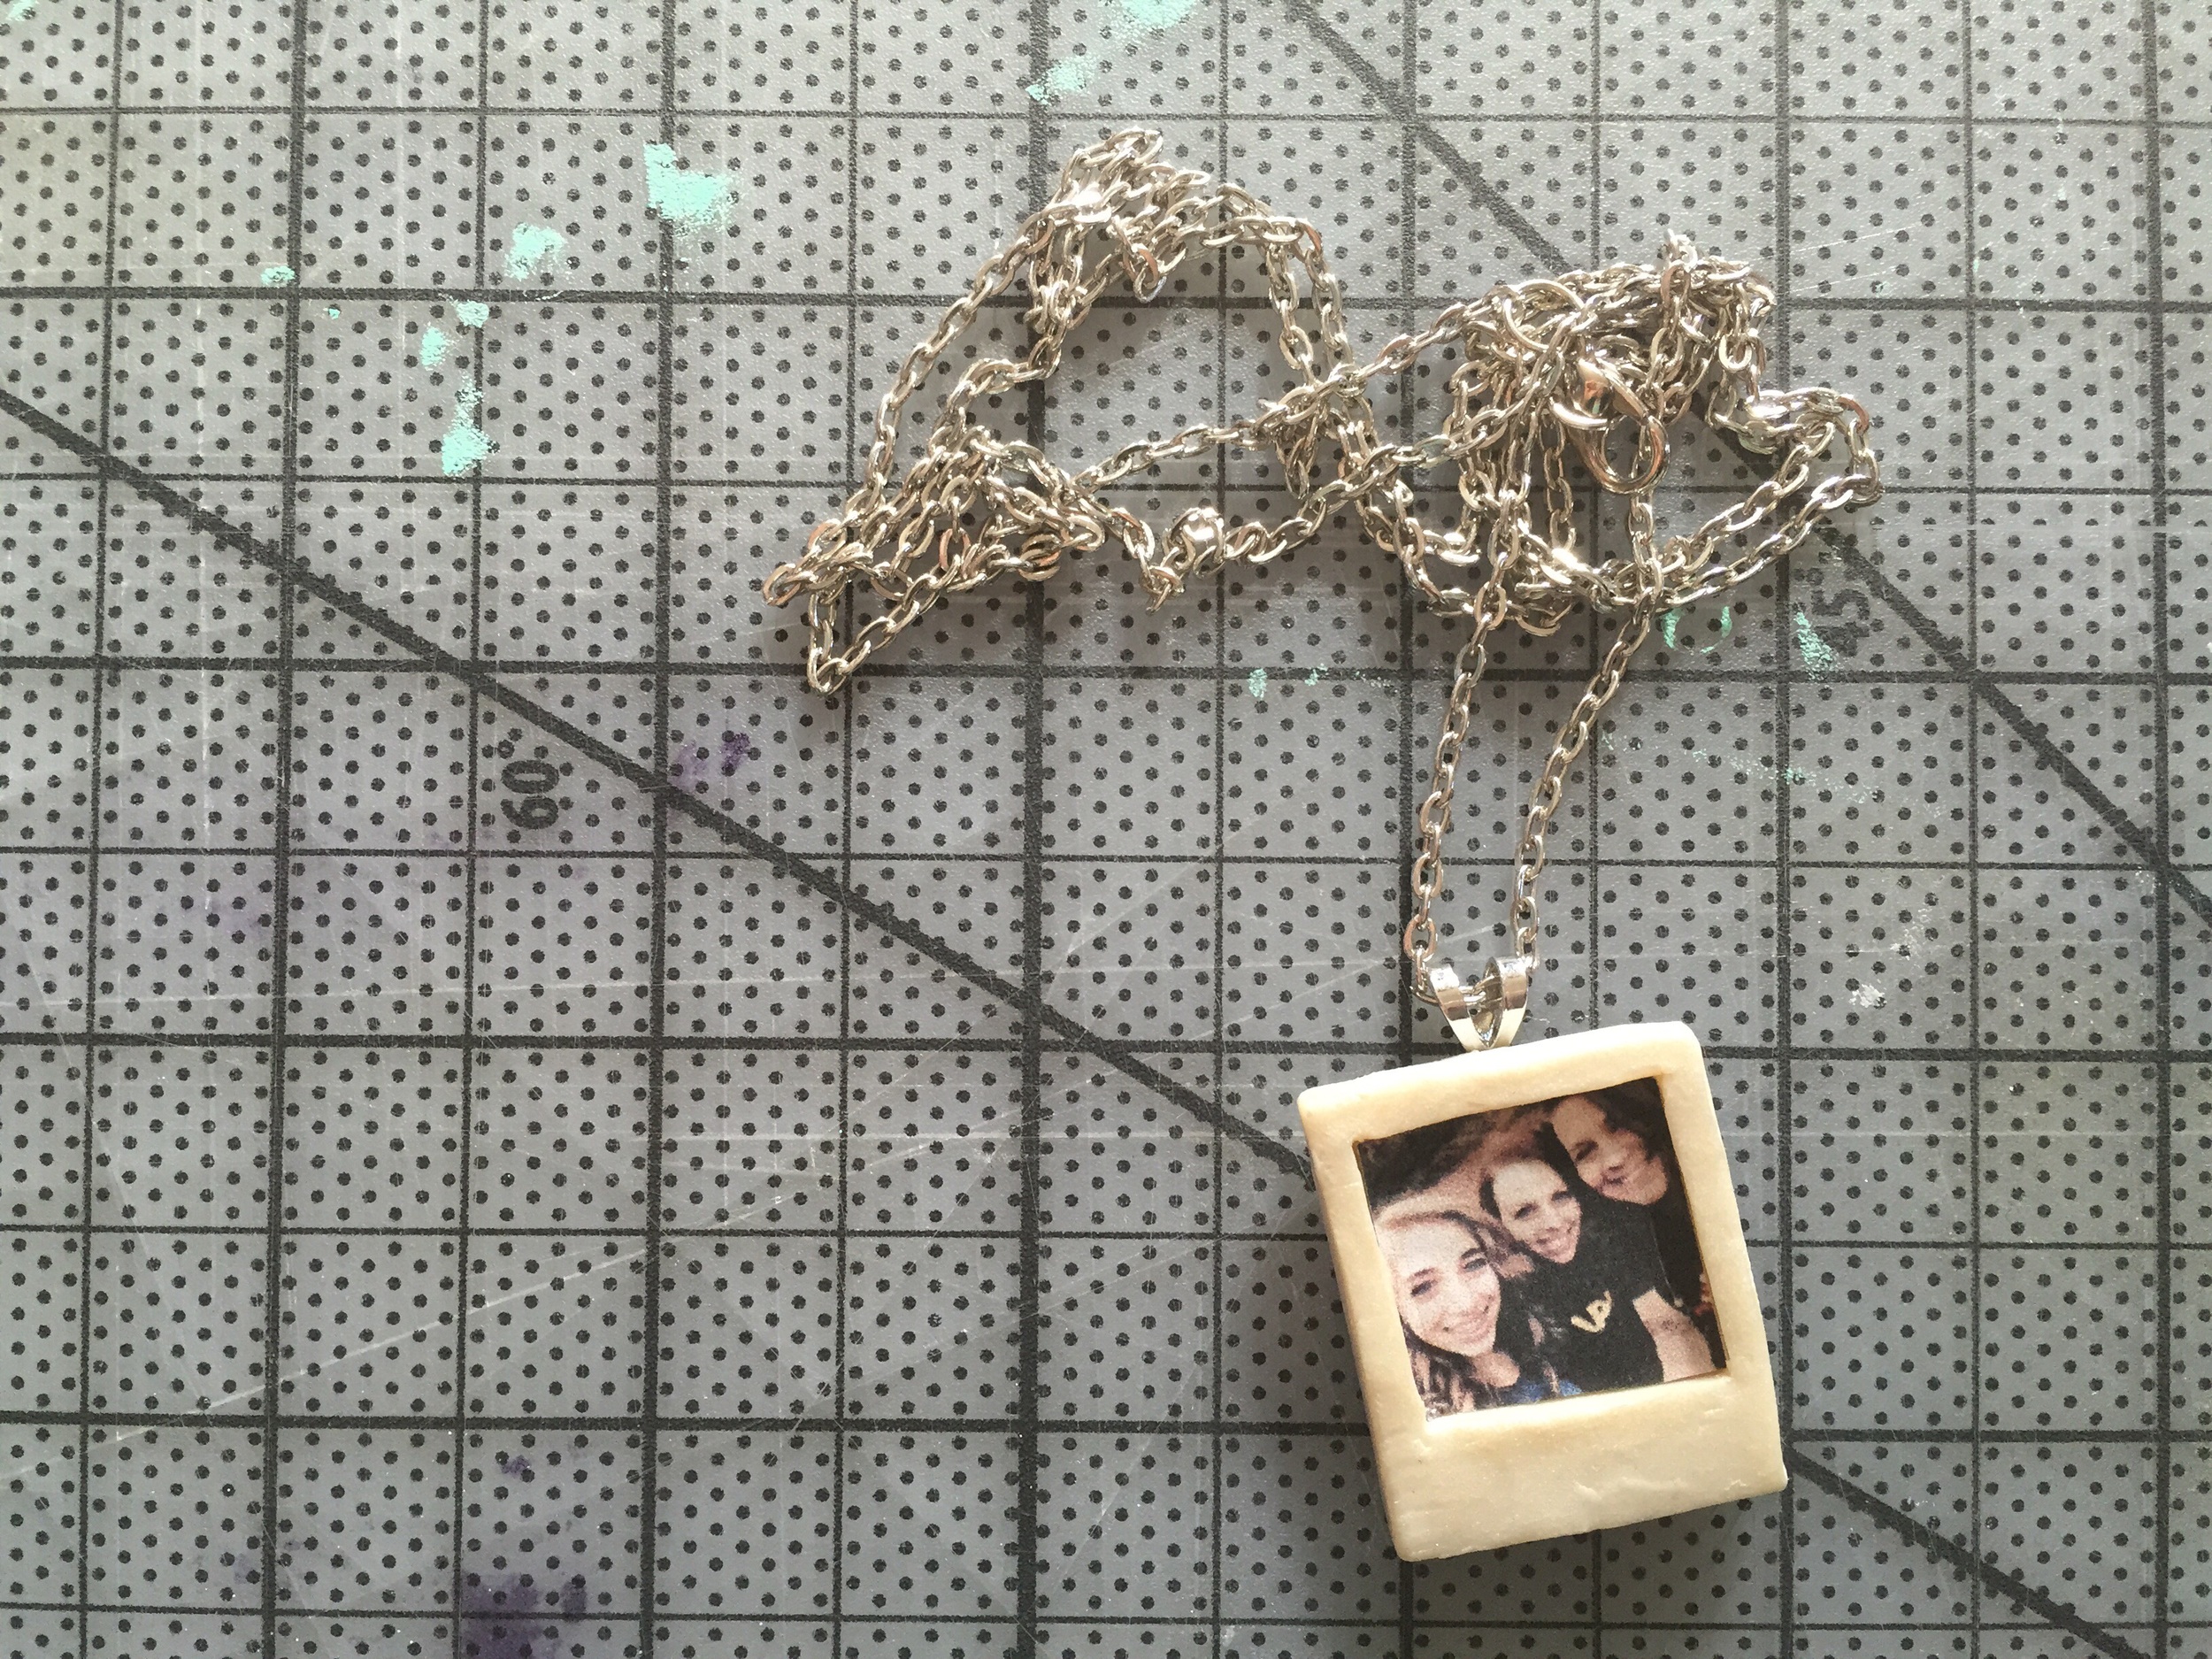
DIY Polaroid Necklace

Does it get much cuter than this? This is a fun spin on a locket necklace. Using simple materials to create a fun and personalized accessory. These make great gifts or are perfect just to make for yourself. 

DIY Polaroid Necklace (click through for tutorial)

Here's what you need:

  • oven-bake clay
  • rolling pin
  • x-acto knife
  • cardstock
  • blank necklace pendant
  • chain
  • super glue (or other glue of choice)
DIY Polaroid Necklace (click through for tutorial)

Preheat your oven to 275 degrees F.

Next cut your card stock. You'll need two pieces for templates. You can make the size based on how large you want to make yours. Our pieces measure 1 inch by 1 1/4 inches and 7/16 inch by 3/4 inch. Cut your piece and set them to the side.

Roll out your clay to a thin even layer. Using your larger template, cut out 2 sections of clay.

DIY Polaroid Necklace (click through for tutorial)

Using your smaller template, cut out a square from one of your larger pieces of clay. 

DIY Polaroid Necklace (click through for tutorial)

Press both pieces of your clay together.

DIY Polaroid Necklace (click through for tutorial)

Your edges may be a little messy, but they can easily be cleaned up by carefully using your x-acto and your fingers to smooth out all of the sides.

DIY Polaroid Necklace (click through for tutorial)

Next you will want to bake your clay for 15.

While its baking you will need to size and print your photo. It will be the same size as your smaller template. Ours was 7/16 inch by 3/4 inch.

DIY Polaroid Necklace (click through for tutorial)

If you want your photo to be permanent, glue your photo in and you will want to seal it. If you want to be able to change it out to your heart's content like us, just use a little piece of tape to hold it in place. 

DIY Polaroid Necklace (click through for tutorial)

Glue on your necklace pendant, put on your chain, and you are set!

DIY Polaroid Necklace (click through for tutorial)

We want to see your necklaces!! Be sure to follow and tag us on InstagramTwitter, or Facebook!! 

Happy Monday! xoxo, Britt + Sky
 

Simple Personalized Gifts

Christmas is in less than two weeks! And we are sure many of you have not finished shopping yet. But don't worry! It's not too late. Today we have some quick and simple diy gifts that are super cute. Homemade gifts are great for anyone you need a gift for and can be personalized for any type of person.


Monogrammed Planter

What you will need:

  • planter
  • orange acrylic paint
  • clear coat spray
  • plant
  • sharpie
  1. Print and cut out a letter. You can use either the persons first initial or last initial.
  2. Trace the letter on the planter with sharpie.
  3. Paint in the letter with the color of your choice.
  4. Outline your letter with black paint. Allow it to dry fully.
  5. Spray two coats of clear coat spray on the planter to seal it.
  6. Add your plant to the pot and give as a gift!
Diy Personalized Gifts. Click through for more.

We really love how our planter turned out. The color of our 'M' and the plant look together. This planter was very inexpensive and simple to make. 

Diy Personalized Gifts. Click through for more.

Painted Candle Jar

What you will need:

  • small jar (we found ours at a thrift store for 25cents!)
  • red Martha Stewart glass paint
  • sticker paper
  • pebbles
  • small candle
  1. Print a Christmas Tree onto your sticker paper (other shapes can be used also) and cut it out.
  2. Stick the tree 'sticker' evenly on your jar.
  3. Paint the rest of your jar red.
  4. Allow to fully dry. (At least one hour)
  5. Bake on 350 degrees for 30 minutes. Allow to cool at least 15 minutes.
  6. Add pebbles and your candle. 
  7. Wrap up and give to a loved one!
Diy Personalized Gifts. Click through for more.

This is also a very simple but cute present that almost anyone would love to receive. And you could personalize it in anyway you can think of: family initials, special dates, fun shapes, or anything you could print out or draw! 

Diy Personalized Gifts. Click through for more.

Personalized Mug

What you will need:

  • white coffee cup
  • red Martha Stewart glass paint
  • marshmallows
  • hot chocolate packs
  • sticker paper
  1. Print out a letter on the sticker paper. Cut out the letter.
  2. Place the letter center on one side of the coffee cup.
  3. Paint over the letter sticker, like shown in the picture.
  4. Let the paint dry for at least one hour.
  5. Bake on 350 degrees for 30 minutes. Let cool for at least 15 minutes before picking up.
  6. Add marshmallows and hot chocolate packs to the cup for a perfect gift!
Diy Personalized Gifts. Click through for more.

This makes for the perfect present. Everyone loves a personalized gift and hot chocolate! Now you can get two-in-one! It's a yummy and cute gift.

Diy Personalized Gifts. Click through for more.

With the short days left before Christmas these gifts are a great idea to make for the people left on your list. Store bought gifts can be nice, but with hand made gifts you can insure no one else will get them the same gift! These gifts are simple, inexpensive, and adorable. We suggest you try these for some of your presents this year.

Our Birthday Board we made awhile back is also a cute, personalized handmade gift that is perfect for someone in your family.

And keep watching this week for many more simple gifts to make for this Christmas!

Have a wonderful Monday!

Britt + Sky

Source: http://

DIY Gift Wrapping Inspiration

Every year I get super into wrapping my gifts for Christmas. I really love for everything to coordinate and look good sitting under my tree ... I know, weird right! Ha ha! So this year I really wanted to step up my game. Really personalize my gifts and make them look so cute at the same time. So here is what I decided to do.  

DIY Christmas Wrapping Inspiration

Each gift is wrapped in brown kraft paper, but each piece is cut and then there is something special drawn or written on each one. Then using random little Christmas decor, each gift is customized. One one I strung some red, green, and white pom-poms. While on another I used small golden gift bows. Your options are basically endless. 

DIY Christmas Wrapping Inspiration

I realize that if you are wrapping a ton of gifts this is a little crazy, but you could definitely do it on a smaller scale. Like maybe just pick a few special people to try it out on. And keep in mind that this can be done anytime a gift is needed ... not just Christmas ... even though I am totally digging these gifts right now! 

I love things that are so simple but add so much personality and character. It will make someone feel good to get a gift wrapped with so much care and thought put into it. Just be sure your wrapping doesn't outshine the gift! Ha ha! Just kidding. 

Well I have a lot more wrapping to get done in like ... 22 days ... so bye :)

xoxo
Brittnee