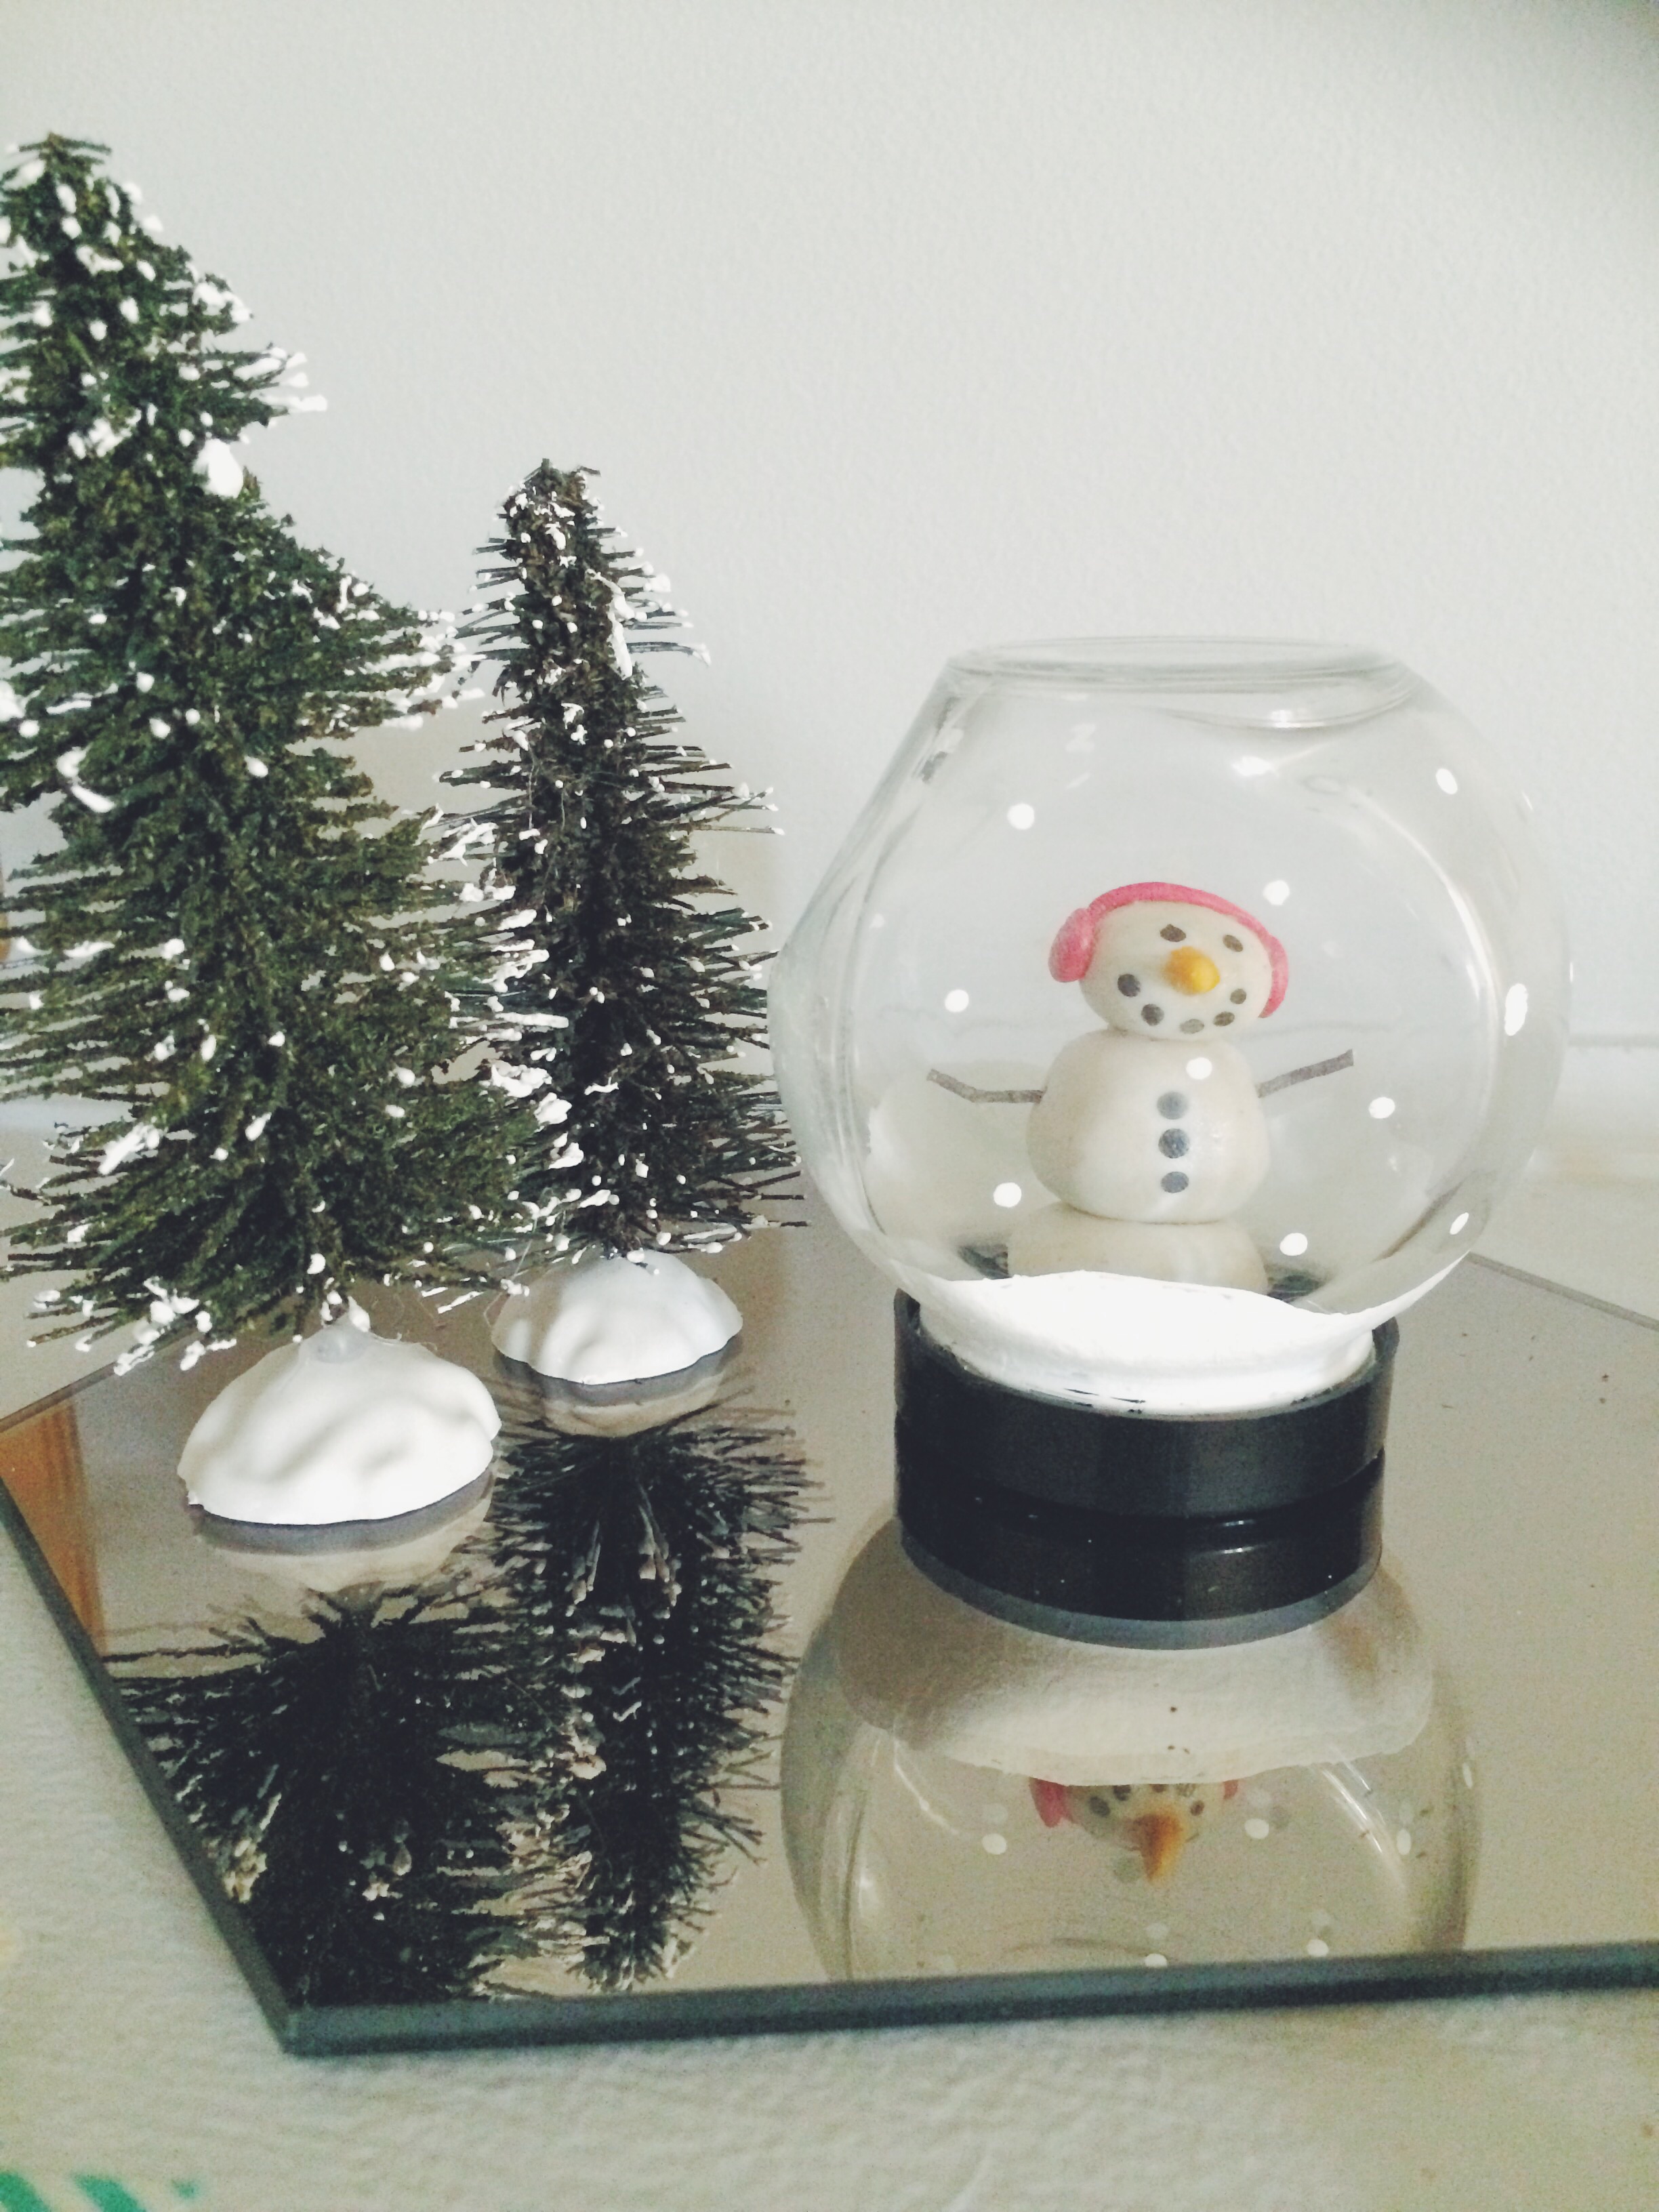
We made some pretty adorable winter snow globes. We have two tutorials today that you should try. They are pretty inexpensive, easy to make, and super fun! :)
Snowman Snow Globe
Here's what you'll need to get started:
- small spice jar
- clay
- black, white, yellow paint
- paint color of your choice (for the ear muffs)
- small twig
1. Paint the outside of your jar to look like a winter landscape.
2. Form the three layers of your snow man from your clay; big ball, medium ball, small ball with nose and ear muffs.
3. Put a tiny piece of clay between each layer of the snow man. This will help him stick. Then bake him in the oven at 350 degrees for 20-30 minutes. When done let cool for 10-15 minutes before moving on.
4. Paint your snow mans features and add his arms!
5. Glue your snow man with hot glue to the bottom of your lid.
6. Screw your jar unto your lid and place it where you want it. That's it! Now you have an adorable tiny snow globe.
Couple Snow Globe
Here's what you need:
- mason jar
- small decorative christmas tree
- 10-12 mini white pom-poms
- white thread
- small wooden people
- paint
1. Paint your wooden people to your liking. Sit them aside to dry when finished.
2. Thread pom-poms into your thread. We strung 2-3 pom-poms per piece of thread.
3. Tape the pom-pom strings to the inside of your jar lid.
4. Hot glue the tree and people into your jar.
5. Place your lid on the jar. And now you have a perfect winter scene!
Our snow globes aren't like regular one's, they don't have liquid. BUT they are still super cute and better because we were able to make them exactly how we wanted them. Our favorite part was that we got to use cool jars to make them. We really hope you guys try these, they are easy and you can personalize them to your style!
Happy Friday!
Britt + Sky


