DIY Pom Poms

Little pom poms can add so much personality to whatever you want to add them to. Plus they are so simple to make. Here's what you need:

  • yarn
  • scissors
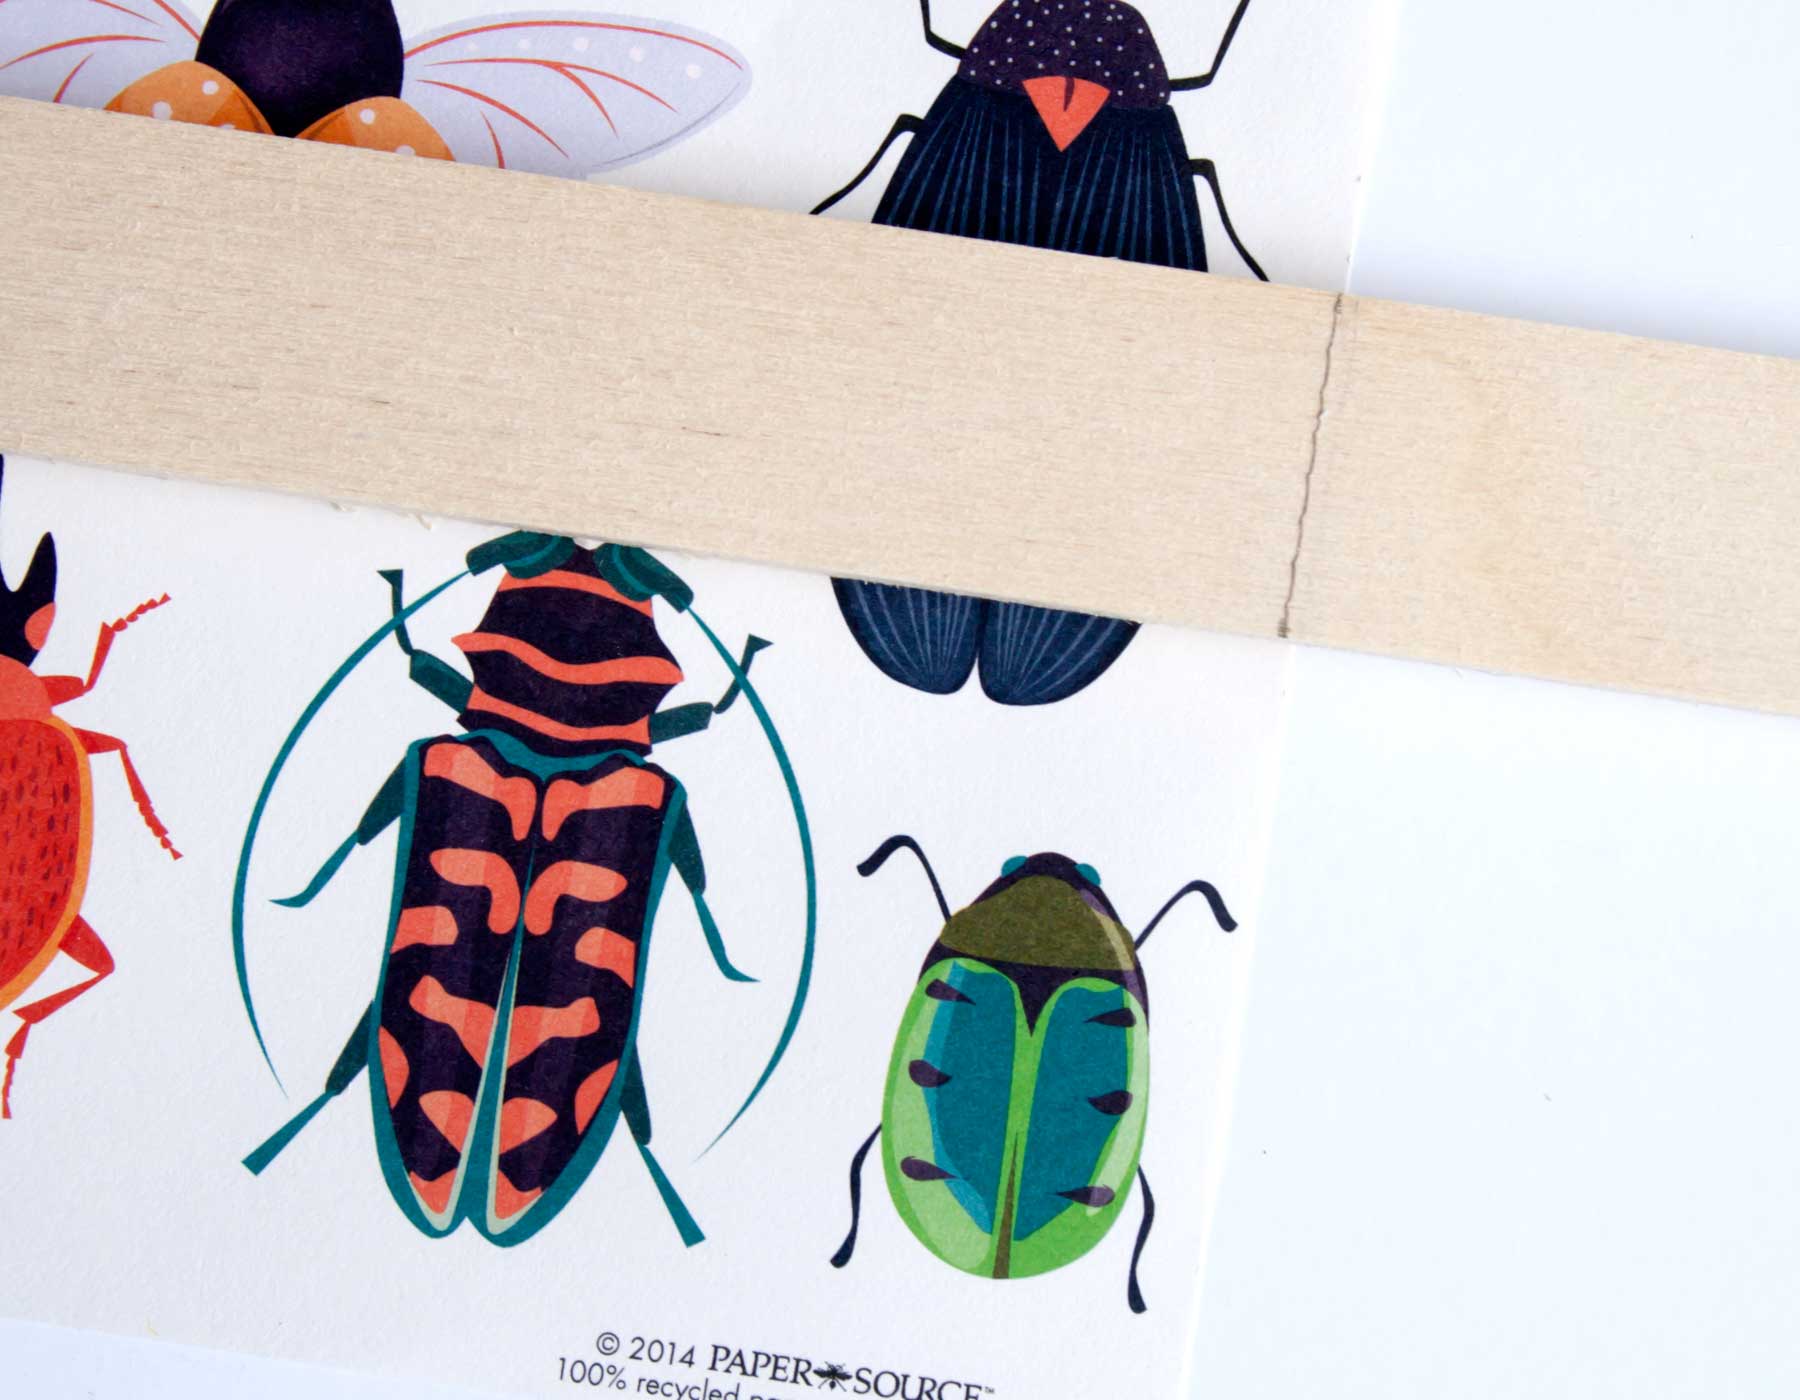
  • A flat object that has a width of the size of pom pom you want to make. We used a paint stick because we wanted our pom poms to be relatively small.
  • A partner (optional; we just found that its a little easier to have someone tie your yarn for you on certain parts)
My Only Sunshine || DIY Pom Poms

1. You will need one large piece of yarn and then a smaller piece to tie with. If you aren't sure how big you want your pom pom to be, don't cut your large piece of string, just pull it from your ball of yarn.

My Only Sunshine || DIY Pom Poms

2. Wrap the yarn around your object. We wrapped ours around the paint stick 25 times.

My Only Sunshine || DIY Pom Poms

3. Next, carefully remove the wrapped yarn from the object and lay it on your small piece you already cut. Make sure that the piece is in the center.

My Only Sunshine || DIY Pom Poms

4. Here is where a partner comes in handy. Double knot the small piece of yarn. Make sure you get it really tight or your pom pom will fall apart.

My Only Sunshine || DIY Pom Poms

5. Cut all of the loops on one side.

My Only Sunshine || DIY Pom Poms

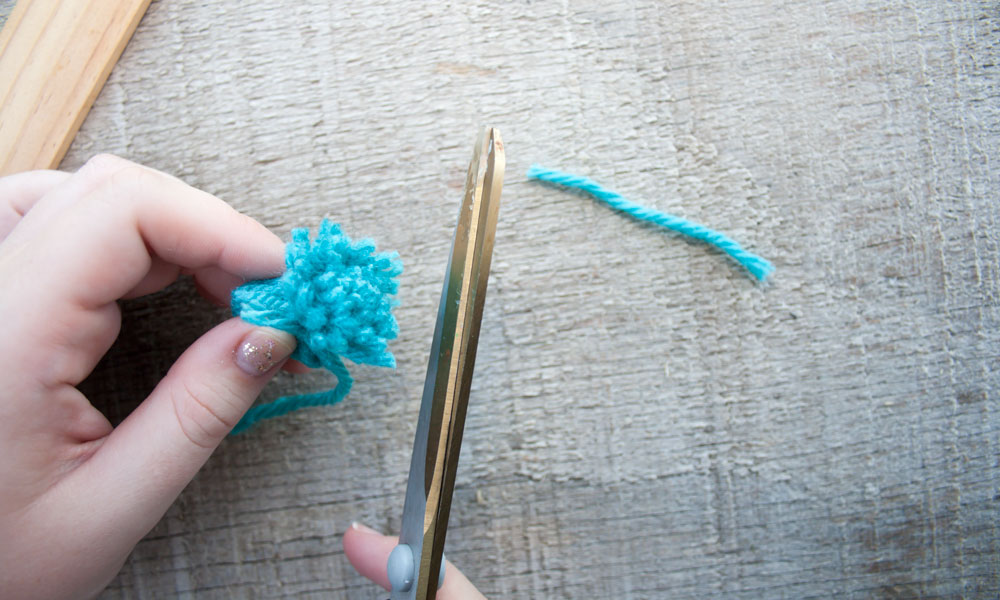
6. Do the same to the other side.

My Only Sunshine || DIY Pom Poms

Ta-da! You have an adorable little pom pom!


We have a really fun project that we will be using these for soon. Do you have anything that you could add them to? Tell us here in the comments section or show us on instagram, facebook, or twitter!

Happy Tuesday!!

Britt & Sky

Painted Placemats

I bought these placemats and thought it would be fun to decorate them. I decided to have a little fun and make the mats watermelon and donuts!

Watermelon and Donut Placemats || from myonlysunshineblog #placemats #diy #fruit #watermelon #donuts

Here's what you need:

  • Plain circle placemats. (however many you want or need)
  • Paint:
    • Donuts: tan, brown, black, pink, and blue.
    • Watermelons: green, pink, and black.

Here's what we did:

Watermelon:

  1. Paint a few inches around the edge of the placemat, as the rind. We used green paint.
  2. Use a large circle object to trace to make the inside of the watermelon.
  3. Paint the inside of the watermelon. We used dark pink.
  4. Add seeds in black.
  5. Lastly spray with clear coat to prevent the paint from coming off.
Watermelon and Donut Placemats || from myonlysunshineblog #placemats #diy #fruit #watermelon #donuts

Donuts:

  1. Paint a few inches around the edge of the placemat and the inner circle. We used tan paint.
  2. Paint the inner circle of your donut. We used black for this.
  3. Paint your icing. Making a curvy line around the outside edge and the inside edge of your donut.
  4. Add sprinkles. We used light pink and blue.
  5. Lastly spray with clear coat to prevent the paint from coming off.
Watermelon and Donut Placemats || from myonlysunshineblog #placemats #diy #fruit #watermelon #donuts

You could paint different foods on your mats or even use different shaped mats. These mats are cute, fun, and great for kids to use. xo Britt

Nursery Poster

If you couldn't already see, we LOVE making new things for Mr. Noah's nursery. Today we used one of Papersource's wrapping papers for a poster. They have so many great designs. The papers are great for cutting up and putting in frames or even just hanging up like we did in Noah's nursery. Or you could even use them as actual wrapping paper. :) Instead of just having the plain paper on the wall, we wanted to add trim on the bottom and top to make a sort of frame. I got this idea after watching a video (here) from thealisonshow.com, I love her blog. She has so many ideas.

DIY Nursery Poster || from myonlysunshineblog #blog #nursery #diy #poster #papersource

Supplies:

  • Poster
  • 1/4" trim
  • Paint
  • Hand saw
  • Pencil
DIY Nursery Poster || from myonlysunshineblog #blog #nursery #diy #poster #papersource

And here is how we put it together:

  • Cut your trim to the width of your poster. Line your trim up to the edge of your poster and mark it.
  • Then use a hand saw to cut your first piece.
  • Using the first piece as a guide, cut your second piece.
  • Paint the trim a color that matches the poster.
  • Hang your poster on the wall with double-sided tape.
  • Then using double-sided mounting tape, adhere your trim at the top and bottom of your poster.
DIY Nursery Poster || from myonlysunshineblog #blog #nursery #diy #poster #papersource

See how plain this looks before adding the trim.

DIY Nursery Poster || from myonlysunshineblog #blog #nursery #diy #poster #papersource

This poster really helped finish up Noah's nursery. Not only does it go with the nursery, Noah also enjoys looking at the colorful bugs. We are so happy with the paper, you can find it here. We also used several of their wrapping papers for Noah's gallery wall, here. You can use it in any room of the house if the paper you choose matches. You can also use things such as movie or book posters if you want, you would just have to adjust the size of your trim to fit whatever size poster you chose.

Happy Crafting!

Britt & Sky

DIY Back of Door Organizer

For Noah's nursery we decided it would be nice to have a place to hang his towels after bath time. We made this organizer so it could fit behind Noah's door, out of the way. This is a simple project that can be used in any room!

DIY Back of Door Organizer || from myonlysunshineblog #diy #organized #nursery

All you need is:

  • Peg Board
  • Wood Glue
  • 1/4" trim
  • Peg Board Hooks
  • Washi Tape
  • Command Strips
  • Hand Saw
DIY Back of Door Organizer || from myonlysunshineblog


This project only took us about an hour total, including the time it took the glue to dry. If you have a space that could use this organizer, all you need to do are these simple steps:

  1. Measure the back of your door.
  2. Cut peg board if needed.
  3. Cut trim to width of peg board.
  4. Use the wood glue to attach the trim to the top and bottom edges of the back of the peg board. Make sure to let the glue dry completely before moving to next step.
  5. I added washi tape to the top and bottom edges of the front of the peg board just to cover up the holes that had the trim behind them. Plus to give it a little color.
  6. Attach command strips to all four corners on the back side of the peg board.
  7. Attach to your door.
  8. Add the hooks to the peg board.
  9. Then just hang up your towels! (Or anything else you could use it for)
IMG_0208.jpg
DIY Back of Door Organizer || from myonlysunshineblog
IMG_0255.jpg

Noah's new organizer fits great behind his door. The washi tape helped make it tie into the colors in his room. Now we have a place we can put his towels to dry. Making this organizer was a fun and easy project that really came in use. Anyone can make this if they just follow our steps. We would love to see if any of you have any ways to add to our project. If you have any new ideas on how to decorate it or new uses for it just upload it and tag us on either instagram, twitter, or facebook.

Happy Monday! xoxo, Britt + Sky

DIY Nursery Closet Curtain

For Noah’s closet, I decided it would be more convenient to have a curtain in place of the door. Curtains are a great replacement for a door especially to free up space. When your little ones start running around, having one less door is a way to have less smashed fingers! Any curtain can work, we actually used a shower curtain for ours.

Raindrop curtain diy from Target shower curtain || by myonlysunshineblog #diy #nursery #target

Here's what I used:

  • shower curtain (from Target)
  • small extra piece of fabric
  • measuring tape
  • sewing machine
  • pins
Raindrop curtain diy from Target shower curtain || by myonlysunshineblog #diy #nursery #target

Here's what I did:

  1. I measured the width of Noah’s closet frame. I added a few inches to the width, to make sure that it would bunch up a little all the way across the doorway.
  2. I cut the curtain.
  3. After cutting it I measured and cut the small green piece of fabric.
  4. Next I hemmed the bottom and one side of the small green piece of fabric.
  5. I sewed the curtain and the green piece together and then hemmed cut edge. 
  6. Lastly, I hung Noah’s curtain with a shower rod and rings.
IMG_9241.jpg

The curtain really added a pop of color to the nursery. It also freed up the space the door would have taken up,  now there is more room for Noah's library and toys. I love the way the curtain ties in with the nursery's colors (And the adorable pillows I made. See below.). And I'm sure Noah will soon appreciate how many more toys and books we can put in his room!

Raindrop curtain diy from Target shower curtain || by myonlysunshineblog #diy #nursery #target

Adding a color block to the bottom of this curtain was a quick and simple sewing project. You can make it the length and style you choose. This project was simple but made a big difference in  nursery (tour it here). If you try this, we would love to see how your's turns out or even different ways you interpreted it. But don't forget to tag us on instagram and twitter. xo, Britt