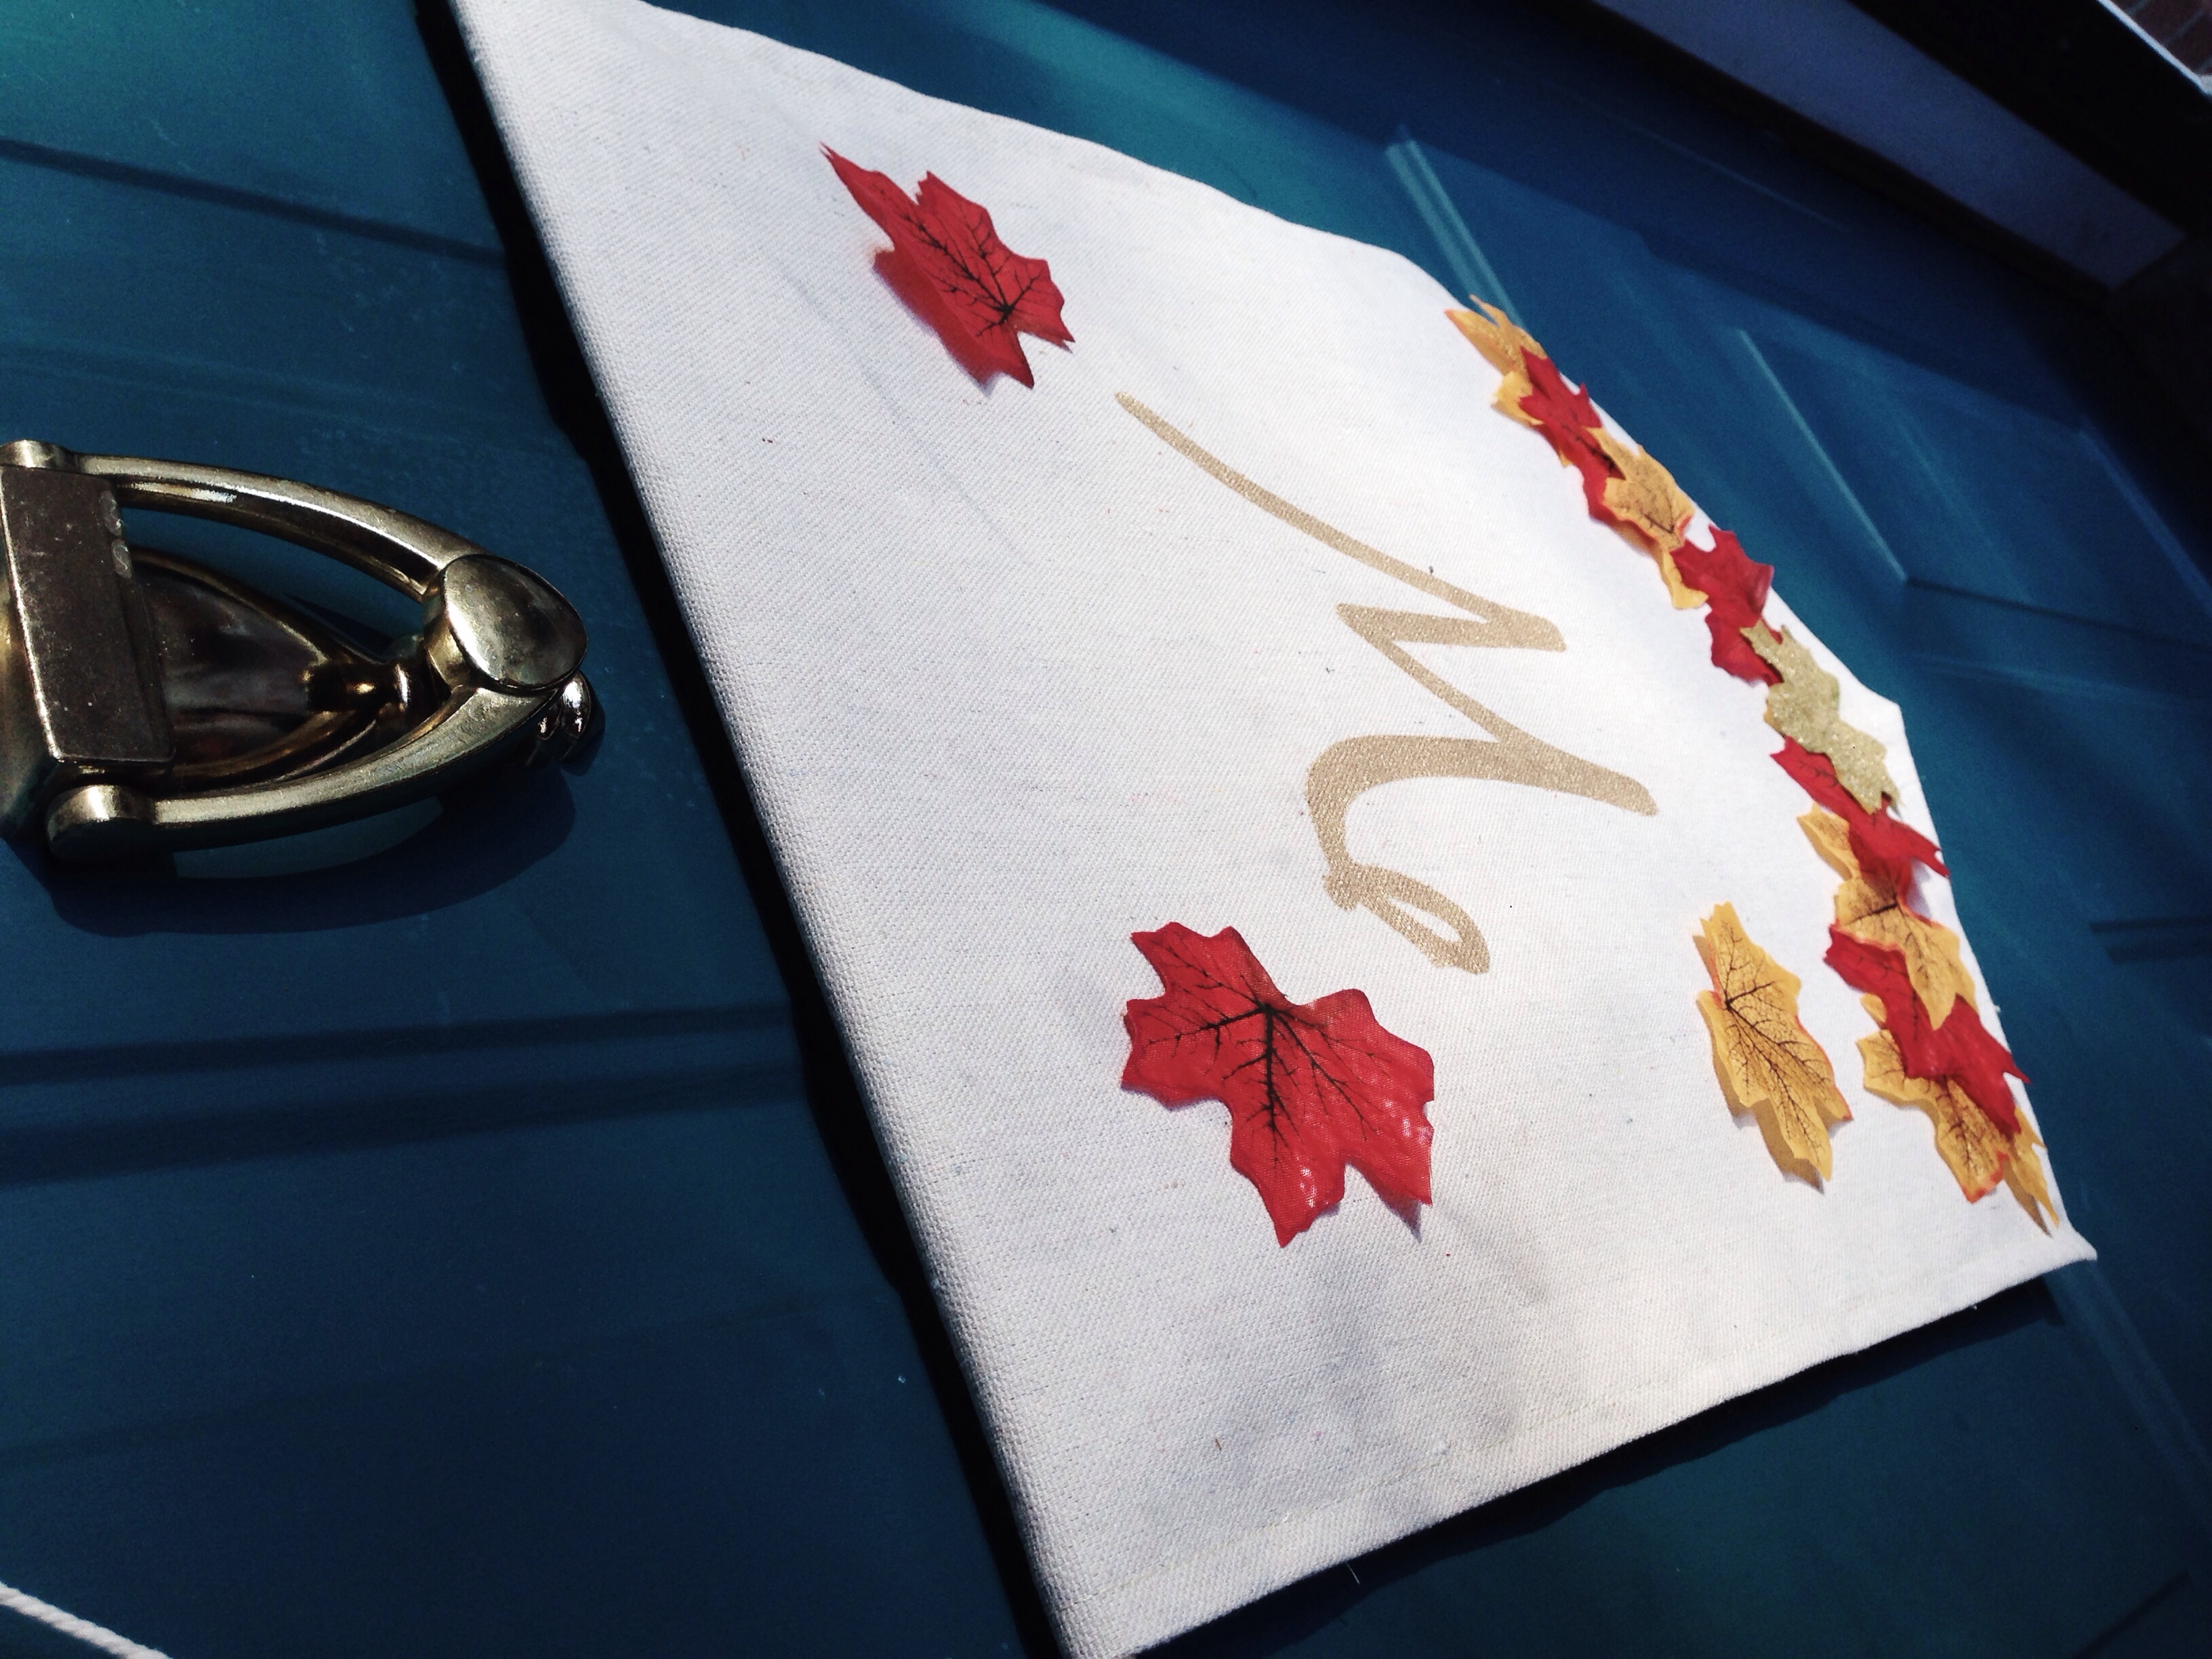
DIY Fall Door Hanger

It's fun to have a door hanger for each of the changing seasons. So of course we needed to make a fall hanger. What says fall more than leaves and gold? :) Not much. 

Fall Door Hanger (click through for tutorial)

Here's what you need: 

  • canvas or other sturdy fabric
  • fabric paint
  • hot glue gun
  • leaves
  • glitter  
  • glue stick
  • dowel rod
  • string

Here's what we did: 

1. We had already gotten our leaves ready for this when we made our DIY Fall Garland

2. We started the hanger by cutting our canvas fabric into a rectangle.  

3. Next we folded the bottom two corners in to meet each other. Making a point at the bottom. 

Fall Door Hanger (click through for tutorial)

4. Then we sewed around to hem all of the edges. 

5. Next we folded the top down about 2 inches and sewed all the way across.

6. We then inserted the dowel rod and tied on our string to both ends. 

Fall Door Hanger (click through for tutorial)

7. Once that was done, we printed out a "W." Carefully cutting out the letter and using the remainder as a template. And then using gold paint, we traced and filled in the letter. 

8. Lastly we hot glued the leaves along the bottom and then glued a few randomly about. 

Fall Door Hanger (click through for tutorial)

And that's it! We have a super cute door hanger that is perfect for fall! We hope you love it!

Happy Monday y'all! 

xoxo

Britt + Sky

DIY Nursery Closet Curtain

For Noah’s closet, I decided it would be more convenient to have a curtain in place of the door. Curtains are a great replacement for a door especially to free up space. When your little ones start running around, having one less door is a way to have less smashed fingers! Any curtain can work, we actually used a shower curtain for ours.

Raindrop curtain diy from Target shower curtain || by myonlysunshineblog #diy #nursery #target

Here's what I used:

  • shower curtain (from Target)
  • small extra piece of fabric
  • measuring tape
  • sewing machine
  • pins
Raindrop curtain diy from Target shower curtain || by myonlysunshineblog #diy #nursery #target

Here's what I did:

  1. I measured the width of Noah’s closet frame. I added a few inches to the width, to make sure that it would bunch up a little all the way across the doorway.
  2. I cut the curtain.
  3. After cutting it I measured and cut the small green piece of fabric.
  4. Next I hemmed the bottom and one side of the small green piece of fabric.
  5. I sewed the curtain and the green piece together and then hemmed cut edge. 
  6. Lastly, I hung Noah’s curtain with a shower rod and rings.
IMG_9241.jpg

The curtain really added a pop of color to the nursery. It also freed up the space the door would have taken up,  now there is more room for Noah's library and toys. I love the way the curtain ties in with the nursery's colors (And the adorable pillows I made. See below.). And I'm sure Noah will soon appreciate how many more toys and books we can put in his room!

Raindrop curtain diy from Target shower curtain || by myonlysunshineblog #diy #nursery #target

Adding a color block to the bottom of this curtain was a quick and simple sewing project. You can make it the length and style you choose. This project was simple but made a big difference in  nursery (tour it here). If you try this, we would love to see how your's turns out or even different ways you interpreted it. But don't forget to tag us on instagram and twitter. xo, Britt