Naked Birthday Cakes + DIY Toppers

My basic goals in mind for Noah's birthday cakes were cute and simple. I managed to pull that off for his single cake and the guest cake.  

Naked Birthday Cakes + DIY Toppers (click through for details)

The guest cake was so simple. I used two boxed cake mixes to bake 4 round cakes in 8x8 pans. Then I cut the tops off to make all of the layers flat. Using a spatula, I put a decent layer of icing in between the layers.  

For the topper, I purchased a set of cardboard letters at the craft store. I could have easily made the letters myself but chose to purchase them and put that time towards something else. I painted the letters gold and then using rubber cement, glued on the gold glitter. With kabob sticks pushed through the corrugated sections of the cardboard I stuck the letters on the cake. You may need to trim your kabob sticks depending on the height of your cake. 

Naked Birthday Cakes + DIY Toppers (click through for details)

For Noah's cake I actually used a large tomato juice can to bake it in. (Right after I cut myself on it while washing it of course) I had never done it before but I just greased the can really well and decided to go for it. 

I filled the can about half way with cake batter and placed it in the oven. I kept thinking I was going to burn it because it had to cook longer than normal. But it never did. I used a kabob stick to test it to see if it was done. Once it was done I let it cool in the can for a bit and then took it out of the can to finish cooling. 

After it had cooled, I cut of the top to make it even and then cut it into four layers. I then used a decent amount of icing in between the layers.  

For Noah's topper, I bought a number 1 candle at the dollar store. Using the same technique as the letters, I painted it gold and added our signature gold glitter. 

Naked Birthday Cakes + DIY Toppers (click through for details)

These cakes were both super simple but I really love the way they turned out! I hope you love them too!  xo, Britt

DIY Fall Door Hanger

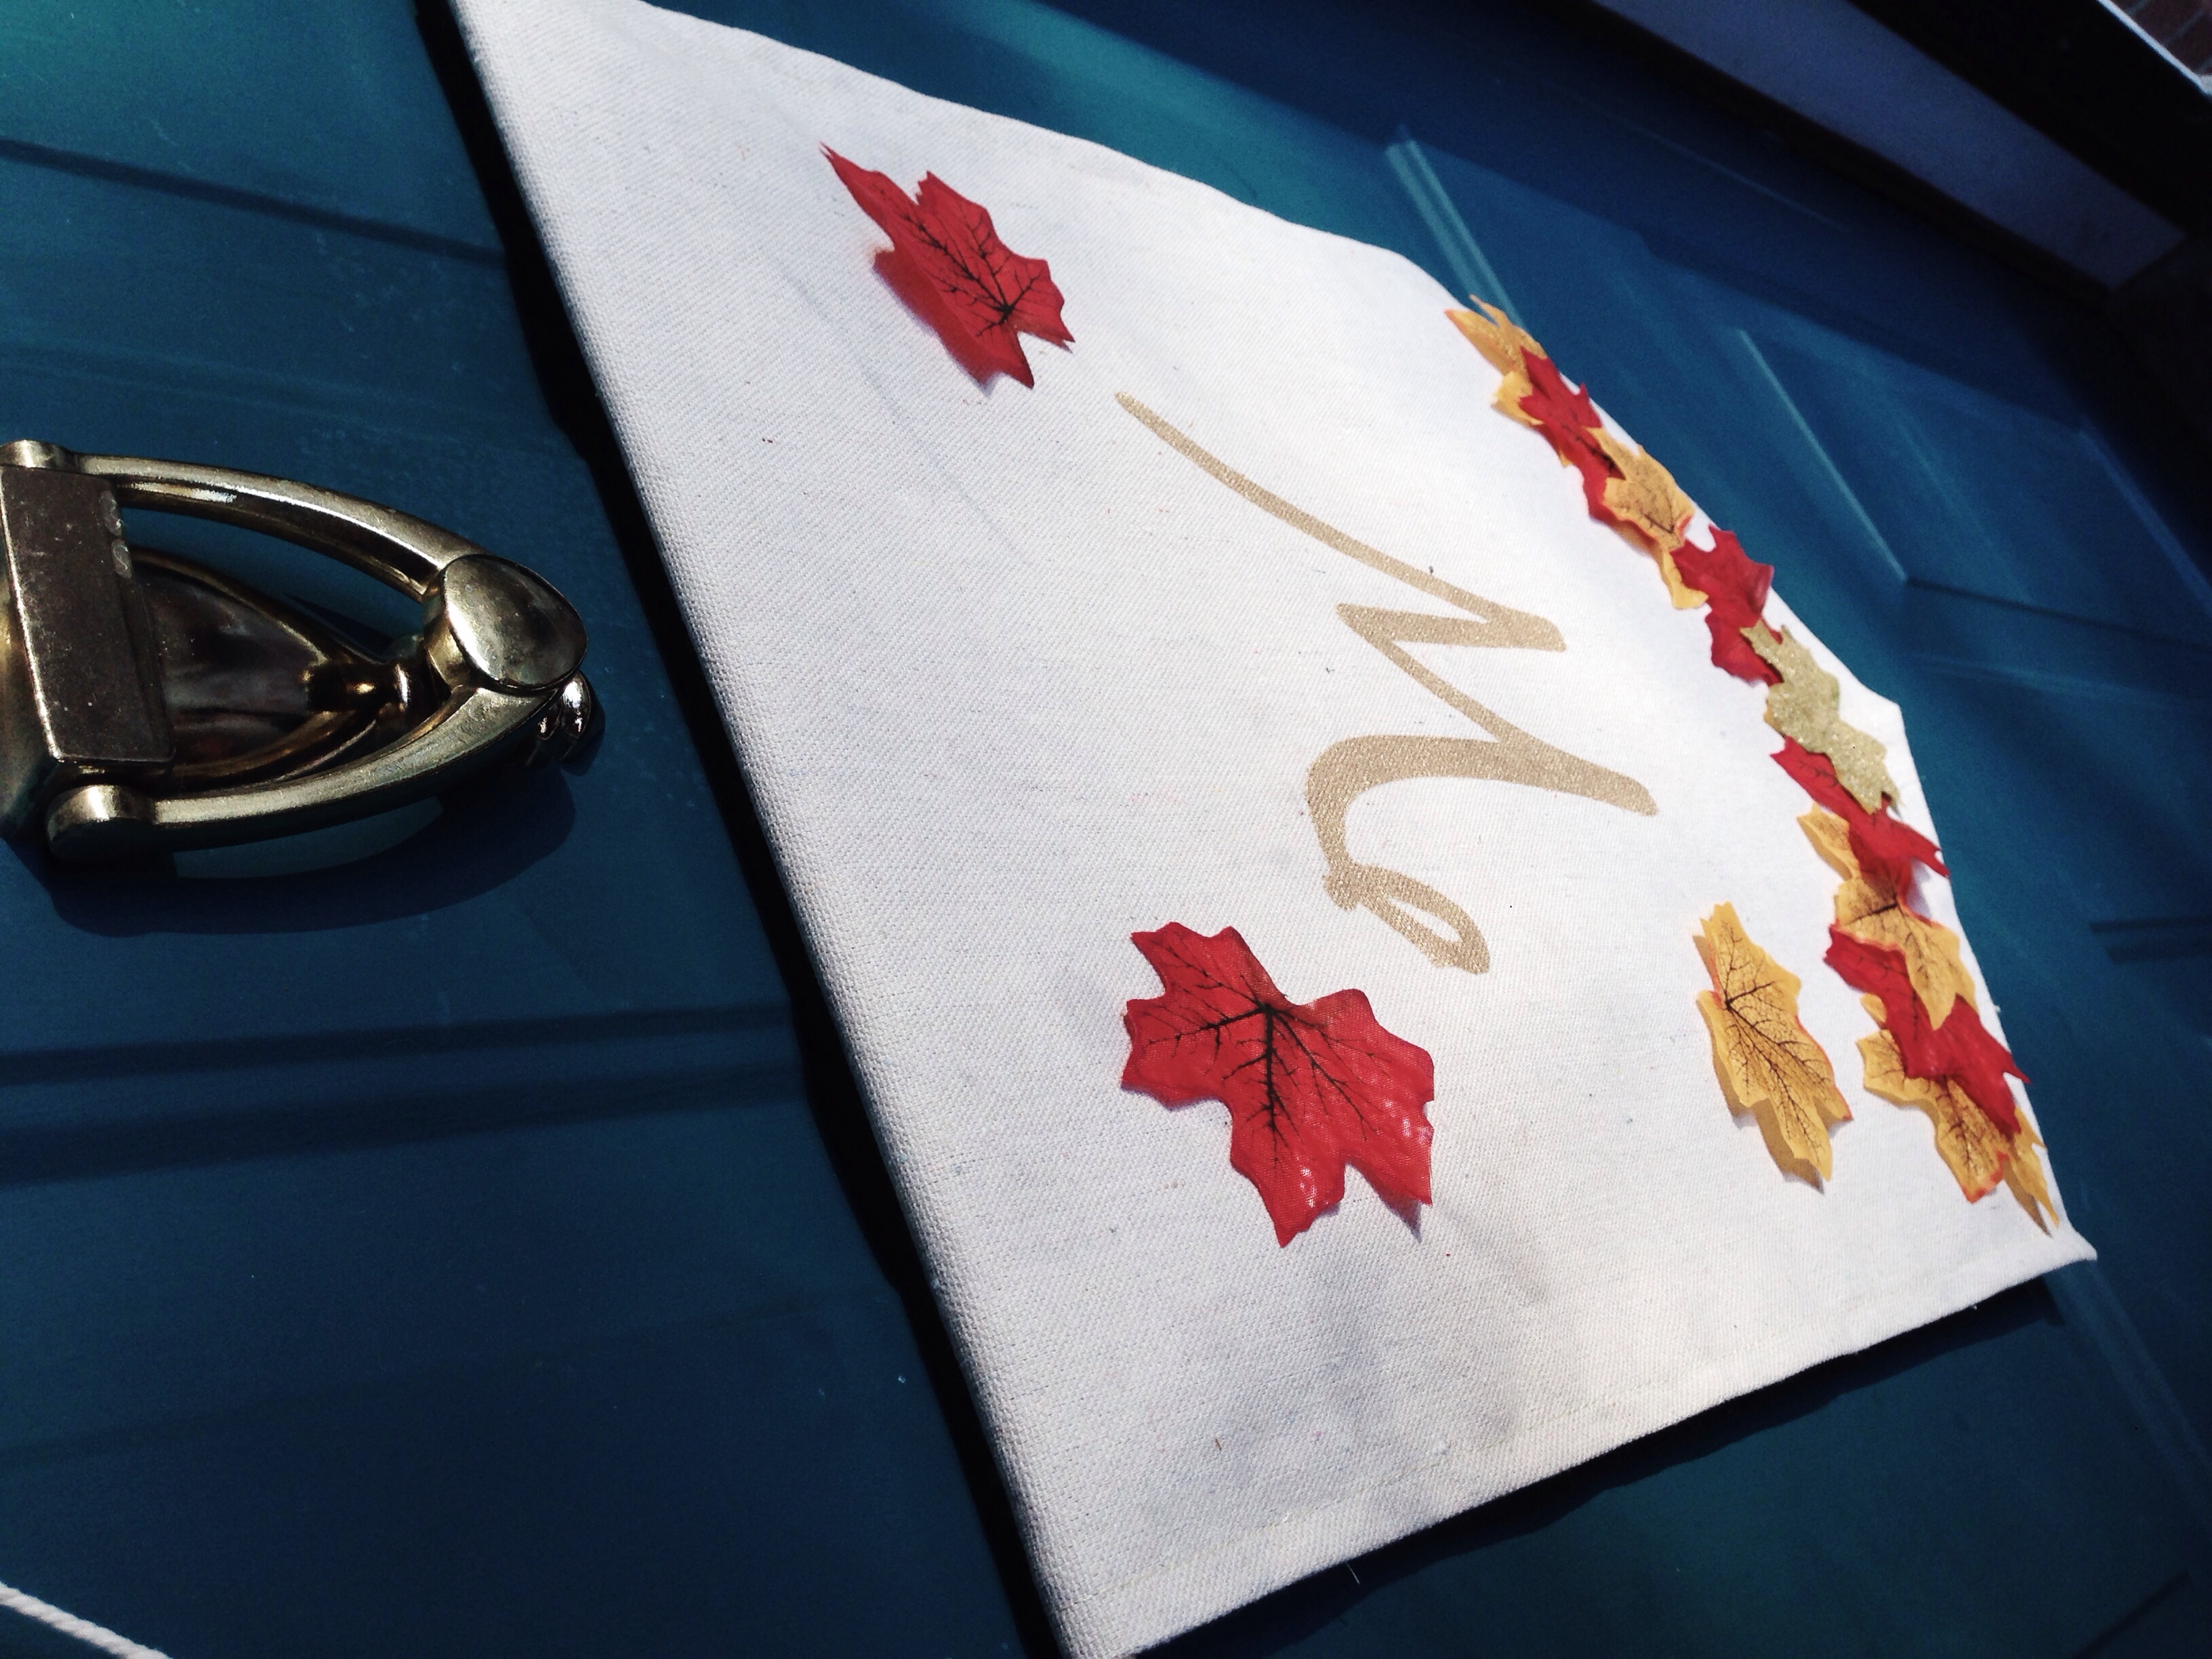
It's fun to have a door hanger for each of the changing seasons. So of course we needed to make a fall hanger. What says fall more than leaves and gold? :) Not much. 

Fall Door Hanger (click through for tutorial)

Here's what you need: 

  • canvas or other sturdy fabric
  • fabric paint
  • hot glue gun
  • leaves
  • glitter  
  • glue stick
  • dowel rod
  • string

Here's what we did: 

1. We had already gotten our leaves ready for this when we made our DIY Fall Garland

2. We started the hanger by cutting our canvas fabric into a rectangle.  

3. Next we folded the bottom two corners in to meet each other. Making a point at the bottom. 

Fall Door Hanger (click through for tutorial)

4. Then we sewed around to hem all of the edges. 

5. Next we folded the top down about 2 inches and sewed all the way across.

6. We then inserted the dowel rod and tied on our string to both ends. 

Fall Door Hanger (click through for tutorial)

7. Once that was done, we printed out a "W." Carefully cutting out the letter and using the remainder as a template. And then using gold paint, we traced and filled in the letter. 

8. Lastly we hot glued the leaves along the bottom and then glued a few randomly about. 

Fall Door Hanger (click through for tutorial)

And that's it! We have a super cute door hanger that is perfect for fall! We hope you love it!

Happy Monday y'all! 

xoxo

Britt + Sky

Carving + Decorating Pumpkins

As you know we had a fun pumpkin patch adventure last week, where we may or may not have gone a little overboard with pumpkin purchases. :) That’s besides the point. We had a lot of plans for how we wanted to decorate all of them or at least try to. So for today we have a few awesome ideas of how to decorate your pumpkins! Plus we just want to show off all of ours :)

Carving + Decorating Pumpkins. Click through for details.

1. Holey Pumpkin

Using a drill gun and a few different drill bits you can create a similar look.

Carving + Decorating Pumpkins. Click through for details.

2. Dripping Pumpkin

Just squeeze paint our on the very top of the pumpkin and let it run down the sides. Using a paint brush cover the stem.

Carving + Decorating Pumpkins. Click through for details.

3. Creepy-Crawly Pumpkin

Paint your pumpkin white. Using a hot glue gun, glue on your insects.

Carving + Decorating Pumpkins. Click through for details.

4. Love Pumpkin

Cut of the top of your pumpkin and take out the guts. Using a carving tool, carve out a heart shape, cutting in pretty deep but not all the way through side of the pumpkin.

Carving + Decorating Pumpkins. Click through for details.

5. Extra Love Pumpkin

Follow the same steps as in number 4. But then using thumb tacks, outline the heart shape.

Carving + Decorating Pumpkins. Click through for details.

6. Messy Pumpkin

Put a small amount of paint on the top of your pumpkin. Using a paint brush, cover the stem and then randomly brush the paint down the side. Its nice to see the messy brush texture.

image.jpg

7. Glitter Pumpkin

Print out a letter, like your initial. Carefully cut out the letter with an x-acto knife. Using the the rest of the paper, trace the letter with a marker. Cover the letter with glue. Then with glitter!

Carving + Decorating Pumpkins. Click through for details.

8. Squirrely Pumpkin

Cut open the top of your pumpkin and remove the guts. Use a cookie cutter to make a fun shape.

Carving + Decorating Pumpkins. Click through for details.

9. Mini Mr. Jack O' Lantern

Just your normal Jack O' Lantern face on a tiny little pumpkin. It's so cute.

Carving + Decorating Pumpkins. Click through for details.

10. My Only Sunshine Pumpkin

Cut of the top of your pumpkin and take out the guts. Print out the design that you want to use. Carefully cut out the design with an x-acto knife. Use the remainder as a template to trace your design with. Using a carving tool, carve out your design, cutting in pretty deep but not all the way through side of the pumpkin.

Carving + Decorating Pumpkins. Click through for details.

We want to see your pumpkins!! Be sure to follow and tag us on Instagram, Twitter, or Facebook!!

xoxo

Britt + Sky


DIY Fall Garland

Over here at My Only Sunshine, we are fully engulfed in fall! We have a few weeks of some really fun fall DIYs, recipes, and other projects planned for y'all!! :) To get you on the spirit, here is a photo of slobbery Noah with his little pumpkin. 

image.jpg

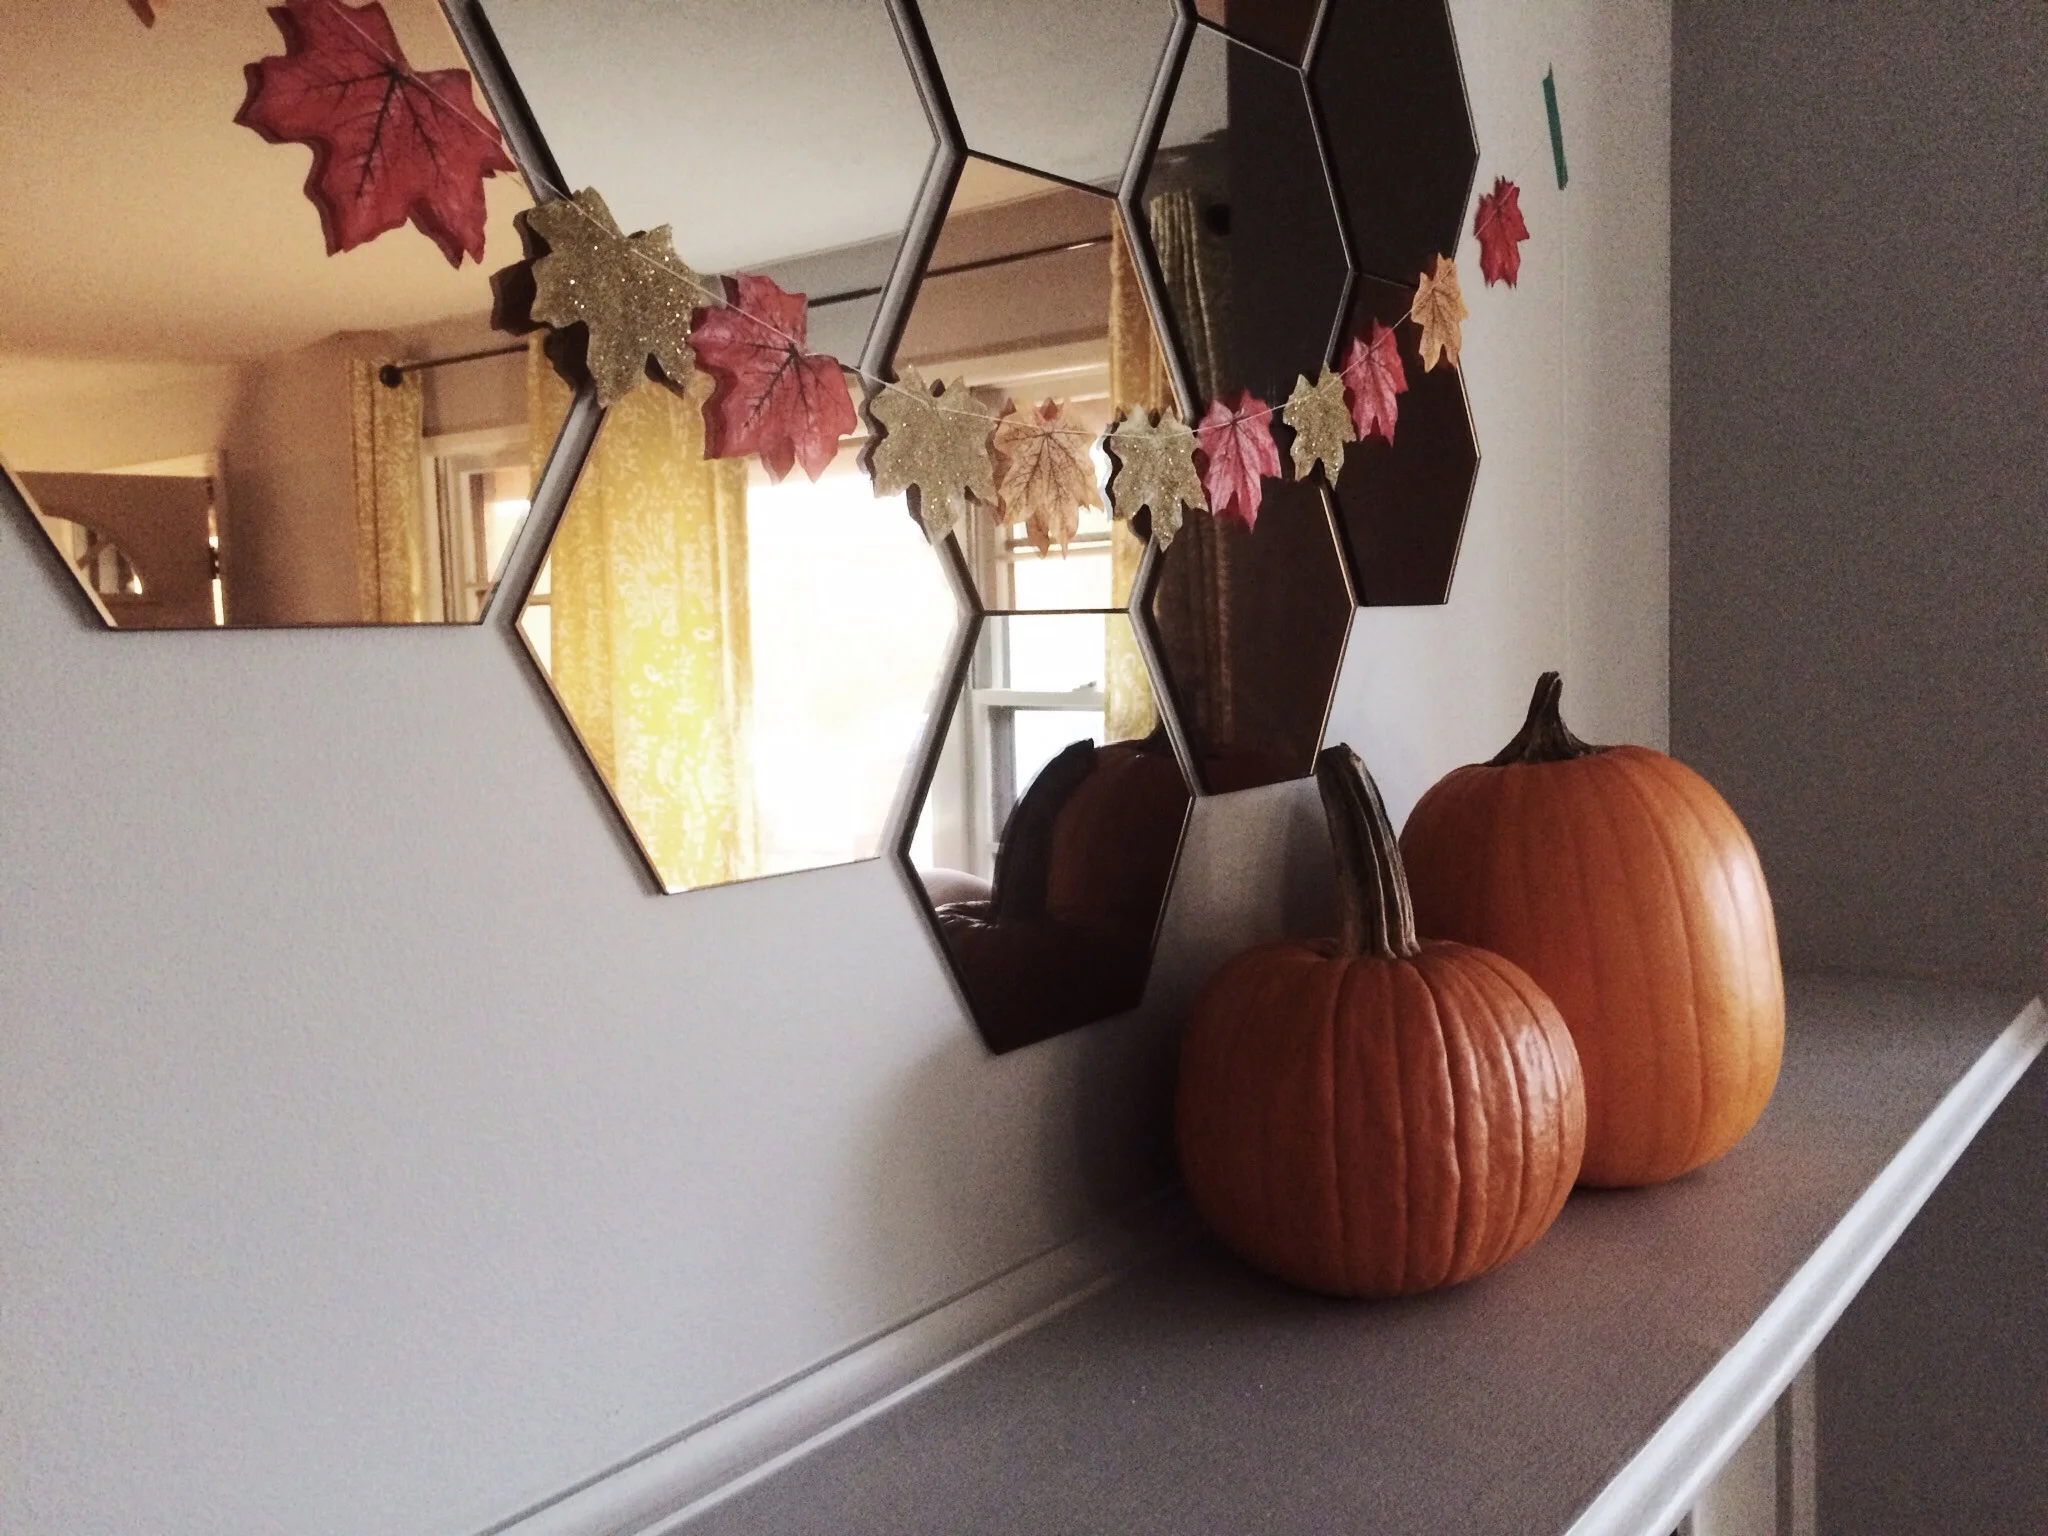
To kick-off our fall festivities, we have a DIY fall garland. It's super simple and doesn't take very long at all, but it looks awesome. 

DIY Fall Garland. Click through for tutorial.

Here's what you need: 

  • fall leaves (we got ours at the dollar tree) 
  • glue
  • glitter (we found ours at IKEA of all places)
  • needle
  • thread
  • washi tape


Here's what we did: 

1. We chose several leaves to coat with glue and sprinkle with glitter. 

DIY Fall Garland. Click through for tutorial.

2. Once those leaves dried, we die coded how many total leaves we wanted and came up with a pattern.  

3. Next we used a needle and thread to string up all of our leaves.  

DIY Fall Garland. Click through for tutorial.

4. Lastly we used washi tape to hang up our garland and we slid the leaves around to space them how we liked them.  

image.jpg
DIY Fall Garland. Click through for tutorial.

Ta-da! You have a very pretty and fun fall garland! :) We hope you love it!! Have a great week loves. 

xoxo ​

Britt + Sky​