DIY Artificial Succulent + Dino Terrarium

Plants are kinda my thing. My house used to be where plants came do die, but I have come a long way and have been really working on my green thumb. You will find live plants in most rooms of my house, however, I am still a fan of an artificial plant every now and then. I especially love fake succulents. They are so adorable. 

DIY Artificial Succulent + Dino Terrarium

Supplies:

  • terrarium
  • pebbles
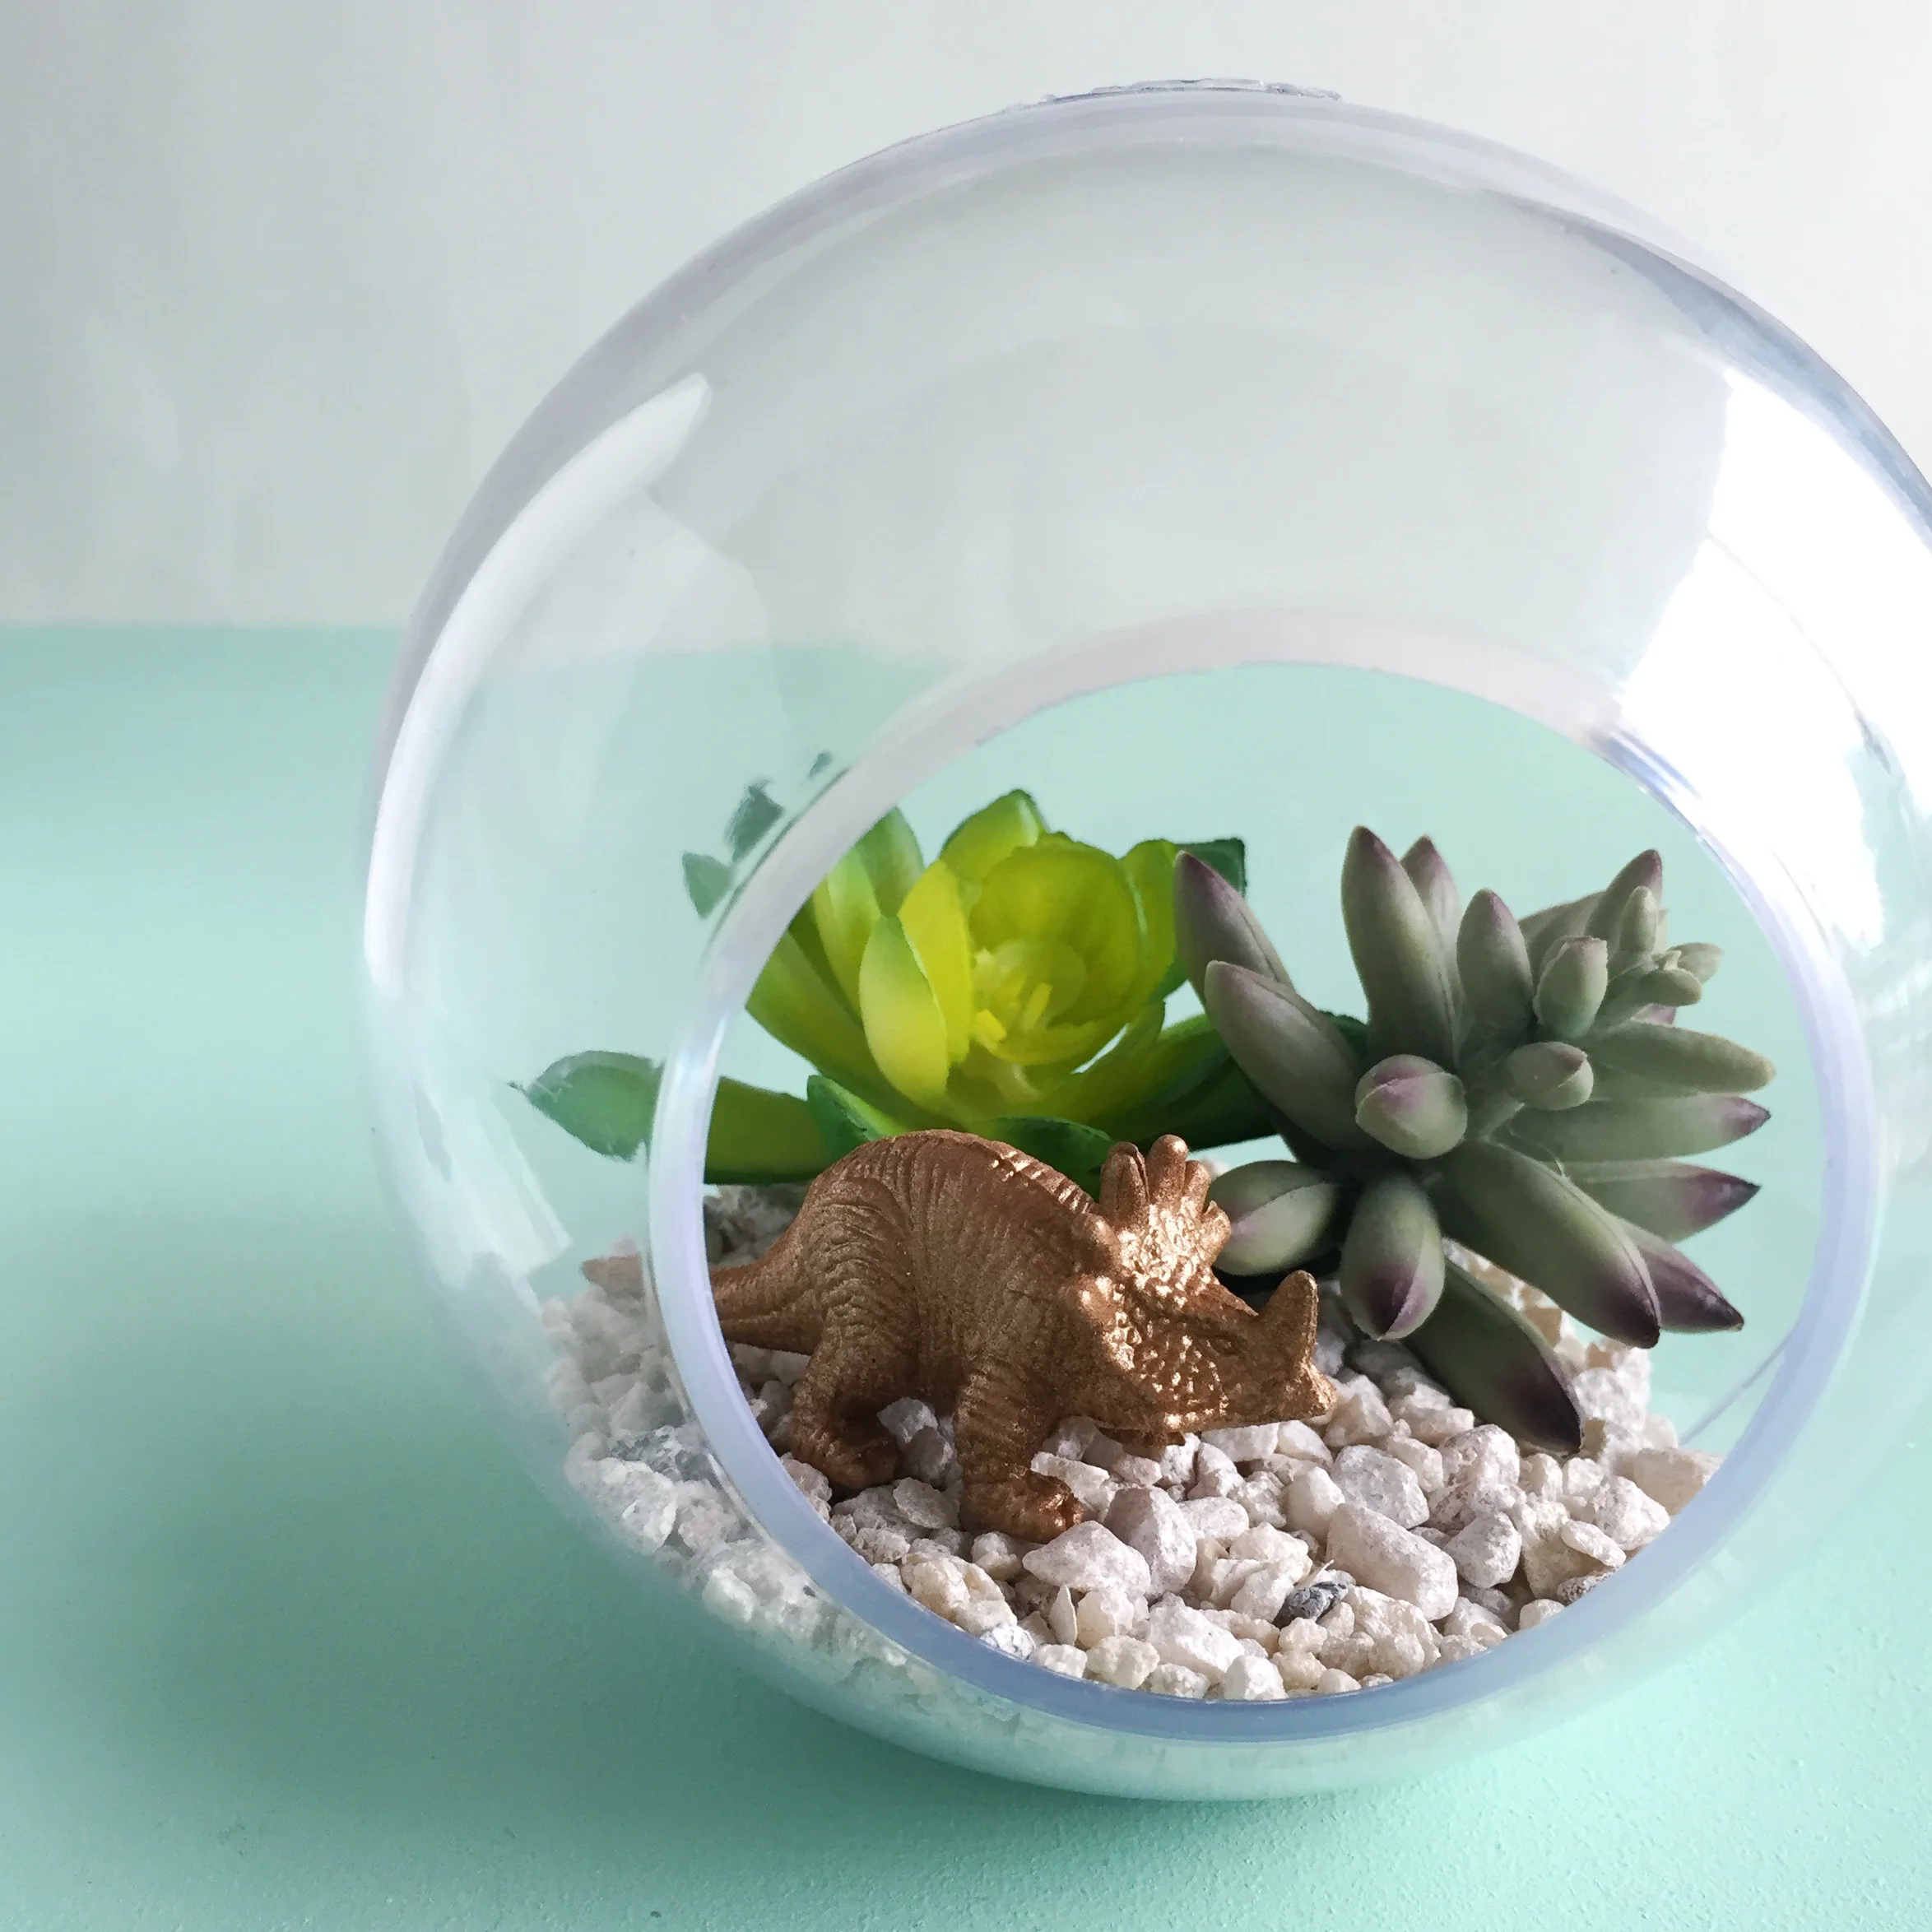
  • artificial succulents
  • dino figurine
DIY Artificial Succulent + Dino Terrarium

1. Get your terrarium.

2. Put in your pebbles.

3. Place in your succulents. 

4. Add your figurine + ta-da!

I made this particular terrarium for my little sis, but now that I have it done, I want one for myself! I think I will be making a lot more of these. What little figurine would you put inside your terrarium? xo Britt

DIY Artificial Succulent + Dino Terrarium

Tour: Sophie's Nursery

So Sophie's nursery ... when she was first born, Skylar still lived with us and stayed in our second bedroom, and Sophie lived in our room. When Skylar moved out in December to head off to school (let's not talk about it, it's still a sensitive subject) we moved Sophie to her own room. I was so excited to decorate, I finished her room in about 2 days. There were a few things that I still needed to figure out, but for the most part it was done. 

After dragging my feet about posting until it was absolutely perfect (I have issues, but we can discuss that another day) I decided it was time. Plus my friend Danielle wouldn't stop bugging me about it! hahaha :) So I am so pumped to finally be sharing this with you all today!

Tour: Sophie's Nursery | my only sunshine

There are so many things about her room that I absolutely love! Be sure to comment with your favorites! xo, Britt

Tour: Sophie's Nursery | my only sunshine

Clock DIY - IKEA Hack

I have been wanting to share my new gallery wall for a while now. But there was something missing. And I finally got it finished. I really wanted to find a cute clock to complete my wall. 

image.jpg

Being the bargain hunter that I am. I decided to go with this $1.99 clock from IKEA.

image.jpg

I knew that it was going to need some work to be ready for my wall, but I was up for the challenge.
Here is what you need to complete the clock:

- clock
- spray paint
- card stock or chipboard
- glue

image.jpg

Here's what I did:

1. I took the plastic cover off the front of the clock and taped off the hands.

2. Then Jake spray painted the entire thing white for me.

3. Using the plastic cover, I traced a circle on chipboard.

image.jpg

4. Next I cut the circle in half and made a small notch for the hands with a hole punch.

5. Lastly I taped the chipboard evenly in the clock.

I like the fact that it is super clean and simple. And a fun part is that you can customize this with any color to fit your room. You can also add numbers or ticks if that would help you know what time it is. :) To accomplish the look that I was aiming for I decided to leave the numbers off.

Happy Thursday lovelies! xo, Britt

DIY Money Jar

Today I have a quick and easy way for you to make a money jar for your loose change. The best part is it's also adorable! Here's what you're going to need to get started:

  • A mason jar 
  • Canning lid
  • Fabric
  • Sharpie
  • Scissors
  • Glue (I used rubber cement)
Money Jar. Click through for instructions.

1. With your sharpie, trace the outer edge of the canning lid onto the back of your fabric. (I used a lighter colored sharpie because I didn't want it to show through the fabric.)

Money Jar. Click through for instructions.

2. Cut out the circle, but don't worry about getting it perfect! The edges won't show anyway.

Money Jar. Click through for instructions.

3. Fold your circle in half. In the middle of the flat edge, cut a slit about 1/2 an inch deep. 

Money Jar. Click through for instructions.

4. Put a thin layer of glue around the rim of the jar. Lay your fabric circle upside down on a flat surface. Place the jar upside down, evenly on the fabric. (Make sure the fabric is stretched tight over the opening before the glue dries.)

Money Jar. Click through for instructions.

5. Put the canning lid (minus the middle piece) back on the jar.

Money Jar. Click through for instructions.

6. Then all you have to do is add money and sit it somewhere for decoration.

Money Jar. Click through for instructions.

It's cute enough to leave sitting out, so everyone can contribute! It could be for a family trip, a big family purchase, etc. It's not hard at all and only took about ten minutes! You should try it. And personalize it to your style.

xo, Sky

Fun DIY Throw Pillows

Throw pillows are a fun and easy way to add personality to a room. I felt like our couch was really missing something so I decided to make two really cute and simple pillows to add some color and fun texture.

Here is what you'll need:

*These covers can be washed, but I would recommend turning them inside out and washing on a cold and gentle cycle. Then hang to dry.

image.jpg

For the "hello" throw pillow:

Print 1 copy of the hello PDF on iron transfer paper, then carefully cut around the word. Leaving about a 1/8” border around it.

Place the your word in the center and face down on the pillow cover. Set your iron to the highest setting without steam. Iron the word for about 60 seconds. Make sure to pay special attention to the edges.

Once the pillow cover is completely cooled, carefully peel the backing off.

Stuff your pillow cover with an insert and you are good to go!

To add a little extra fun to your pillow, use your yarn to make a pom pom for each corner of the pillow. (see easy tutorial here) Attach the pom poms using needle and thread.

image.jpg
image.jpg

For the triangle throw pillow:

Print 1 copy of the triangle PDF on iron transfer paper, then carefully cut out as many triangles as you want to use. I cut all of them out but then eliminated some as I placed them into the pattern that I wanted.

Place the triangles any way you'd like face down on the pillow cover. Set your iron to the highest setting without steam. Iron the word for about 60 seconds. Make sure to pay special attention to the edges!!

Once the pillow cover is completely cooled, carefully peel the backing off.

Stuff your pillow cover with an insert and you are good to go!

To add a little extra fun to your pillow, use a decorative trim on the edges. I found this fun trim and added it to the top and bottom edges of the pillow using a hot glue gun.

image.jpg

These pillows add so much life to the couch and the whole living room! I love the way they turned out! xo, Britt