Red, White, and Blue Planter + Plant Flags

I am so happy to be part of Sugar Bee Crafts Red, White and Blue series again this year! You can find out more about the series here. Be sure to check out her blog daily in June to find all of the crafts and recipes of the series. 

Red, White, and Blue Planter + Plant Flags | My Only Sunshine

There is just something about all things red, white, and blue that let you know it's summer. And I am always down for a fun diy to incorporate all the red, white, and blue into my life. This is such a simple and totally adorable way to do so. 

Red, White, and Blue Planter + Plant Flags | My Only Sunshine

Supplies for the patriotic planter:

  • white planter
  • scissors
  • ruler
  • red ribbon
  • blue ribbon
  • glue
  • cute plant 
  • dirt
  • small pebbles (optional)

Supplies for the plant tags:

  • wire
  • ribbon
  • letter beads
  • glue
Red, White, and Blue Planter + Plant Flags | My Only Sunshine

I realized that I had some fun red pom pom and blue glitter ribbon left over from a previous project and I decided it was too cute not to use it all up. I measured my planter to see how large I wanted to make the flag for the front. I then cut the blue glitter ribbon and created a rectangle that I thought was large enough for my flag. Using the red pom pom ribbon, I made four strips to make the rest of the flag. I made mine too big at first, and had to readjusts the length of my red ribbon to make it fit how I wanted on the planter.

Red, White, and Blue Planter + Plant Flags | My Only Sunshine

Using glue, I attached the ribbon to my planter. 

Then I put in my dirt and succulent. After planting my succulents, I love adding little pebbles. I feel like it makes the plant look so much nicer, but it is totally optional. I already had black pebbles so I used those, but it would be fun to use red or white or blue!

Red, White, and Blue Planter + Plant Flags | My Only Sunshine

It already looked cute, but I decided that it needed a little more patriotism :). So I cut a couple pieces of ribbon to look like flags. (You will want to base the size of your plant flags on the size of planter you choose.) I took my letter beads and spelled out "USA❤️" and "FREE," and glued them onto the flags. Next I glued them on to small pieces of wire and they were good to go. 

Red, White, and Blue Planter + Plant Flags | My Only Sunshine

I love how cute this project turned out, even though it is so simple! I hope you loved this diy and I hope that you check out the rest of this months series over on Sugar Bee Crafts blog.
xo  Britt

DIY Artificial Succulent + Dino Terrarium

Plants are kinda my thing. My house used to be where plants came do die, but I have come a long way and have been really working on my green thumb. You will find live plants in most rooms of my house, however, I am still a fan of an artificial plant every now and then. I especially love fake succulents. They are so adorable. 

DIY Artificial Succulent + Dino Terrarium

Supplies:

  • terrarium
  • pebbles
  • artificial succulents
  • dino figurine
DIY Artificial Succulent + Dino Terrarium

1. Get your terrarium.

2. Put in your pebbles.

3. Place in your succulents. 

4. Add your figurine + ta-da!

I made this particular terrarium for my little sis, but now that I have it done, I want one for myself! I think I will be making a lot more of these. What little figurine would you put inside your terrarium? xo Britt

DIY Artificial Succulent + Dino Terrarium

DIY Fourth of July Snack Cups

Incorporating red, white, and blue into your decor and party supplies can be simple and fun. And it doesn't have to cost a lot of money. 

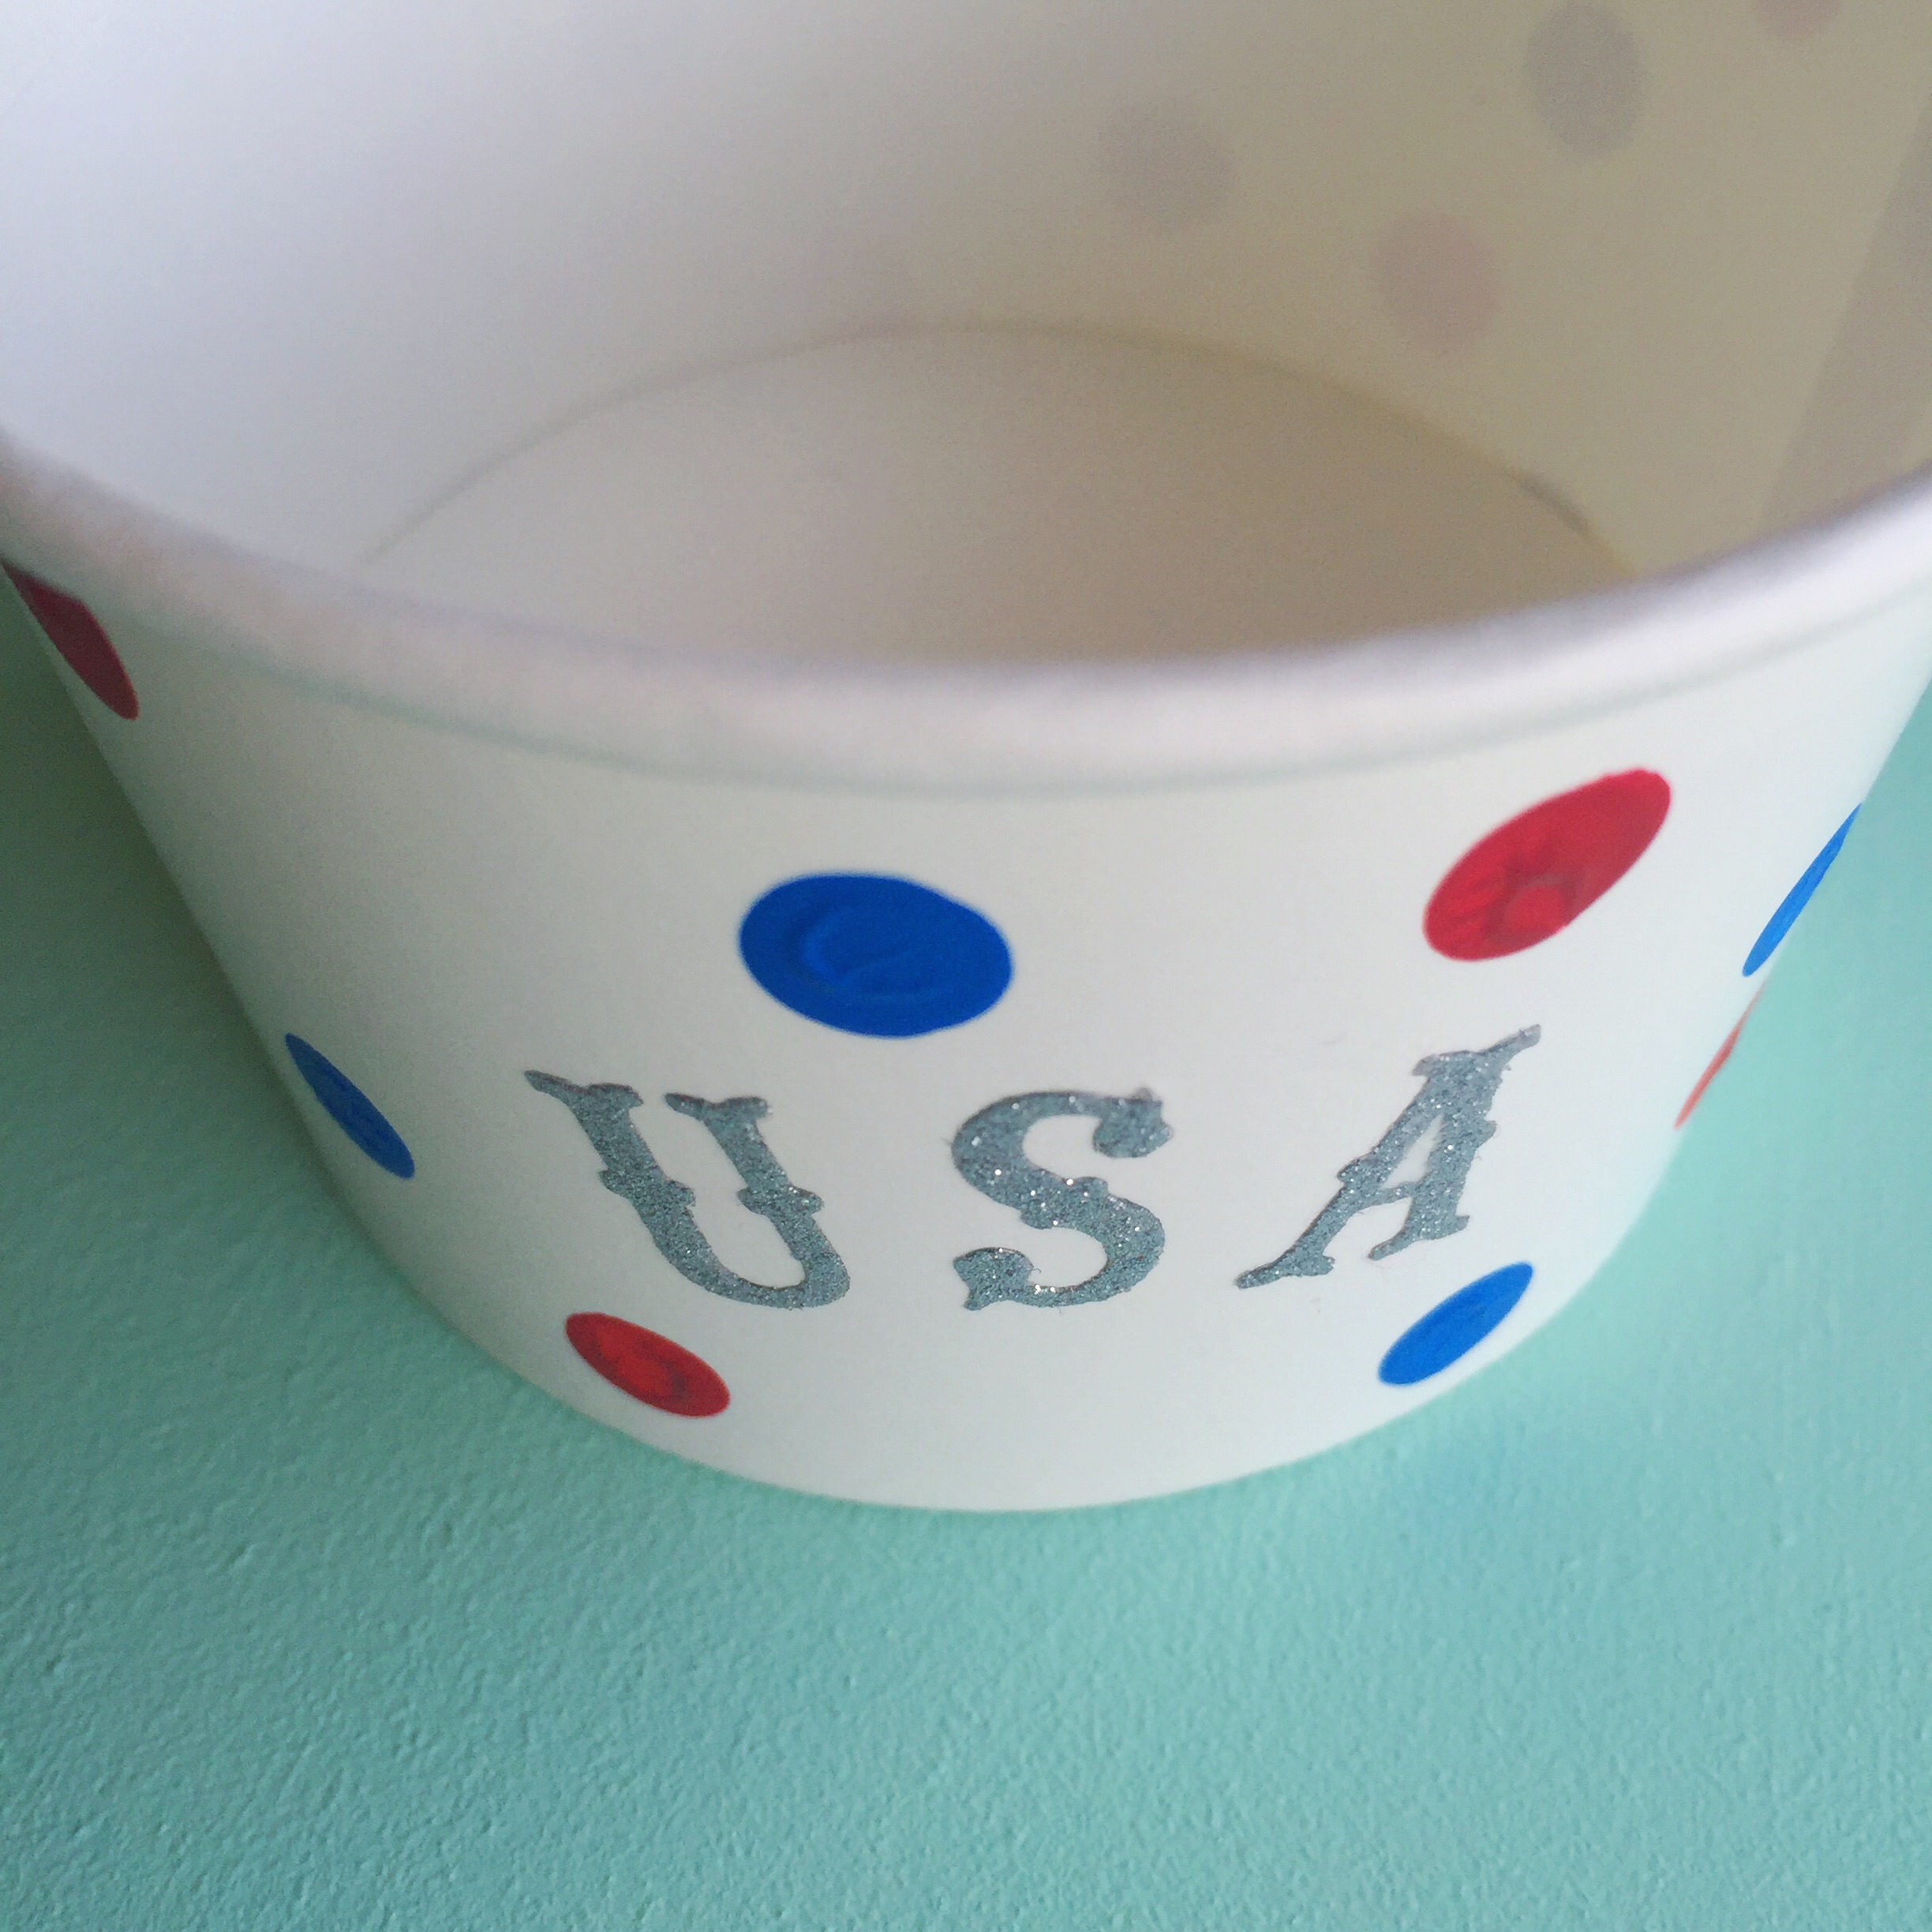
I had these plain white snack cups in my party supplies so I decided to dress them up to use for our Fourth of July get-together. 

DIY Fourth of July Snack Cups

Using a pencil, paint, and letter stickers, I turned plain white snack cups into festive fun snack cups. 

DIY Fourth of July Snack Cups

First I placed the letter stickers on the cup. Using the pencil's eraser, I coved the cup with red and blue dots. 

Be sure to let the paint dry completely before using. If not it could be very messy. 

DIY Fourth of July Snack Cups

I decided they would be perfect for ice cream, but you could use them for any snack.  What snacks will you be serving at your Fourth of July get-together? xo Britt

DIY Fourth of July Snack Cups

DIY Red, White, + Blue Pinwheel Decoration

Red, white, blue just screams summer to me. And since I decided that I am going to make a few decorations for the fourth this year, I decided to come up with a fun craft that Noah could help with and will love seeing. 

Plus this craft was made made from items from the Dollar Tree (other than the paint). I told you it was my favorite. So the project only costs about $5. 

DIY Red, White, and Blue Pinwheel Decoration

Supplies:

  • flower pots
  • styrofoam block
  • glue
  • paint
  • paintbrush
  • pinwheels
  • packing paper
  • pencil
DIY Red, White, and Blue Pinwheel Decoration

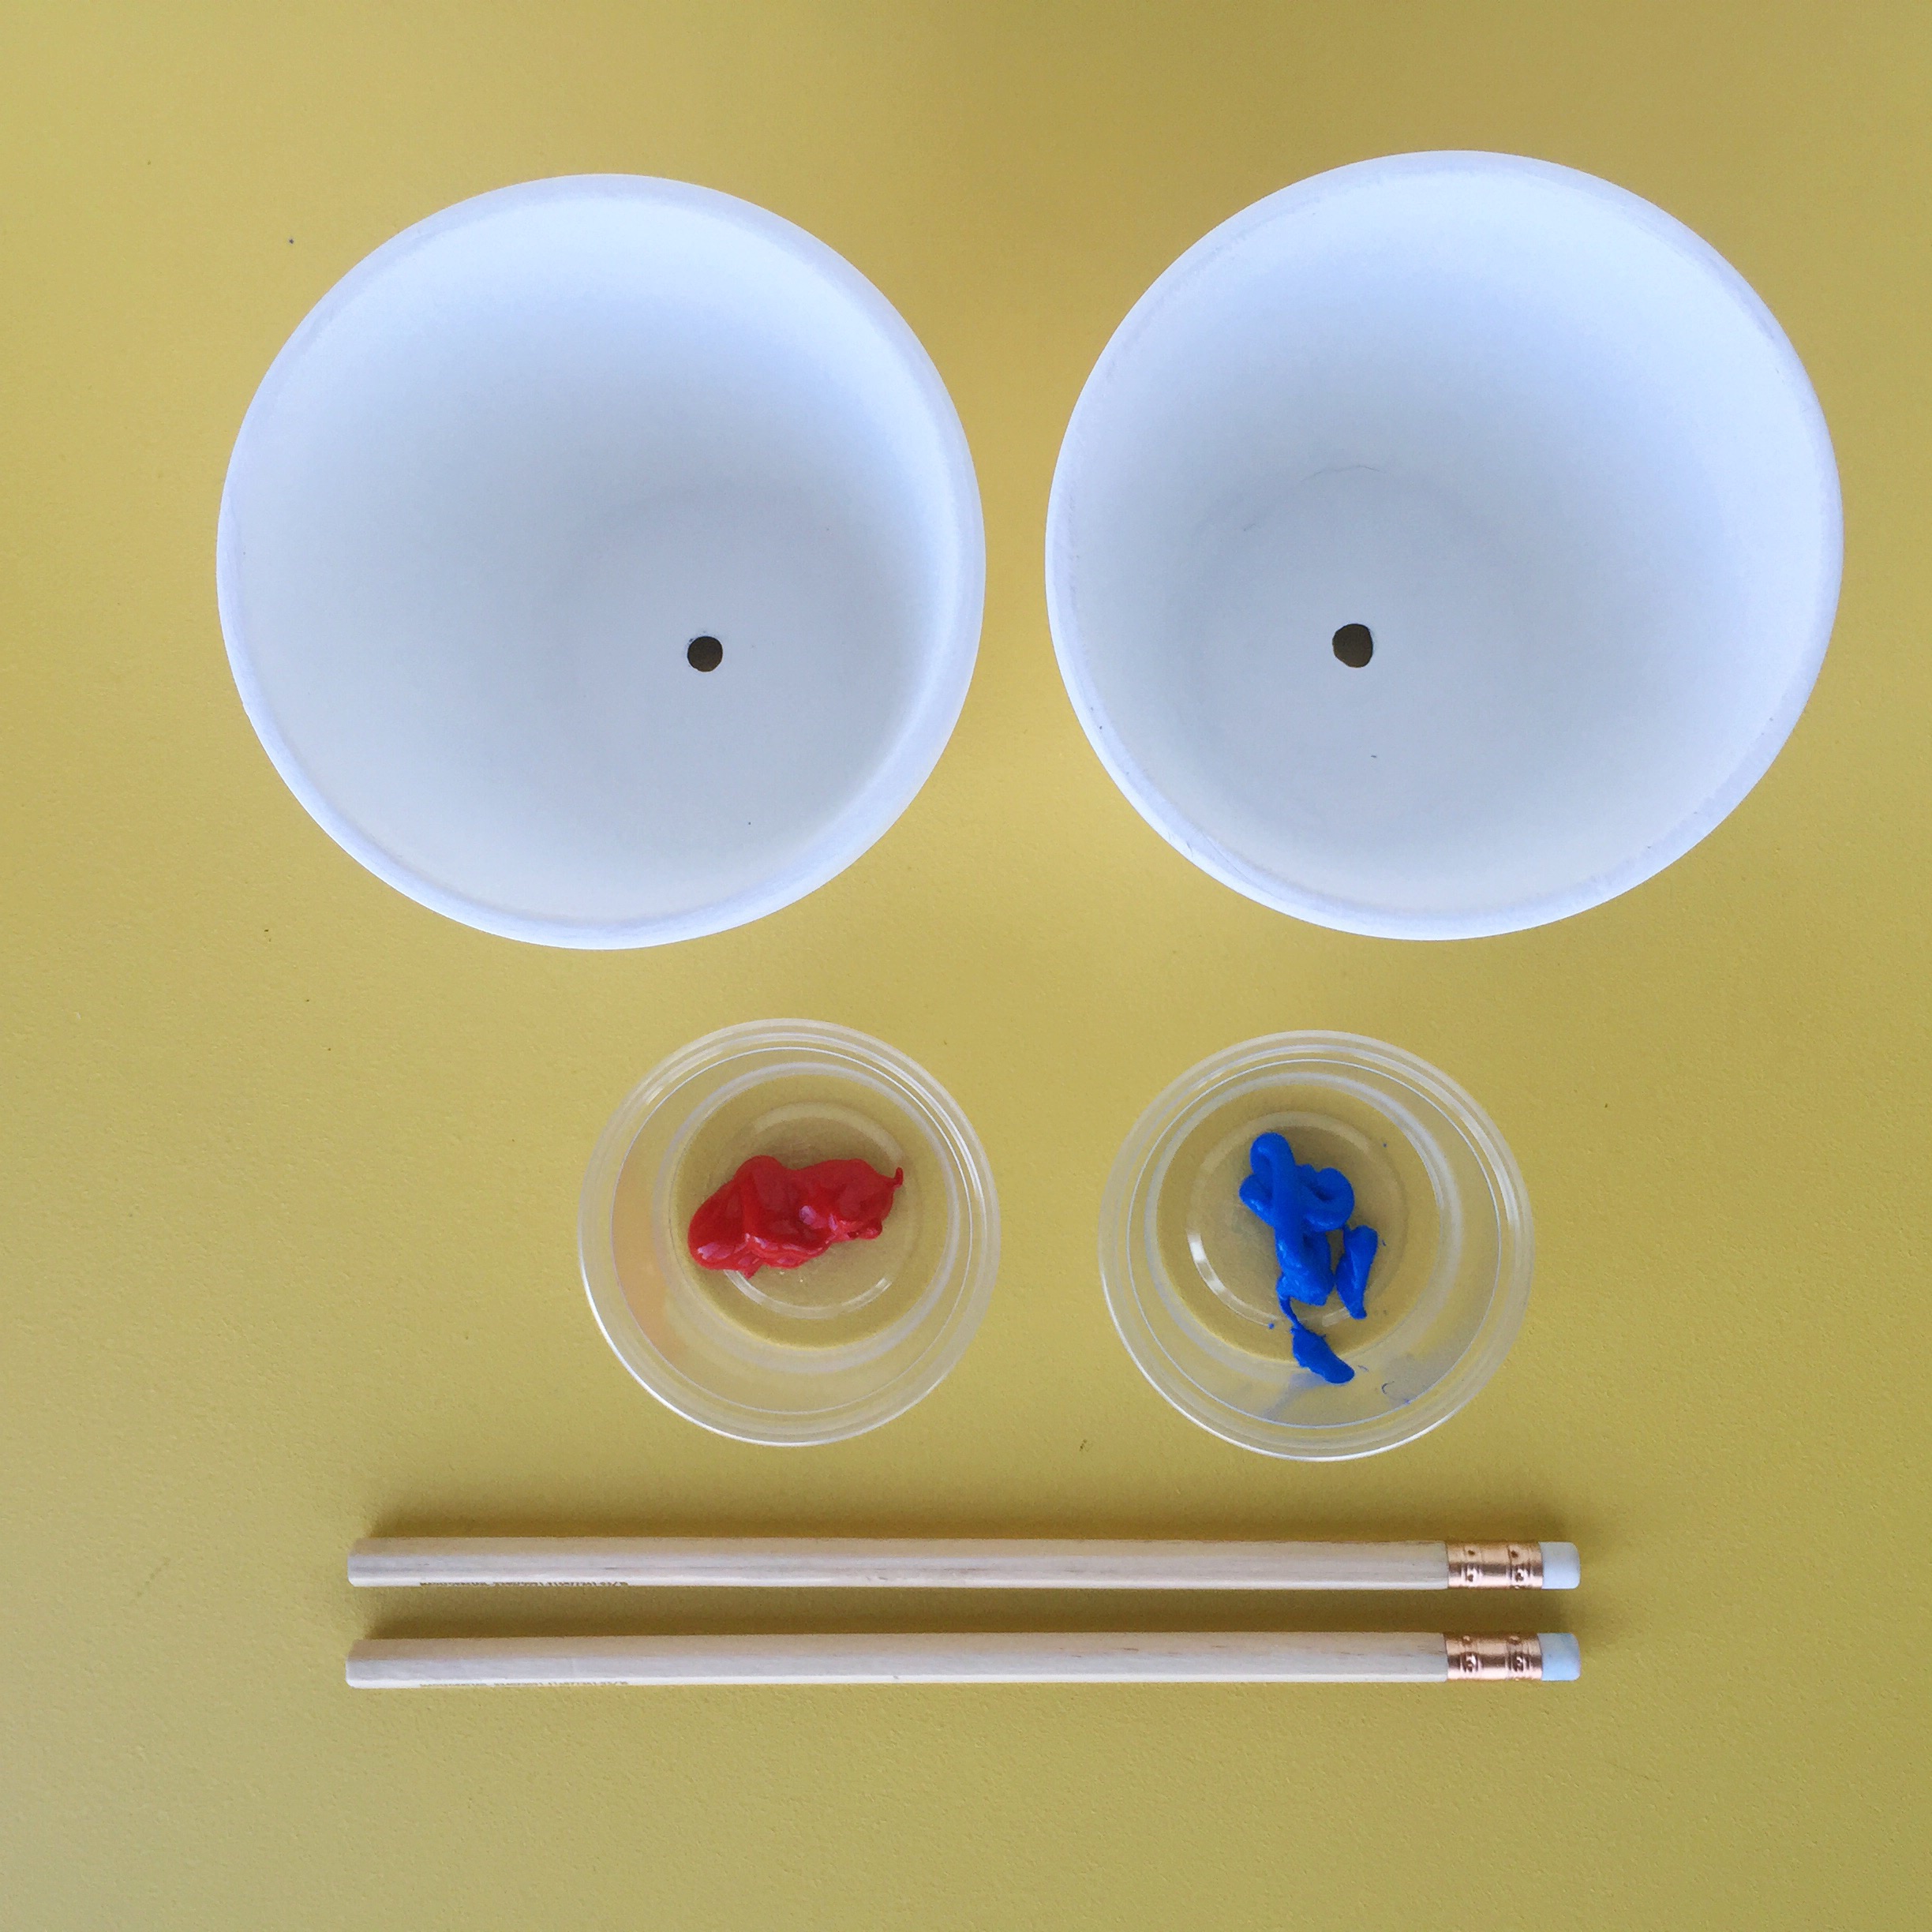
First I painted the two flower pots white. It took two coats. Once that dried, using the eraser on my pencil, I dotted one pot with red dots and one with blue. Then I let them dry.

Next I glued an inch and a half square piece of styrofoam in the bottom of the pots. Noah helped me place in red and blue paper in the matching pots. After I cut some excess length form the pinwheels, Noah placed one in each pot. 

DIY Red, White, and Blue Pinwheel Decoration

I love how simple, but fun they are. They are perfect for decorating for your Fourth of July party or just having out for the summer. xo Britt
DIY Red, White, and Blue Pinwheel Decoration

Diy Red, White, + Blue Ikat Flower Pot

I have had this IKEA plant pot laying around for quite some time now. In fact, I almost got rid of it twice, but for some reason I just kept deciding last minute to hang on to it. I finally decided to do something with it! Yay!

DIY red, white, + blue ikat flower pot.

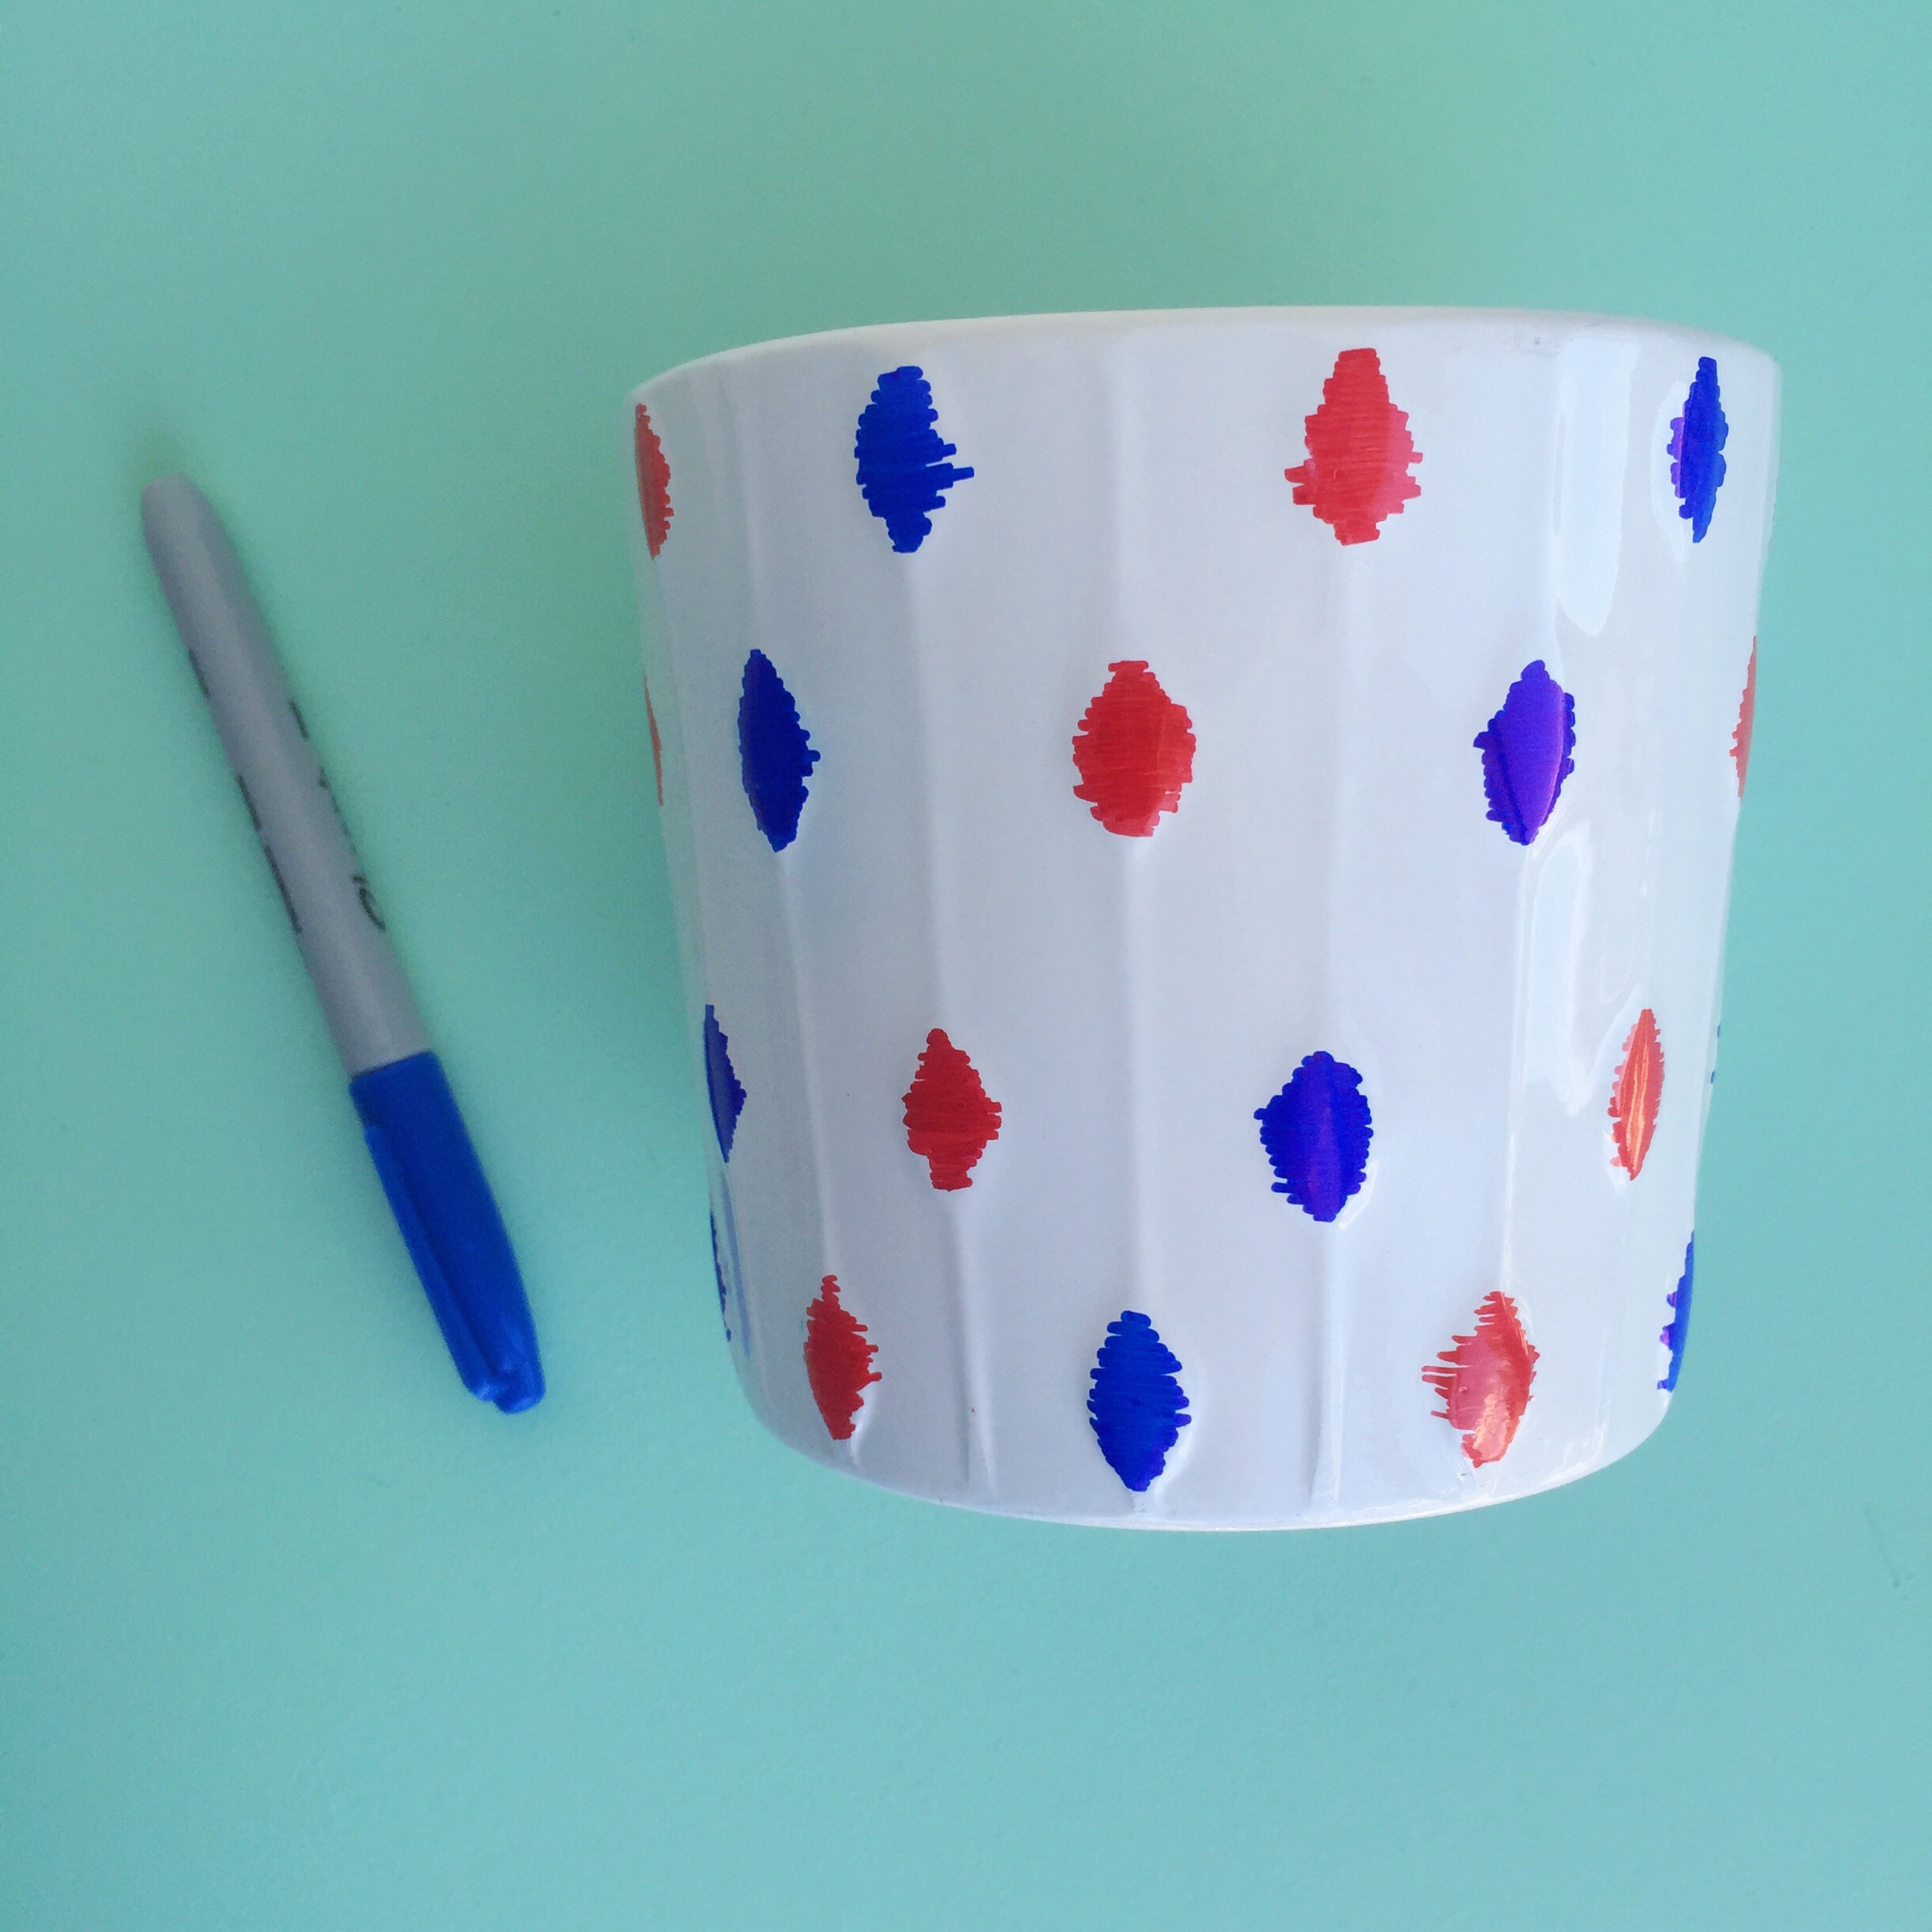
Using a red and blue Sharpie, I scribbled diamond shapes over the existing raised shapes on the pot. Creating a sort of ikat design. It was a very simple way to dress up this otherwise neutral pot. Plus it will look perfect with my Fourth of July decor.

DIY red, white, + blue ikat flower pot.

I really love how this turned out. I hope you do to. xo Britt