
Today I have a quick and easy way for you to make a money jar for your loose change. The best part is it's also adorable! Here's what you're going to need to get started:
- A mason jar
- Canning lid
- Fabric
- Sharpie
- Scissors
- Glue (I used rubber cement)

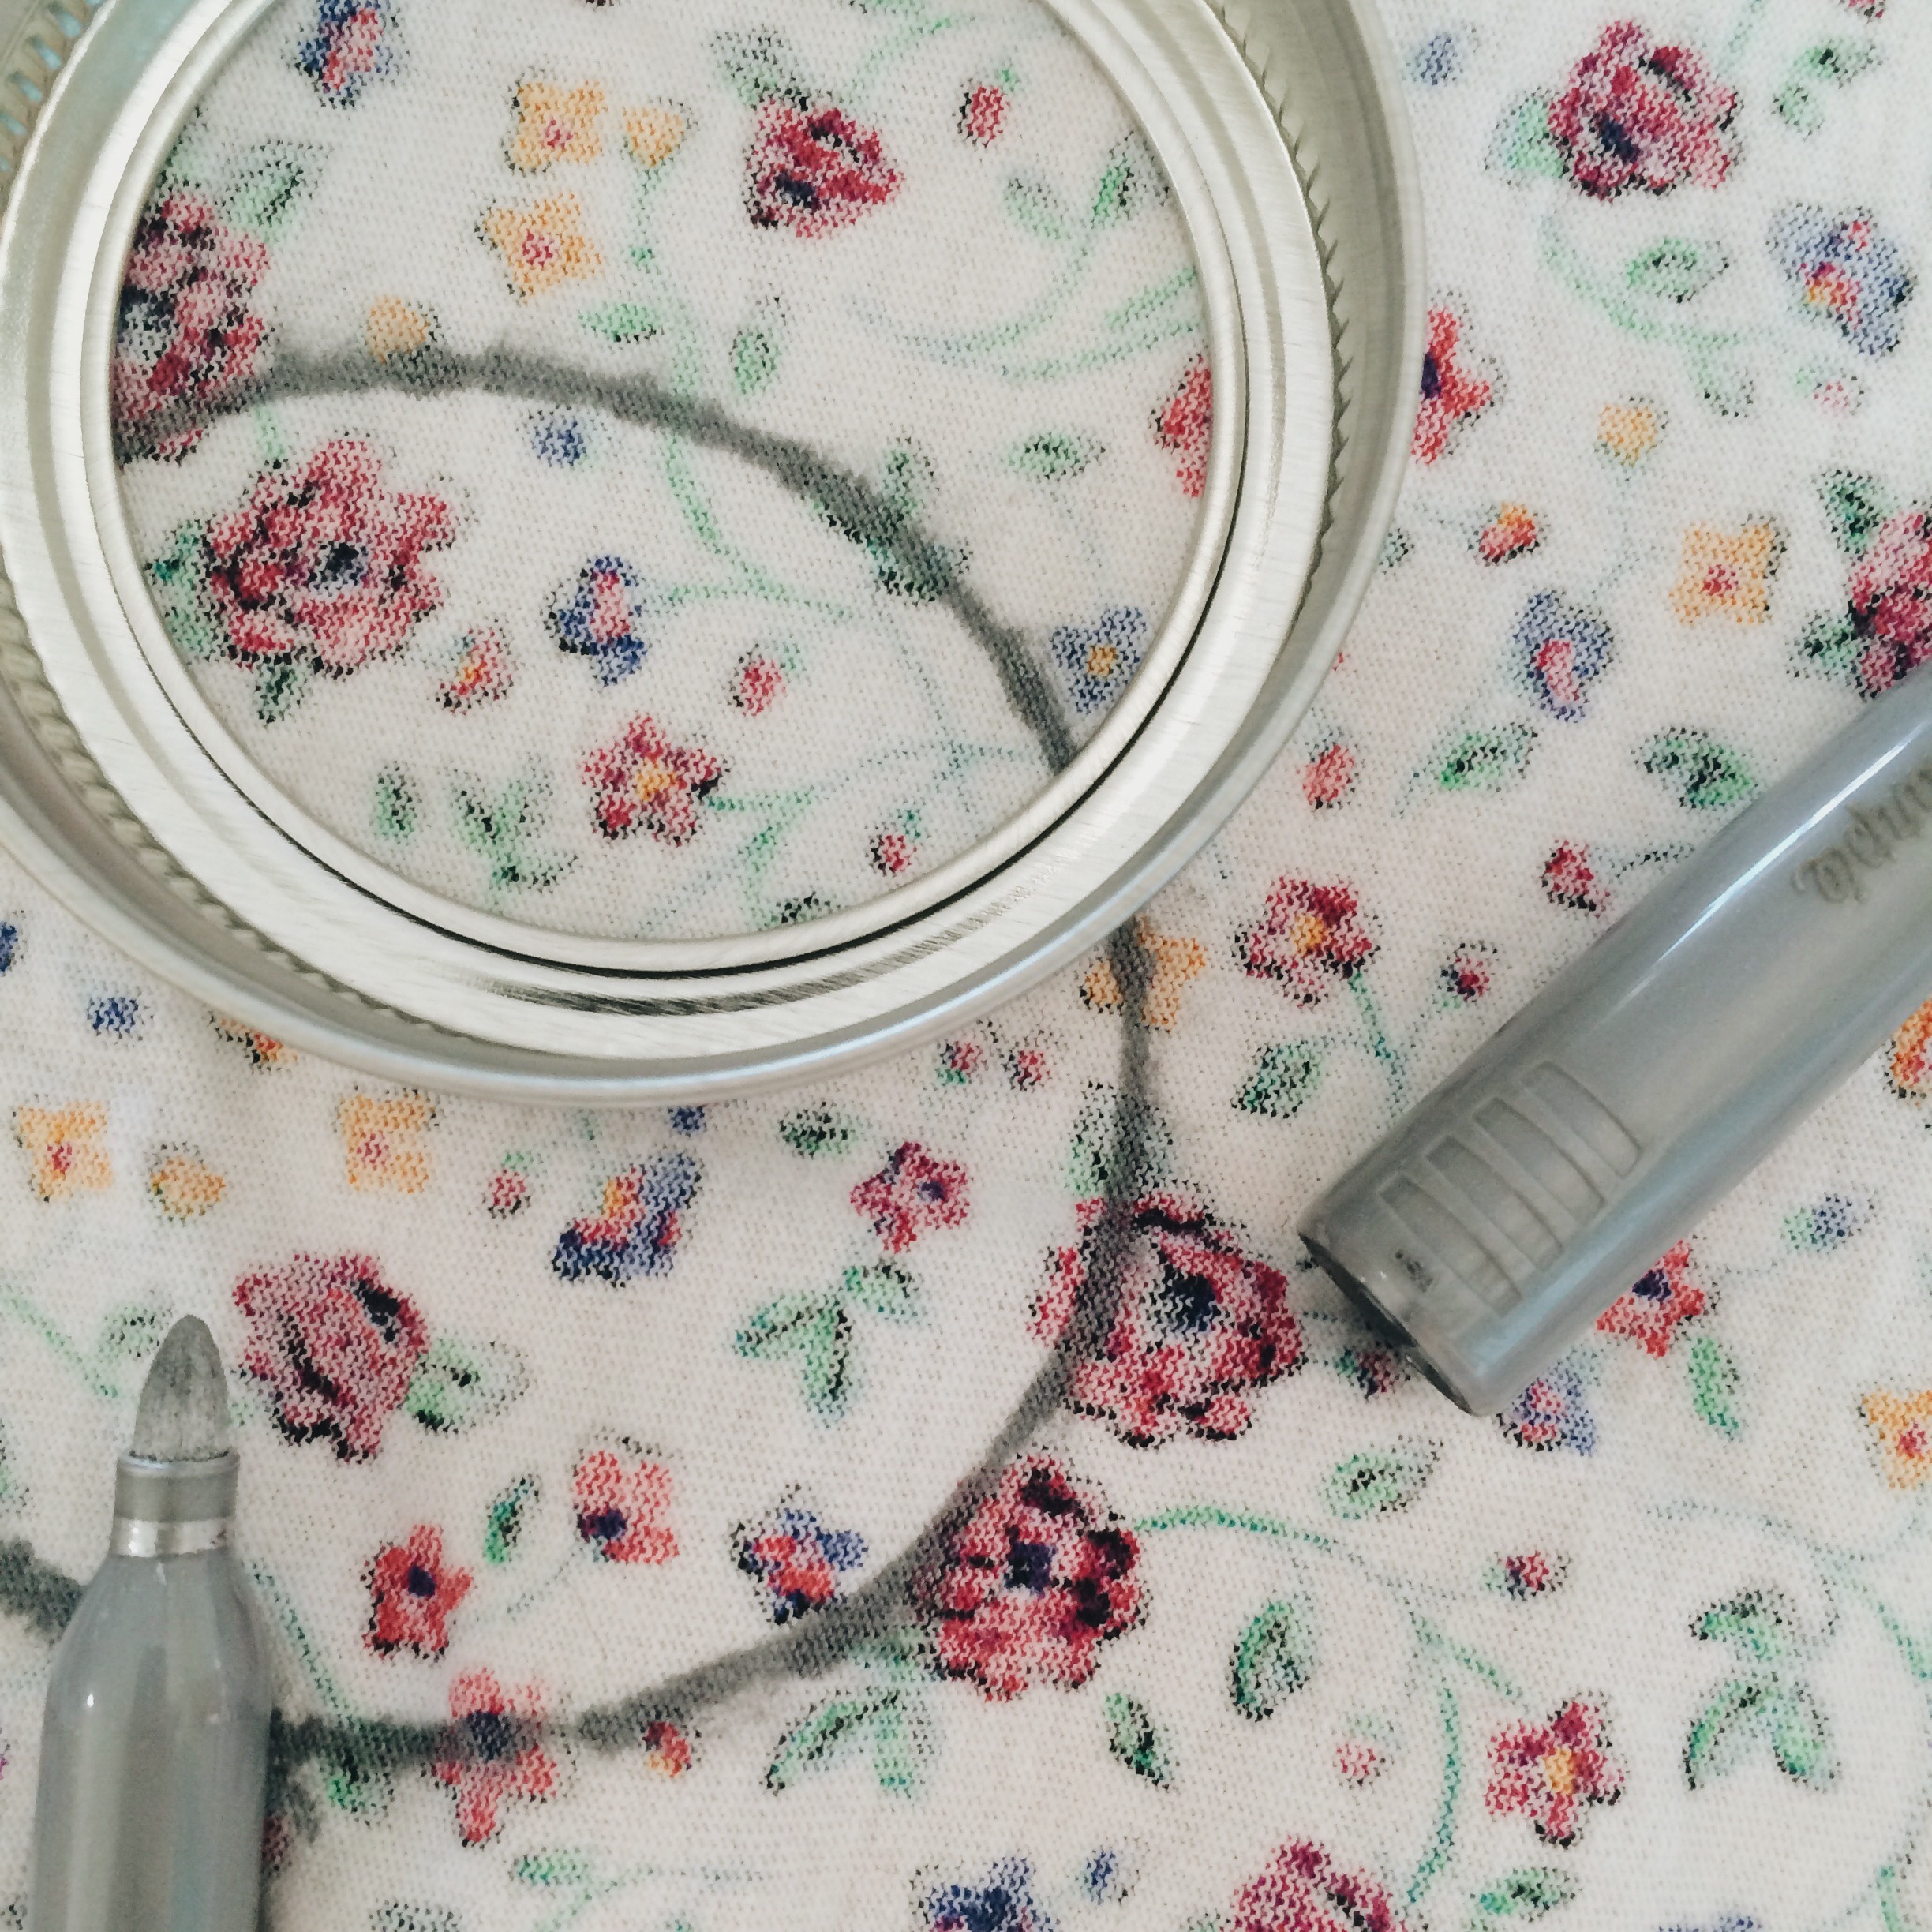
1. With your sharpie, trace the outer edge of the canning lid onto the back of your fabric. (I used a lighter colored sharpie because I didn't want it to show through the fabric.)
2. Cut out the circle, but don't worry about getting it perfect! The edges won't show anyway.

3. Fold your circle in half. In the middle of the flat edge, cut a slit about 1/2 an inch deep.

4. Put a thin layer of glue around the rim of the jar. Lay your fabric circle upside down on a flat surface. Place the jar upside down, evenly on the fabric. (Make sure the fabric is stretched tight over the opening before the glue dries.)

5. Put the canning lid (minus the middle piece) back on the jar.

6. Then all you have to do is add money and sit it somewhere for decoration.


It's cute enough to leave sitting out, so everyone can contribute! It could be for a family trip, a big family purchase, etc. It's not hard at all and only took about ten minutes! You should try it. And personalize it to your style.
xo, Sky


