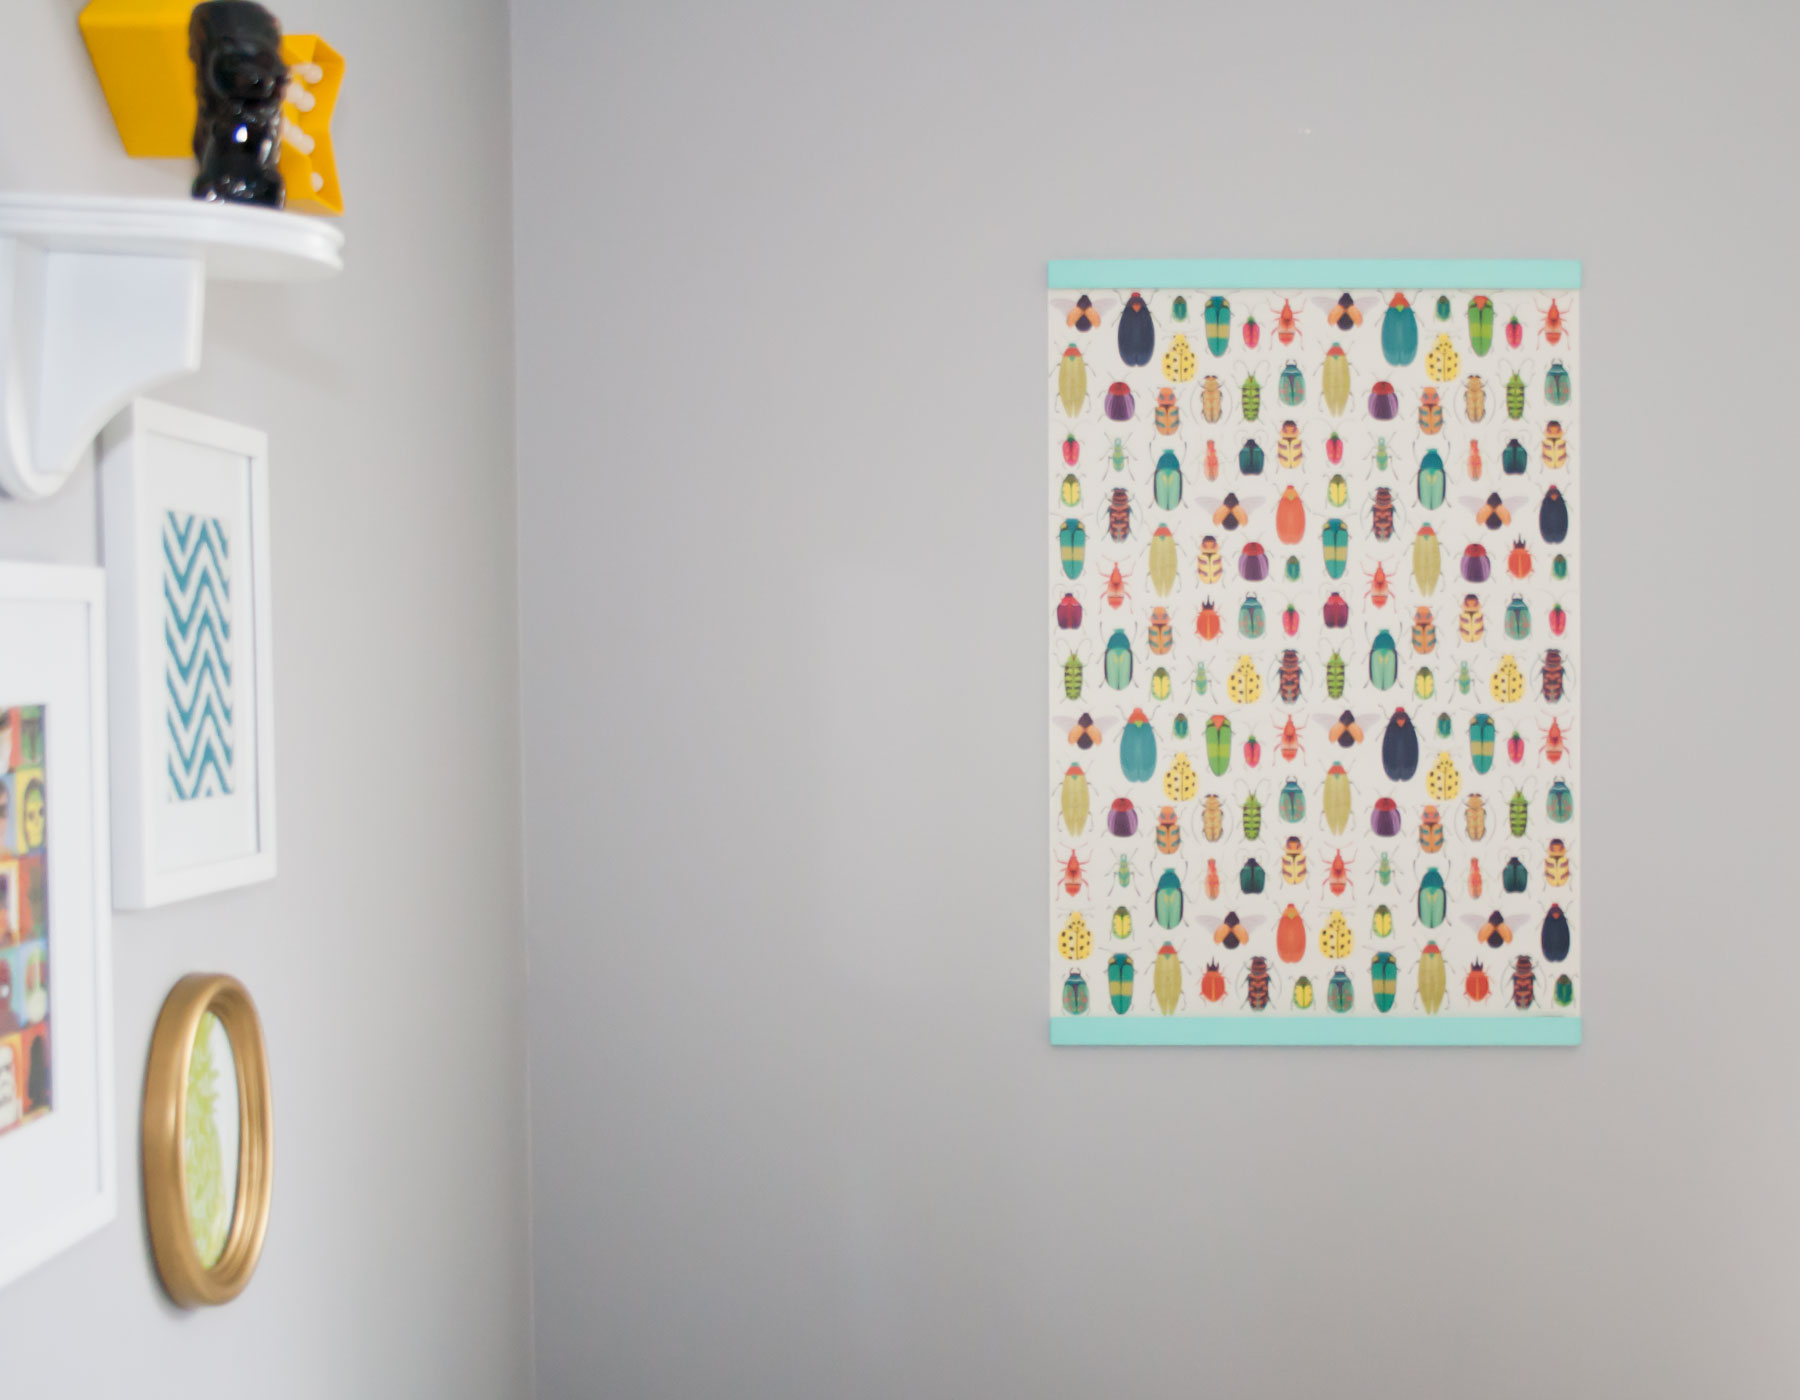
If you couldn't already see, we LOVE making new things for Mr. Noah's nursery. Today we used one of Papersource's wrapping papers for a poster. They have so many great designs. The papers are great for cutting up and putting in frames or even just hanging up like we did in Noah's nursery. Or you could even use them as actual wrapping paper. :) Instead of just having the plain paper on the wall, we wanted to add trim on the bottom and top to make a sort of frame. I got this idea after watching a video (here) from thealisonshow.com, I love her blog. She has so many ideas.
Supplies:
- Poster
- 1/4" trim
- Paint
- Hand saw
- Pencil
And here is how we put it together:
- Cut your trim to the width of your poster. Line your trim up to the edge of your poster and mark it.
- Then use a hand saw to cut your first piece.
- Using the first piece as a guide, cut your second piece.
- Paint the trim a color that matches the poster.
- Hang your poster on the wall with double-sided tape.
- Then using double-sided mounting tape, adhere your trim at the top and bottom of your poster.
See how plain this looks before adding the trim.
This poster really helped finish up Noah's nursery. Not only does it go with the nursery, Noah also enjoys looking at the colorful bugs. We are so happy with the paper, you can find it here. We also used several of their wrapping papers for Noah's gallery wall, here. You can use it in any room of the house if the paper you choose matches. You can also use things such as movie or book posters if you want, you would just have to adjust the size of your trim to fit whatever size poster you chose.
Happy Crafting!
Britt & Sky


