Thrifty: Pineapple Revamp

Ever since I started planning Noah's birthday party, I have taken a break from getting the office decorated. But i thought I'd share one of my absolute favorite thrift store finds.  

I actually found this a while back, but just hadn't done anything with it yet. So I decided it was time. 

image.jpg

I got this fun little pinapple tray for $3 at the local thrift store. I knew as soon as I saw it that it would be perfect on my desk to hold little odds and ends. 

image.jpg

I hope you love this thrifty DIY as much as  i do! xo Britt

Noah's First Valentine's Day

I love holidays! I have always loved them, but ever since Noah was born I have enjoyed them so much more. I really have tried to start fun traditions for our little family for each holiday. 

For Valentine's day I didn't want to go overboard. I want Noah to know that I love him and his daddy very much and that's all that matters. I am sure one day that chocolate will become part of our tradition, but for now I want to focus on a fun homemade gift for the little mister. 

As you probably know by now, I am all about putting thought and care into a homemade gift versus going out and just buying something random. I am also about budgeting, so it's also a huge plus if my homemade gift doesn't cost much. 

I decided about two months ago what I wanted to make Noah. And I am so happy how it turned out. 

Noah's First Valentine's Day (click through to read more)

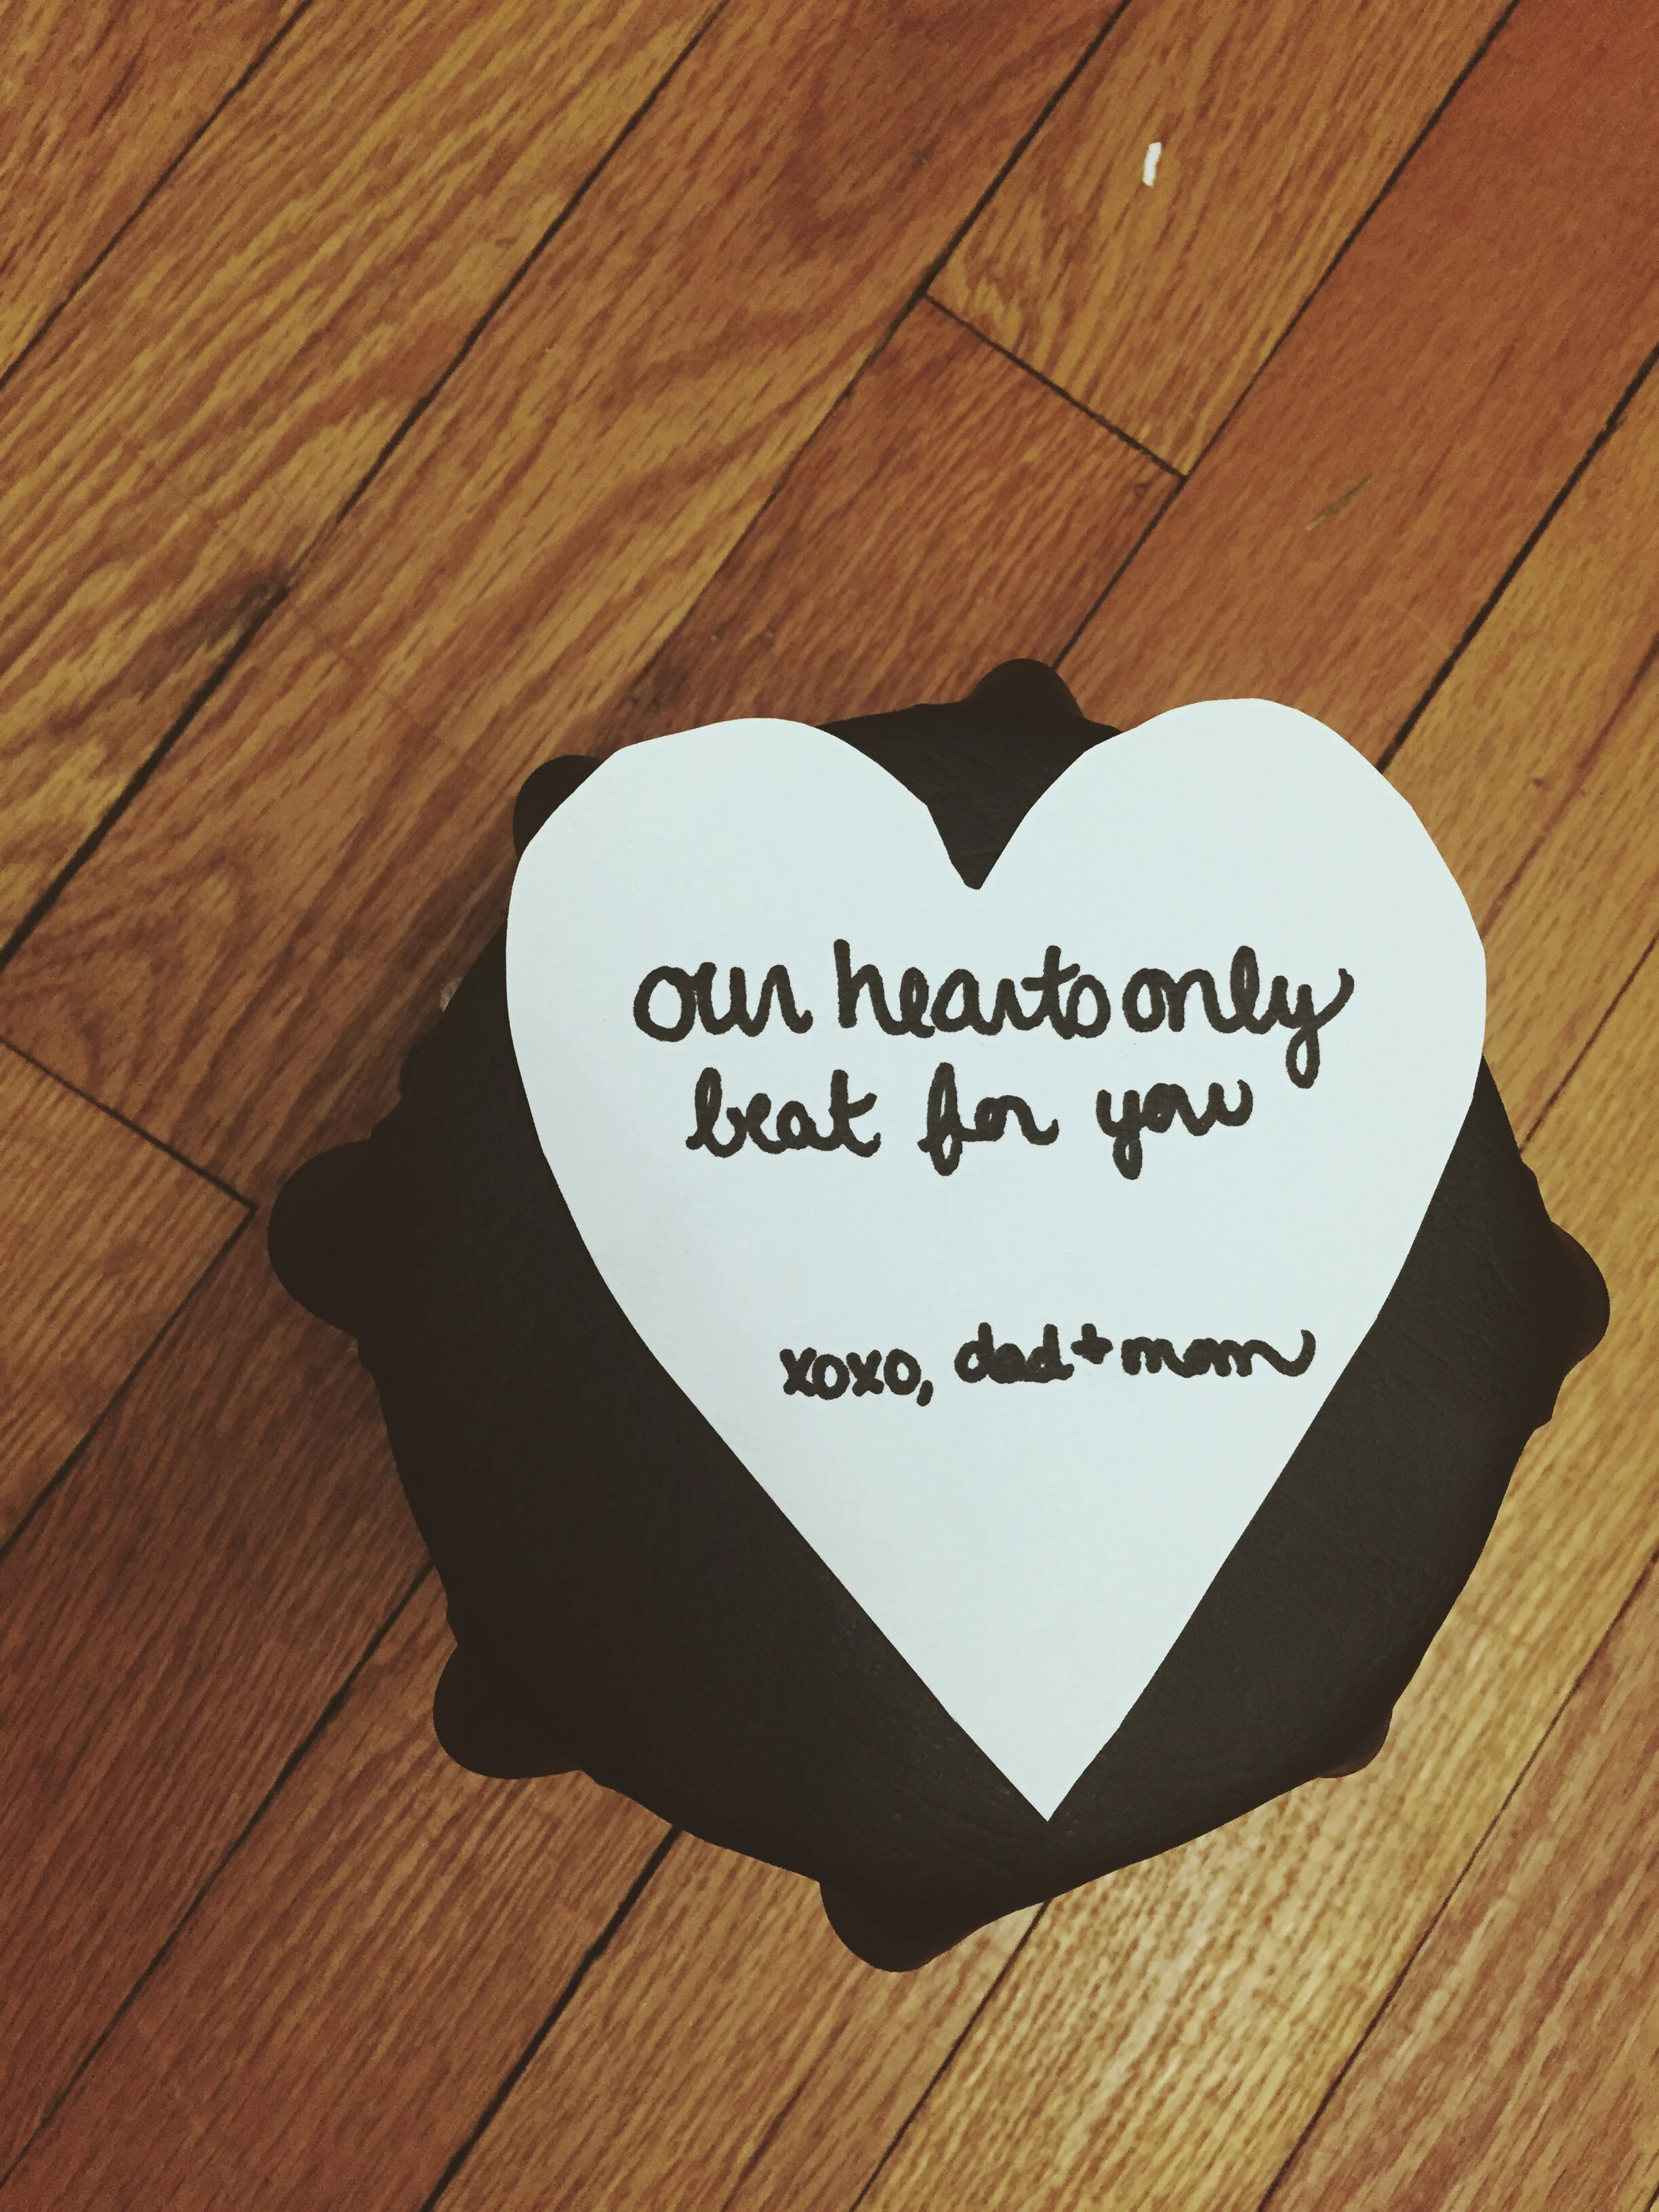
I actually found and adapted my little drum from one I found on A Beautiful Mess (here).  I used a container from our recycling, a piece of fabric from our stash, a piece of vinyl, and string. 

This was so simple and I cannot wait for Noah to play with this! Happy Valentine's Day! xo, Britt

DIY Valentine's Onesie

Needing a cute shirt for you kiddo this valentines day? Don't go to the store, make it yourself! Today we have a simple, inexpensive way for you to that. All you need to get started is:

  • onesie
  • fabric paint (red and black)
  • foam
  • scissors
  • marker/ pencil
  • tape
Diy Valentine's Onesie. Click through for instructions.

1. Draw out your heart  arrow onto the foam.

2.Then cut them both out. Next cut your arrow into three sections. 

Diy Valentine's Onesie. Click through for instructions.

3. Use tape to create a temporary handle like pictured below. We show washi tape here, but through trial and error we found that duct tape is a better choice. 

Diy Valentine's Onesie. Click through for instructions.

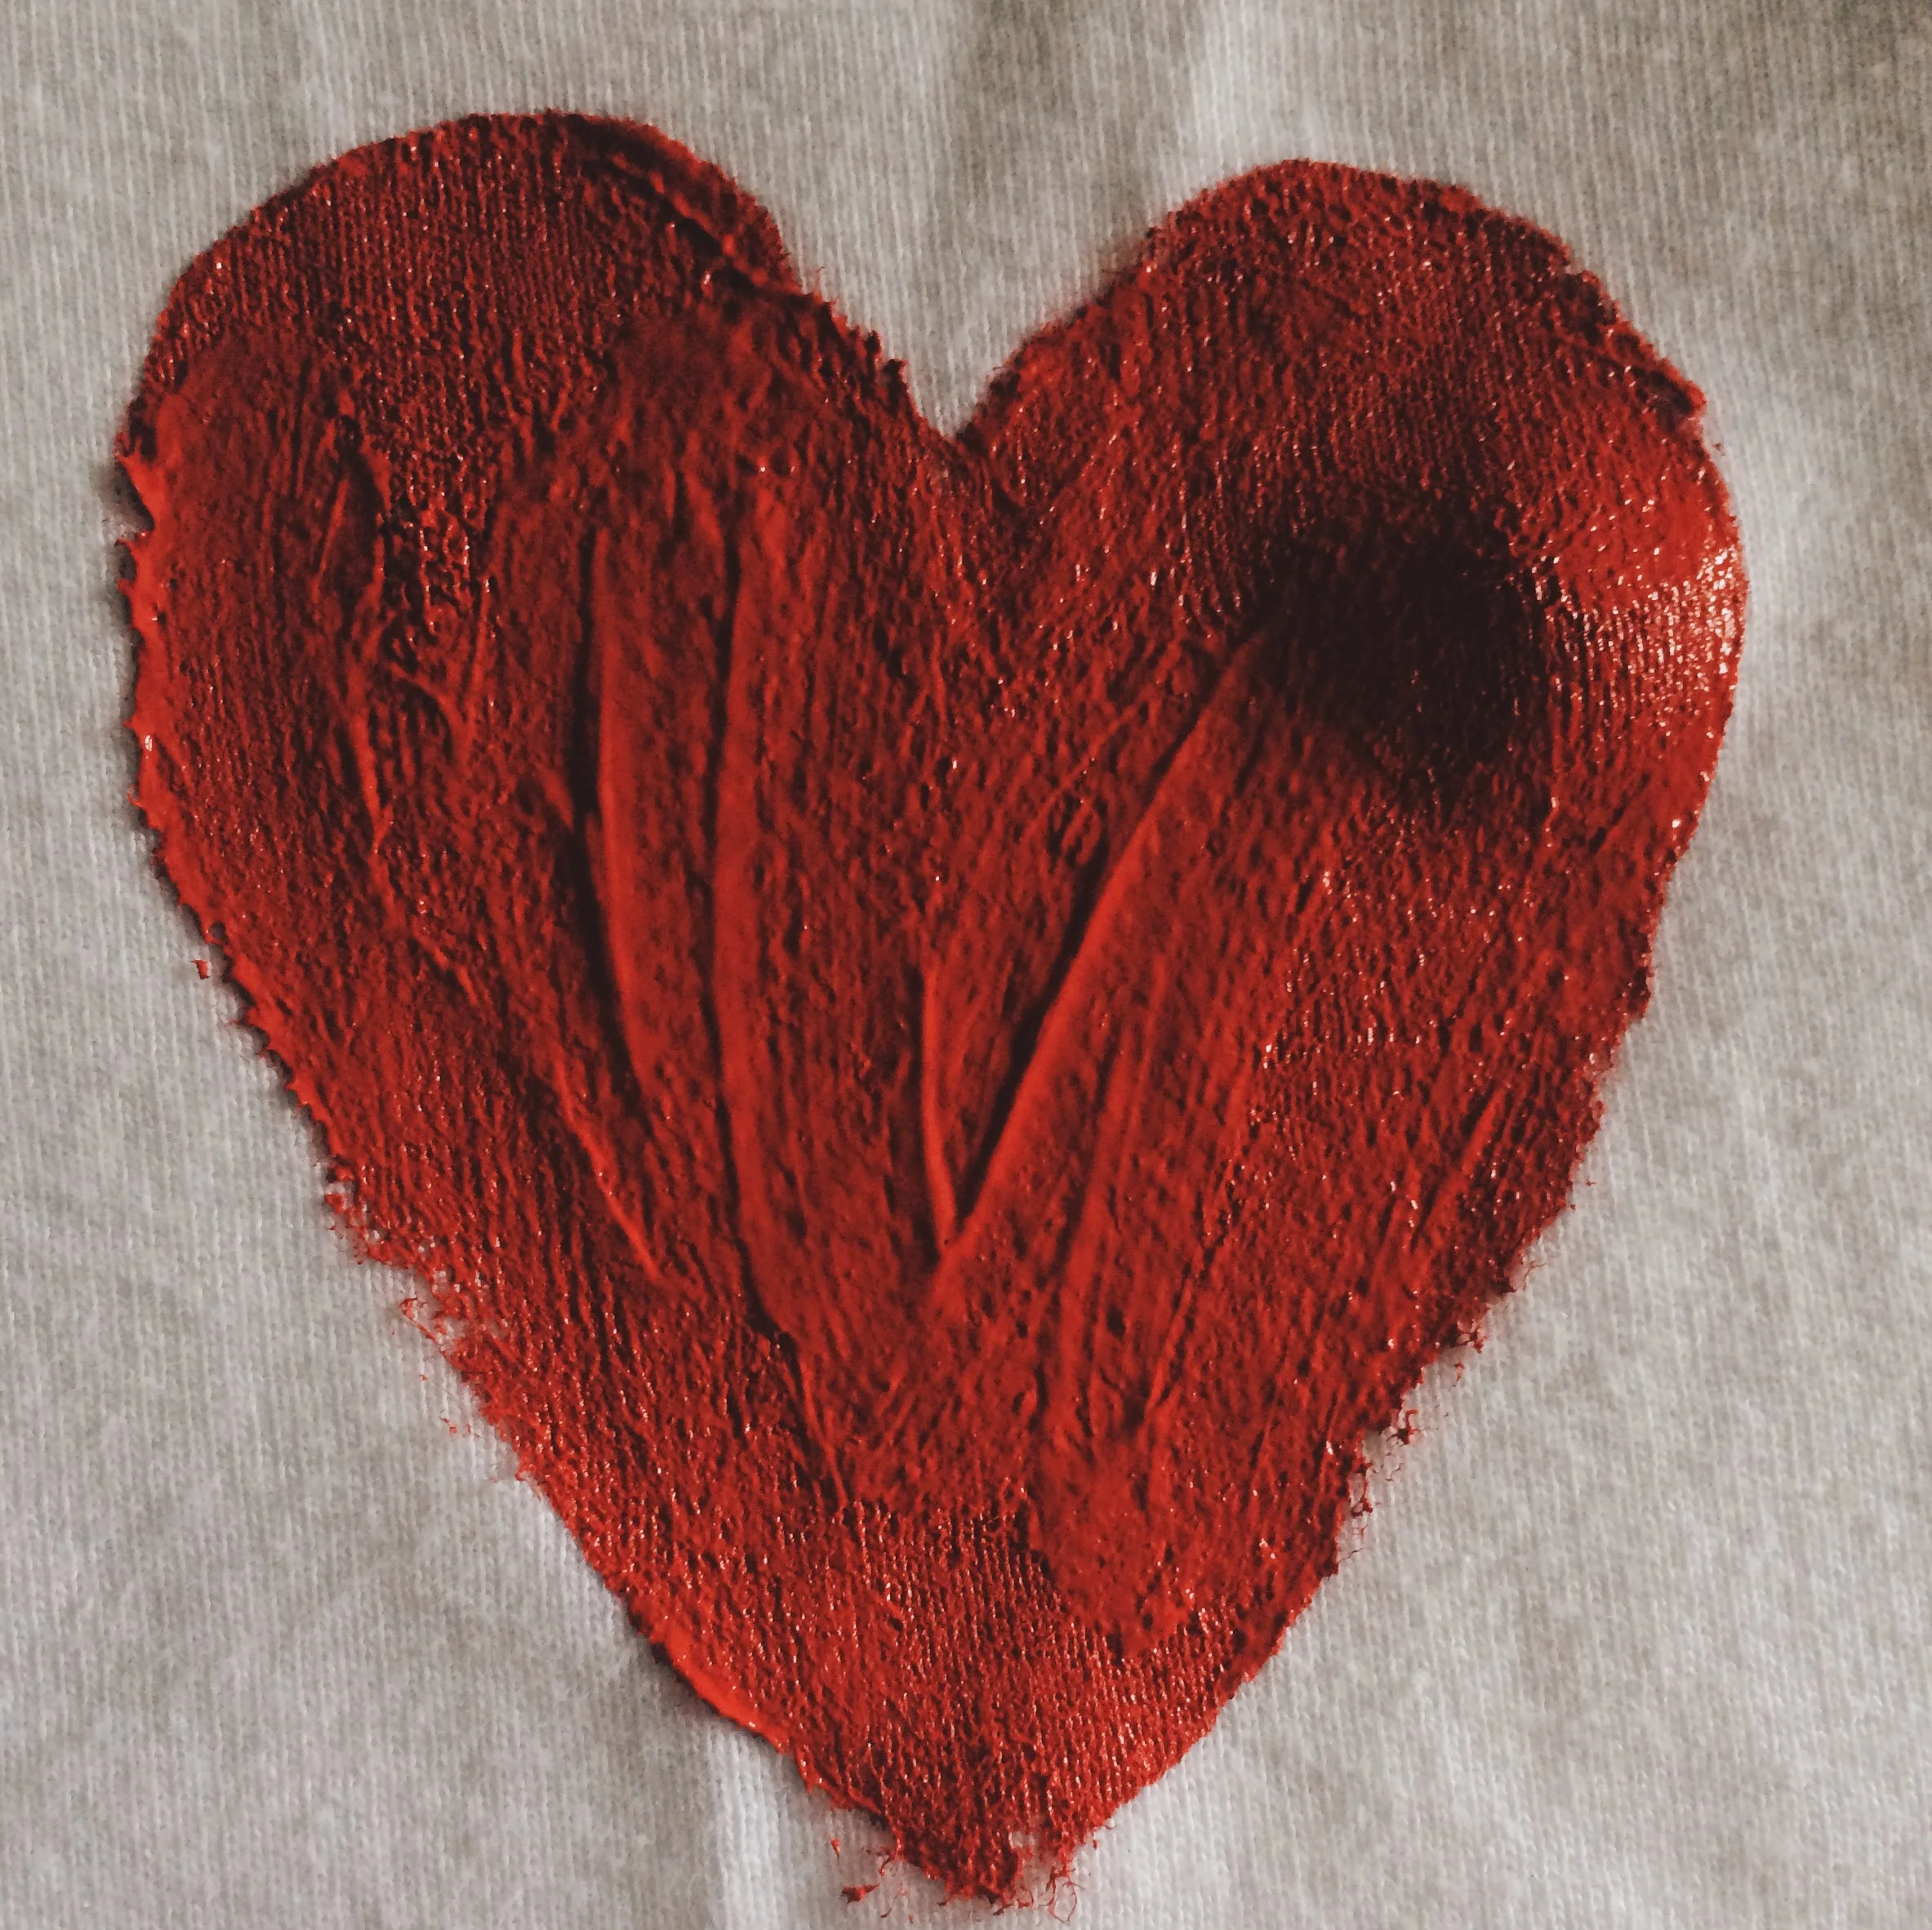
4. Grabbing your heart stamp by the handle, dip it into the red paint. Make sure it gets covered. Then carefully, but with enough pressure, stamp it into the center of the onesie.

Diy Valentine's Onesie. Click through for instructions.

5. Let the red paint dry for at least an hour.

6. Take each segment of your arrow and dip it in the black paint (same way you did the heart) and line it up like pictured below.

Diy Valentine's Onesie. Click through for instructions.

7. Let it dry completely. 

That's all! Now your kiddo has a cute, handmade shirt to wear for Valentine's day. :)

Diy Valentine's Onesie. Click through for instructions.

You can also customize the colors if you want. We just wanted to do the traditional red heart, but really the options are endless. xoxo, Britt + Sky

Diy Valentine's Onesie. Click through for instructions.

DIY Cacti Wall + Failure

So we had this brilliant plan ...  that's how every good story starts. Right? We were going to cut out foam to make stamps. Then we were going to stamp our back wall in our craft closet. 

DIY Cacti Wall. (click through for details)

We think where we went wrong was the size that we wanted our stamps to be. We had decided that we wanted cacti ... Don't ask, we just like them. :) And we wanted them to be large.

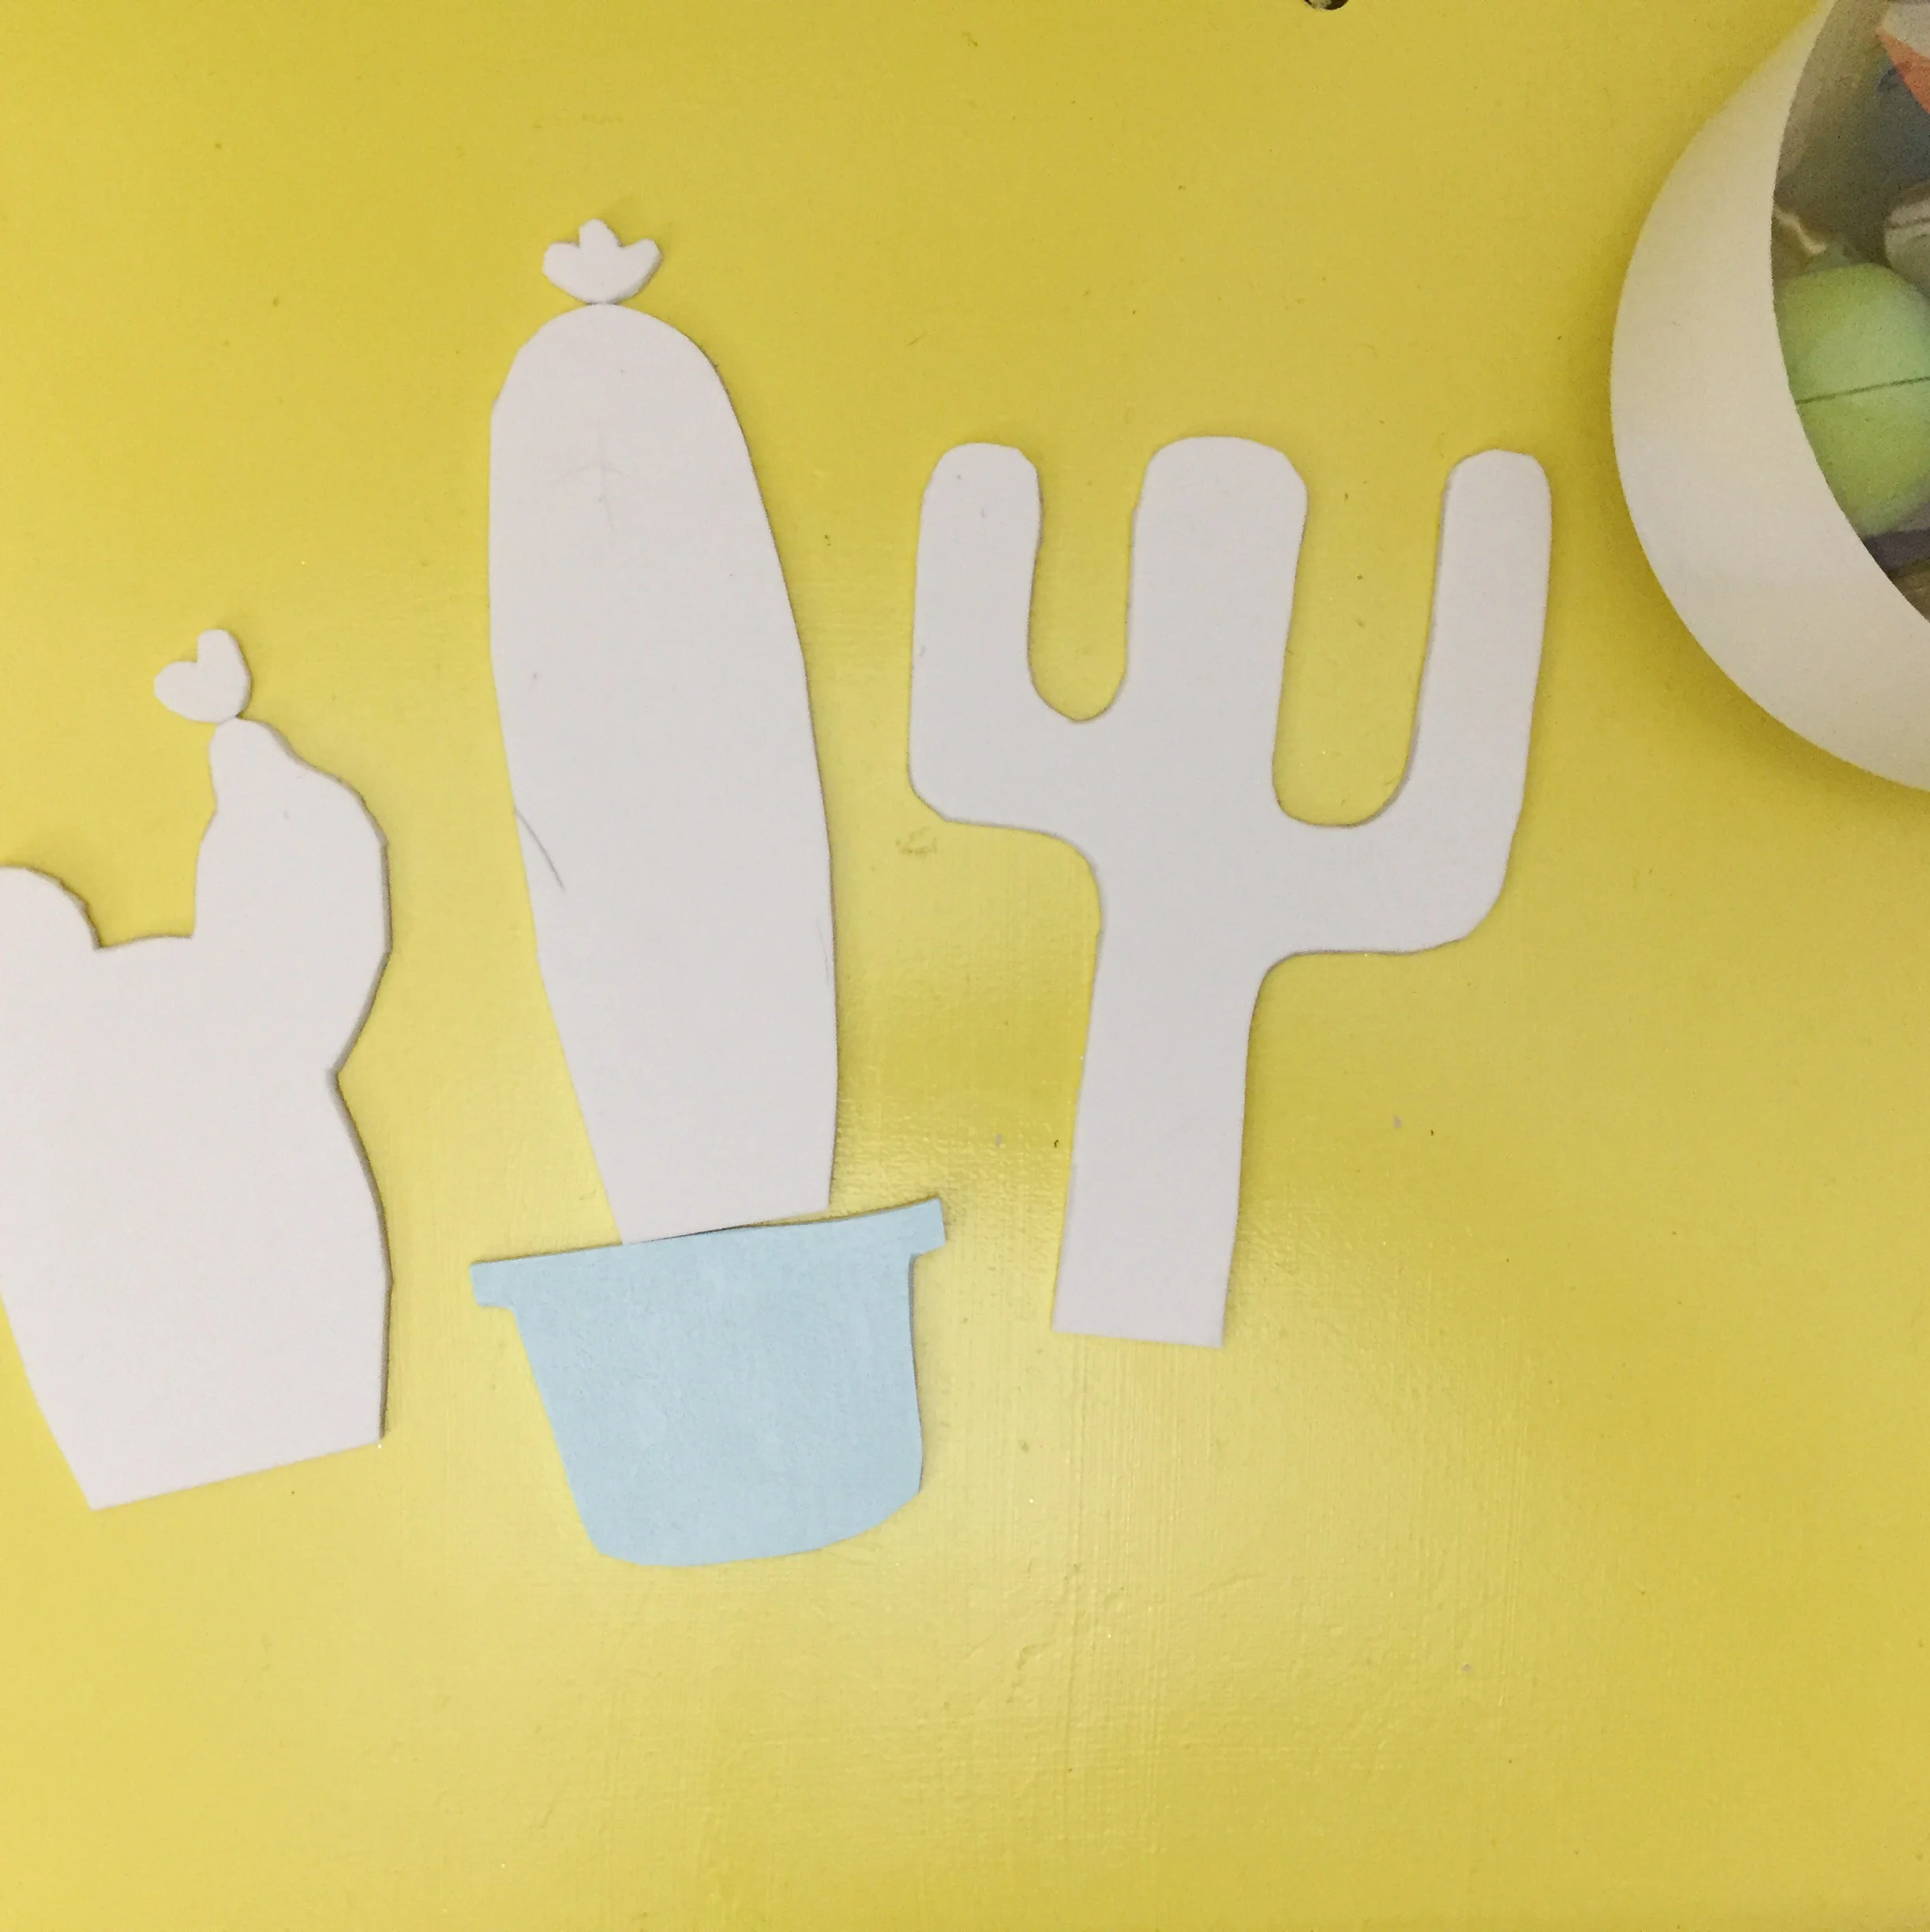
So we free handed them on the foam and cut all of our pieces out. We had three cacti, one pot, and two flowers. We decided to start by stamping the post in random places then we would come in later with the cacti and then even later with the flowers. 

Let's just say We made a huge mess. The paint didn't go on the wal evenly. When we tried to pull the stamp off the wall our backing peeled right off the foam and left the foam piece still stuck in the paint. It was a disaster. 

DIY Cacti Wall. (click through for details)
image.jpgDIY Cacti Wall. (click through for details)
DIY Cacti Wall. (click through for details)

What we decided to do instead was freehand the pots. We liked the idea of them being hand done and that they would all be slightly different. Then using our already cut out cacti we traced them above the pots. Lastly we came in and free handed little flowers on the tops. 

DIY Cacti Wall. (click through for details)

We love how it turned out. It took a little longer than it would have but we had fun in the process. It just goes to show that most of the time, things don't work as planned. But that's ok. xoxo, Britt + Sky

ps: don't mind our mess you can see in the craft closet. you will get a tour later this week!! :) 

DIY Emoji Canvas

Today we have a fun way to put the emojis you love anywhere you want. We have made an adorable canvas covered in emojis. You must try this, it's pretty simple and really awesome! :) 

Here's what you will need:

  • 24"x 18" canvas
  • ruler
  • pencil
  • paint
  • 12 of your favorite emojis (we know it's tough to narrow them down)
  • masking tape
  • computer paper

1. First, cut out 6" x 6" squares on your computer paper. Draw each emoji onto a square. This step is optional, but we suggest it to help you know how to draw the emoji and to see how big it will need to be on the canvas. 

Emoji canvas. Click through for instructions.

2. Make a mark every six inches on each side of your canvas. 

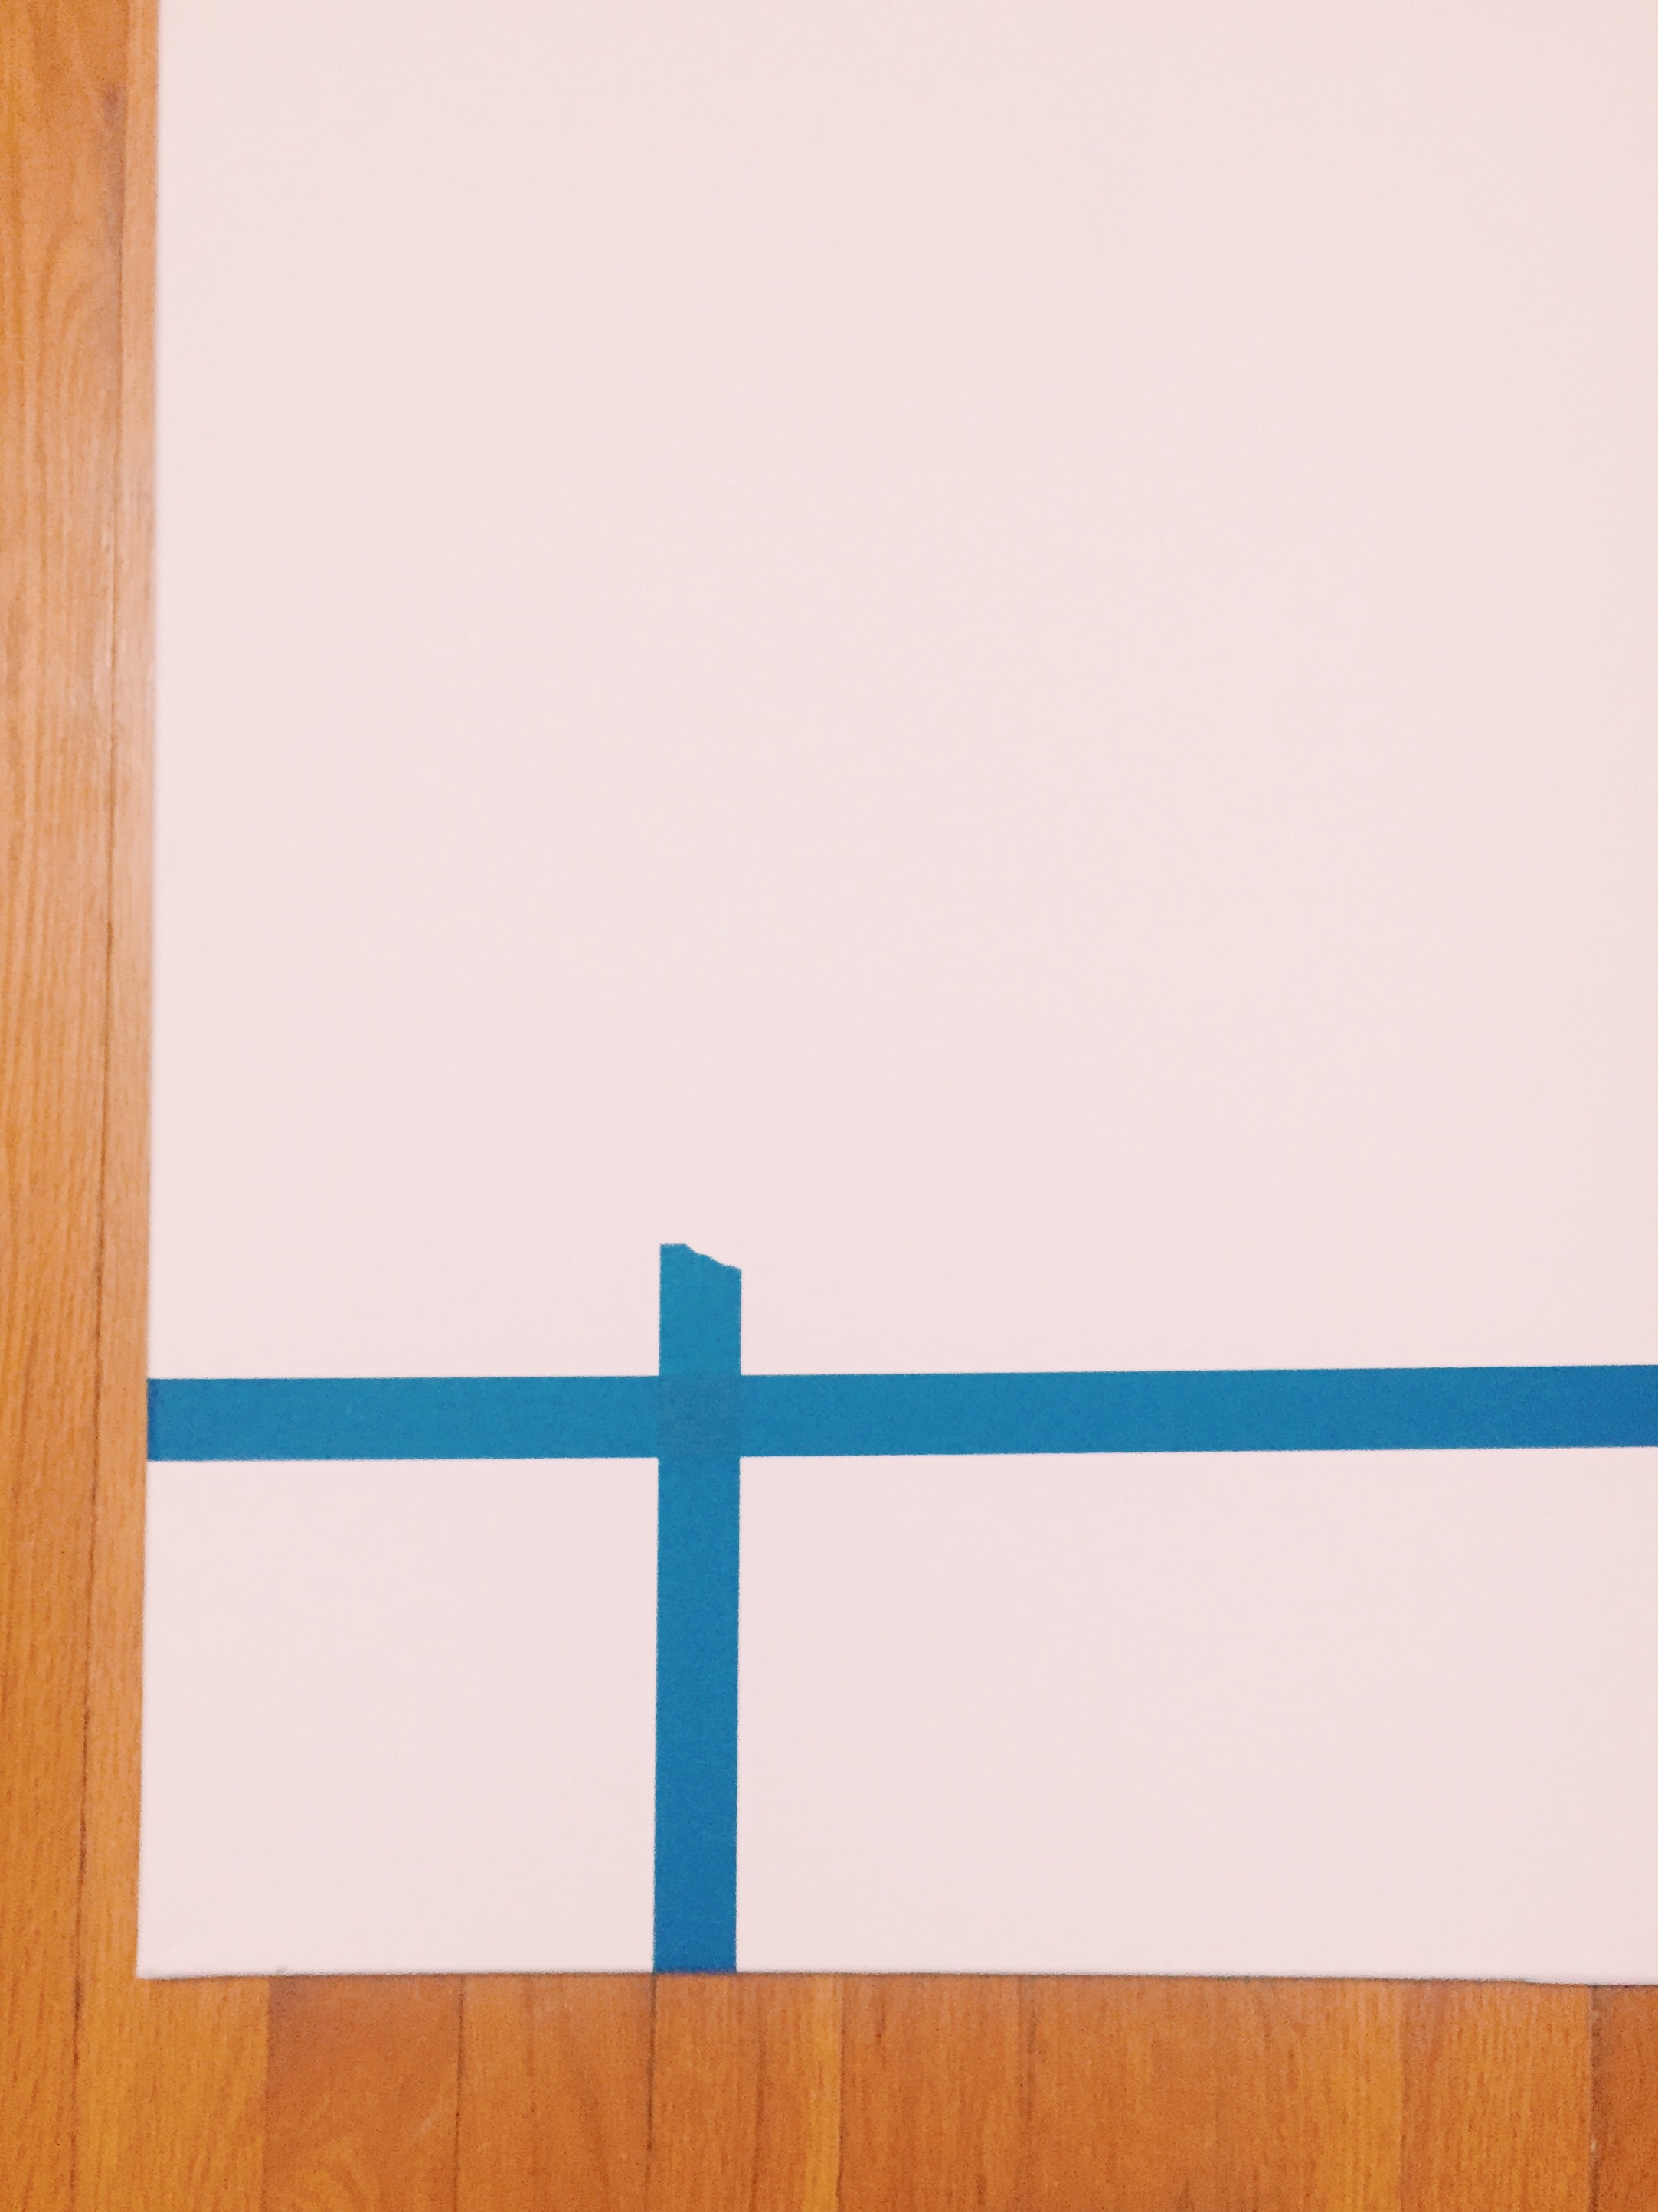
3. Using the marks you made, line a piece of masking tape across the width of your canvas to create a row. Then use a small piece of tape to line it up with the mark on the other edge to create your box. This will create a 6" x 6" box to help you accurately make your emoji. 

Emoji canvas. Click through for instructions.

4. In your box, paint a yellow circle leaving a little bit of room around it (approx. 1/2" - "1). Then add tape to your next mark to create a new box for your next emoji.

Emoji canvas. Click through for instructions.

5. Repeat steps three and four until you have filled your canvas and have twelve yellow circles. 

6. After all your circles have completely dried, draw on your faces lightly with pencil. 

Emoji canvas. Click through for instructions.

7. Then just paint on your faces. That's all! Once it completly dries, you have an adorable emoji canvas. 

Emoji canvas. Click through for instructions.

We love how ours turned out. This canvas can be customized to your liking. Pick out your favorite emojis, or use the ones we chose, it's totally up to you.

Emoji canvas. Click through for instructions.

This poster can be hung in any room to make it more fun and brighten it up a little! You really should try it. You won't regret it, we promise! :) xoxo, Britt + Sky