Lately we have been trying very hard to recycle as much as we can. It makes us feel better that things can be used and it takes down the amount of trash we put out each week. Another good benefit that we have found is that we have been able to come up with some really fun projects that are really affordable because we are using things that we already have.
For instance, we have bought several large pieces of furniture from ikea lately that come in really nice large boxes. We decided that we wanted to come up with a good idea of how to make use of the boxes we had lying around.
Plus we have been wanting to make some kind of storage bin that will fit on our shelf and hold Noah's toys for quite a while. We have found some that we liked but were worried that Noah may hurt himself on them, or they are just plain expensive.

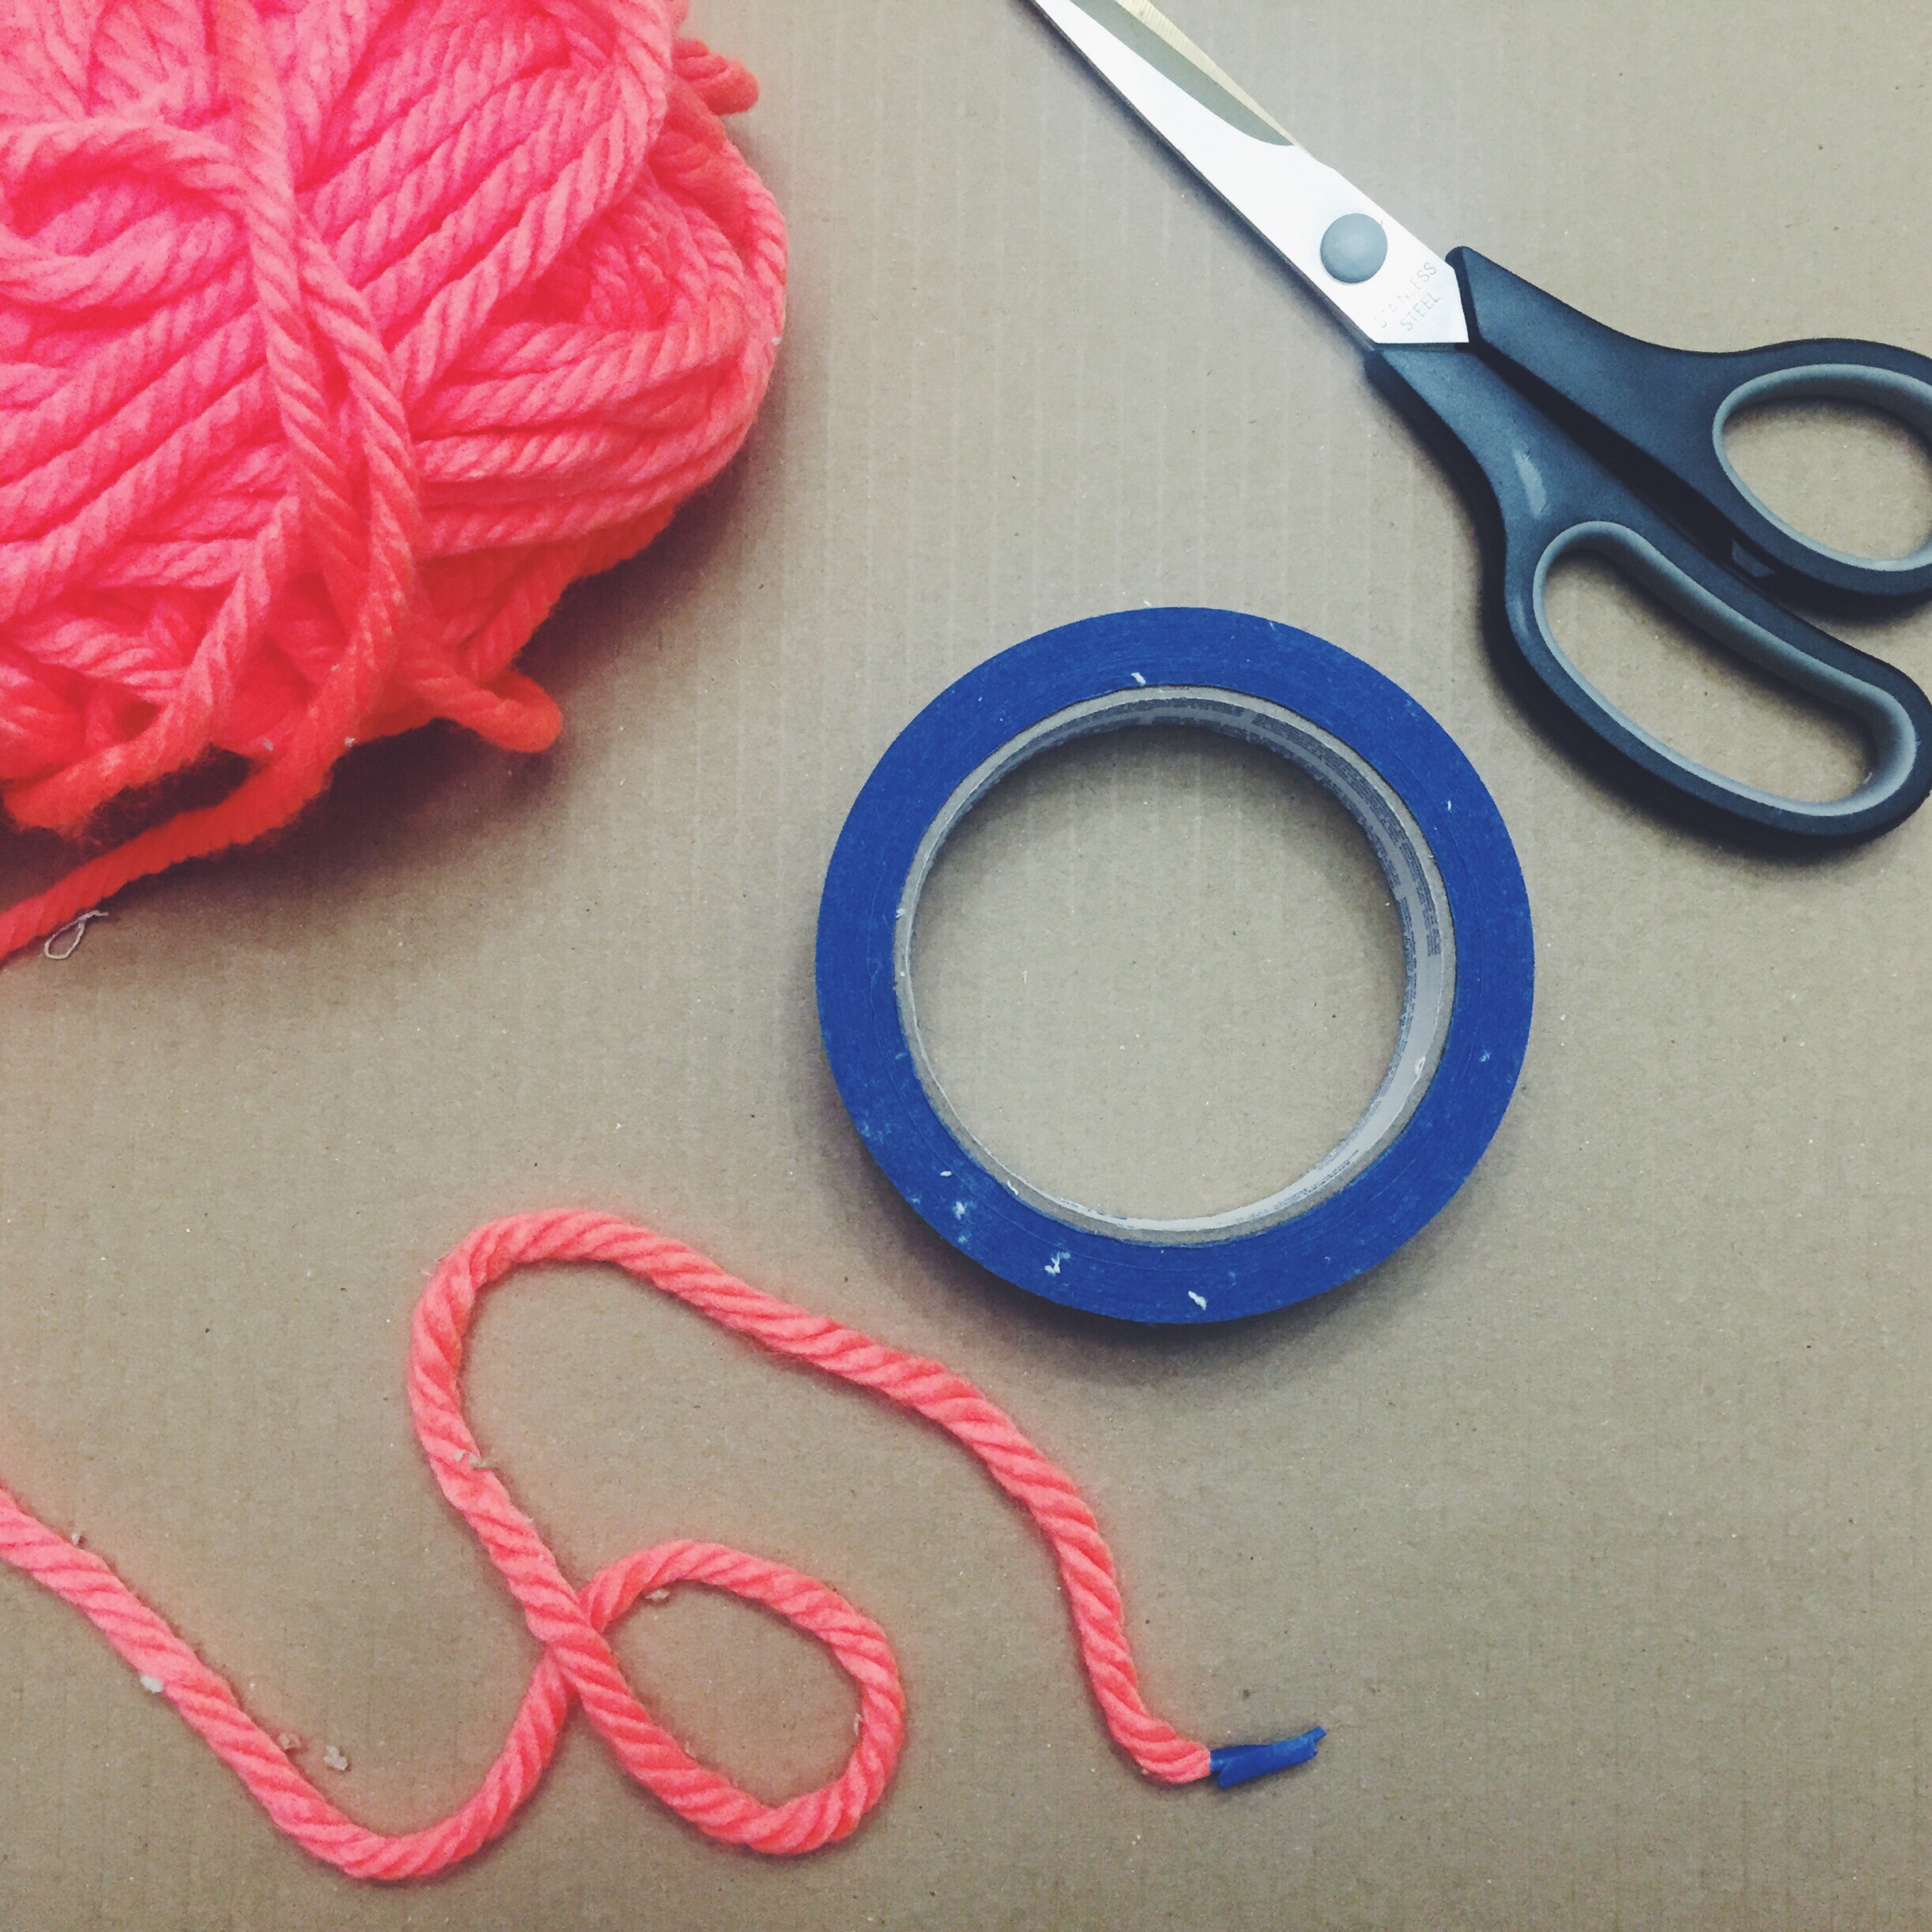
Our storage bin that we are making today is made of cardboard and yarn. That's it. It is super inexpensive because like we said, we had the cardboard and we also had part of a roll of yarn from a previous project that we worked on.
Here's what we used:
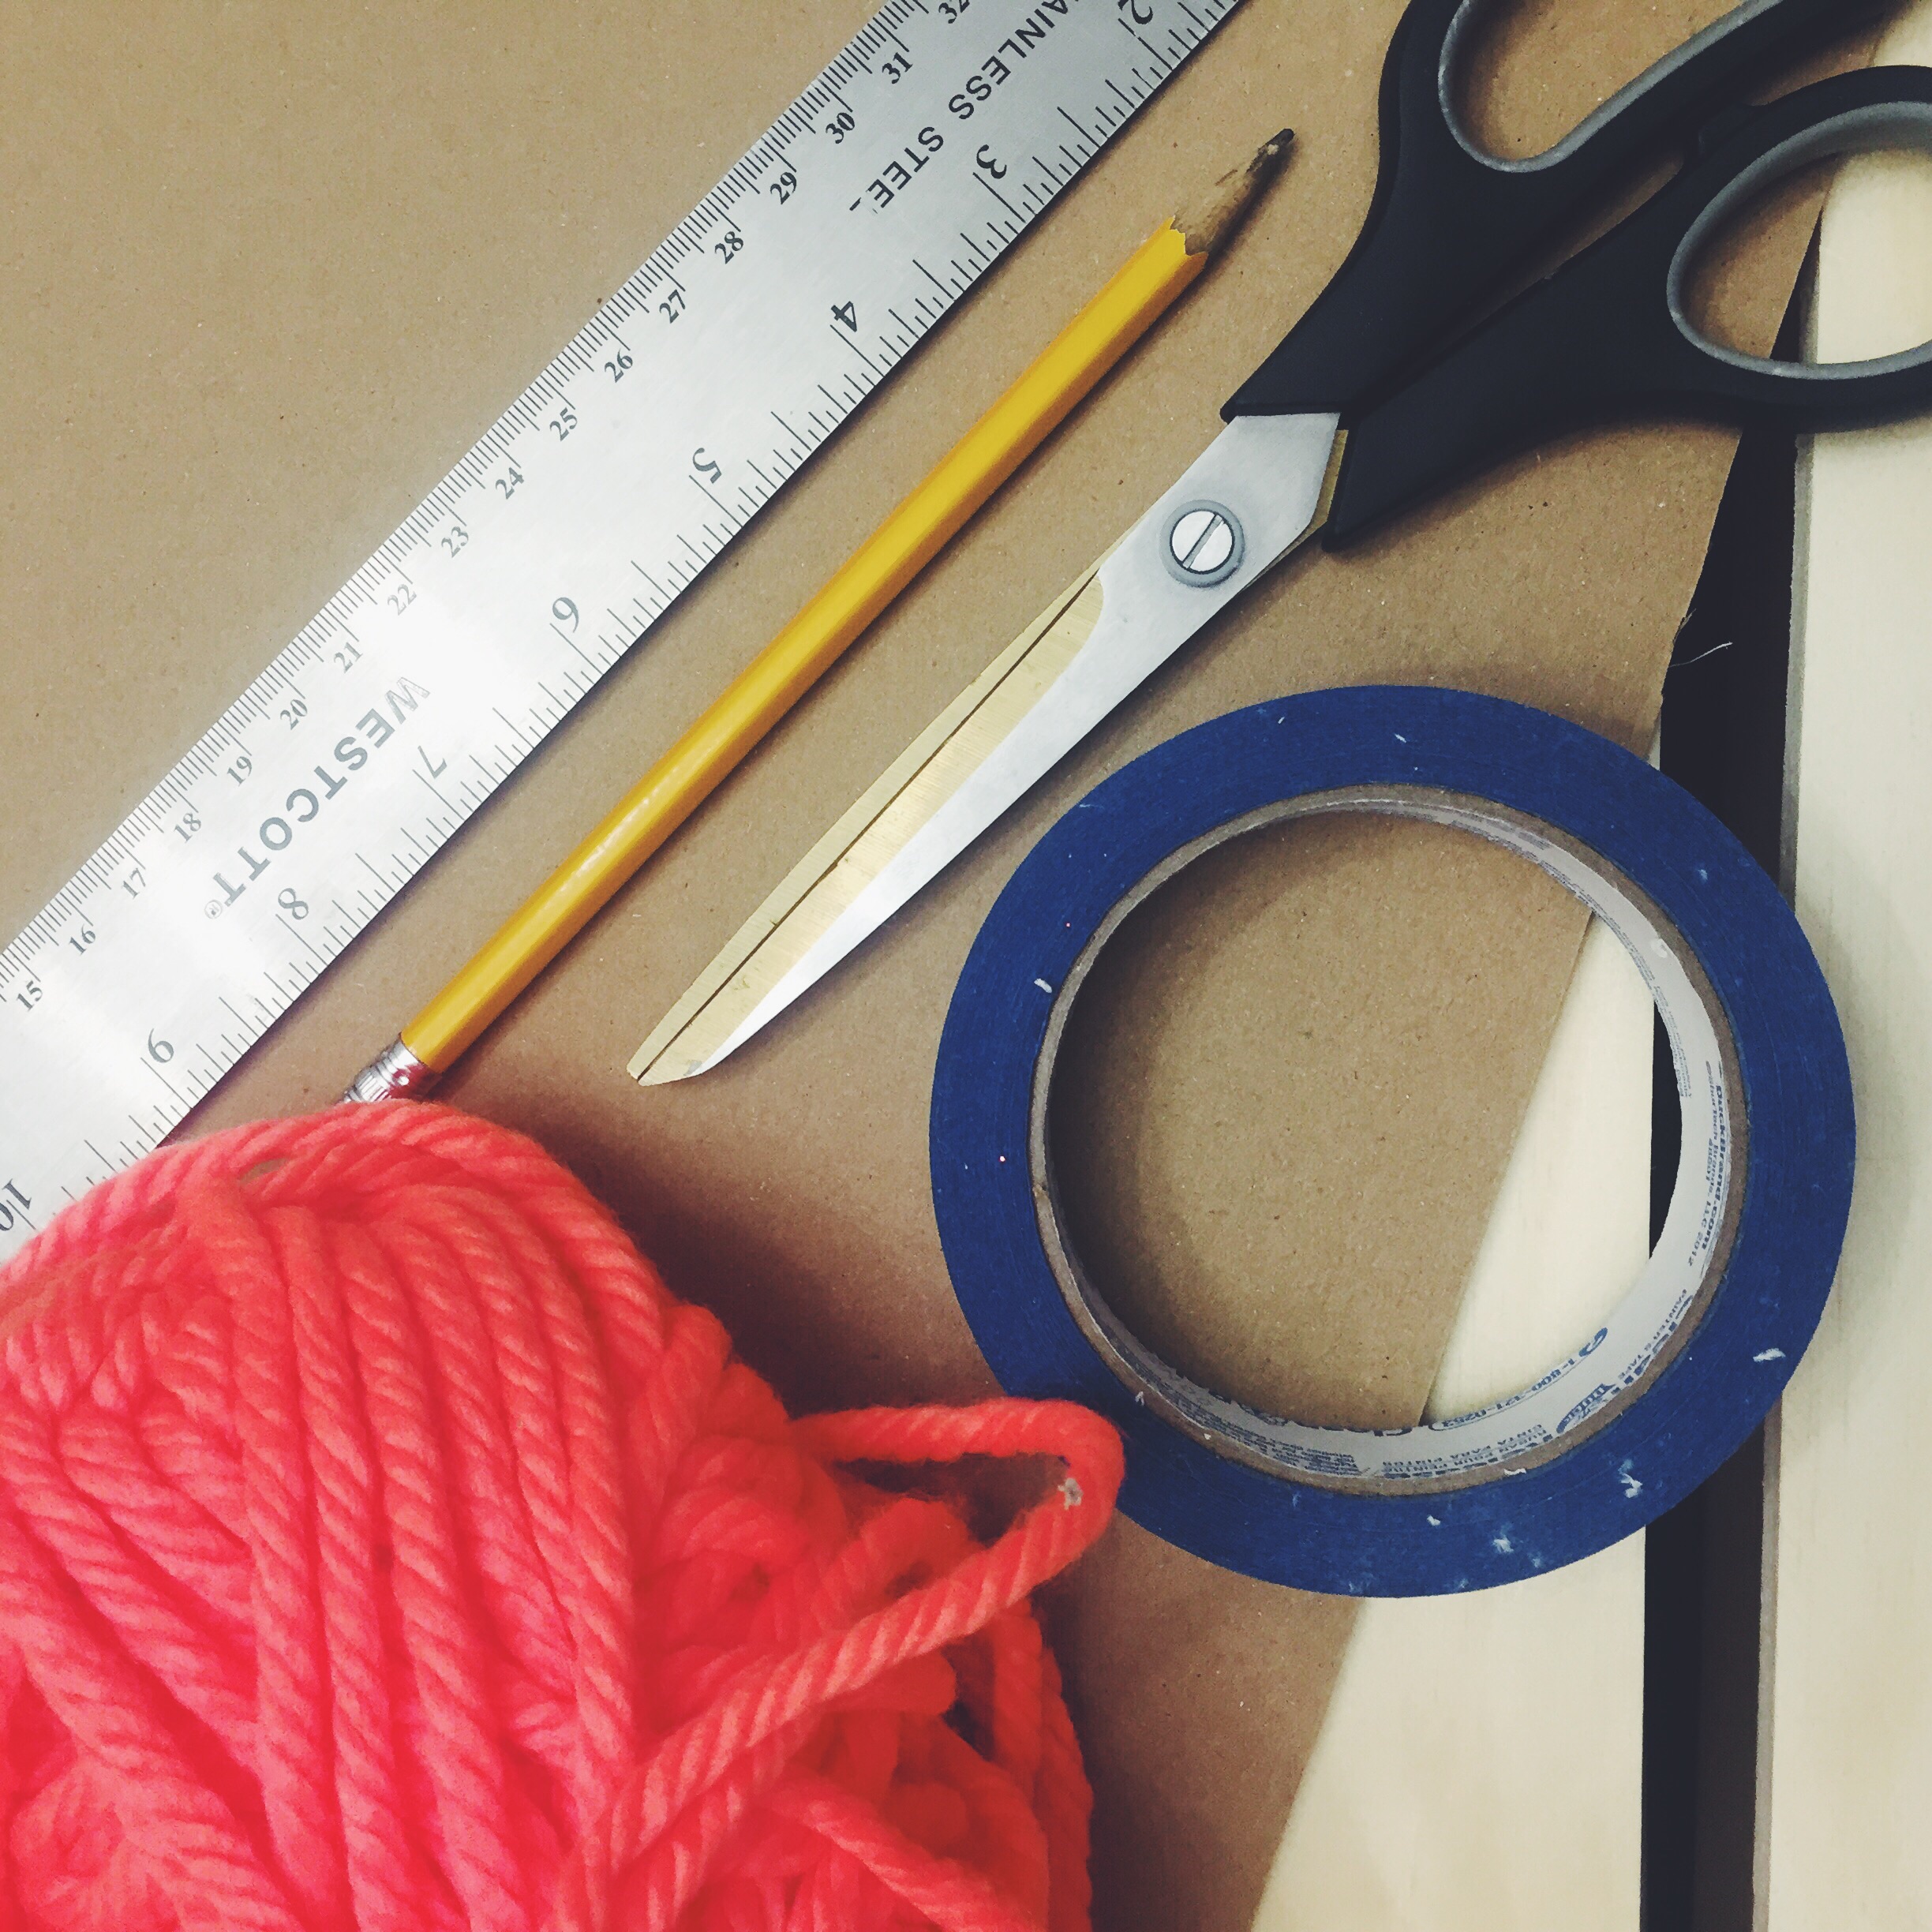
- cardboard
- yarn
- scissors
- ruler
- pencil
- x-acto
- masking tape
- hole punch/drill
Here's what we did:
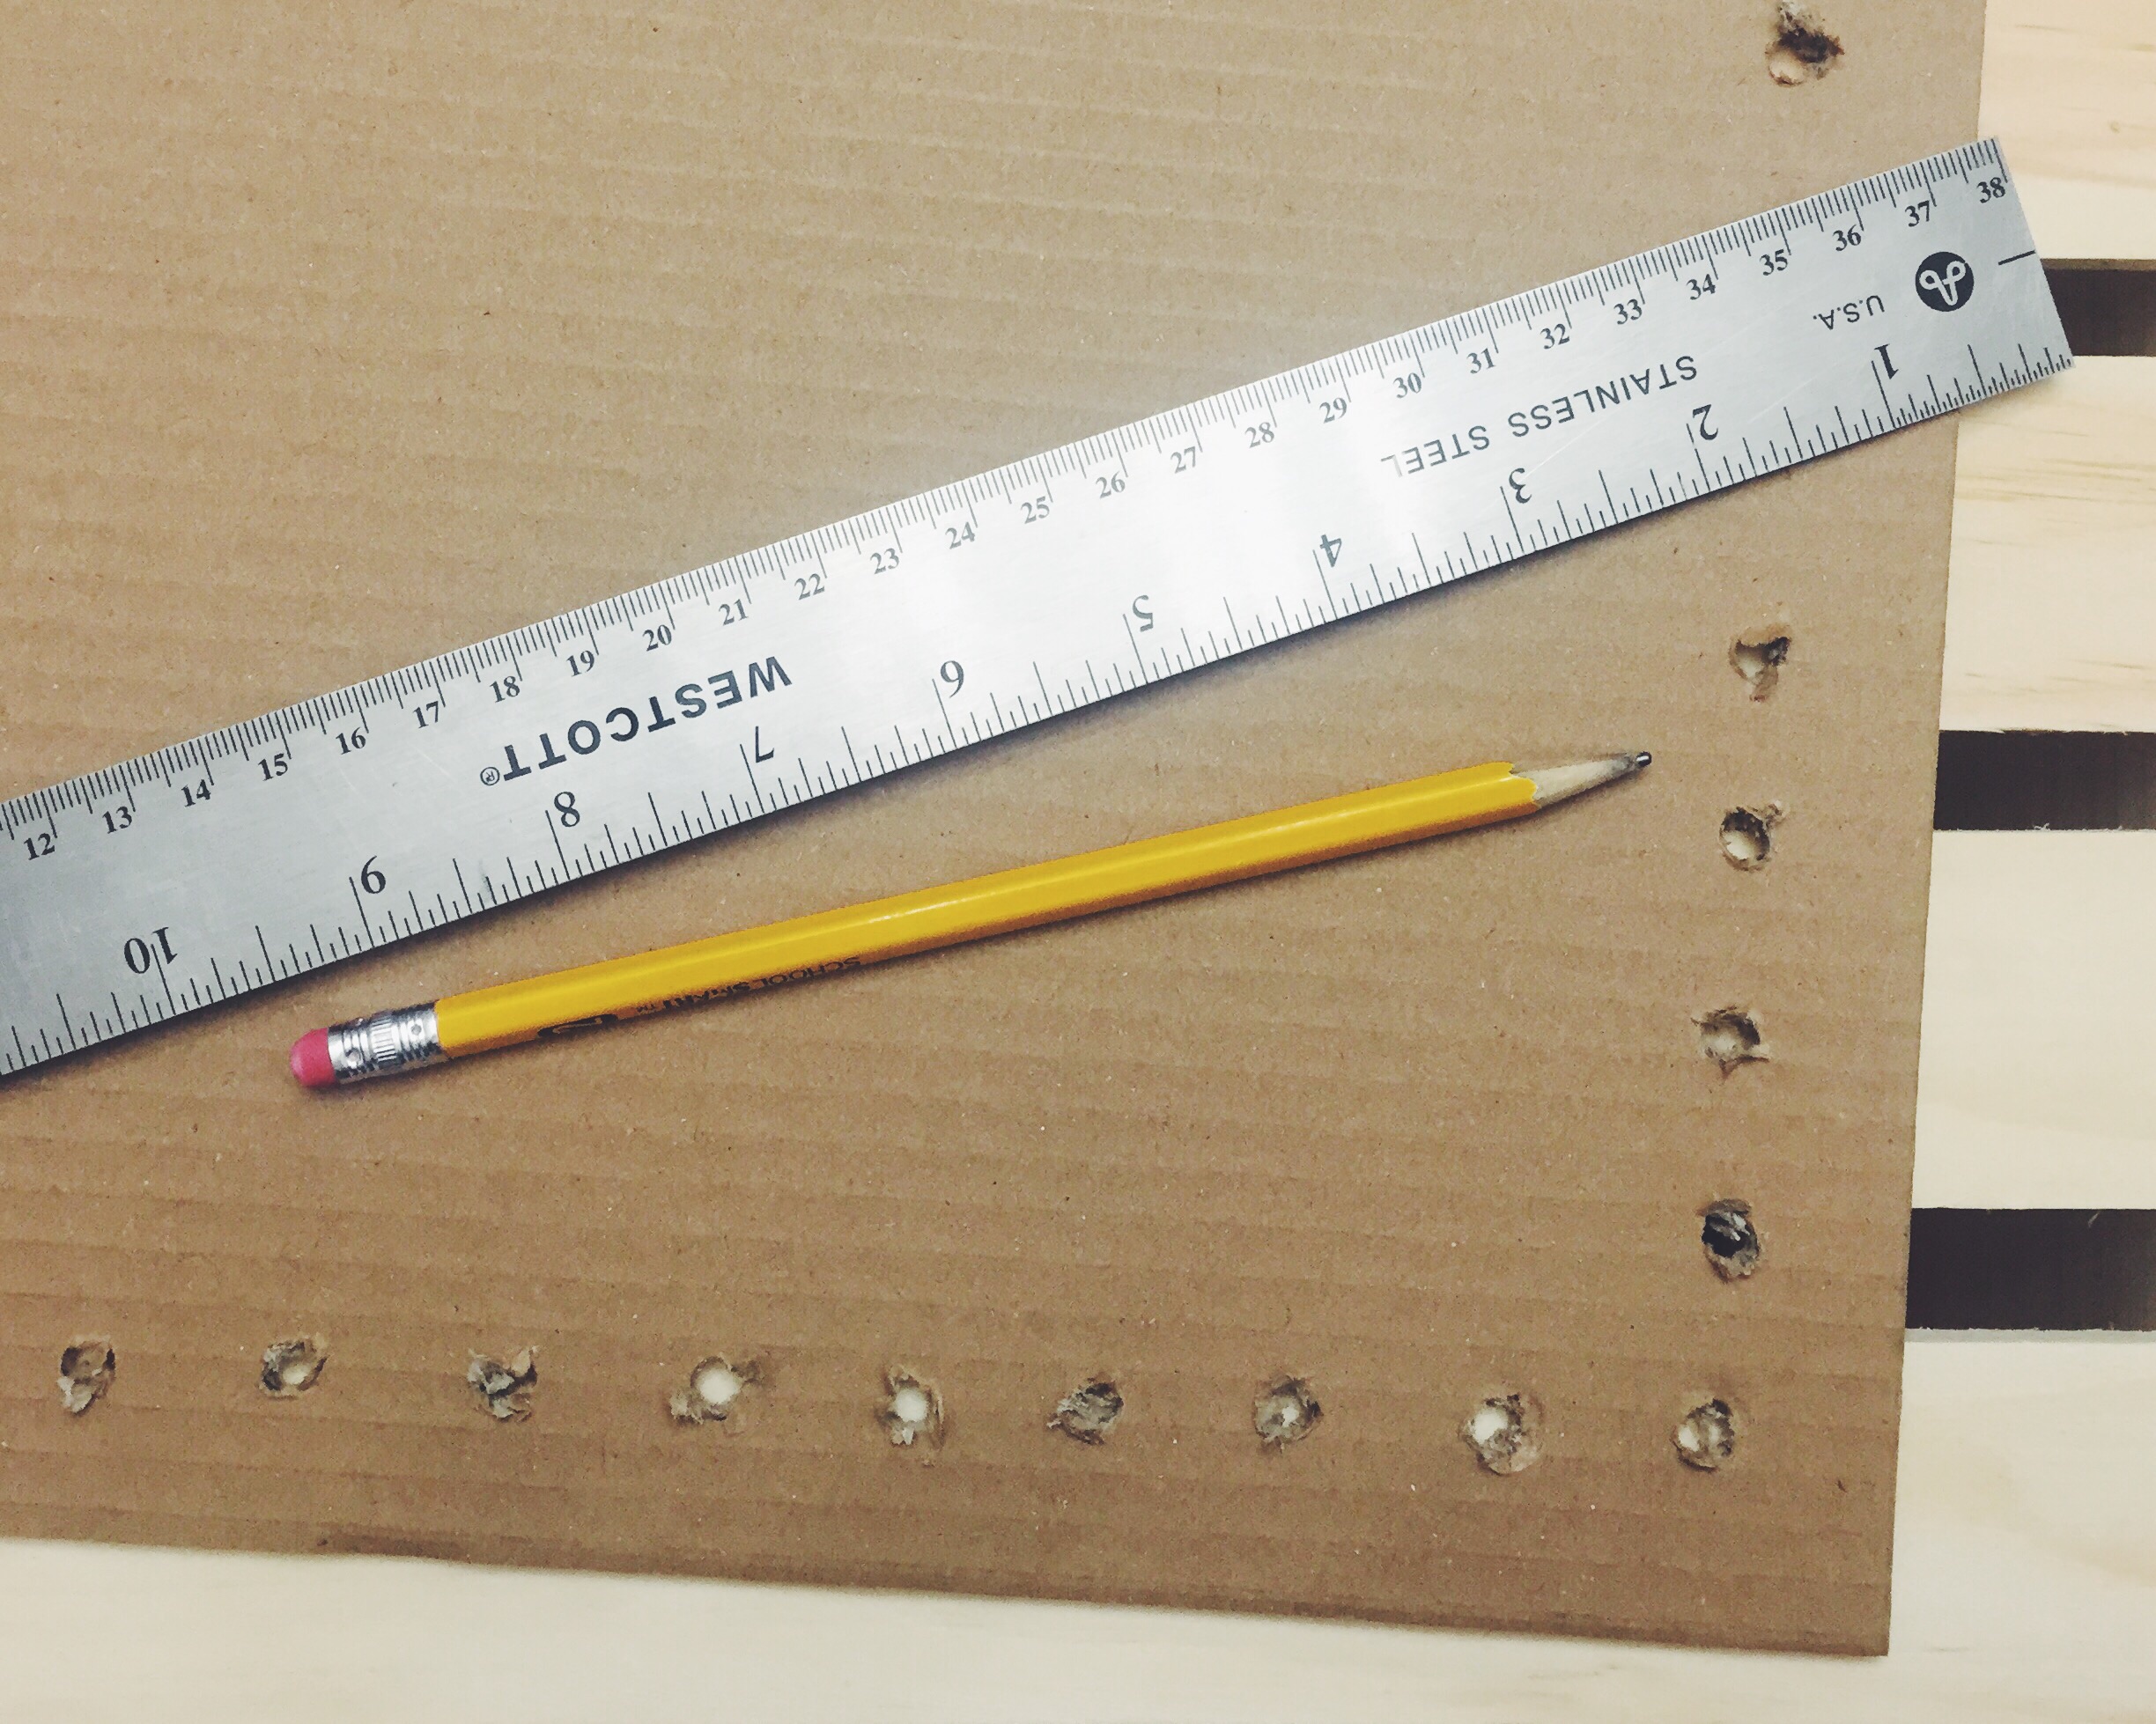
1. We cut 5 equal squares from our large piece of cardboard. We cut ours out at 12" x 12" because that is what fit our shelf, but you could definitely make it whatever size suites you.
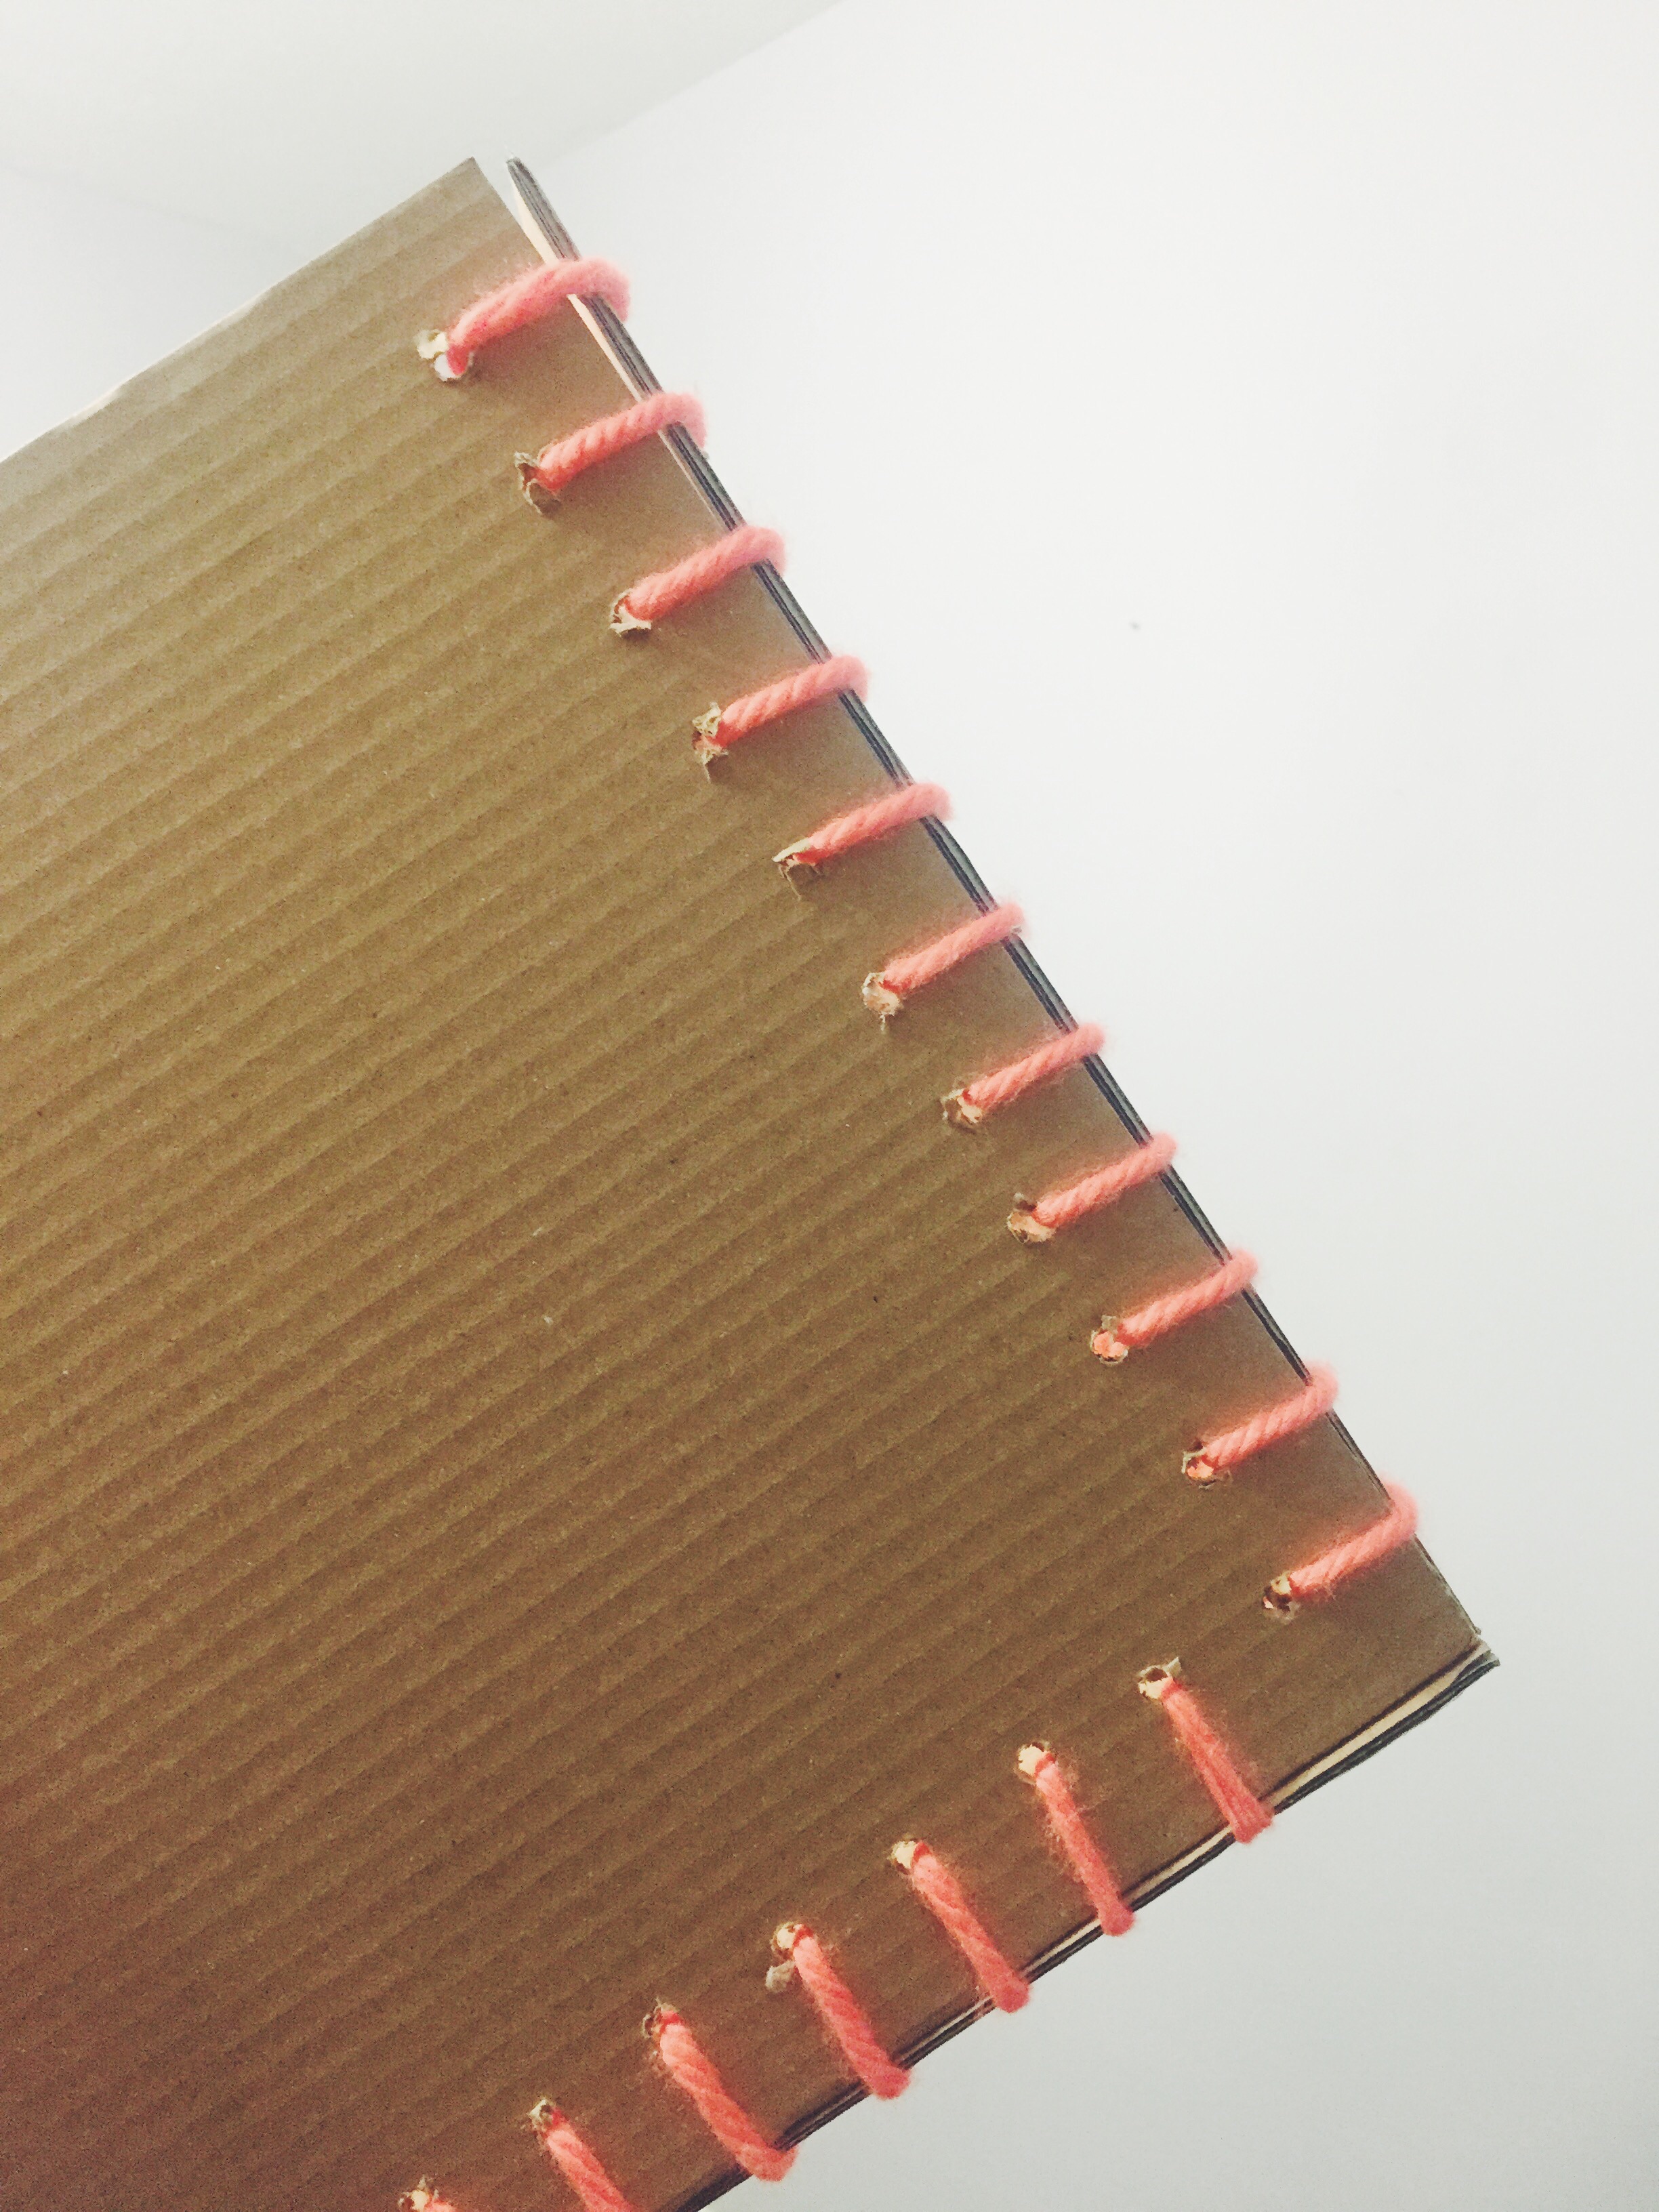
2. Then we measured and marked where we wanted to put our holes on each piece. We marked ours 1" in from the edges and then 1" apart. 4 of the pieces need holes on only 3 sides. The other piece needs holes on all 4 sides.
3. Next we used the drill and drill bit to cut all of our holes. We could have used a hole punch, but the one we have wasn't big enough for what we needed to do. Note: Once we cut one, we used it as a template.
4. We wrapped a small piece of masking tape around the end of our yarn to help make it easier to put it through the holes.
5. We used a few different pieces of yarn and weaved through the holes to connect our 5 pieces of cardboard. Once we were done with that, we tied off our loose pieces of yarn.
6. Boom! You have a super fun storage bin!
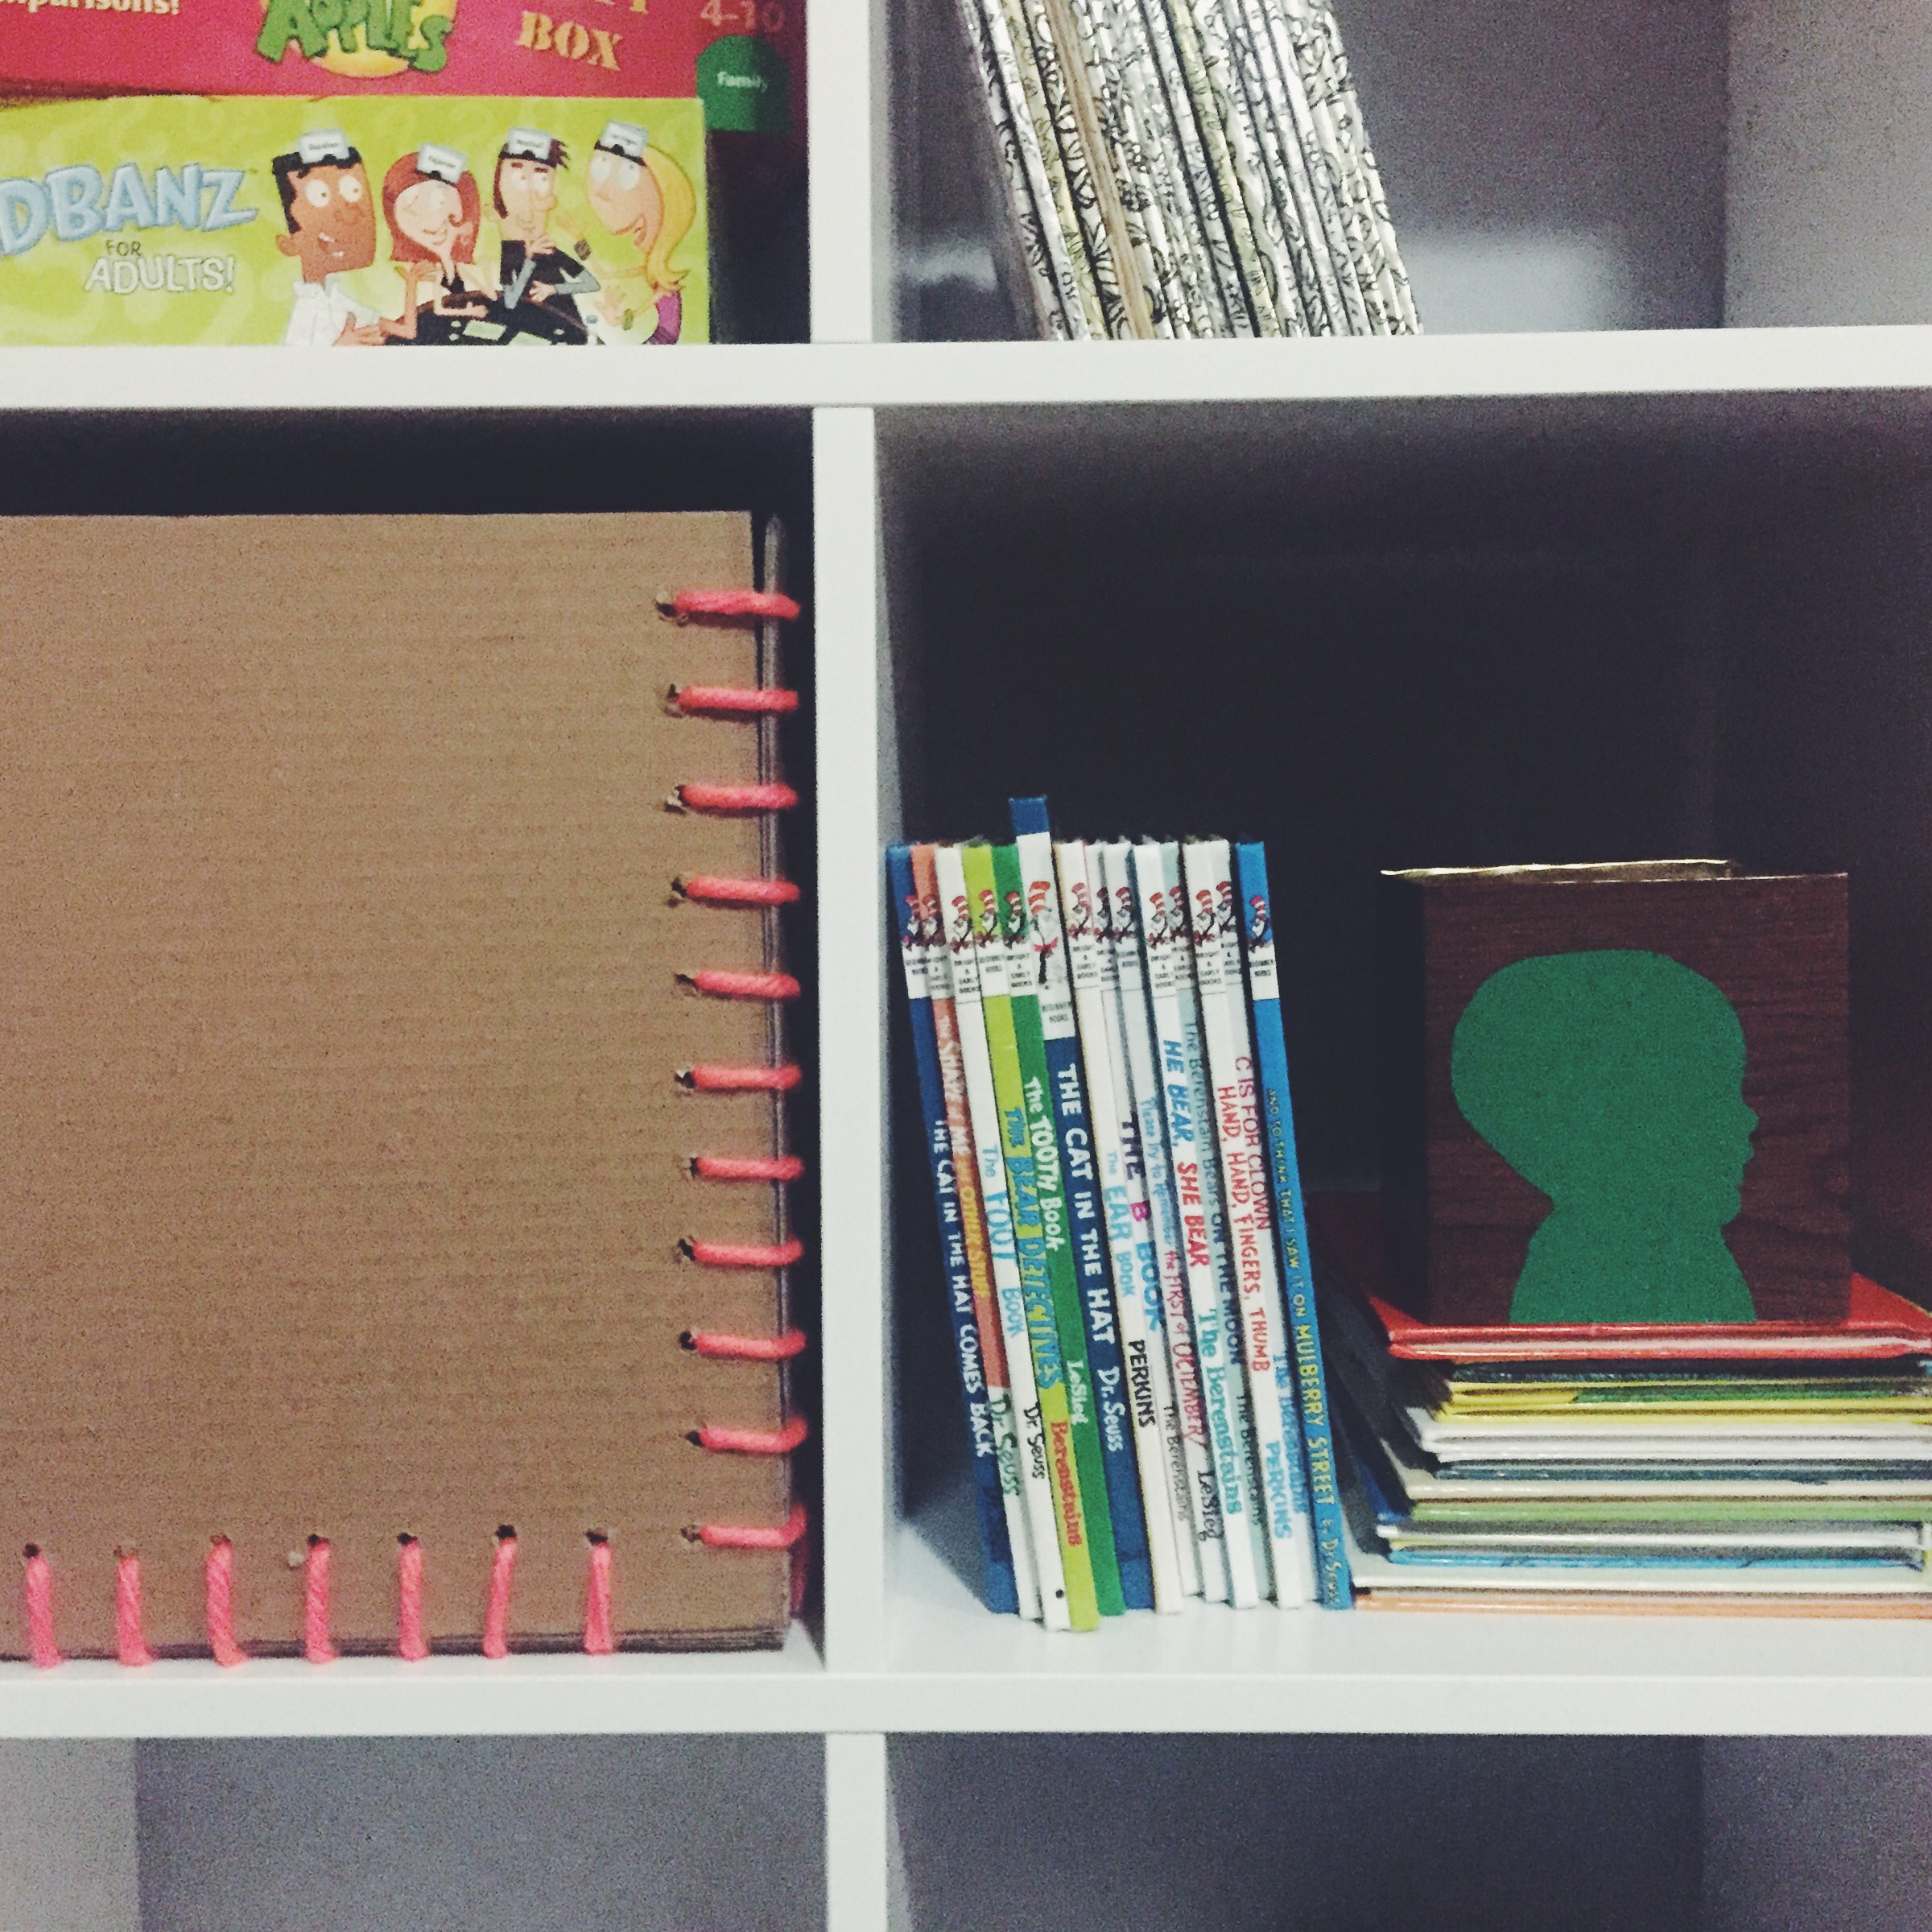
Our storage bin is so perfect for Noah's toys or even his blankets. We will definitely make more of these as we get more cardboard. And we love the way the bin looks on our shelf!


We hope you love our fun diy and try it yourself! xoxo, Britt + Sky