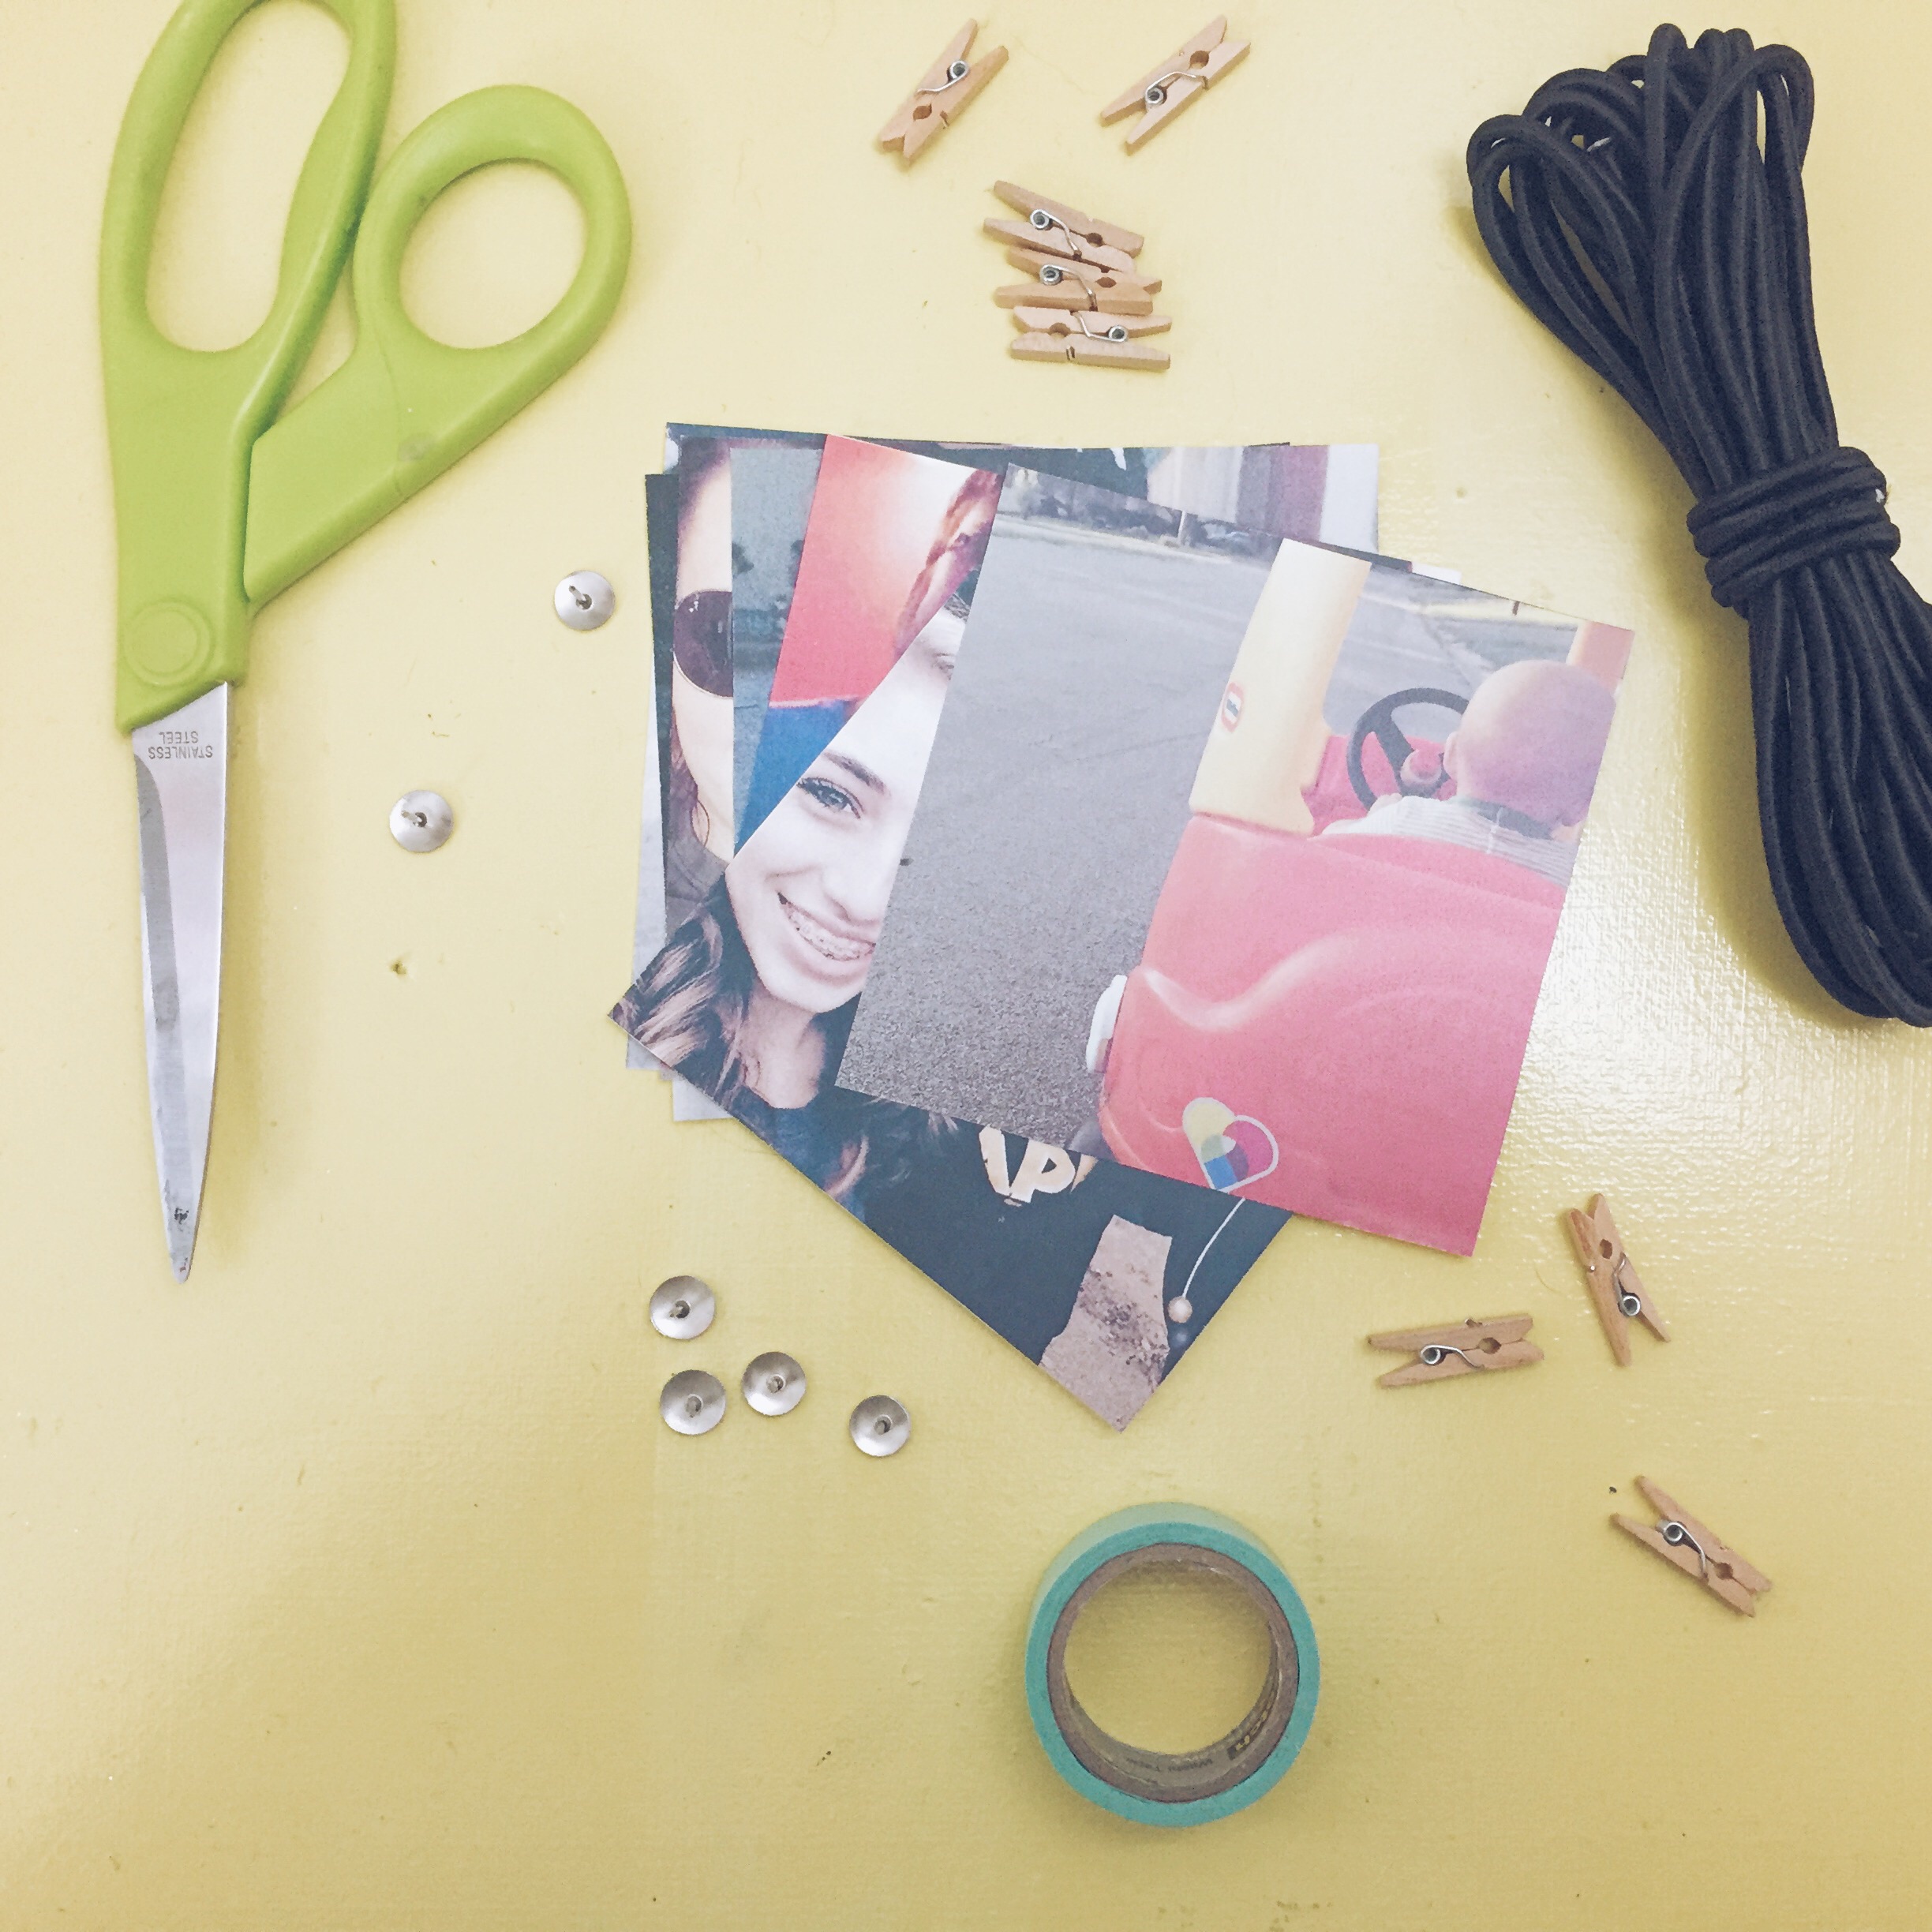
Today we have a quick and easy way to display all of your favorite pictures. This project is very inexpensive and can be adjusted to however many photos you have!
Here's what you'll need:
- twenty-one pictures
- black cord
- six thumb tacks
- twenty-one mini clothes pins
- scissors
- washi tape
1. Cut your cord into three equal pieces. (Approx. 5 feet each)
2. Using one tack on each end of the cord, tack them to the wall evenly spaced apart and in the center of the wall. (These distances will vary depending on the wall.)
3. Cut six triangles out of washi tape and use these to cover the tacks.
4. Evenly space out your pictures, seven on each row, and hang them with your mini clothes pins.
5. Take a step back and make sure all the pictures look evenly spaced out. And that's it. Now you have a cute picture display that only took a few minutes and under $10!
This display is great for any room in the house. The color of the washi tape and the string can be changed based on the area you choose to hang it. You can also make your string longer or add more rows if you are unable to choose only twenty-one photos. (Believe us! We know it's not easy!) xoxo, Britt + Sky


