We love getting tacky for our annual ugly Christmas sweater party. In honor of that, we have a few easy to make accessories that will go perfectly with your ugly sweater. We also have a couple DIY sweater inspirations for you. I think your gonna like 'em.


What you need:
Accessories:
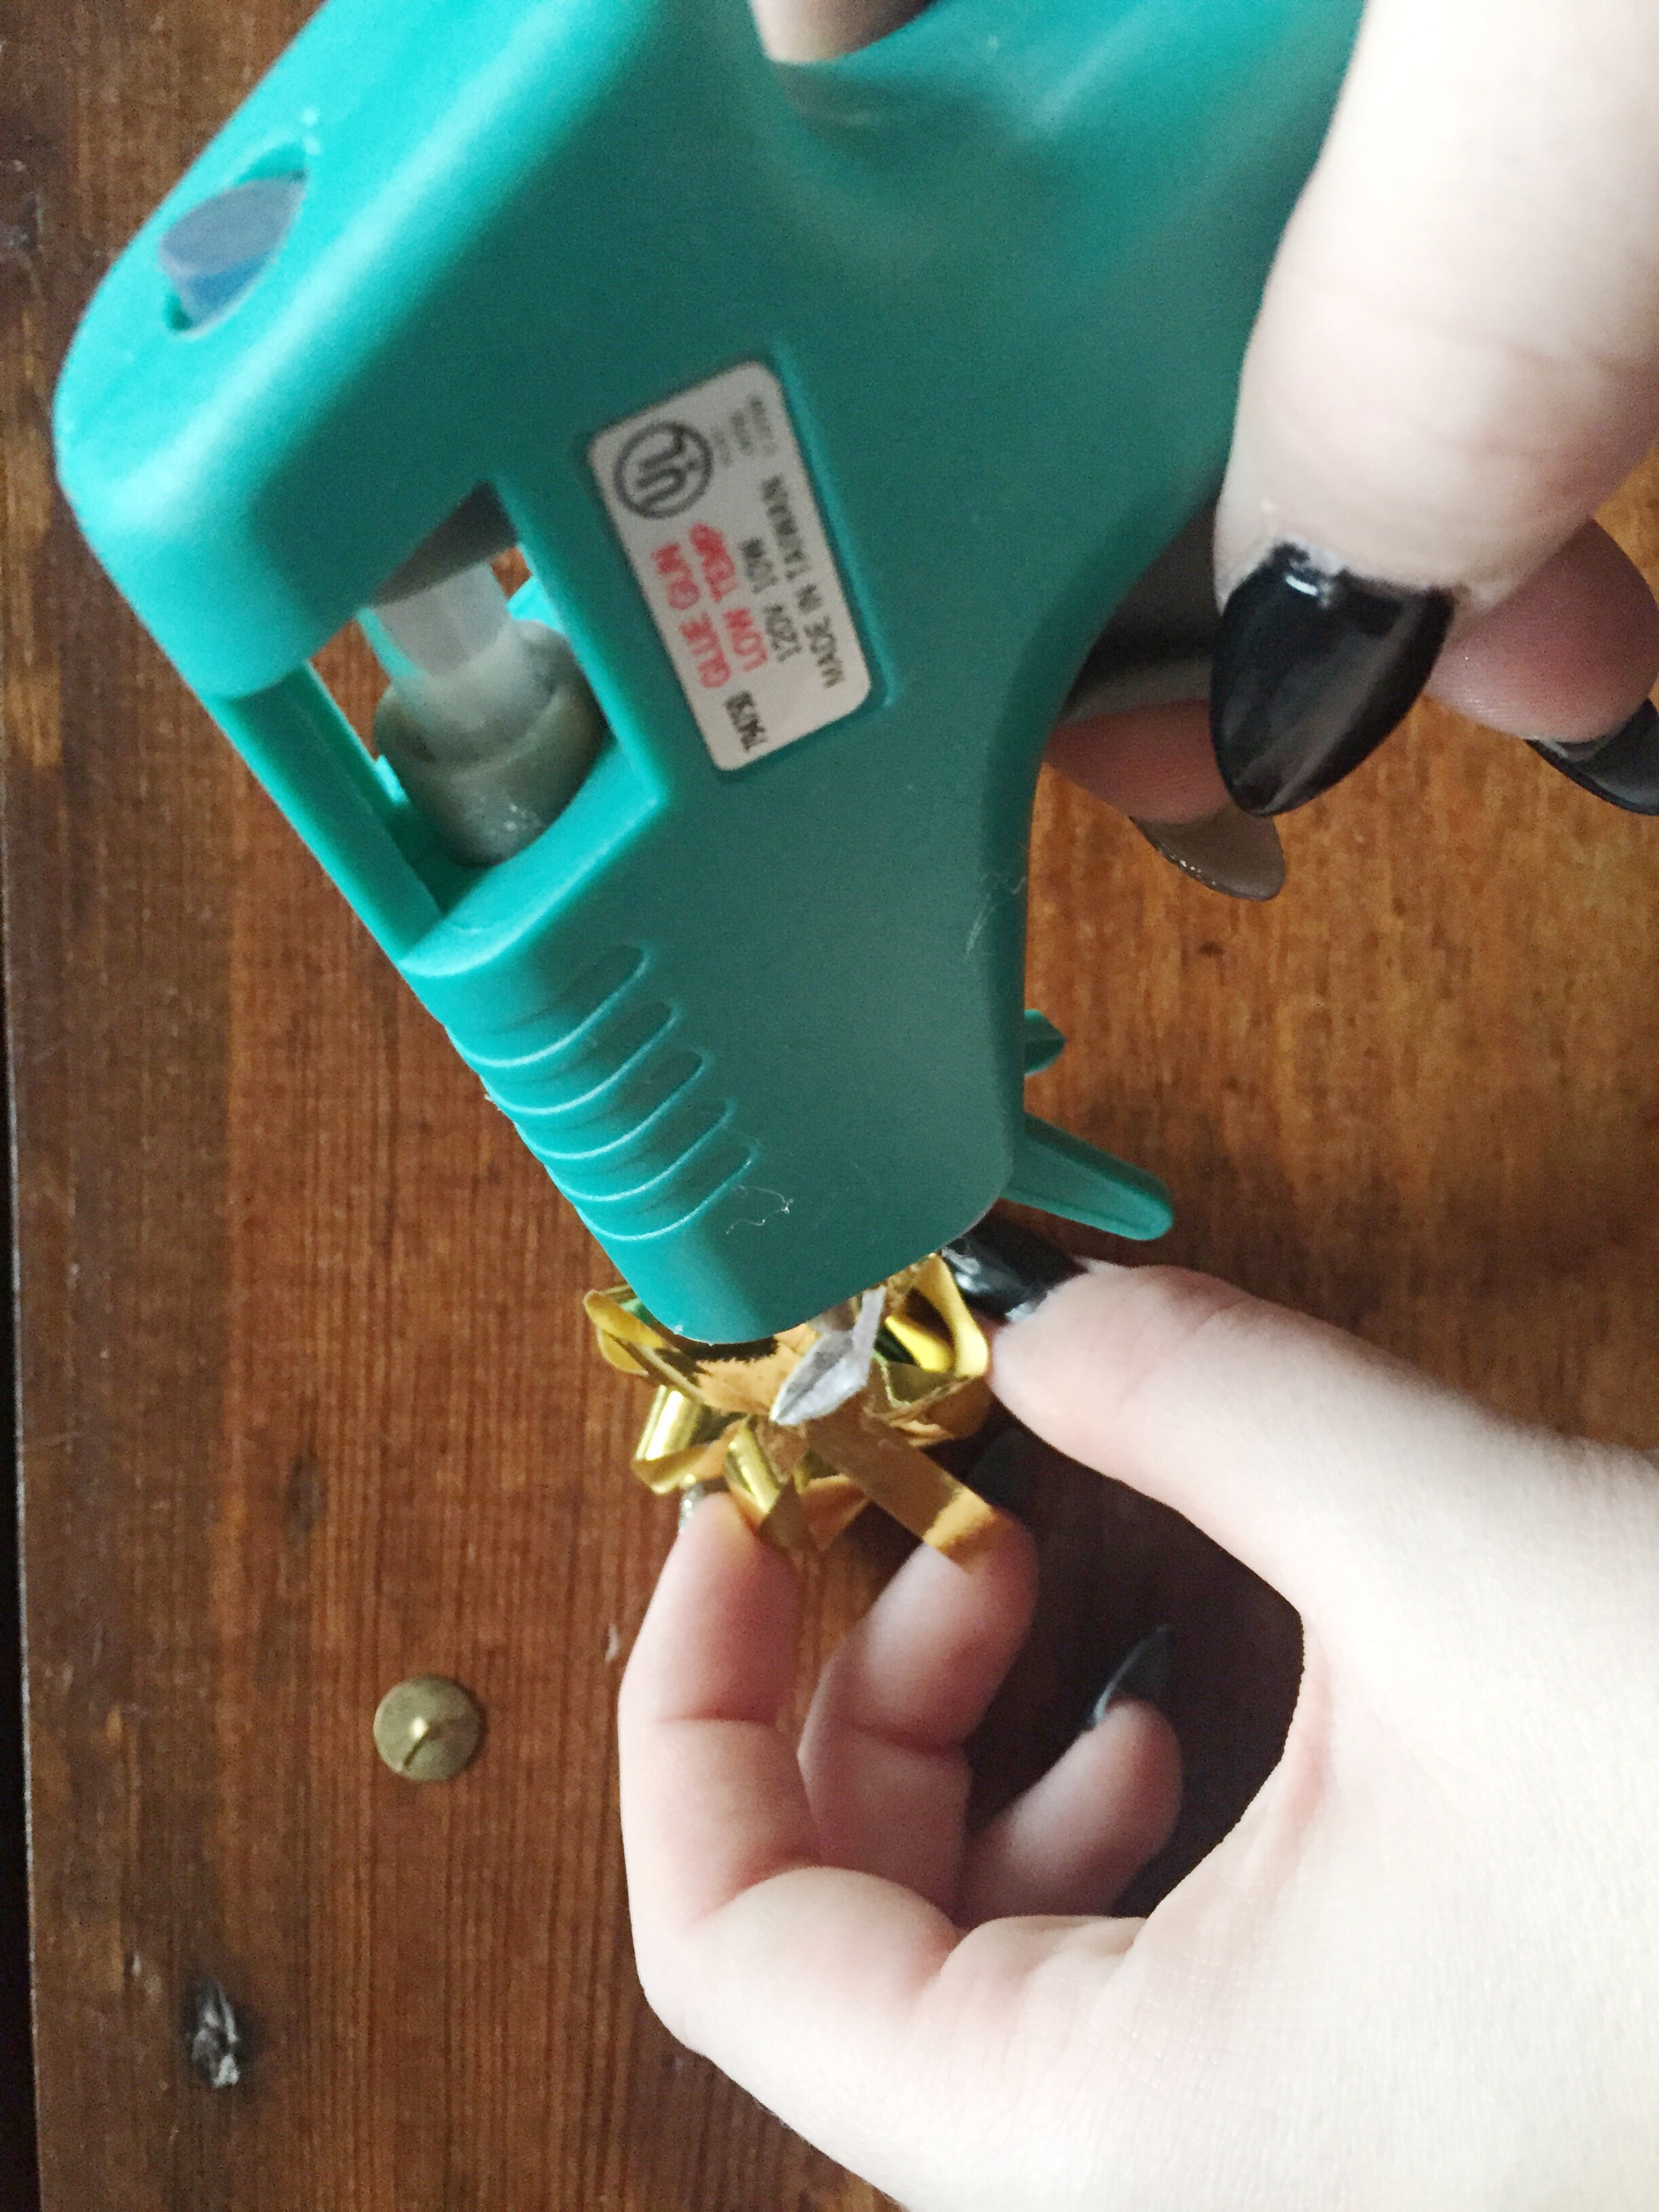
hot glue gun
earring
bobby pins
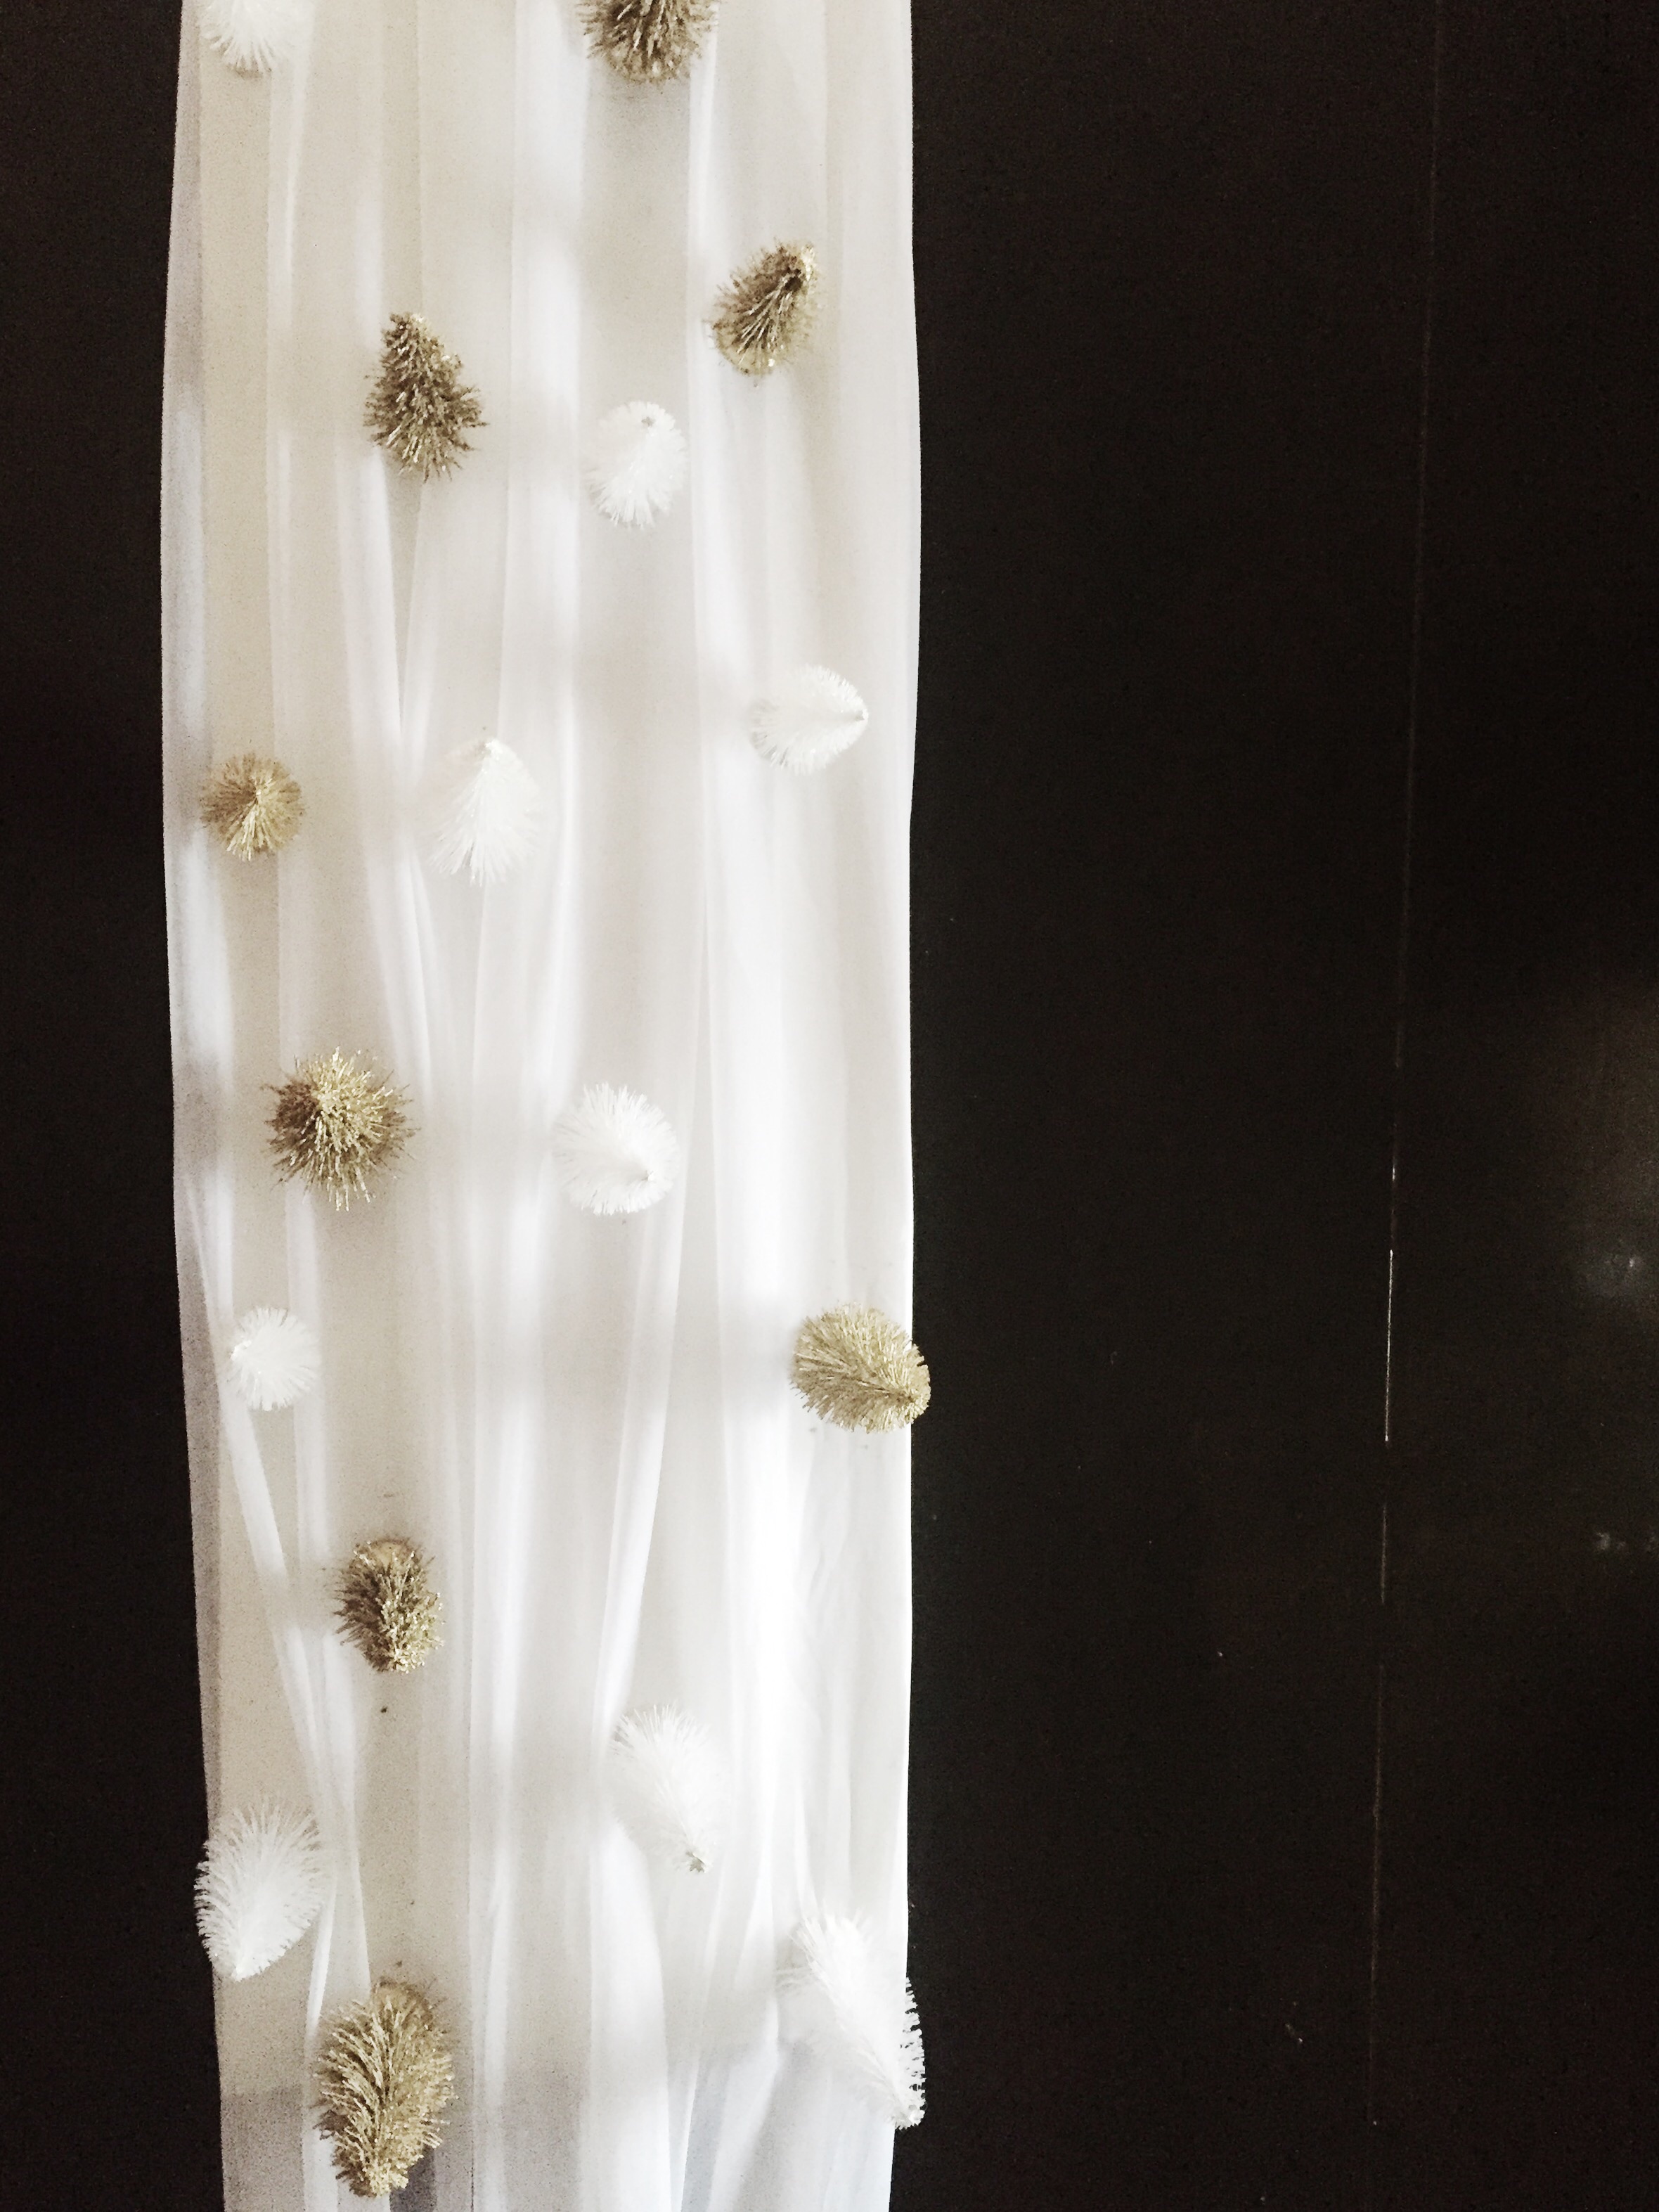
bows, ribbons, pom-poms, etc.
Sweatshirts:
- sweatshirt
- paint
- felt
- buttons
- pipe cleaner
- bow
You can pretty much hot glue any tacky or just fun Christmas decoration to a pair of earrings or bobby pin and you have a super simple accessory that adds plenty of tacky to your ensemble. We used gift bows and pom-poms, but your options are really endless.


The snowman sweatshirt was made by painting on the snowman's body, adding buttons, a felt nose, and then using a pipe cleaner and some felt to make a pair of earmuffs.


The present shirt was made by taping off a square, painting the box, removing the tape, painting the "ribbon," then hot gluing on the large bow. The hardest part for each of these is waiting for your paint to dry.


We love these super simple accessories and shirts that are really going to step up our tacky level (is that a thing?) for our party! We hope that this gives you a few ideas and inspirations to make your Christmas a little more tacky :)
xoxo
Britt + Sky