Carving + Decorating Pumpkins

As you know we had a fun pumpkin patch adventure last week, where we may or may not have gone a little overboard with pumpkin purchases. :) That’s besides the point. We had a lot of plans for how we wanted to decorate all of them or at least try to. So for today we have a few awesome ideas of how to decorate your pumpkins! Plus we just want to show off all of ours :)

Carving + Decorating Pumpkins. Click through for details.

1. Holey Pumpkin

Using a drill gun and a few different drill bits you can create a similar look.

Carving + Decorating Pumpkins. Click through for details.

2. Dripping Pumpkin

Just squeeze paint our on the very top of the pumpkin and let it run down the sides. Using a paint brush cover the stem.

Carving + Decorating Pumpkins. Click through for details.

3. Creepy-Crawly Pumpkin

Paint your pumpkin white. Using a hot glue gun, glue on your insects.

Carving + Decorating Pumpkins. Click through for details.

4. Love Pumpkin

Cut of the top of your pumpkin and take out the guts. Using a carving tool, carve out a heart shape, cutting in pretty deep but not all the way through side of the pumpkin.

Carving + Decorating Pumpkins. Click through for details.

5. Extra Love Pumpkin

Follow the same steps as in number 4. But then using thumb tacks, outline the heart shape.

Carving + Decorating Pumpkins. Click through for details.

6. Messy Pumpkin

Put a small amount of paint on the top of your pumpkin. Using a paint brush, cover the stem and then randomly brush the paint down the side. Its nice to see the messy brush texture.
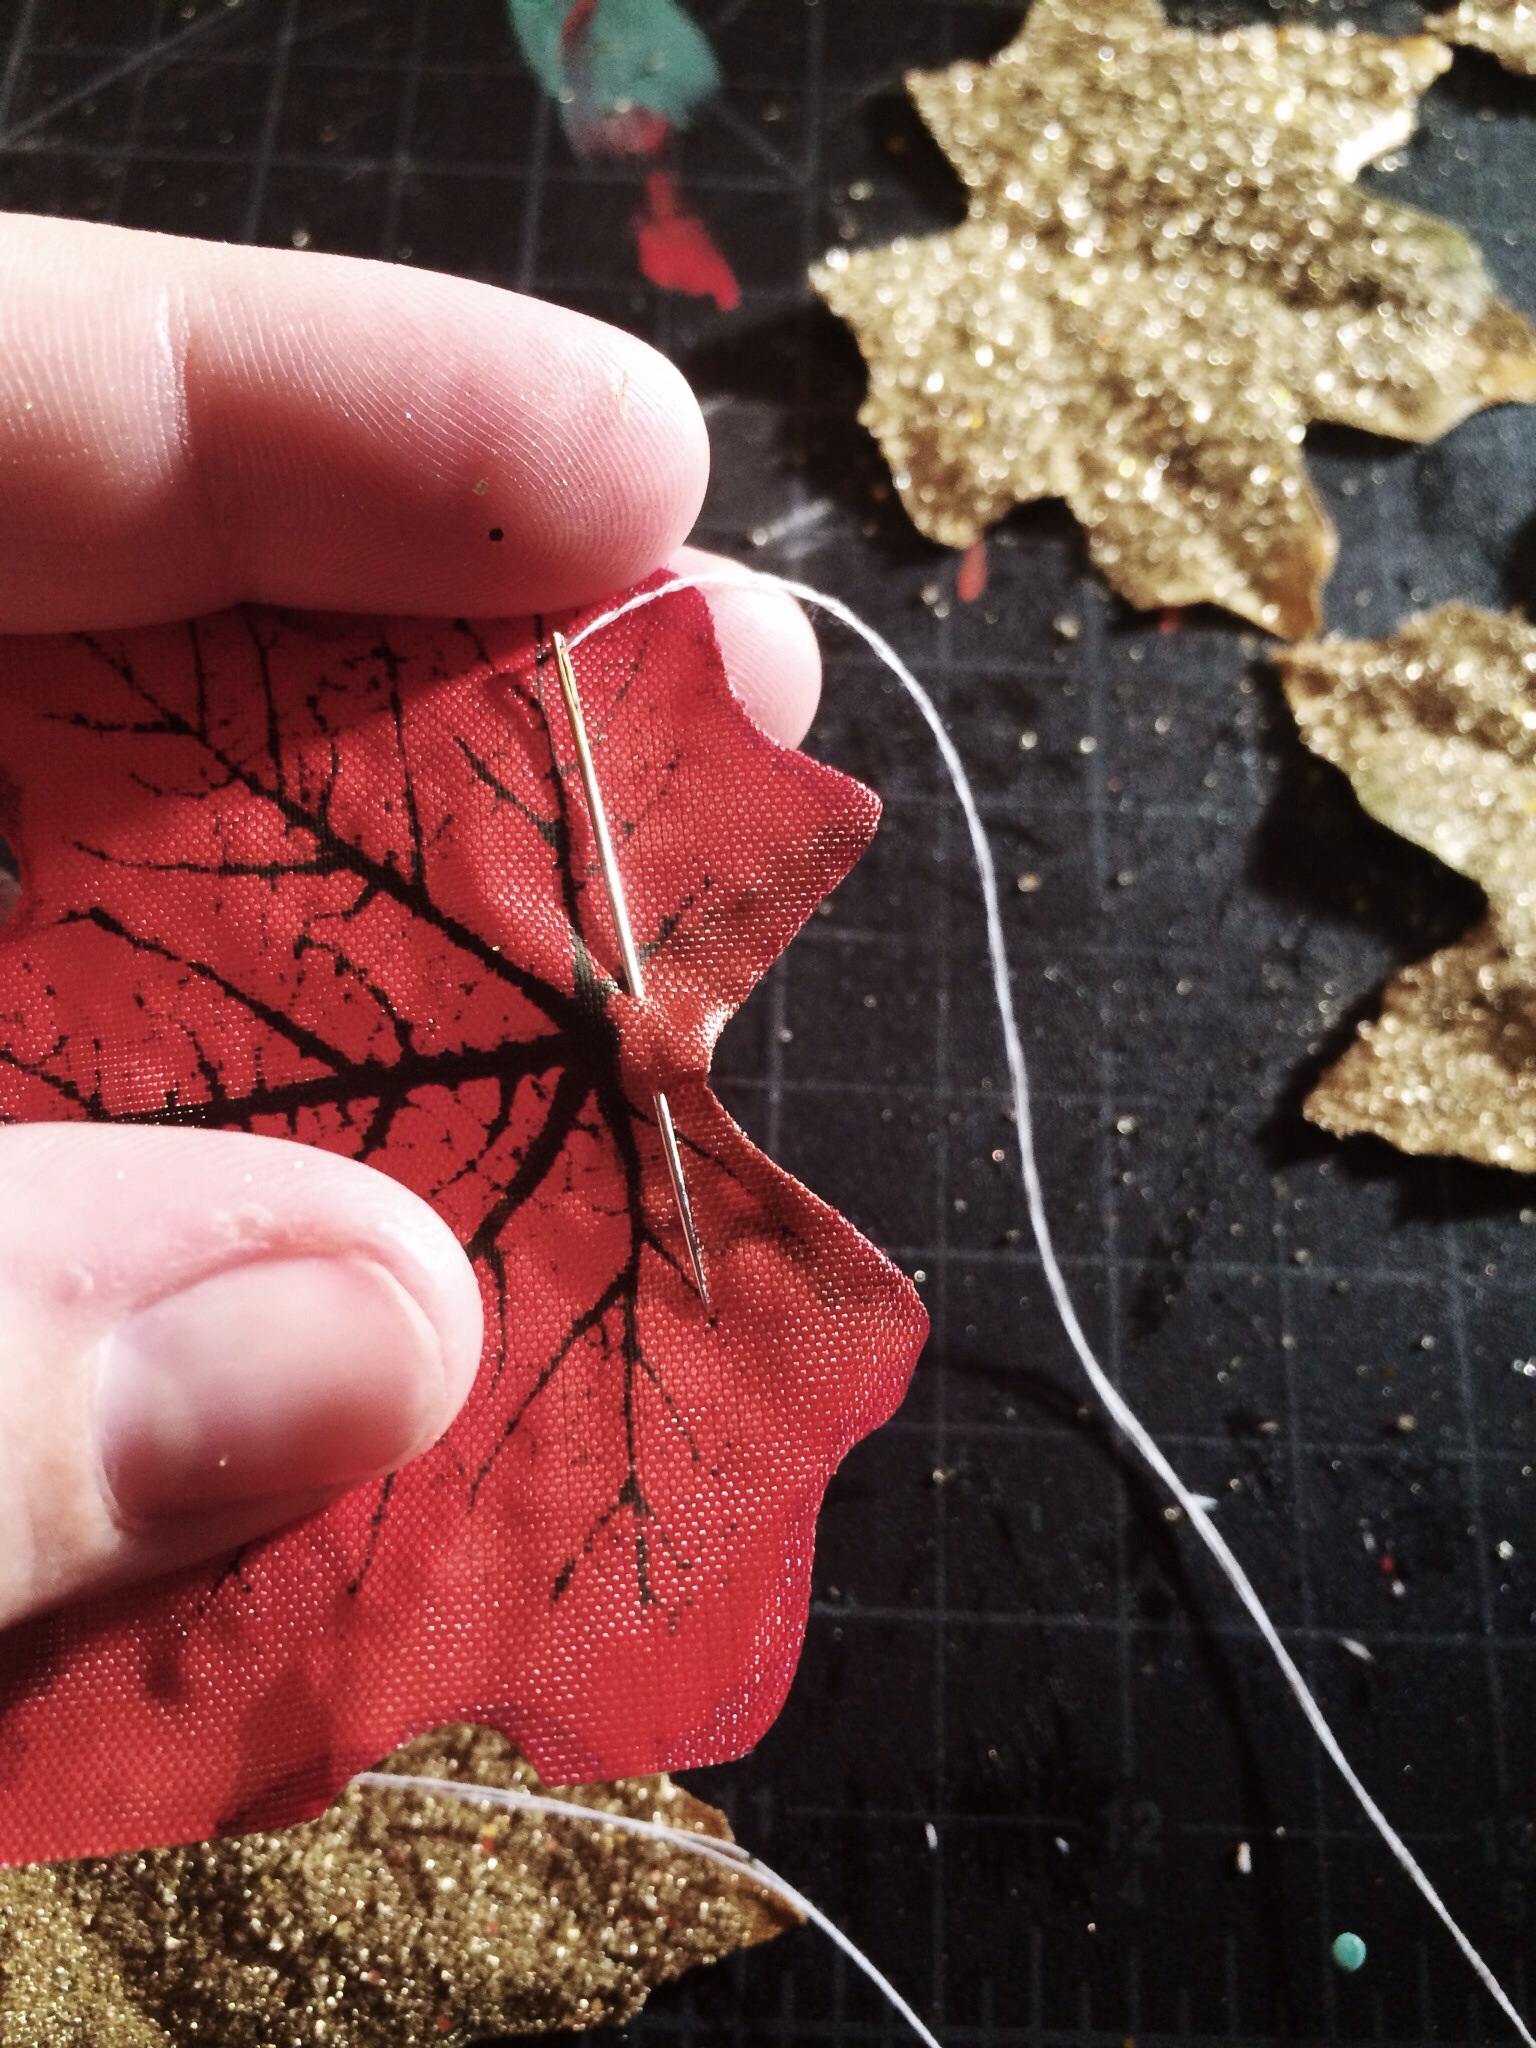
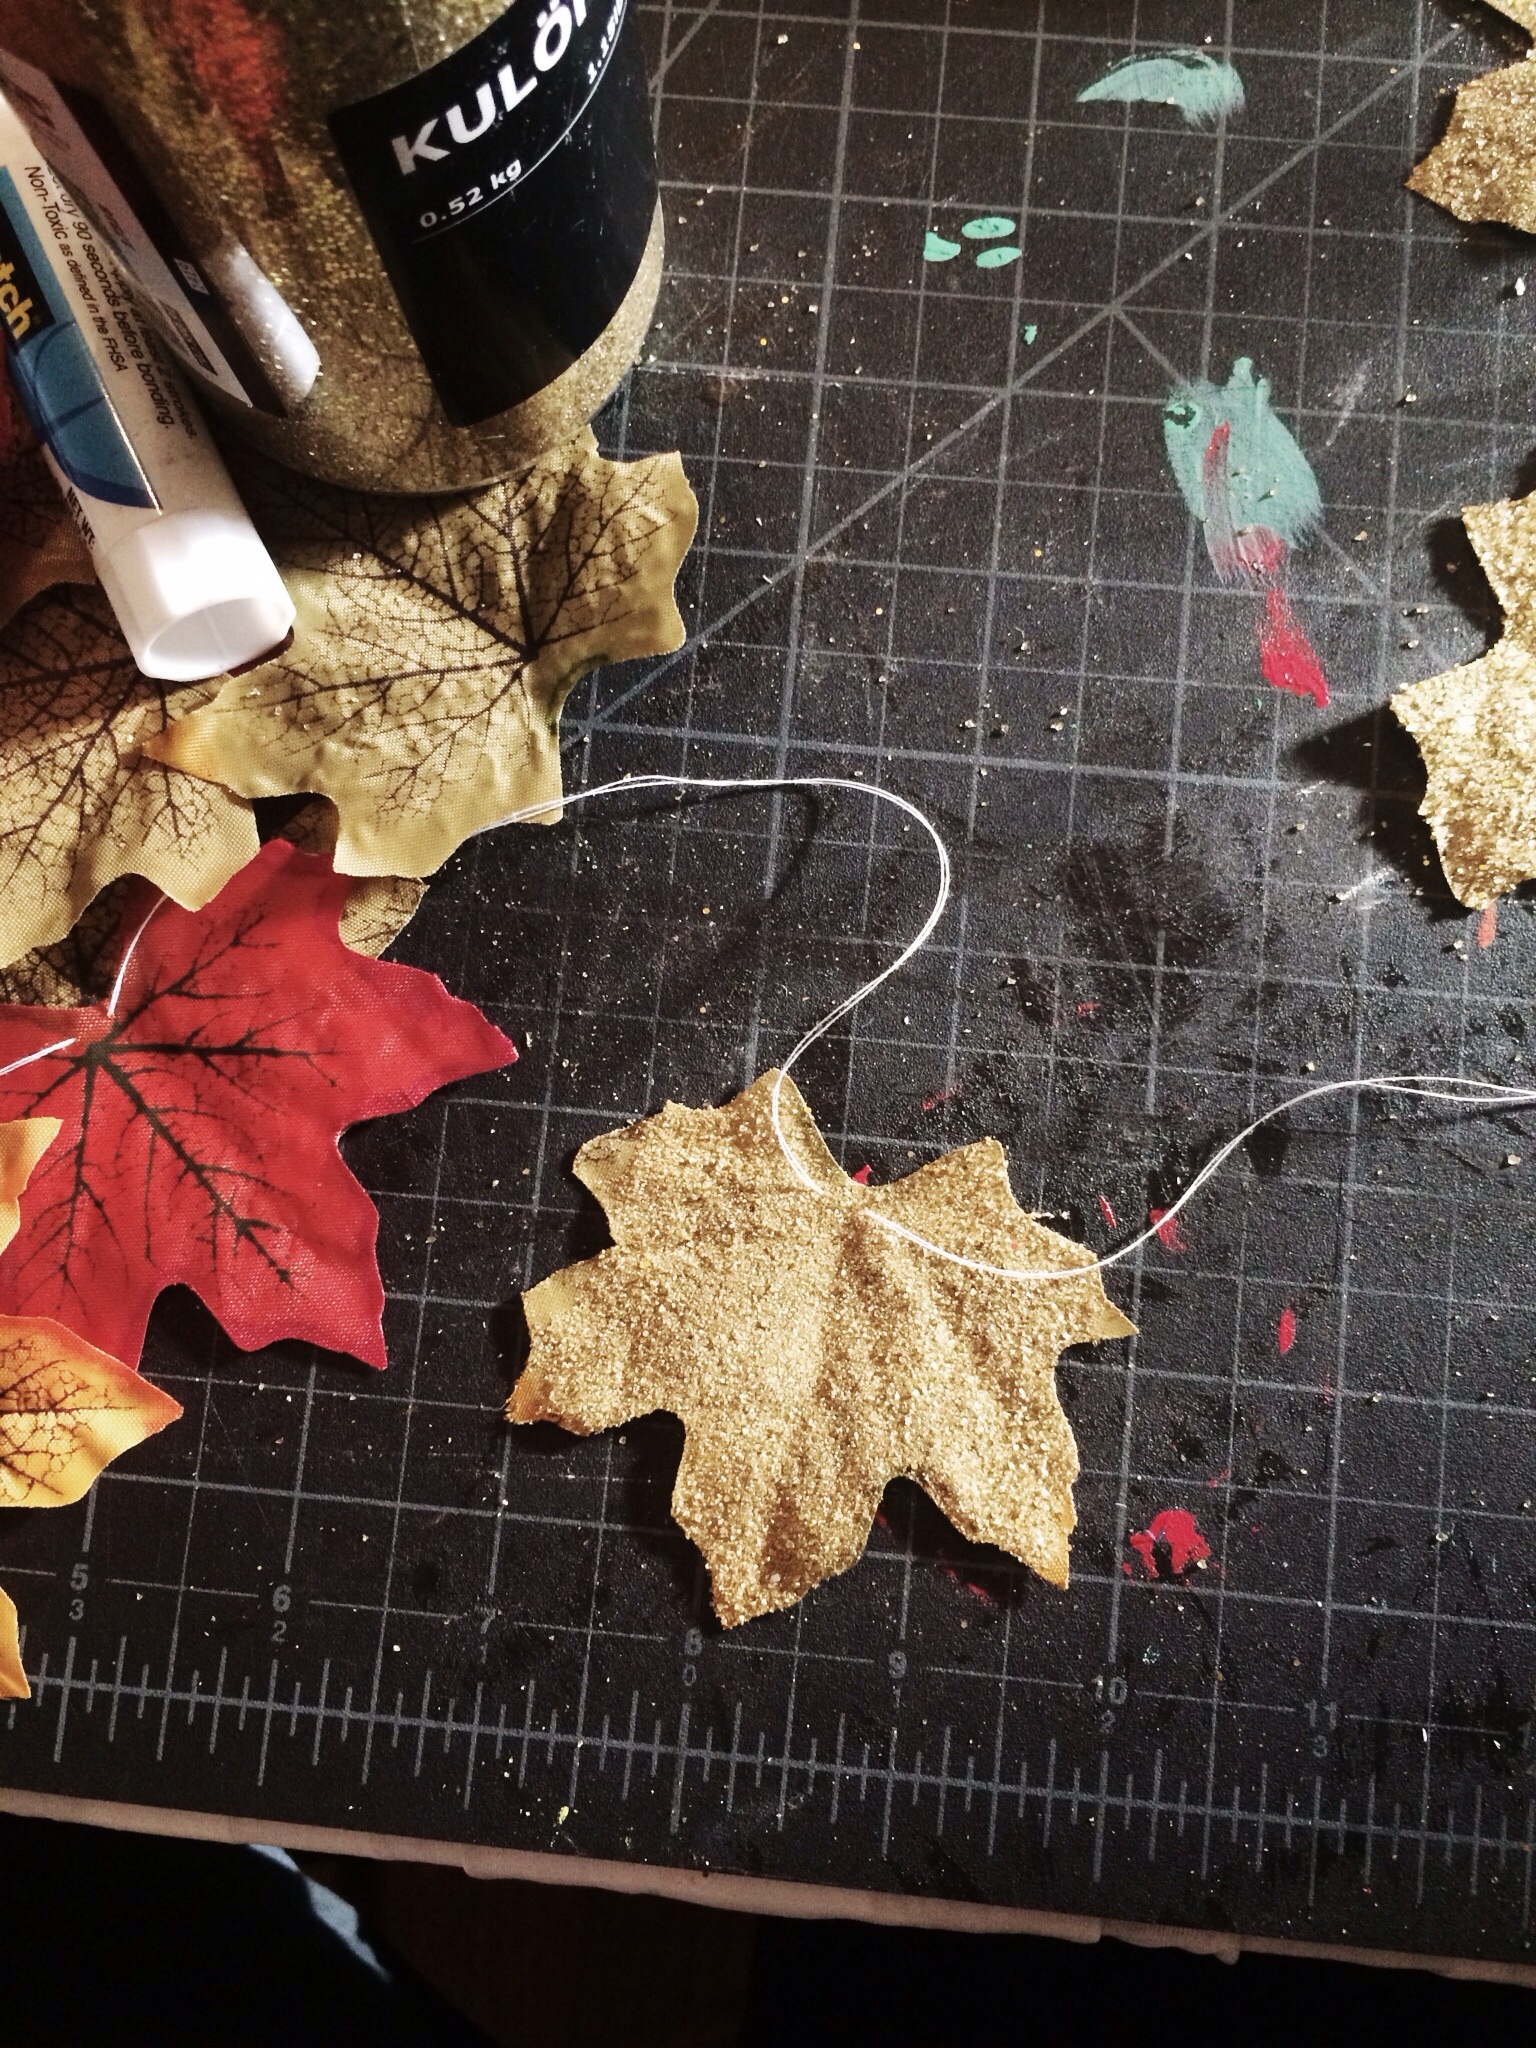
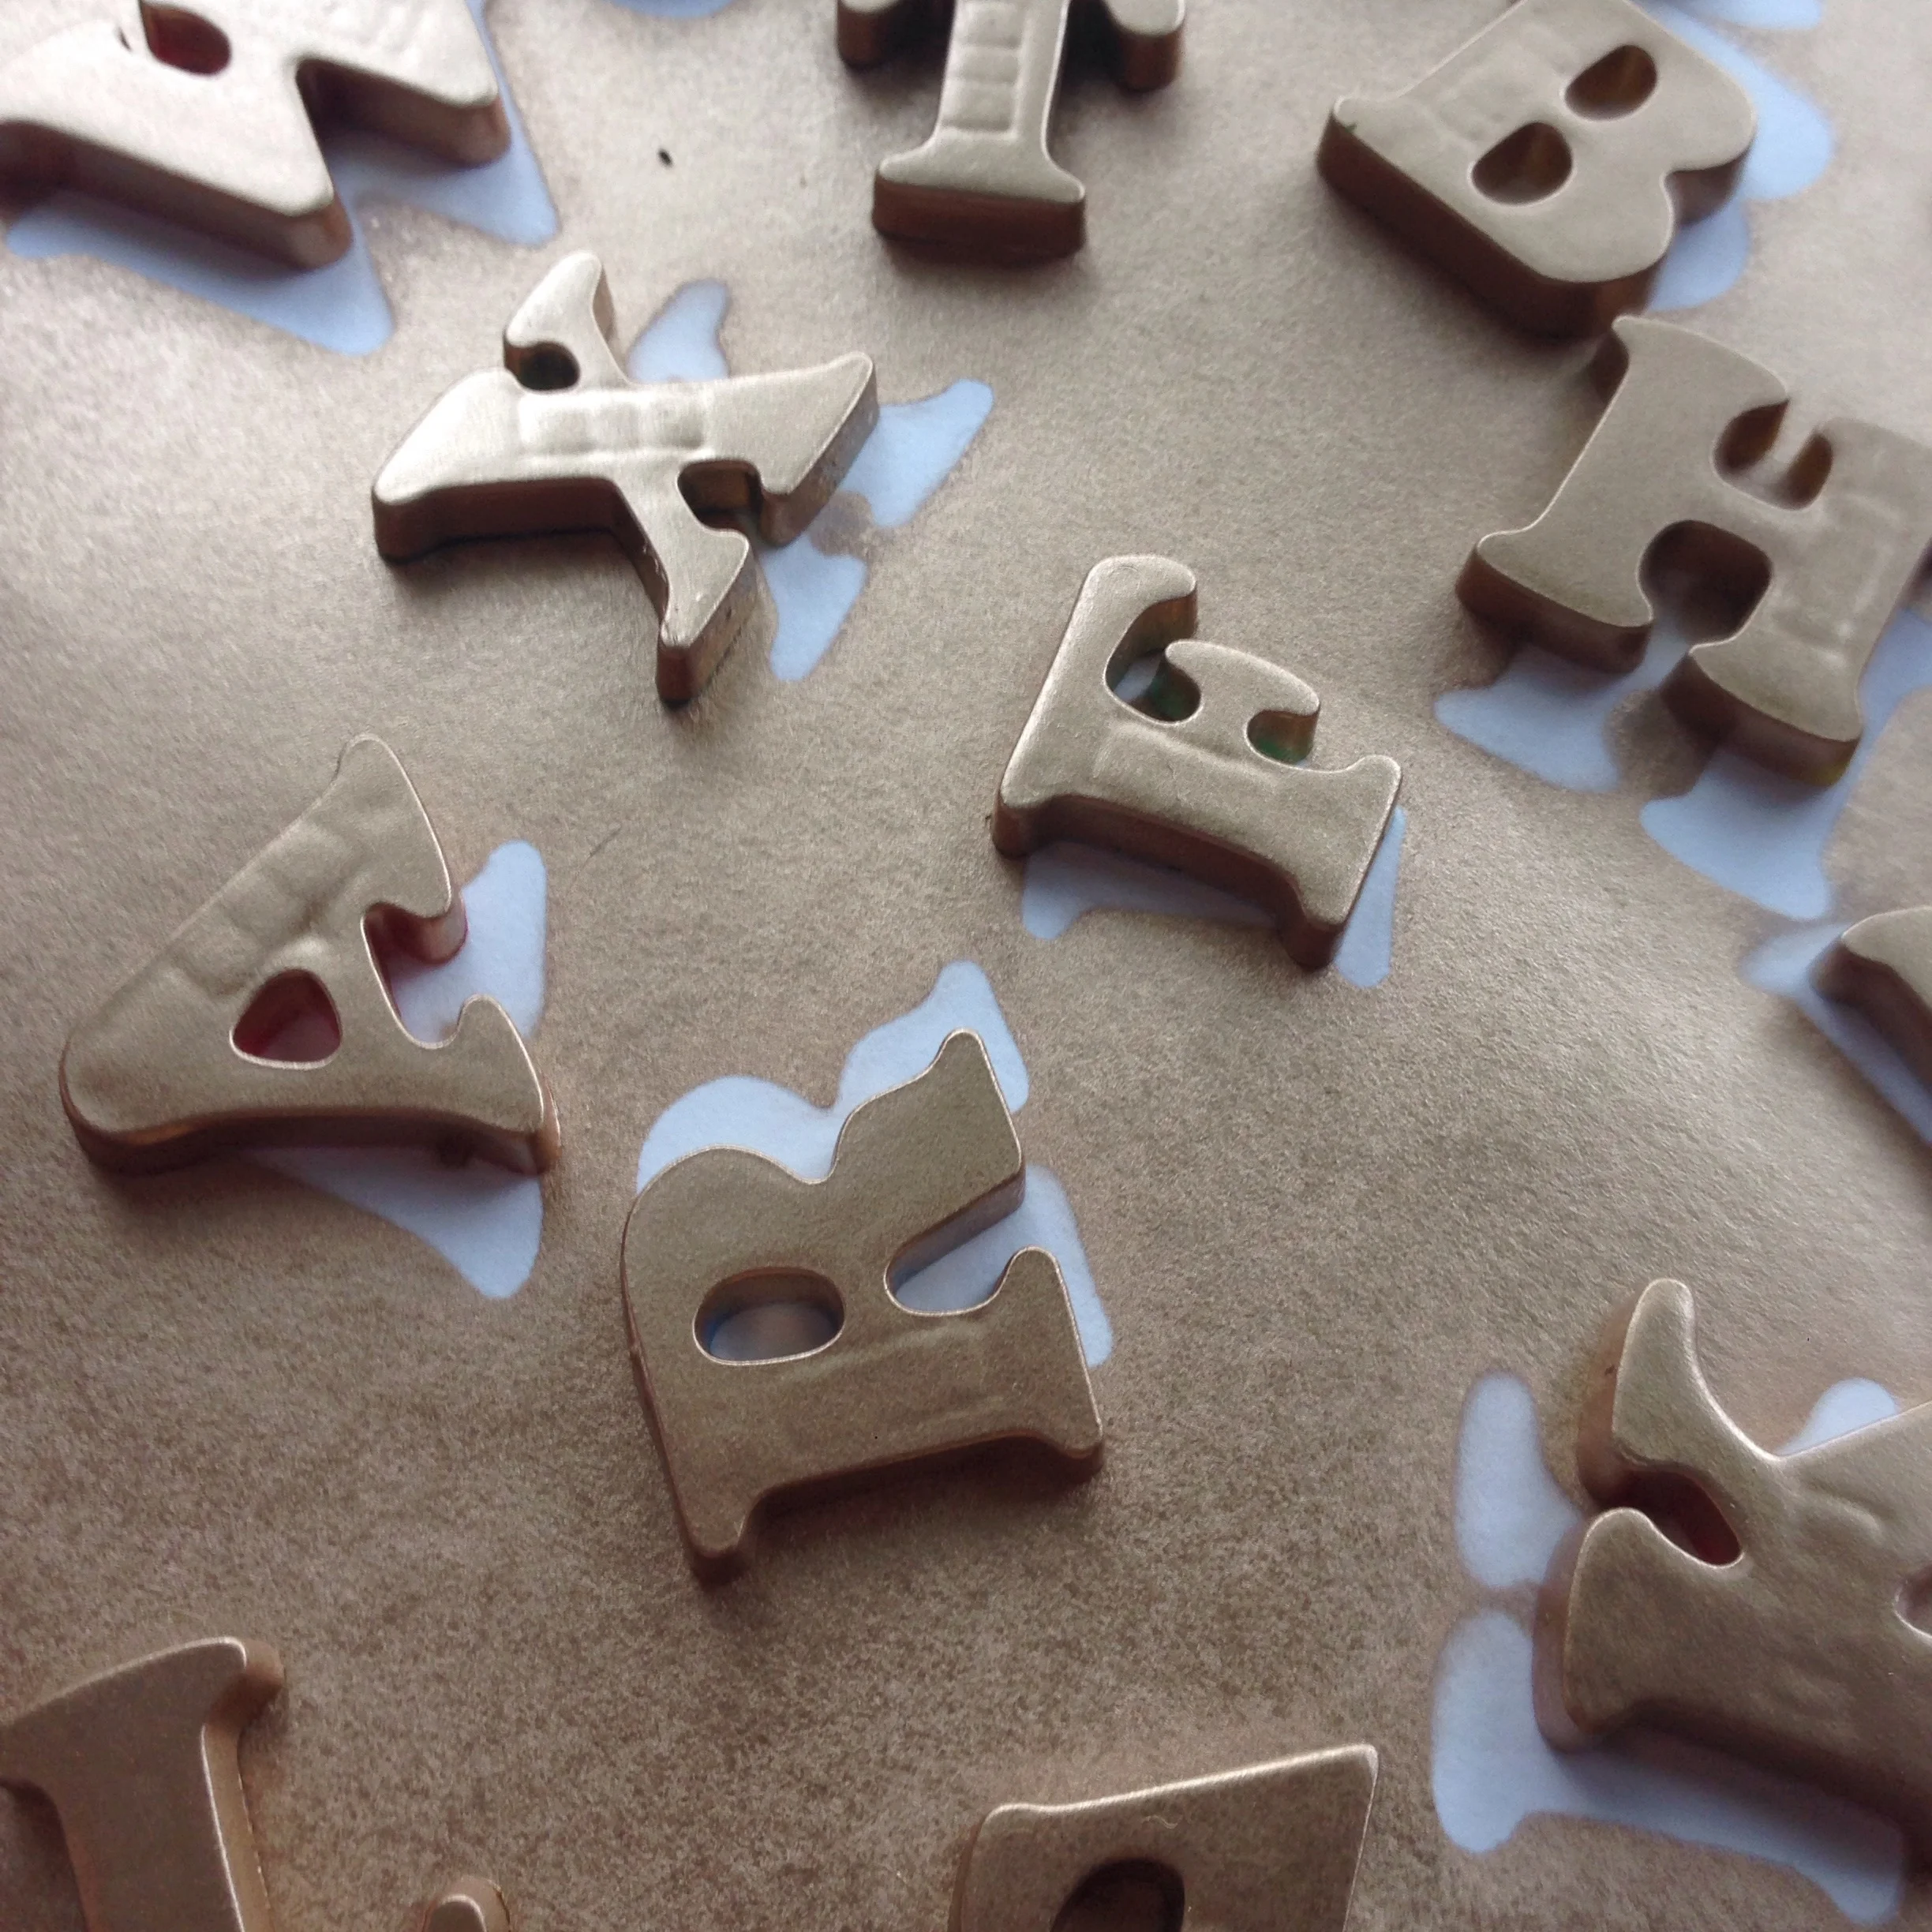
image.jpg

7. Glitter Pumpkin

Print out a letter, like your initial. Carefully cut out the letter with an x-acto knife. Using the the rest of the paper, trace the letter with a marker. Cover the letter with glue. Then with glitter!

Carving + Decorating Pumpkins. Click through for details.

8. Squirrely Pumpkin

Cut open the top of your pumpkin and remove the guts. Use a cookie cutter to make a fun shape.

Carving + Decorating Pumpkins. Click through for details.

9. Mini Mr. Jack O' Lantern

Just your normal Jack O' Lantern face on a tiny little pumpkin. It's so cute.

Carving + Decorating Pumpkins. Click through for details.

10. My Only Sunshine Pumpkin

Cut of the top of your pumpkin and take out the guts. Print out the design that you want to use. Carefully cut out the design with an x-acto knife. Use the remainder as a template to trace your design with. Using a carving tool, carve out your design, cutting in pretty deep but not all the way through side of the pumpkin.

Carving + Decorating Pumpkins. Click through for details.

We want to see your pumpkins!! Be sure to follow and tag us on Instagram, Twitter, or Facebook!!

xoxo

Britt + Sky


House Number Pumpkin + Repurposed Plant Stand for Fall

At a garage sale a while back, we spotted a plant stand for a quarter. It was older and not in the best shape but we decided that it would be worth a try to clean it up, fix it up, and find a fun use for it. It will be fun to find a new use for it with the changing seasons and holidays.

House Number Pumpkin + Repurposed Plant Stand for Fall. Click through for the tutorial.

Our official use for fall, is going to be as a stand for one of our (many) pumpkins.  We thought that it would be a nice touch to sit right outside the front door and be a fun little display of sorts. And we even found and bought the perfect pumpkin for it :)

House Number Pumpkin + Repurposed Plant Stand for Fall. Click through for the tutorial.

Here's what you need:

Stand

  • plant stand (this could also be a new one that you find, we just love our bargain shopping ... ha!)
  • spray paint

Pumpkin

  • carving tool (ours is a speedball tool like this)
  • cardstock
  • x-acto knife
  • tacks (we used furniture tacks, but just regular thumb tacks would do the trick)
  • paint + paintbrush (optional)


Here's what we did:

1. Because our plant stand was old and needed a little work, we had to take all of the crumbly plastic off of the metal frame. This was the most time consuming part and the biggest mess.

2. We cleaned up the old metal with a damp paper towel.

3. Put a piece of poster board out in the yard, and sprayed away. :)


House Number Pumpkin + Repurposed Plant Stand for Fall. Click through for the tutorial.

As for this AMAZING (we may be a little bias) pumpkin:

  1. We printed out the numbers that we needed.
  2. We carefully cut them out, and centered the paper on the pumpkin as a template to trace.
  3. Then using our carving tool, we carefully dug out the numbers.
  4. A random package of furniture embellishing tacks had been in our craft room for a really long time, so we decided to put them to use. We left them in the backing cardboard and dry-brushed them with a light blue paint.
  5. After they were dry and our pumpkin was ready for the tacks. We just eyeballed the distance between them and made staggered lines that followed the lines of the pumpkin.
House Number Pumpkin + Repurposed Plant Stand for Fall. Click through for the tutorial.

We think this project turned out so great! What do you guys think?


xoxo

Britt + Sky

DIY Fall Garland

Over here at My Only Sunshine, we are fully engulfed in fall! We have a few weeks of some really fun fall DIYs, recipes, and other projects planned for y'all!! :) To get you on the spirit, here is a photo of slobbery Noah with his little pumpkin. 

image.jpg

To kick-off our fall festivities, we have a DIY fall garland. It's super simple and doesn't take very long at all, but it looks awesome. 

DIY Fall Garland. Click through for tutorial.

Here's what you need: 

  • fall leaves (we got ours at the dollar tree) 
  • glue
  • glitter (we found ours at IKEA of all places)
  • needle
  • thread
  • washi tape


Here's what we did: 

1. We chose several leaves to coat with glue and sprinkle with glitter. 

DIY Fall Garland. Click through for tutorial.

2. Once those leaves dried, we die coded how many total leaves we wanted and came up with a pattern.  

3. Next we used a needle and thread to string up all of our leaves.  

DIY Fall Garland. Click through for tutorial.

4. Lastly we used washi tape to hang up our garland and we slid the leaves around to space them how we liked them.  

image.jpg
DIY Fall Garland. Click through for tutorial.

Ta-da! You have a very pretty and fun fall garland! :) We hope you love it!! Have a great week loves. 

xoxo ​

Britt + Sky​

DIY Alphabet Makeover

Today we have another super simple, but statement making project for you. 

We picked up this magnetic alphabet set at a garage sale a while back for $1. We didn't mind the bright mix of colors, but we really wanted them to be a color that coordinated with what we have. So what do we do?

DIY Alphabet Makeover || Click through for the tutorial

Why, we paint them gold of course! :) 

We put an old poster board out in the yard, spread our letters out and made sure that they were all facing up, and sprayed them with a couple coats of gold spray paint. And now we have fancy and fun letters!

Seriously, its that simple!

DIY Alphabet Makeover || Click through for the tutorial

This works great if you find mismatched letters at a garage sale or thrift store. It helps you create fun and coordinating magnets, which if you are like us, is important.

We hope this fun DIY project inspires you! Make sure you let us know in the comments, or better yet, show us! Follow us and tag us on Instagram, Twitter, or Facebook!

xoxo

Britt + Sky

DIY Easy Colorful Coasters

The other day we were organizing our hallway closet and decided that we were long overdue to go through our nail polish. It had been way too long since we had looked through our entire basket and we knew there were plenty that were bad and needed to be thrown away.

So we dumped our entire basket of polish out on the table. We used a piece of paper and tested out several of the polishes that we were unsure about. When it was all said and done, we needed to get rid of quite a few of our polishes. But we were happy to get our basket all cleaned out and organized.

We went to throw away the paper and discovered that we had made something that was pretty awesome! It was colorful, random, and so fun. We loved what we had created (by accident) and wanted to use it in other ways too. So we pulled out these cork coasters that we picked up at IKEA (here) and went to work.

DIY Easy Colorful Coasters || Click through for tutorial.

Here's what you need:

  • Coasters ( or anything that you want to make colorful and fun)
  • Nail polish

Here's what we did:

  1. We laid out our four coasters.
  2. Randomly selecting colors from our basket of polish, we painted sporadic strokes of color all over.
  3. After the paint dried, we sat our drinks on our coasters and enjoyed :)
DIY Easy Colorful Coasters || Click through for tutorial.

Its seriously such an easy DIY, but it makes such a statement. We are so happy with the results from our happy accident. What could you use this technique on? Make sure you let us know in the comments, or better yet, show us! Follow us and tag us on Instagram, Twitter, or Facebook!

xoxo

Britt & Sky