Thrifty: Suitcase Turned Card Holder

For today's Thrifty Thursday project, we turned a small, vintage cosmetic suitcase, that we got for only $2 at a thrift store, into a card organizer.

We love having a lot of cards on hand. You never know when the occasion will arise that you will need one. When you don't have time to make one, like here, it's nice to be able to just grab one, write your message, and send it to someone.

Thrifty Thursday - DIY Card Box || myonlysunshineblog

Supplies:

  • suitcase
  • measuring tape
  • cardstock
  • pencil & pen
  • scissors
  • straightedge

Note: We used a few old manilla folders that we had instead of cardstock.

Thrifty Thursday - DIY Card Box || myonlysunshineblog
  1. Measure the height and width of the inside of your container.
  2. Print this, trace and cut out as many as you need. The template is based off of our measurements, but you can easily adjust this according to your needs. If your size differs, use the template and a straightedge to make your own template.
  3. Once all of your dividers are cut, use a pen to label them.
    • We went through our cards and decided what different categories that we needed.
    • We just simply wrote the category of our sections on our dividers. If you want to get fancy, you can decorate with paint, stickers, washi tape, paper, or anything else that you would like. :)
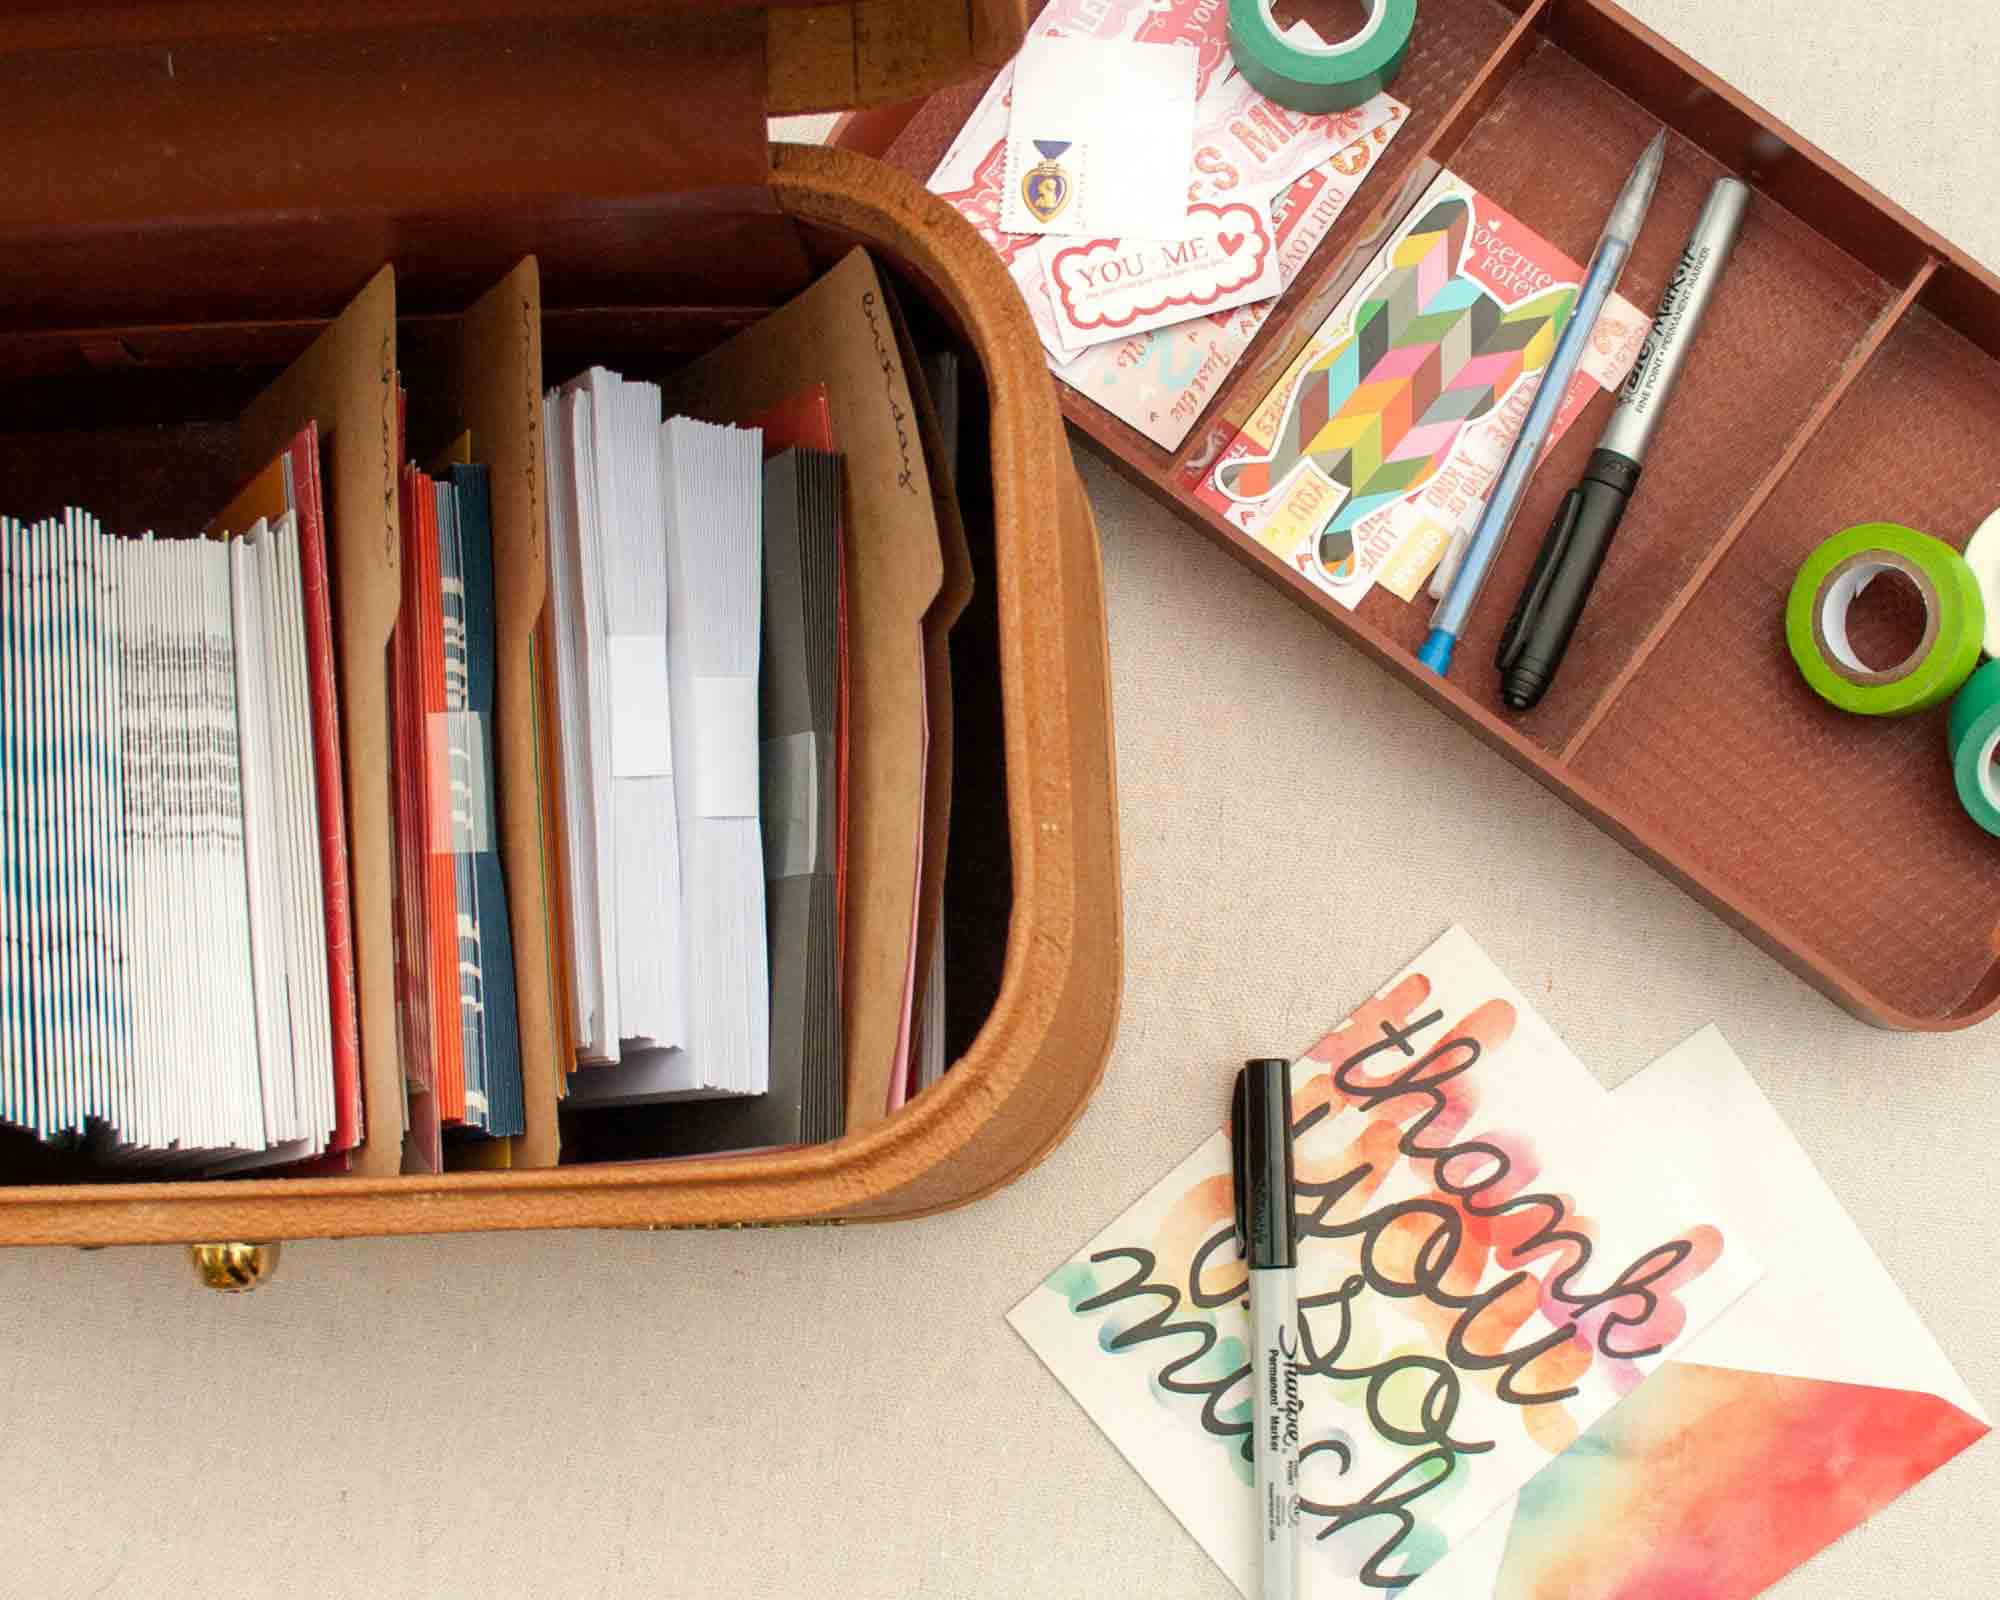
  4. Place your dividers in the suitcase, and separate your cards into the necessary sections.
Thrifty Thursday - DIY Card Box || myonlysunshineblog

If you find a cosmetic suitcase like ours, you can take advantage of the tray that sits on top of the cards. We used ours to hold pencils, markers, washi tape, stickers, and even stamps. This allows you to have everything in one place when you need it.

Note: We use washi tape and stickers to seal our envelopes, but they can also be used to decorate the inside of your cards.

IMG_0091.jpg
Thrifty Thursday - DIY Card Box || myonlysunshineblog

While you are thrift shopping, you can be on the lookout for any kind of container that will fit cards in it. This concept can be adapted to fit any size container.

If this project inspires you to make your own card organizer, take a photo and tag us on instagram or twitter. We'd love to see your projects! xoxo, Britt + Sky

DIY Moon Phases Print

Moon Day is July 20 and it celebrates man landing on the moon. In celebration of moon day, we decided to do a fun moon phase print. There are so many ways to make stamps and so many things to make them out of, but we decided to give potatoes a try :)

Make your own moon phases print.

Here's what we used:

  • cardstock
  • paint
  • knife
  • potato

Here's what we did:
For our print, we started in the middle. We trimmed the end off of the potato and made the full moon stamp in the middle. From there we cut a sliver of the circle off and stamped that to represent the waxing and waning gibbous. Then we cut even more, basically making the end of the potato a half circle to represent the first and last quarters.

After stamping that, cut the potato one more time leaving a sliver to represent the waxing and waning crescent. We stamped those on each side and we were done. We thought about labeling each phase, but we enjoyed the simplicity of just the stamped look.

Make your own moon phases print.

This project is so fun and simple. And its a really fun project for the kiddos to take part in. You cut the potato and hand it over and they can just stamp away :)

We hope you have fun making moon prints too! xo, Britt + Sky

DIY Gold Polka Dot Cactus Planter

We have developed a new obsession lately. We LOVE cacti! I mostly think it is because it is the only plant that we are able to keep alive :) When I found this cute one I decided that we needed a cute pot to put it in.

DIY your own polka dot planter.

Here is what I used:

  • pot/planter
  • cactus
  • rocks
  • dirt
  • gloves
  • spraypaint
  • paint
  • pencil
DIY your own polka dot planter.

First, you'll want to spraypaint your planter. We chose white, but you can use any color that works for the area you plan to use it. Once that dries, use a pencil eraser and paint (we used gold acrylic paint that you can purchase at the craft store) to put on your polka dots.

DIY your own polka dot planter.

Once all of your paint dries, place several rocks at the bottom of the pot. This helps with drainage. Next add your dirt. Use a glove to remove your cactus from its container and break up the dirt a bit around the roots, and place your in your cactus. Find an area you can put this planter to add a pop of sunshine :) xo, Britt + Sky