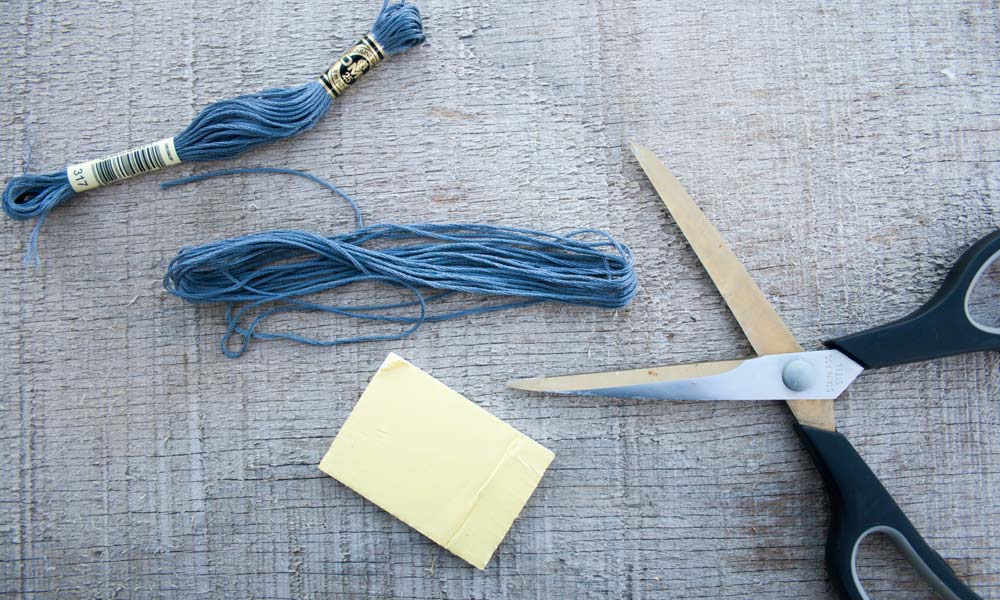
We started making these cute tassels recently. They are quick and easy to make and can be added to a lot of projects to make them fun! All you need to get started is:
- Embroidery floss
- Scissors
- Small piece of wood (The length of the wood will determine the size of your tassel)
1. Wrap your floss around the wood eight times. (Or more depending on how thick you want your tassel)
2. Take another piece of floss and string it through the rest of your floss. Pull both ends up at the top and tie a knot.
3. Take a third piece of floss and tie a knot in your bundle of floss about a centimeter down.
4. Cut off the extra from the knot you just tied.
5. Next, cut the bottom of your bundled floss off. Cut it at whatever length you choose, but make sure to do all of your tassels the same length.
THATS IT! You're finished and now have a cute, little tassel! Just repeat the steps for however many you need.
Soon we will be sharing with you what we used our tassels for. Until then, we would love to see new projects these tassels can be used on. Upload and tag us in your pictures on Instagram, Twitter, or Facebook!
Britt & Sky


