DIY Mini Name Bracelets

Why is it that everything is so much cuter when it's tiny?

Ever since I found out I was having a girl I was obsessed with finding Sophie lots of accessories. Like she has more shoes than I do 😜 Any way ... mini accessories can be really expensive. While I try to buy a lot of her outfits and accessories from small businesses, I am a huge fan of making what I can. Or have time for. 

I recently was going through my over abundance of craft supplies (I have a slight problem, ok) I found several strands of colored beads that I had bought during a sale at the craft store, that I had just been sitting on for several months, and a whole bag of letter beads that I had from a previous project. I immediately thought that Sophie needed some mini bracelets. 

OMG! I was so right. These are literally the cutest things!

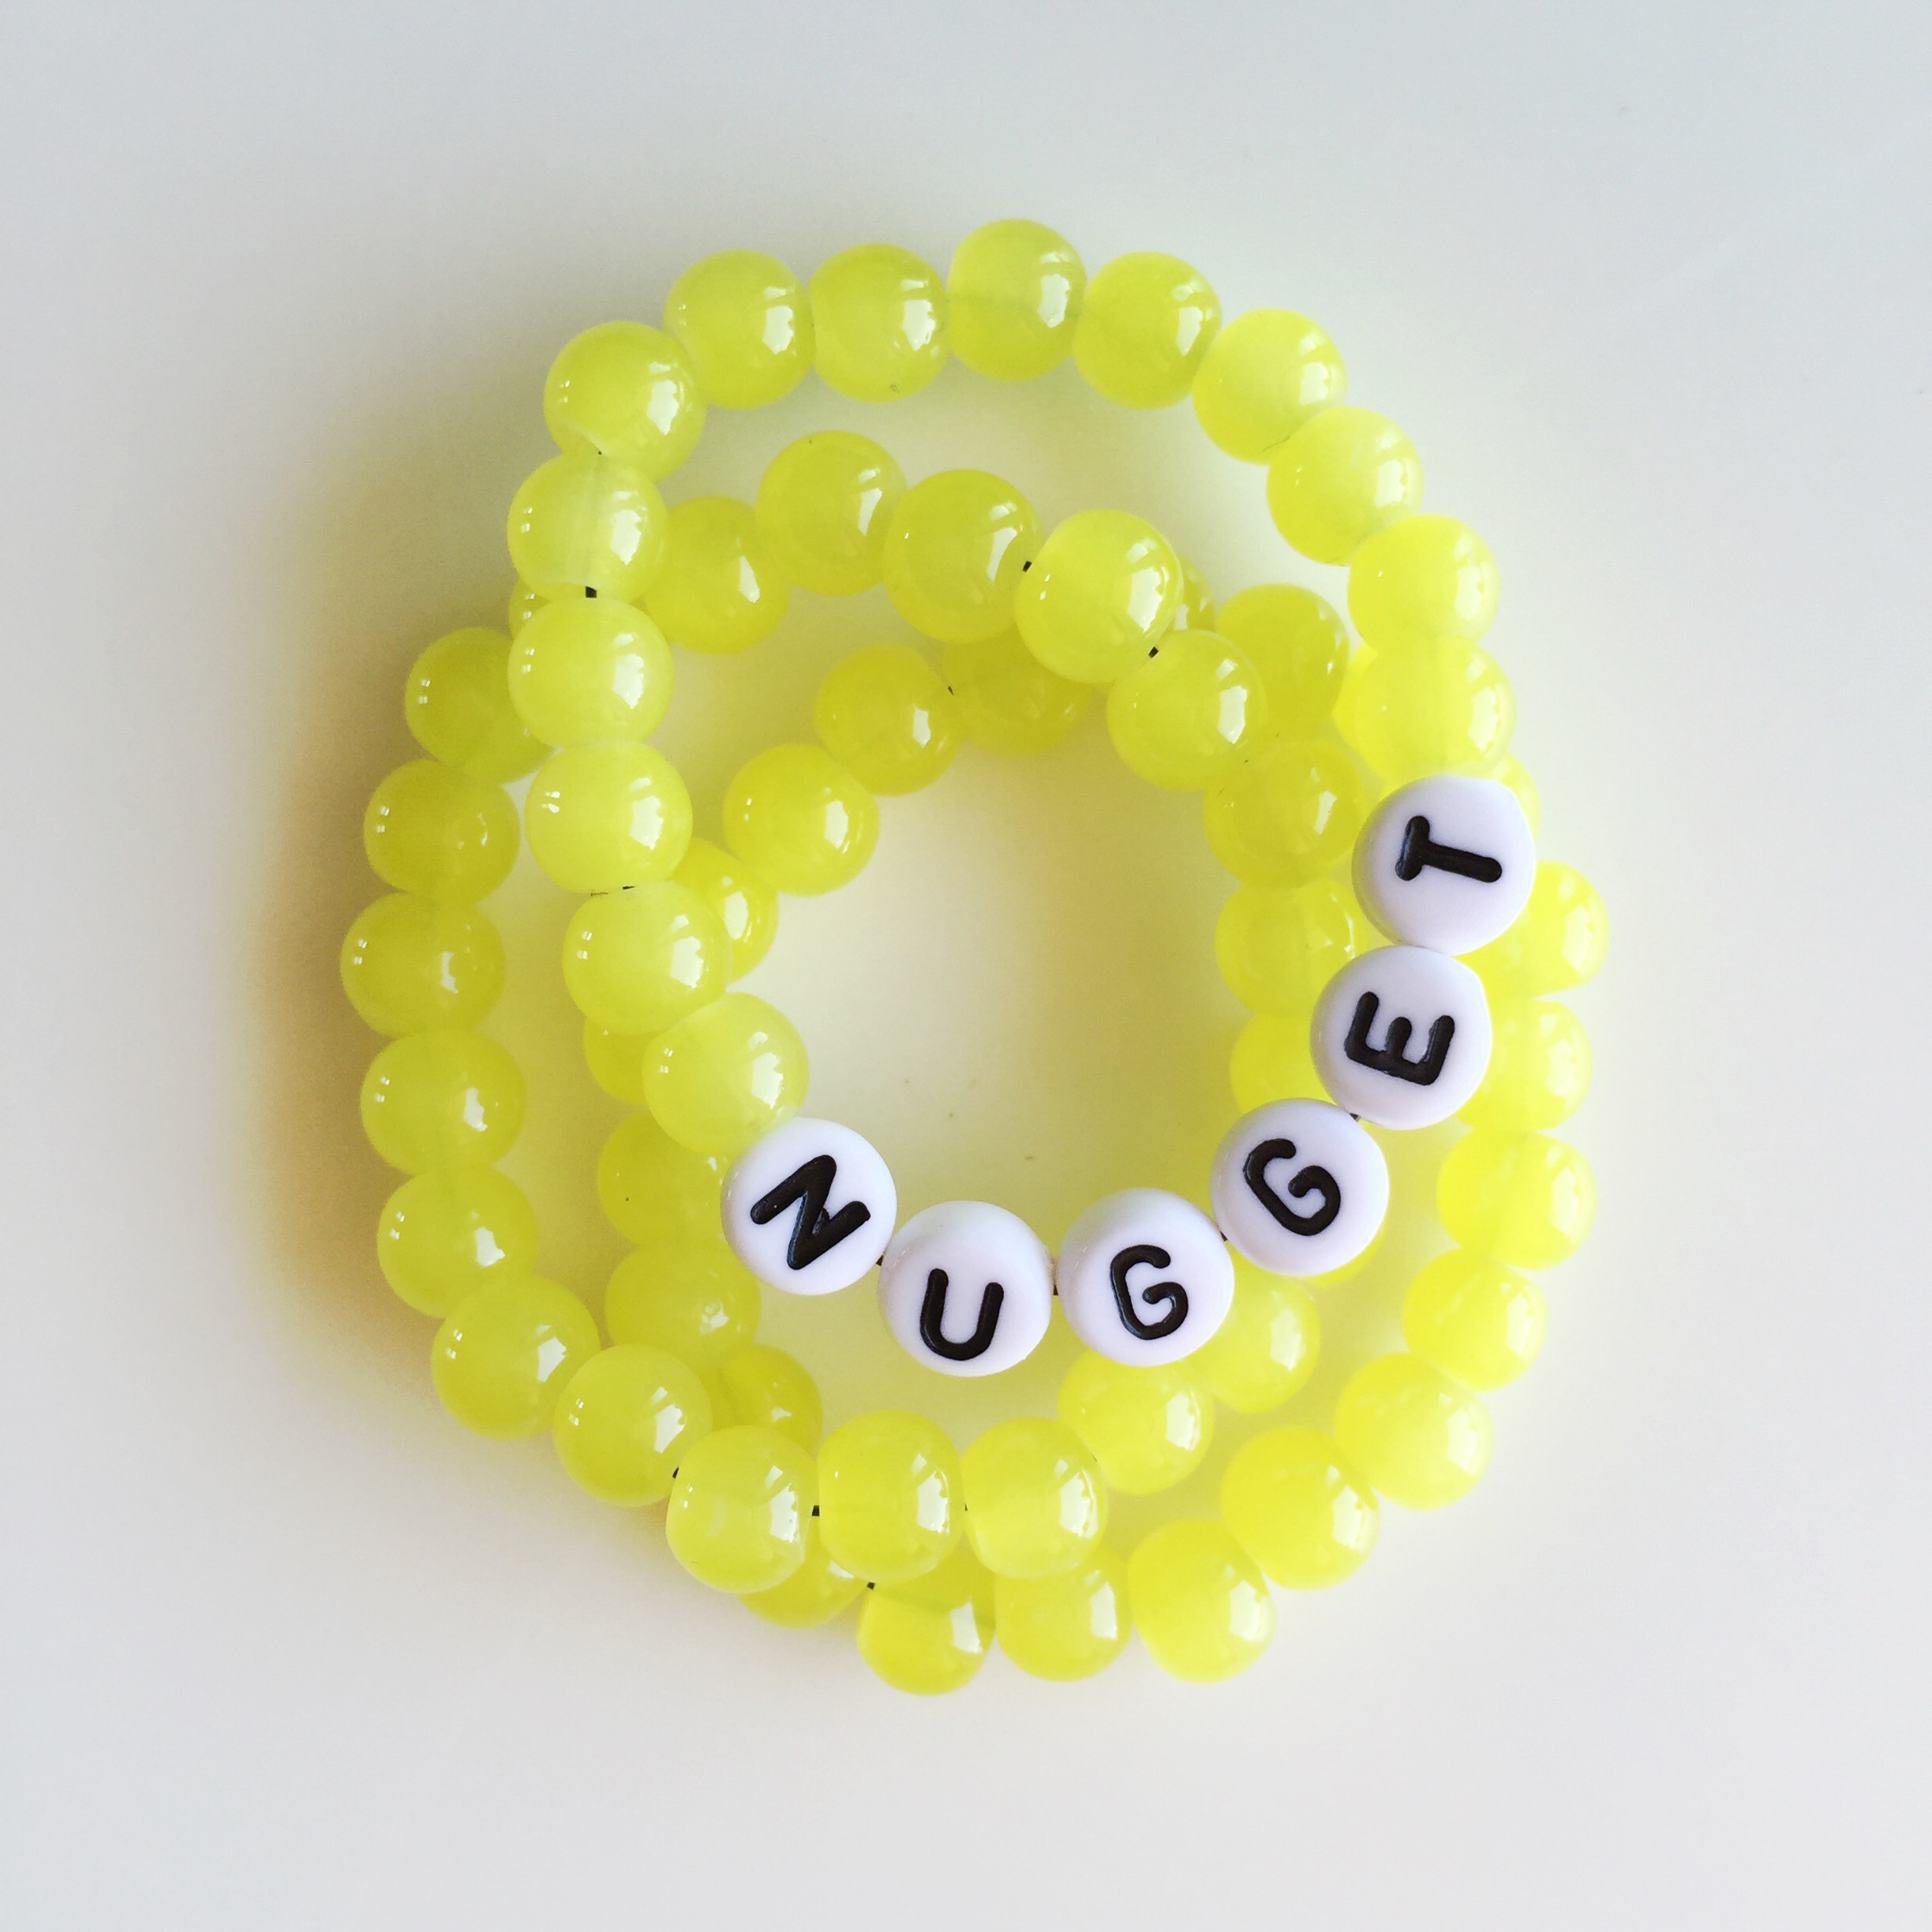
Make mini name bracelets for your little one.

I even made us a set of matching MAMA + BABY bracelets. 😊 I love them all so much.

Make mini name bracelets for your little one.

Here is what you need:

  • beads
  • stretchy string
  • super glue
  • measuring tape (optional)

I measured Sophie's wrist. I didn't want the bracelet to be too tight, but I also didn't want it to slide off if she was shaking her hands around. I cut a piece of string longer than my measurement. I wanted to be able to have enough extra string to tie it. Then I strung the word on the string. Next I laid the string flat and added colored beads evenly to each side until I reached the desired length. I tied the string tight and added a tiny dot of glue over the knot. Once the glue dried, I cut off the excess string. 

Make mini name bracelets for your little one.

My absolute favorite one is the NUGGET bracelet. I love it so much. I have Sophie wear it the most because she is my perfect little nugget :) What will you put on your bracelets? 

xo Britt

DIY Magnetic Pin Dish

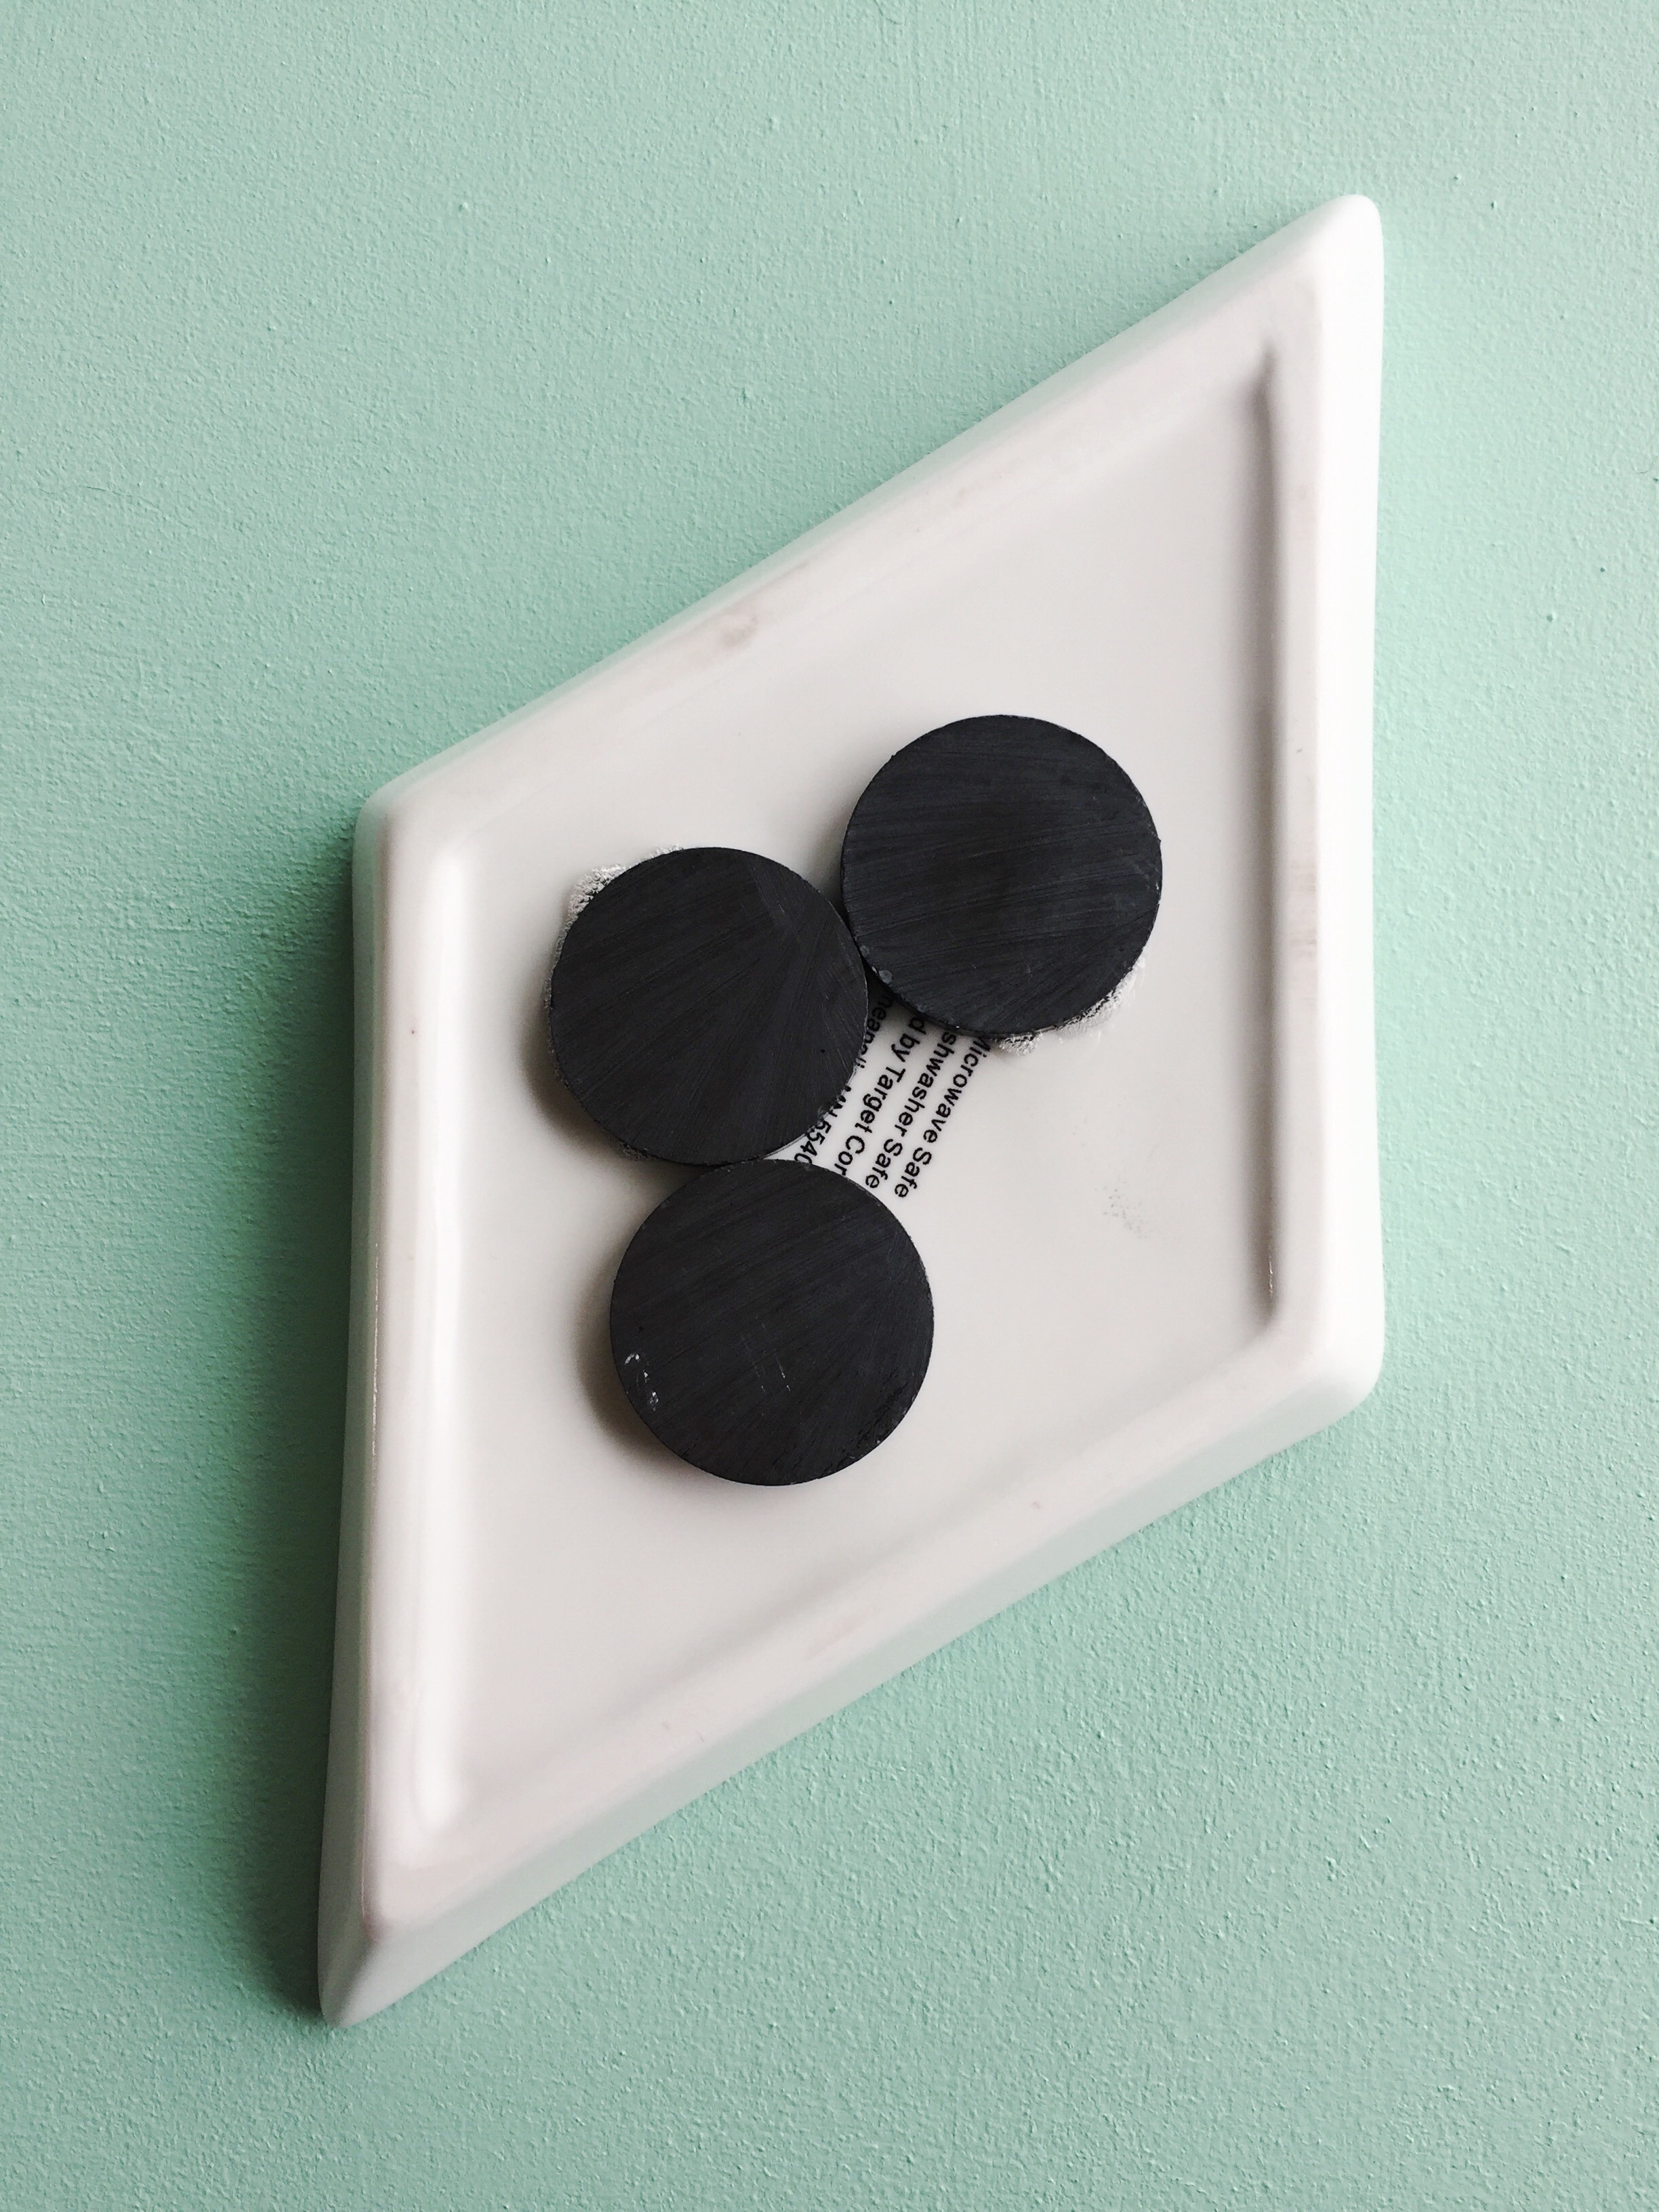
I found the cutest trinket dish while I was perusing the craft section at Target (here). I wasn't sure what I was going to do with it, but knew I needed it. :) 

Make your own diy magnetic dish.

A few days ago I was sewing and I realized that I really wanted a magnetic dish to place my pins n. I have a pin cushion, but the lazy girl in me really wanted to be able to lay the pins in as I took them out of the piece I was working on. I know, I know, silly, right. But it got me thinking. I had the perfect use for my recent impulse buy. 

Make your own diy magnetic pin dish.

Here's what I used:

I used three 1/2" magnets to glue on the back of the dish. 

Make your own diy magnetic dish.

Then I used a black sharpie to draw dots on the inside. Then I very carefully used a bright pink sharpie to color the ledge of the dish. 

Make your own diy magnetic dish.

This could definitely be used for other trinkets instead of pins. It would be perfect for jewelry, especially earrings. And would make a great diy gift. I seriously love the way it turned out! I hope you love it too. What could you use this diy for? Who on your gift list could use this cute dish? xo Britt

DIY Reusable Shopping Bags

I have found myself doing a lot of my grocery shopping at Aldi lately. Which as you probably know means bringing my own bags. Unless I want to buy some or collect boxes. I was collecting boxes every trip, but then got really tired of having to deal with them when I got home.

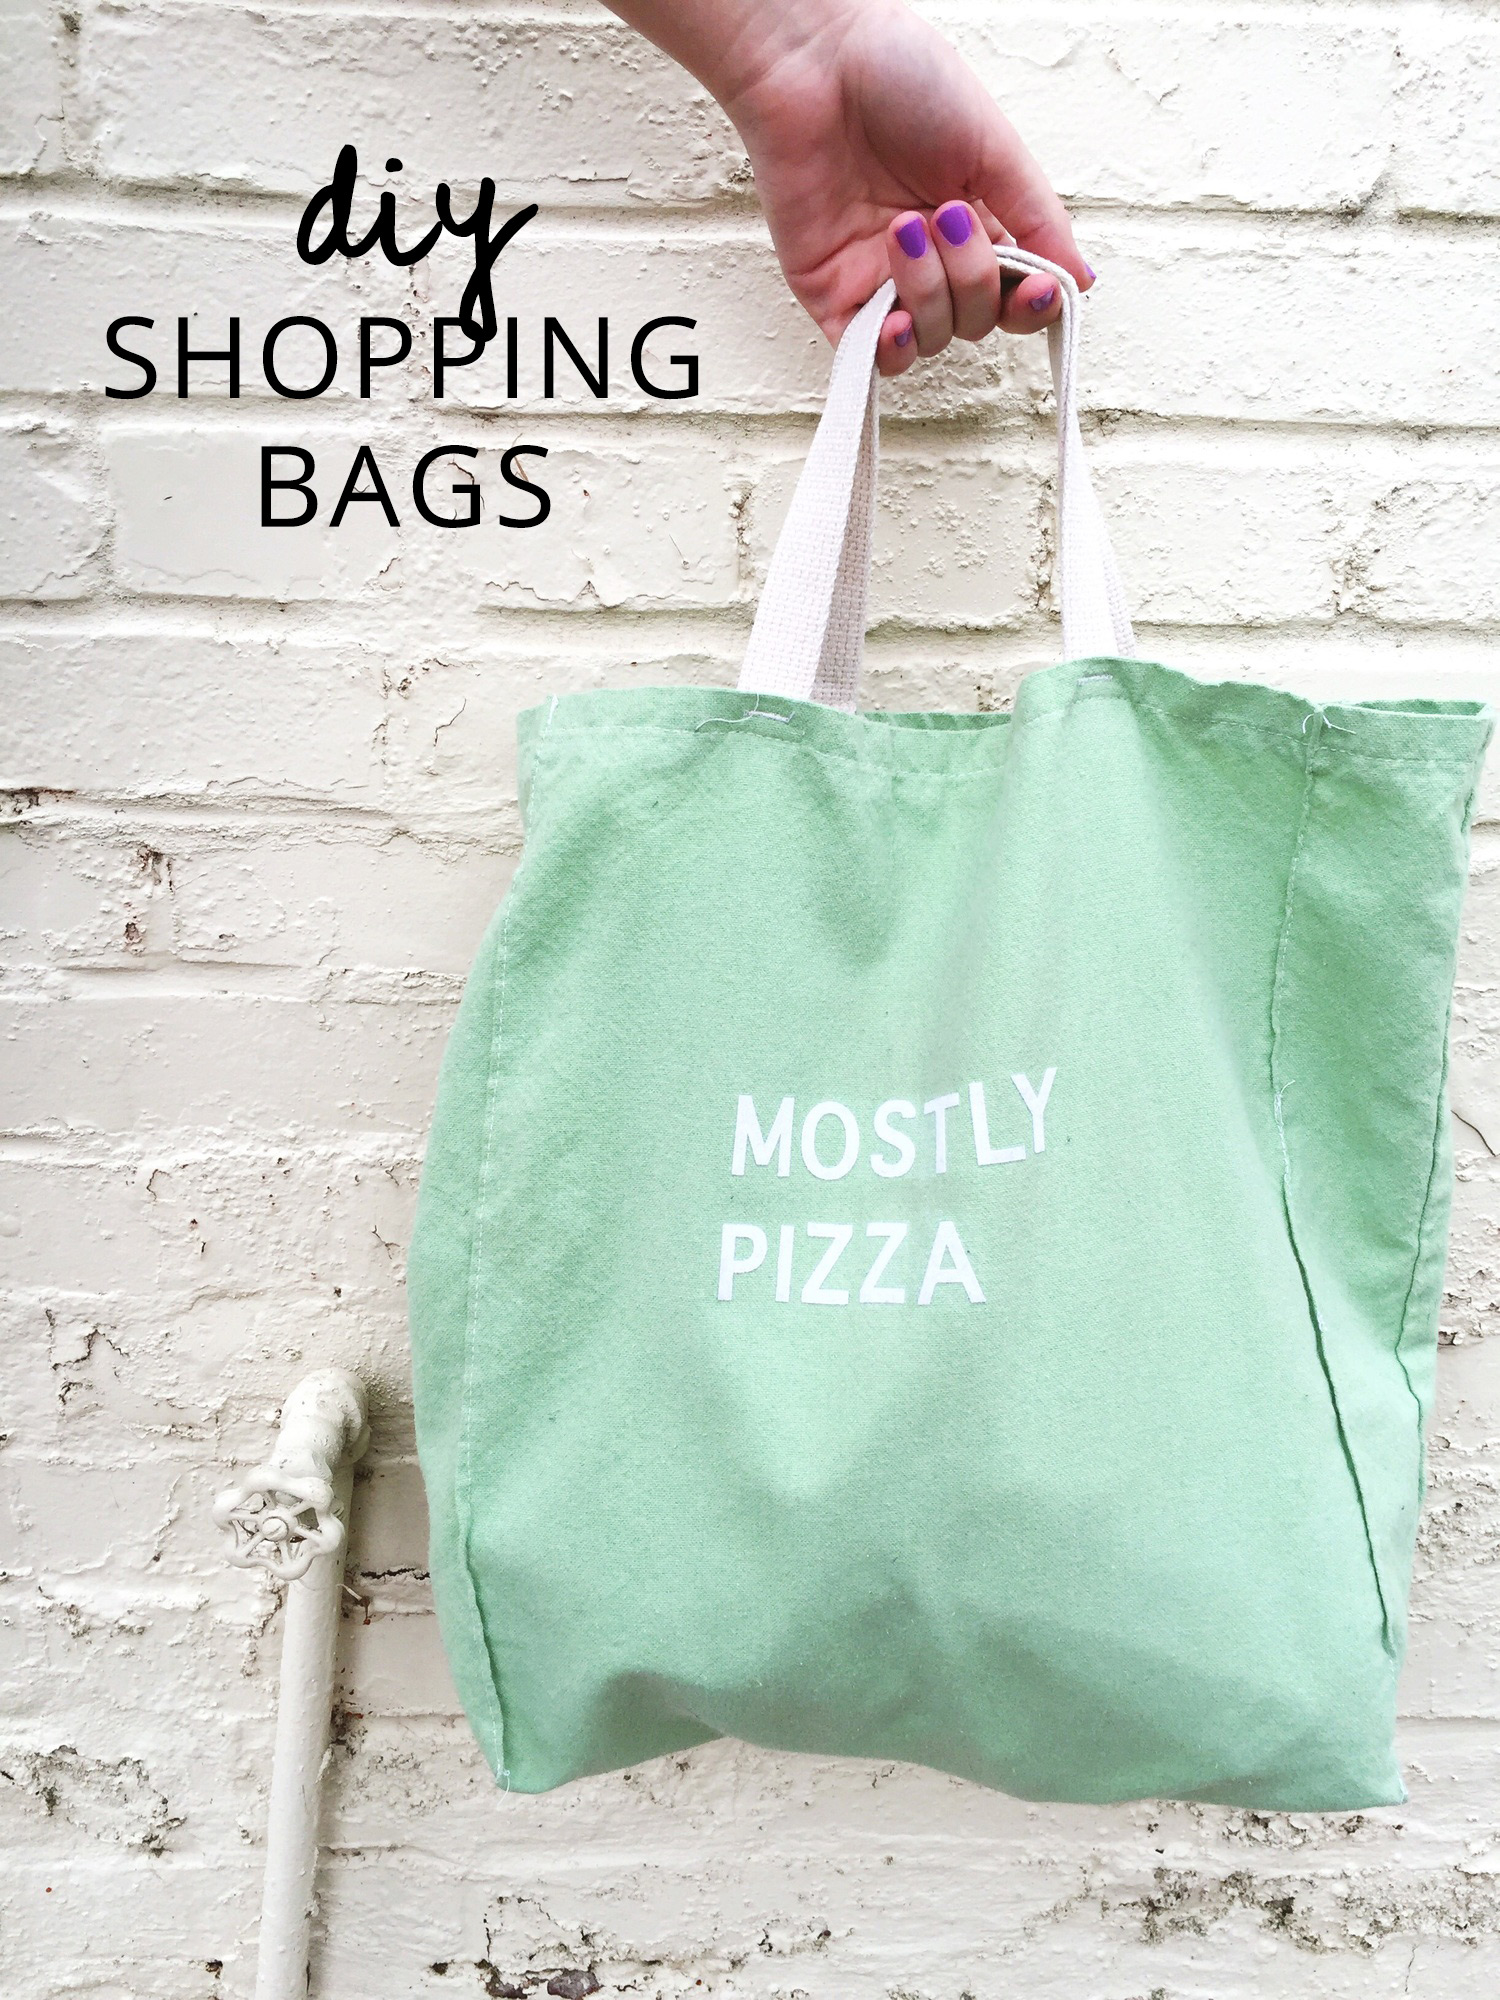
So I found a few canvas bags that I thought would be perfect for my weekly trips and decided to make them a little more fun. To spice up my grocery trips a little. Hahaha! 

It's super simple and super fun.

diy reusable shopping bags

You need:

  • canvas bags
  • iron on letters
  • scissors
  • iron
DIY Reusable Shopping Bags | my only sunshine

All you need to do is cut out your letters and iron them on (do so according to the directions provided).

DIY Reusable Shopping Bags | my only sunshine

Even Noah digs our new grocery bags 😂  

image.jpg

Happy Monday lovelies! xo, Britt

Friday Fun: Free "Fries Before Guys" Printable

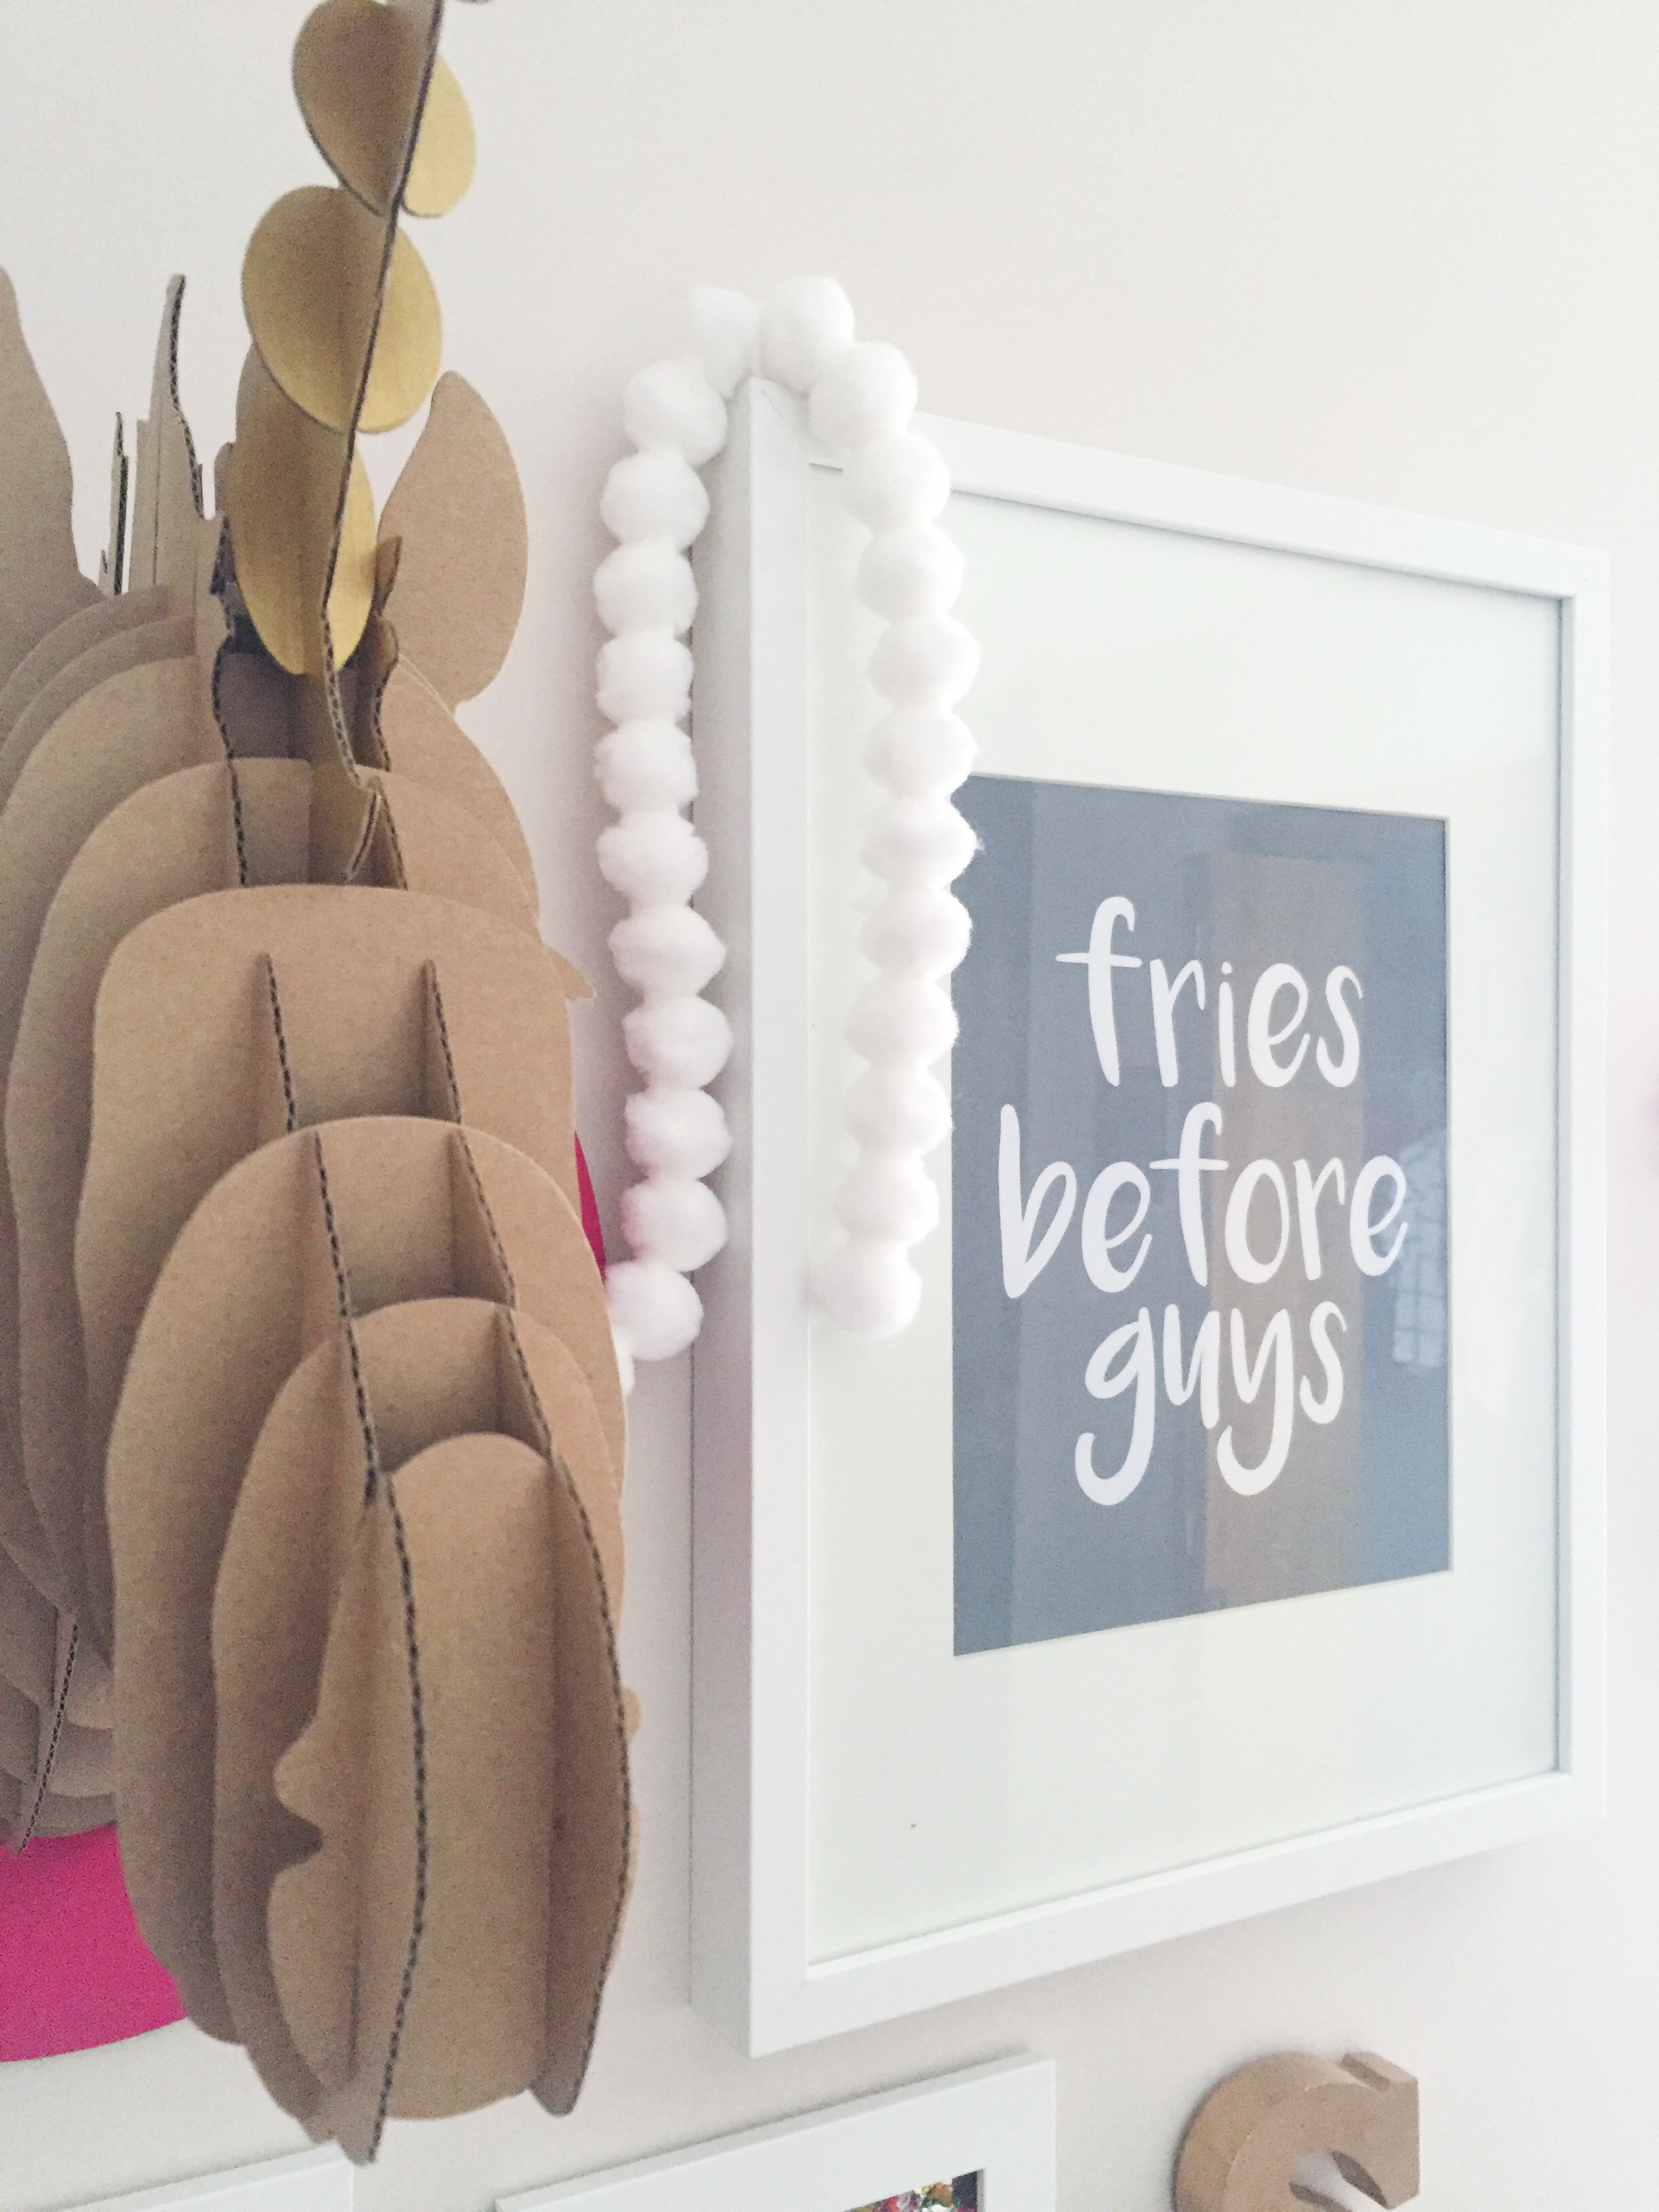
Sophie's gallery wall is basically my favorite part of her room. After sharing her nursery, the "fries before guys" print has proven to be very popular.

Friday Fun: Free "fries before guys" Printable | my only sunshine

 So I decided that I should share it with you! It's super simple, but so cute to put in your little lady's nursery. Or heck put it in your craft room or office, I think its a good anthem for ladies of all ages. Hahaha! :) 

Friday Fun: Free "fries before guys" Printable | my only sunshine

I made a few different colors for you to choose from, in case the gray isn't for you. Just click the links below the photos to download. All colors are 8x10. 

Happy Friday! xo, Britt

Friday Fun: Free "fries before guys" Printable | my only sunshine

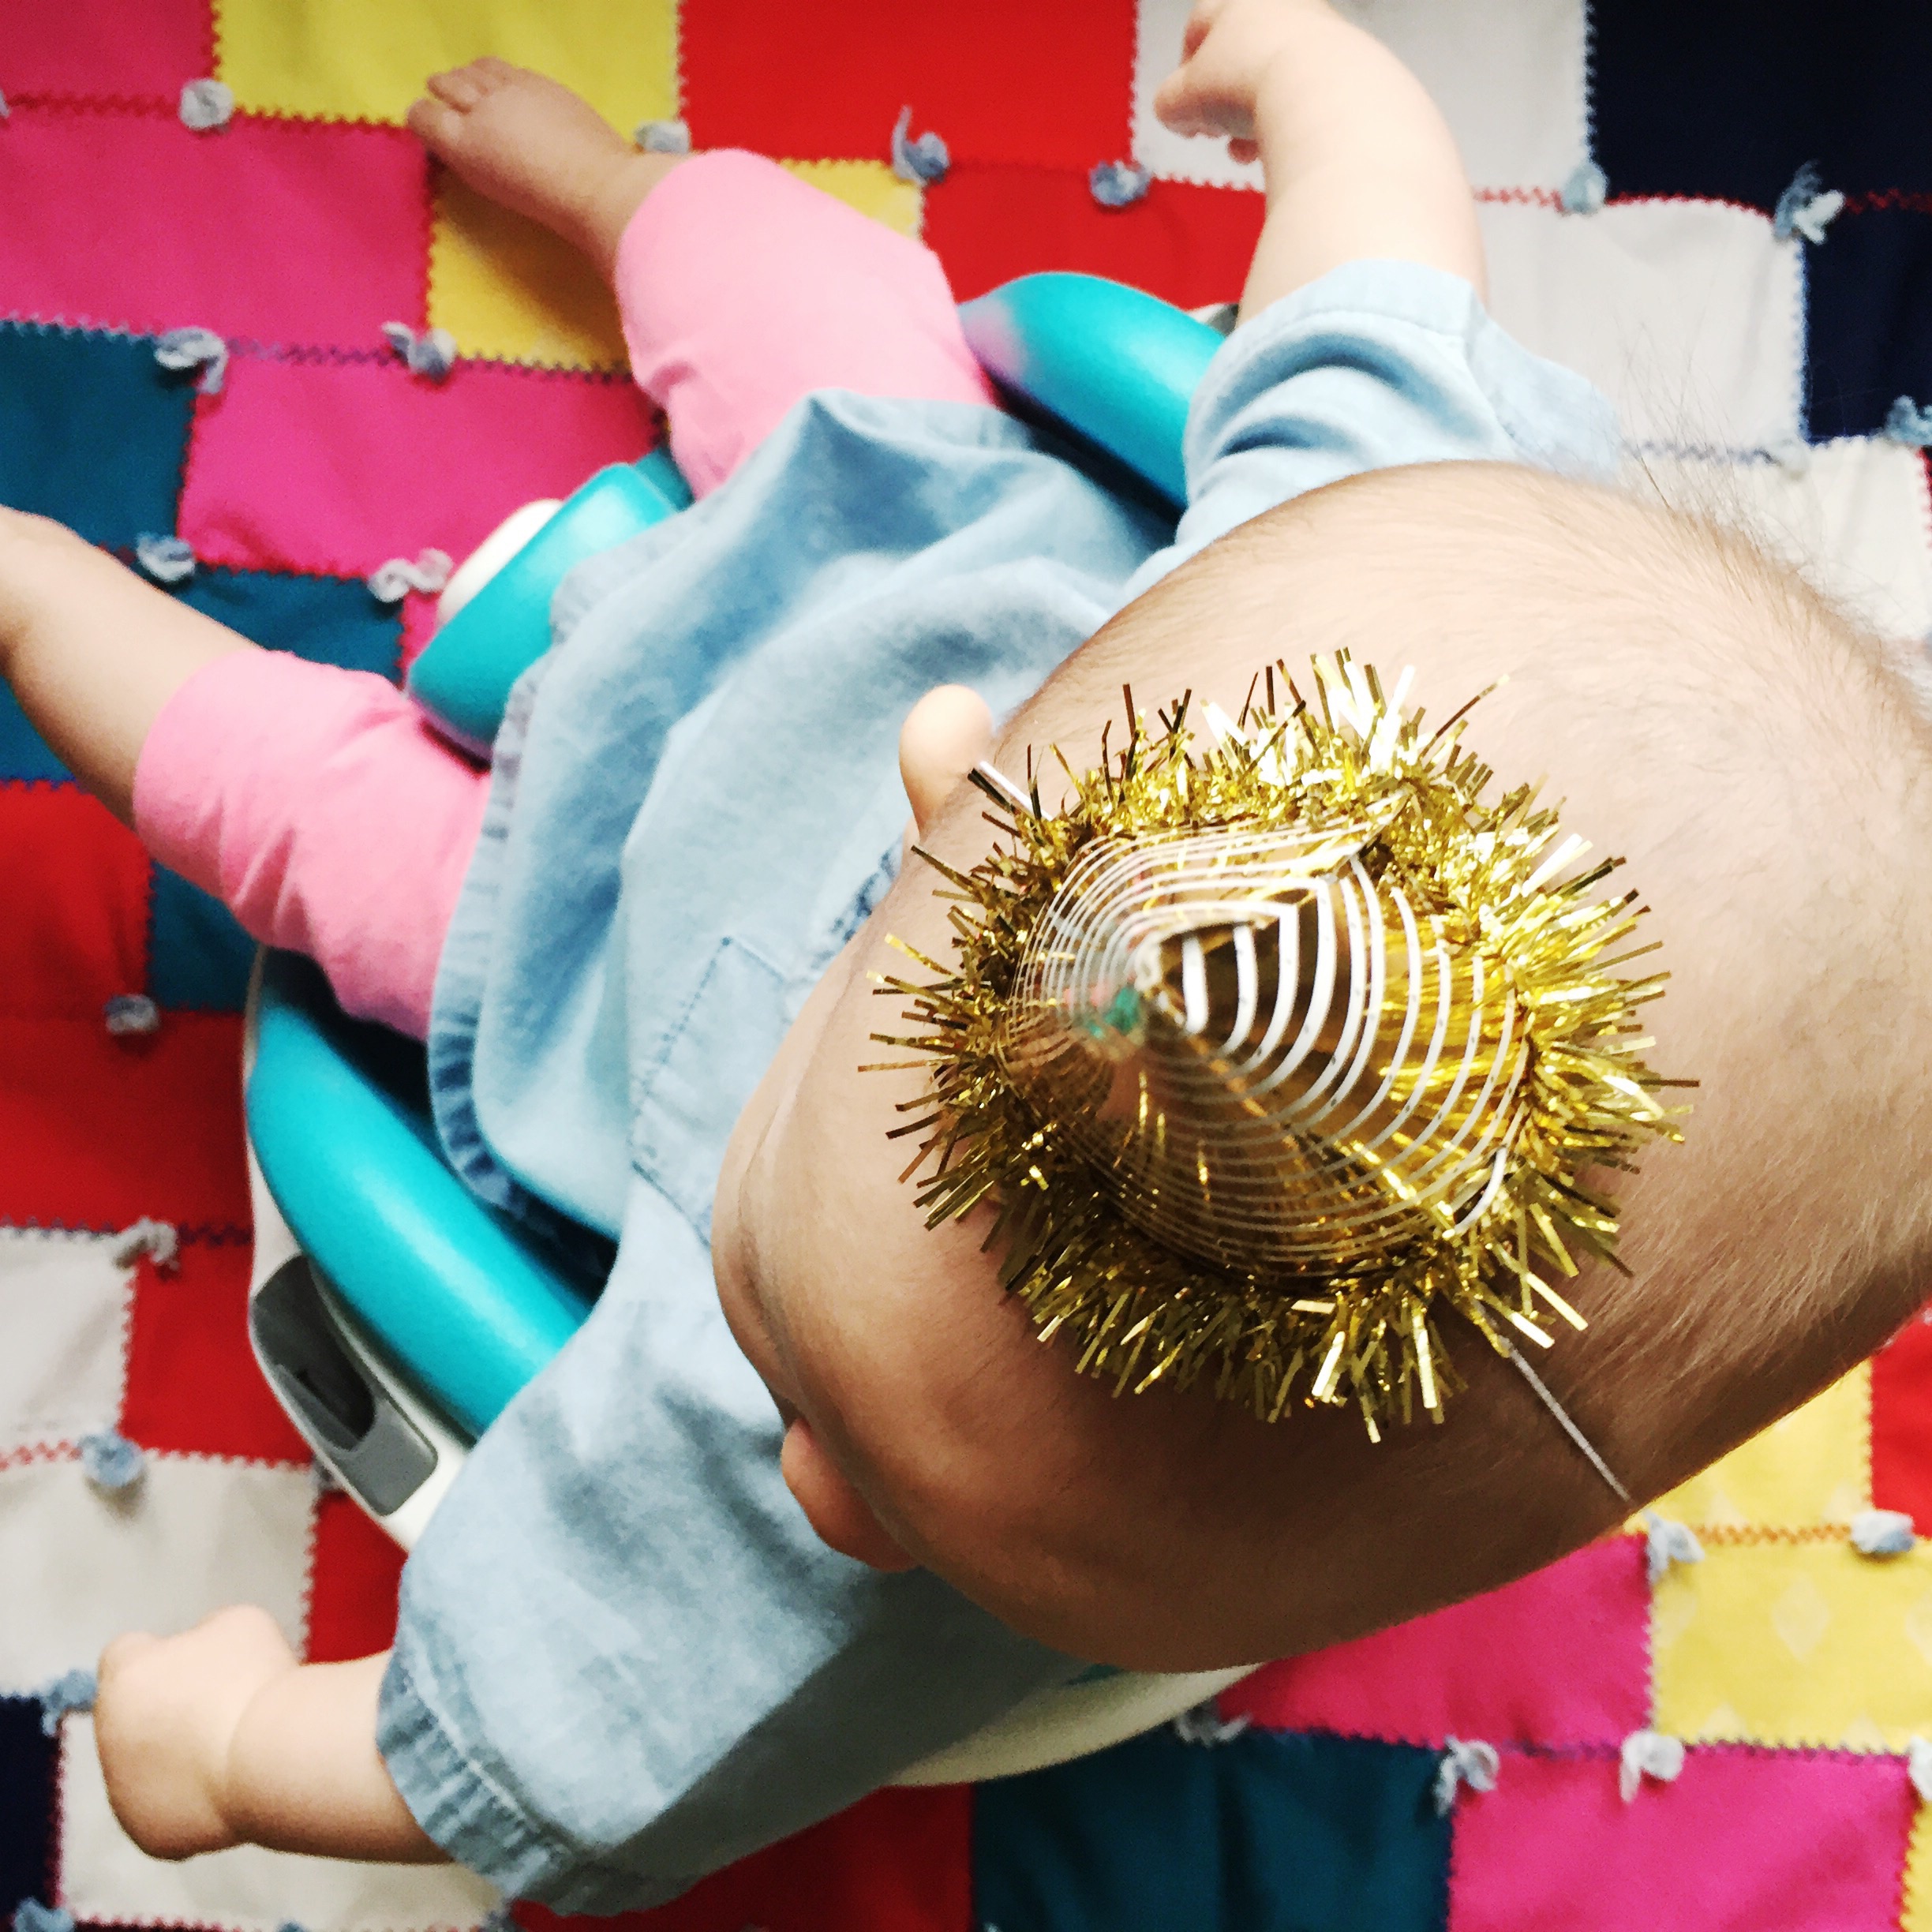
Sophie Turns Six Months

It seems like Sophie's first six months have gone by in a flash. I miss that tiny little snuggly baby I brought home a half year ago, but I love seeing her grown and seeing her little personality shine through. Soph has three teeth and has started eating veggies. So far she loves sweet potatoes, squash, and peas. She likes lots of attention and chewing on everything! She is a huge fan of her big brother and is currently a real momma's girl. Her favorite toys are her doll and her art cards.

Ain't no party like a 6 months party | my only sunshine

I hope this brightens up your Monday!
xo, Britt