Easy DIY Photo Display

Picture frames are expensive. Most nice frames you find are around $10 and even more if you want unique shapes and sizes. We we wanted to come up with a good way to display a few photos on Noah's room but for a reasonable price. And we decided that we needed something that could easily be switched out as we got new photos of Noah. 

Easy DIY Photo Display (click through for details)

Here's what we used: 

Here's what we did:

1. We hung out shelf in Noah's nursery. 

2. Then we cut our photos to the sizes we wanted. 8x8, 5x5, and 4x4.  

Easy DIY Photo Display (click through for details)

3. We then cut our matboard to have one and a half inches border on each side. 

4. Using rubber cement we placed our photos in the center of the matboard.  

5. After the glue dried, we arranged our photos on the shelf.  

Easy DIY Photo Display (click through for details)

The nice thing about this is that it is so easy to change these out any time we want. You can use any color of matboard that you want. And this project only cost about $15.00 (shelf and all)! xoxo, Britt + Sky

Sleepy DIY Sleep Mask

Happy Thursday Lovelies!!

Everyone needs a sleep mask! If not to keep the light out of your eyes when you are sleeping in on the weekends, then to just look super cute! It's simple to make. Have a look for yourself. :)

Sleepy DIY Sleep Mask (click through for tutorial)

Here's what you need:

  • fabric
  • felt
  • knit elastic
  • pins
  • wax paper
  • fabric paint
Sleepy DIY Sleep Mask (click through for tutorial)

1. Using your our template or a sleep mask that you already own, trace and cut out 2 pieces of fabric and piece of felt. Then pull the elastic around your head to touch each temple to measure how long to make it.

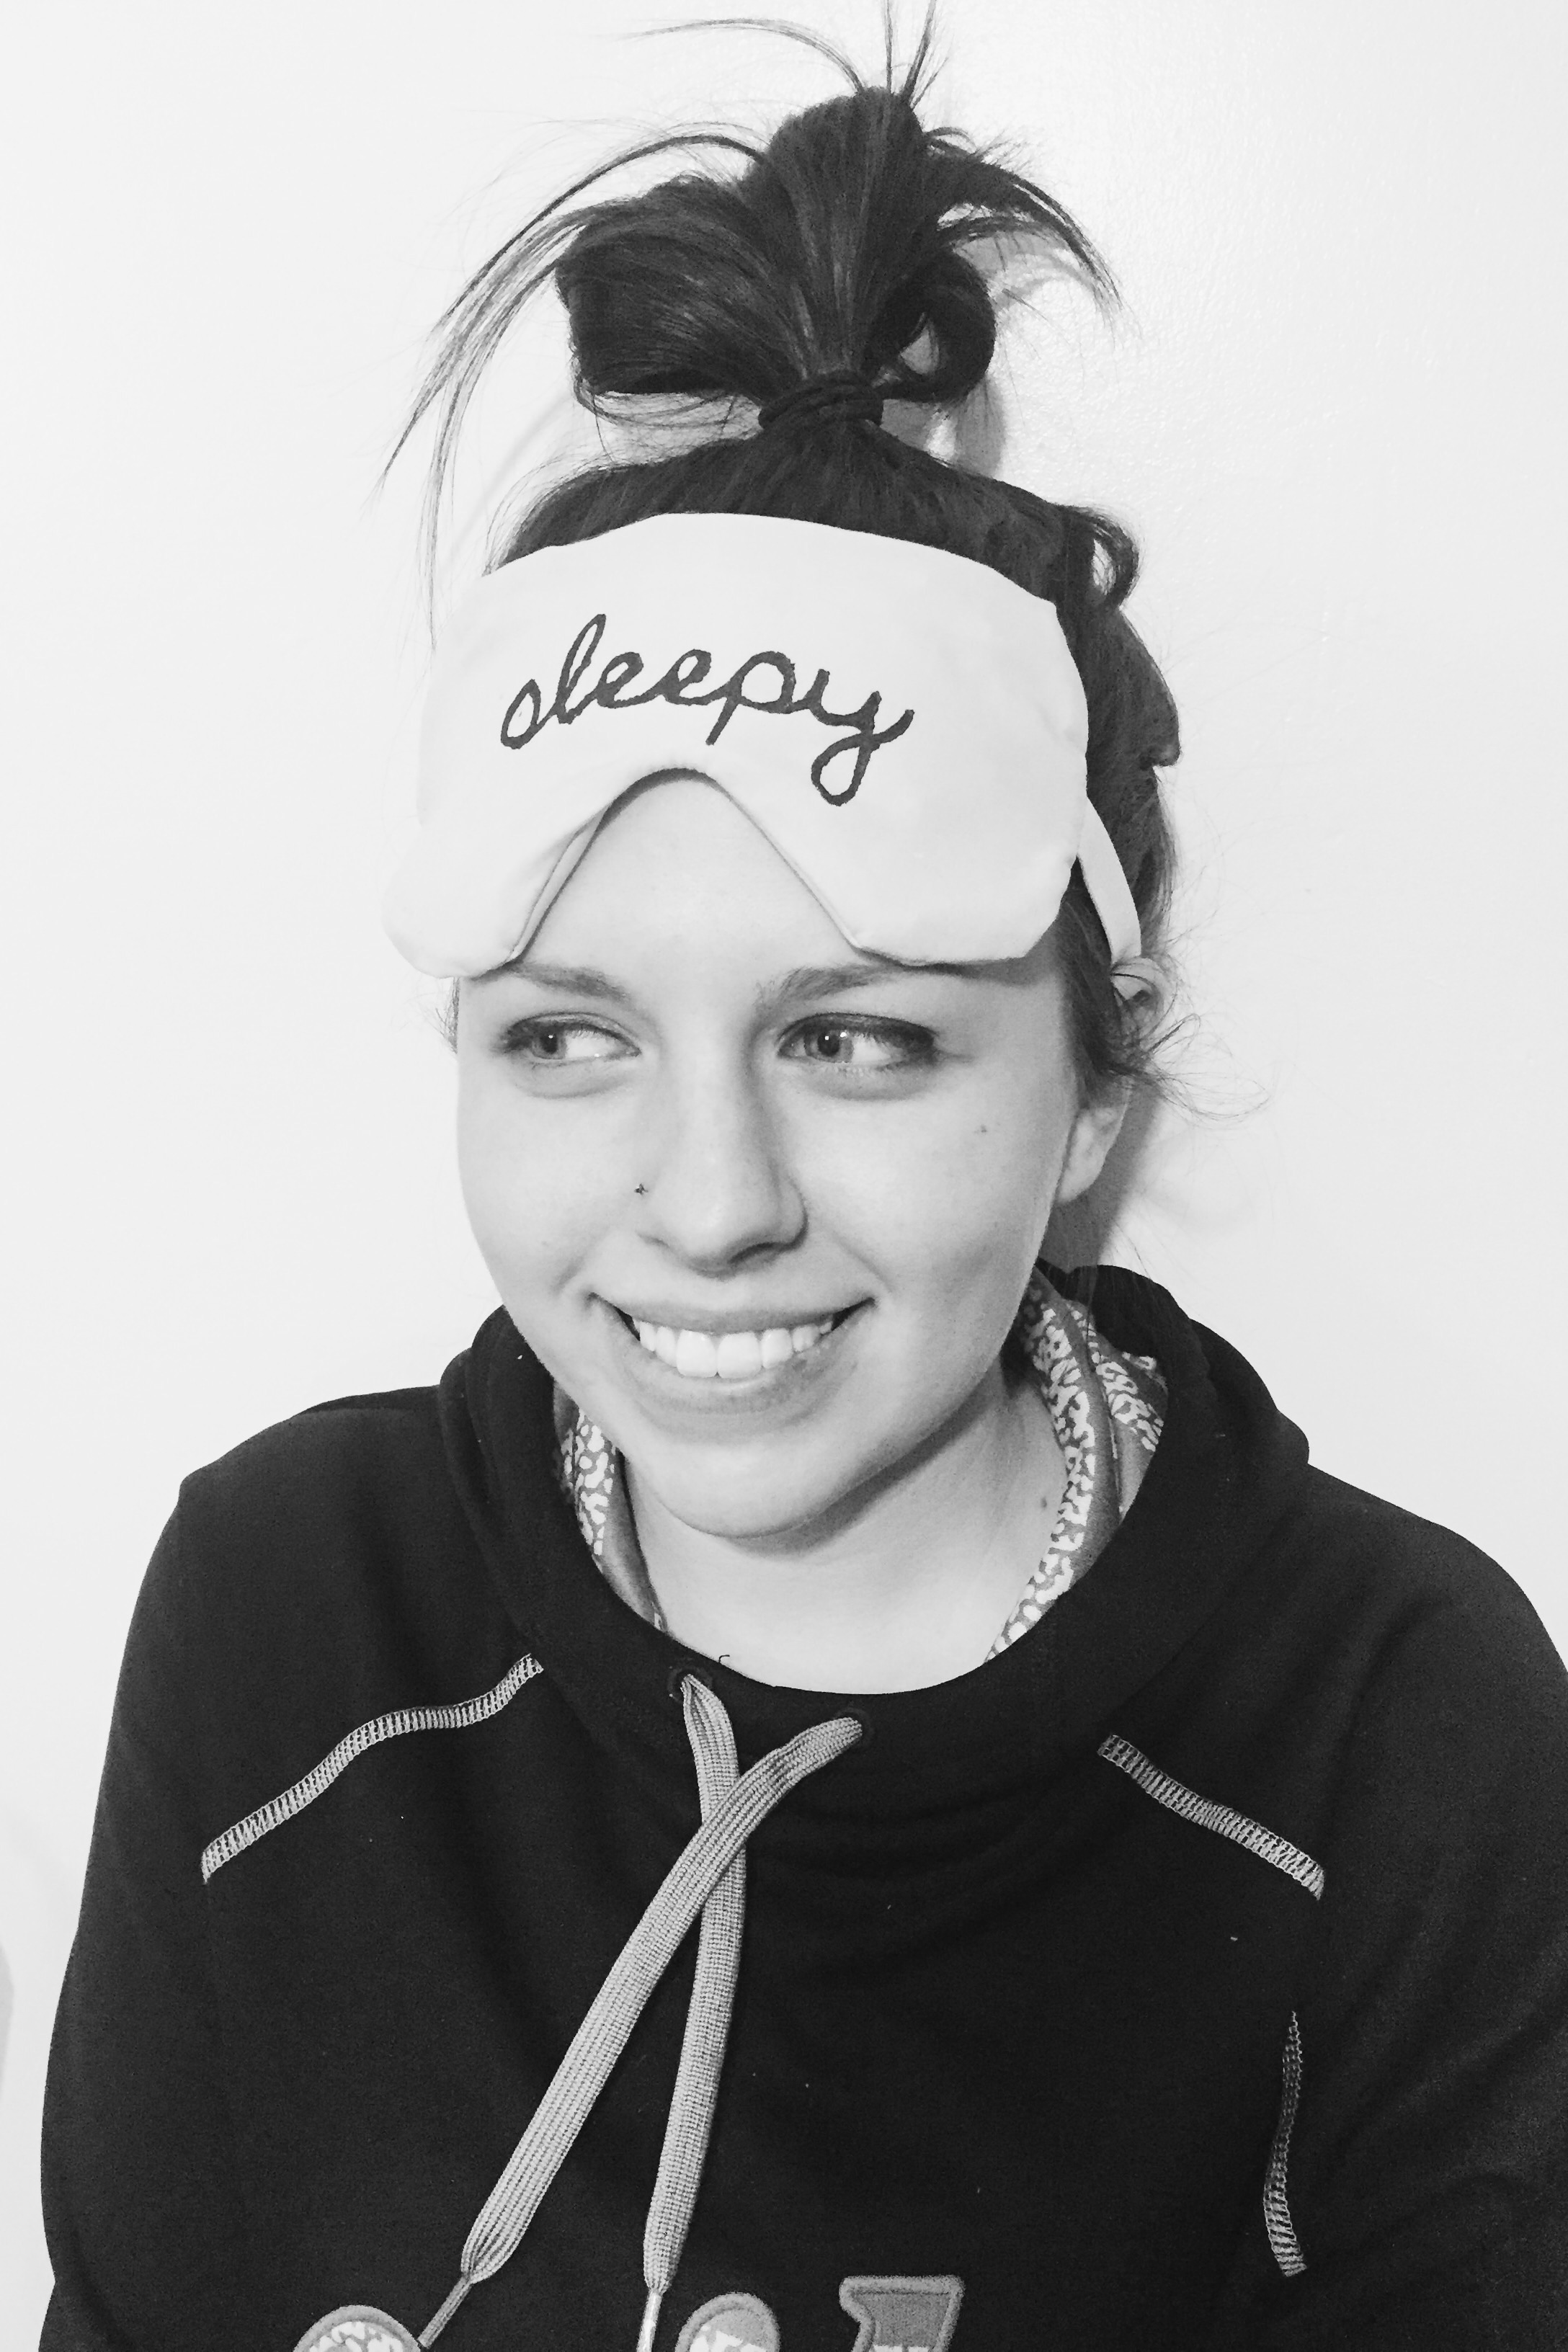
2. Using this technique, make your sleep mask say whatever you wish. We were making this for Skylar so we thought "sleepy" was fitting. :)

Sleepy DIY Sleep Mask (click through for tutorial)

3. Pin each end of the elastic to both sides of the back piece of fabric.

Sleepy DIY Sleep Mask (click through for tutorial)

4. Then place your top piece, face down, on top of the elastic.

5. Pin to hold all of the pieces in place.

6. Sew around the edge, leaving a section to turn the mask right side out. Then by hand, finish sewing it.

7. Ta-Da! A super cute sleepy sleep mask :)

Sleepy DIY Sleep Mask (click through for tutorial)

 Are you going to make your own sleep mask? Show us! Follow and tag us on InstagramTwitter, or Facebook!!  xoxo, Britt + Sky

Twenty-One Questions

We have had the blog up and running for almost half a year now and we realized that many of our followers may not know much about us. From our posts you can tell a few things about us, but we wanted to provide a little more about ourselves for you guys. Today we have 21 random, fun questions that will help you maybe get to know us a little better. Enjoy! :)

Skylar

1. What's middle name?
   Paige

2. What's your favorite drink?
    Chocolate milk.. I can drink it any hour of the day!
 
3. What's your favorite song at the moment?
    Thinking Out aloud by Ed Sheeran
    
4. What's your favorite book? 
    It's Kind of a Funny Story by Ned Vizzini
    Where Are the Children? by Marry Higgins Clark

5. What's your favorite color?
    Red :) 

6. How old are you?
    19 

7.  Do you speak any other languages?
    I took Spanish in highschool.. But I only know how to say bathroom, so..

8. When's your birthday?
    November 23

9. What's your favorite store?
    Forever 21 or Target!

10. What's your favorite movie? 
     Baby Mamma, I think I've watched it at least a thousand times.

11. What are some of your favorite TV shows?
    Modern Family, Finding Carter, and Red Band Society

12. How tall are you?
     5'1''...

13. Any pets? 
     My turtle, Roscoe Eli!

14. What is one of your favorite quotes?
    "Work until you no longer have to introduce yourself."

15. What is your favorite time of day/day of the week/month of the year
     Bedtime/ Saturday/ September

16. What do you want to be when you grow up?
     I'll have to get back to you on that one.

17. When you have 30 minutes of free-time, how do you pass the time?
     Napping or reading

18. What celebrity have you ever been told you look like?
     Anna Kendrick
    
19. If you could live anywhere, where would it be?
     Chicago for sure!

20. If you could share a meal with any 4 individuals, living or dead, who would they be?
      Emma Stone, Jennifer Lawerence, Eminem, and Abraham Lincoln

21. What's some random fun-facts none of your followers know about you?

-I can bowl a lower score than I can golf. 

-My graduation party was cut short because it was hit by a tornado.

-I can make any, and every, situation an awkward situation.

-I once shattered by phone by accidentally sitting a gnome on it. 

-I once proposed to a janitor at the mall.


Brittnee

1. What's middle name?
    Renee

2. What's your favorite drink?
    Dr. Pepper
 
3. What's your favorite song at the moment?
    EVERYTHING Taylor Swift :)
    
4. What's your favorite book? 
    Eat Pray Love    

5. What's your favorite color?
    Teal blue

6. How old are you?
    25

7.  Do you speak any other languages?
    Very minimal Spanish

8. When's your birthday?
    September 15

9. What's your favorite store?
    Target and IKEA are pretty much tied.

10. What's your favorite movie? 
    Mean Girls

11. What are some of your favorite TV shows?
    The Mindy Project and The Good Wife

12. How tall are you?
     5'7"

13. Any pets? 
     Dog named Bentley

14. What is one of your favorite quotes?
      "If you don't go after what you want, you'll never have it. If you don't ask, the answer is always no. If you don't step forward you are always in the same place."

15. What is your favorite time of day/day of the week/month of the year
     Night time/ Friday/ September

16. What do you want to be when you grow up?
     A blogger/designer + stay at home mom

17. When you have 30 minutes of free-time, how do you pass the time?
     Pinterest :)

18. What celebrity have you ever been told you look like?
     Shawn Johnson

19. If you could live anywhere, where would it be?
     New York!

20. If you could share a meal with any 4 individuals, living or dead, who would they be?
    Taylor Swift, Mindy Kaling, Alison from the Alison Show

21. What's a random fun-fact none of your followers know about you?
    -I can sing all of the presidents.. but don't ask me to!

    -In 2007, I danced in the Macey's Thanksgiving Day Parade!

   - Jake and I were boyfriend/ girlfriend in the 5th grade. 

   -I own more than 16 EOS lip balms (Don't judge me!).

   -I have had the Taylor Swift CD 1989 playing on repeat in my car for 2 1/2 months. 


Hope you liked getting to know us a little better. xoxo, Britt + Sky

Fruit Bites

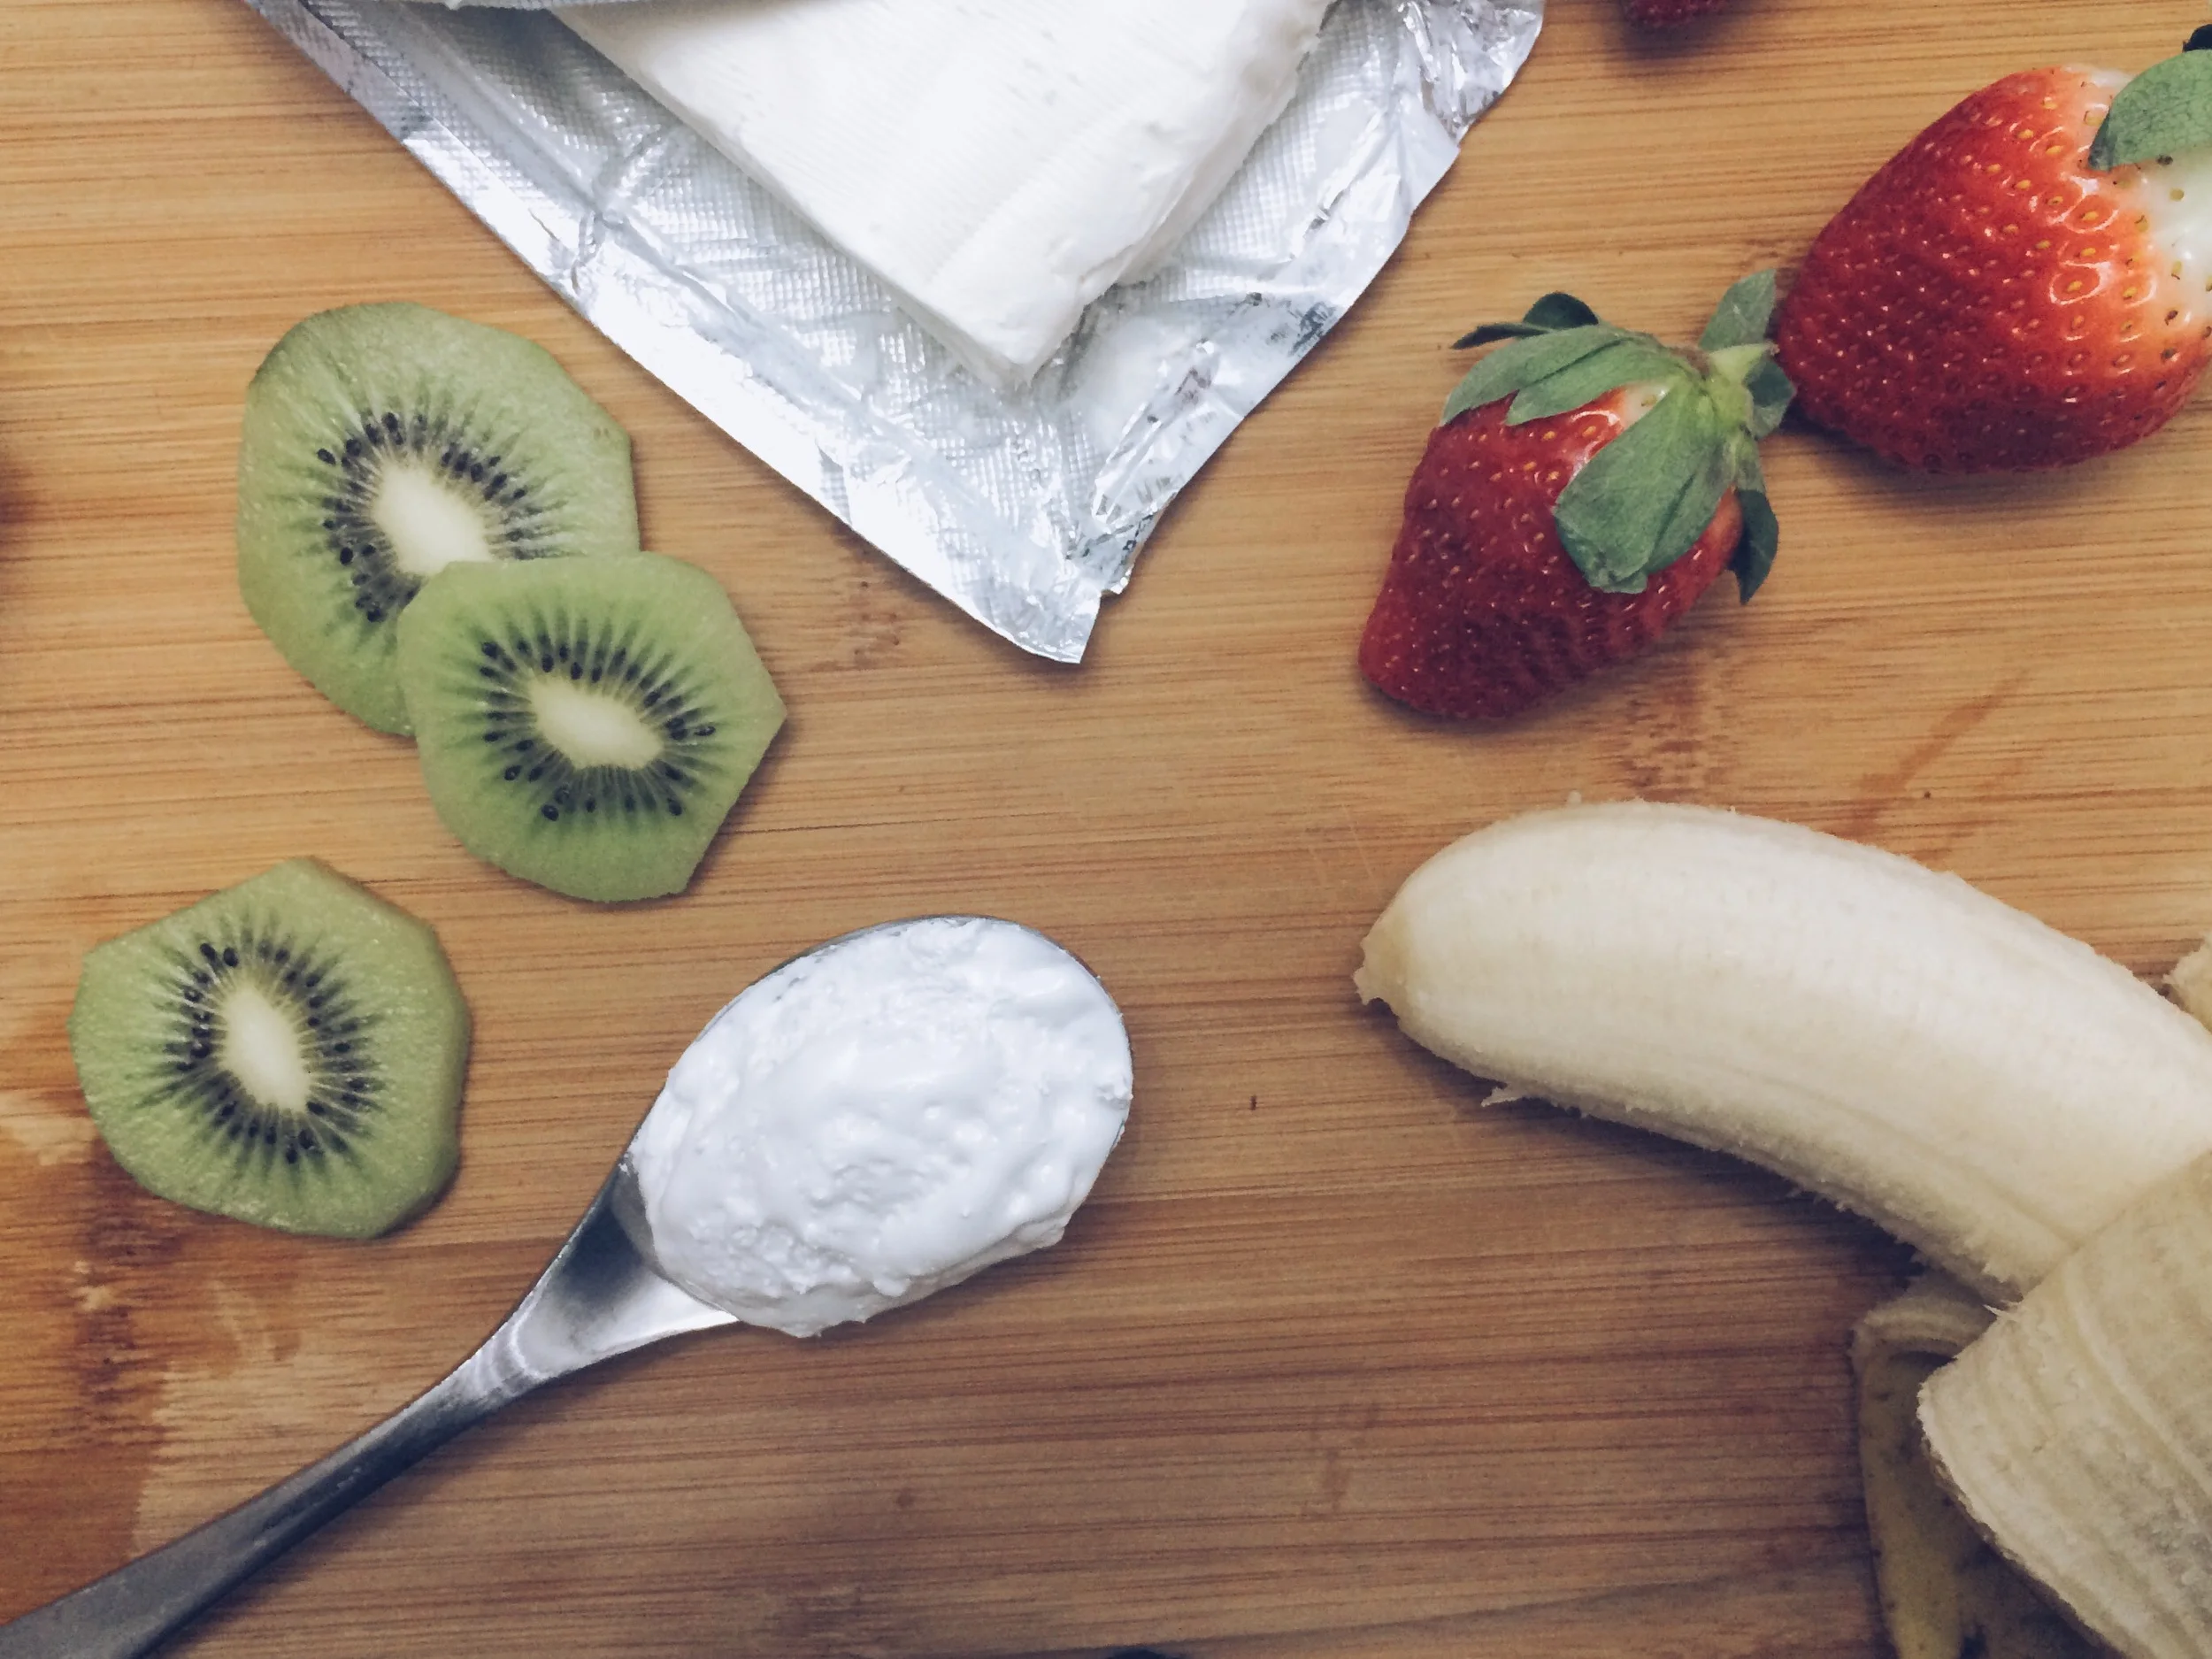
Today we have some delicious fruit bites that you can make for any gathering, big or small! We only used a few of our favorite fruits today, but you can substitute any of your favorites if you would like. 

To get started make sure you have:

  • cream cheese- 8 oz
  • marshmallow fluff- 7oz
  • 4 bananas
  • 4 kiwis
  • a box of strawberries
  • sprinkles (optional)
Fruit Bites. Click through for recipe.

1. Wash all of your fruit and cut them into small circles. Some of the fruits may not make perfect circles (or the same size circles) but that's okay!

Fruit Bites. Click through for recipe.

2. Mix together your cream cheese and marshmallow fluff. Make sure it is mixed well before moving on.

3. Place your mixture into a gallon plastic baggie and cut of the tip of one of the bottom corners. (You want it to make a pretty small hole so don't cut to far up the edge.) 

4. Use the baggie like an icing piping bag and swirl the mixture onto your cut up fruit pieces.

Fruit Bites. Click through for recipe.

5. Sprinkle the tops of the fruit bites with sprinkles! This step is optional but always make the fruit bites look a little bit fancier for any party. :)

Fruit Bites. Click through for recipe.

That wasn't so hard now was it? These little bites are great finger foods for your next small get-together or big party. They take no time to make and are easy (and delicious) for guests to eat. Try these at your next party and we guarantee you won't regret it!

xoxo,

Britt + Sky

From T-Shirt To Toy

Does your kiddo have a bunch of outgrow character t-shirts? Well now you can recycle them into a new toy! No need to throw the old t-shirt out when you can save money and not buy new toys but make them! 

All you need is:

  • an old t-shirt with a character on it
  • scissors
  • sharpie
  • sewing machine
  • needle
  • thread
  • pillow stuffing
T-shirt Stuffed Animals. Click for instructions.

1. Draw an outline around your character with your sharpie. Be very careful when doing this, and if you think you may mess up then use a pencil first. Also make sure your line is not right next to the character for when you sew it together.

T-shirt Stuffed Animals. Click for instructions.

2. Cut around the inside of the black sharpie line, try not to leave any black showing.

T-shirt Stuffed Animals. Click for instructions.

3. Take your cut out piece and trace it onto the back part of the t-shirt. Cut it out exactly like you did the original character. The pieces should match up.

T-shirt Stuffed Animals. Click for instructions.

4. Pin your two fabric pieces together with the parts you want on the outside facing each other. Sew all around your character with your sewing machine (or if you don't have one you can sew by hand). Leave 3-5 inches on part of your character open to add the stuffing. When finished sewing, flip your fabric back so the character is now right side out.

T-shirt Stuffed Animals. Click for instructions.

5. Then add as much, or as little, stuffing as you'd like.

T-shirt Stuffed Animals. Click for instructions.

6. Then just stitch up the gap you left open to put the stuffing in, and tie the end. 

T-shirt Stuffed Animals. Click for instructions.

These are pretty simple to make and are a great idea. These are especially fantastic when one of your kiddos have a favorite t-shirt and they outgrow it. Instead of having to just give it away you can make it their new favorite toy! Noah sure did love his new monster!

T-shirt Stuffed Animals. Click for instructions.

xoxo,

Britt + Sky