Houseplant Graveyard

The Waters' house is a place where plants come to die. No seriously. I DO NOT have a green thumb. I try so hard and want it to work out so bad, but I have realized that there is no hope for me. 

This was a very sad realization because I see all of these pretty rooms on Pinterest that really come together with these beautiful house plants and it hurts me a little inside to know that I could maybe keep those plants alive for like 2 weeks tops. Pitiful. I know. 

So in honor of national houseplant day (yeah they have days for everything now), I decided to post about the plants that I can/have kept alive so far. :) Oh you are in for a real treat!

image.jpg
image.jpg

1. Cacti number one. But don't feel to proud of me because it says right on the packaging, "can survive drought." Ha! So I am pretty sure literally anyone could keep them alive.

image.jpg
image.jpg

2. Cacti number two.

image.jpg

3. IKEA plants :) Ha! These are the best houseplants in my opinion. They need no special treatment or attention and yet, they are always looking good. 

Have any ideas on other houseplants that I can't kill? Let me know in the comments. I would love to give it a try. xoxo, Britt

DIY Embroidery Hoop Dreamcatcher

We have a fun, easy way to make a dream catcher for your home. It's easily customizable, so it can look perfect in your room of choice.

Here's what you will need:

  • embroidery hoop
  • lace
  • feathers
  • beads
  • cord
  • hot glue gun
  • thread
IMG_7177.JPG

1. Cut a strip of lace that is long enough to fit across the diameter of your embroidery hoop. (We cut ours along the design of our lace.)

2. Stretch out the cut piece of lace across the inside piece of the embroidery hoop, and glue it on each edge to hold it in place. 

3. Cut off any excess lace.

4. Use your thread to tie any loose lace edges to the hoop where needed. (Not all will need it, depending on how you cut your lace)

IMG_7203.JPG

5. Set your embroidery hoop aside. Cut your cord into five pieces. You will want them to be different lengths (the outer two being the shortest and the middle being the longest). You will have to choose the lengths depending on the size of your embroidery hoop.

6. Tie one feather onto the end of each of your pieces of cord. 

7. Add 2-3 beads to each piece of cord.

8. Next, put the outer piece of your embroidery hoop on and tighten it. Then tie the end of the cord, opposite of your feathers, to the bottom of your embroidery hoop.

IMG_7197.JPG

That's all! Now, all you have to do is find a place to hang it. We are super excited about how this turned out. We have seen many dream catchers on Pinterest and different blogs, but we wanted to make ours different from the rest. After a handful of trial and errors, we finally reached a look that we thought was pretty awesome, not that we are biased or anything. 

IMG_7194.JPG

xoxo,

Britt + Sky

Apple Dessert

Today we have a very yummy dessert that we just recently made. It's a simple recipe that only requires a few ingredients. This apple dessert has yummy cinnamon-sugar apples and ice cream in a crunchy won ton wrapper. And all you need to get started is:

-one apple

-one tablespoon sugar

-one teaspoon cinnamon

-one tablespoon butter

-six wonton wrappers

-chocolate syrup  

-vanilla icecream (six scoops) 

image.jpg

1. Preheat your oven to 350 degrees.

2. While the oven is preheating,  peel and dice your apple.

3.Next melt your butter in a pan at a low heat.

4. Once the butter has melted add in your diced apples, cinnoman, and sugar. Stir until apples are evenly coated. Then let the apples cook, stirring frequently, until they are soft.

5. Once your apples are done, put your wonton wrappers into a cupcake pan. Push them down in the middle so they for a cup like form.

6. Fill each wonton wrapper 'cup' with our apple mixture.

7. Bake for 5-8 minutes of until the wonton wrappers are crispy. 

8. Once done, let them cool for 3-5 minutes. 

9. Then top with ice cream and chocolate syrup and serve! 

image.jpg

These apple treats are super yummy! They are very quick and easy and would be great for a party!

xoxo, 

Britt + Sky

New Mom Files: Homemade Baby Food Essentials

Choosing to make Noah's food has been a very fun yet challenging thing. I love knowing that he is getting all of the best and freshest ingredients possible. The hard part is staying motivated to cook in bulk and prepare all of the food. It just takes so much time and commitment.

New Mom Files: Homemade Baby Food Essentials

Don't get me wrong, Noah is totally worth it, but on a Sunday afternoon when all you want to do is lay on the couch and rest while the little one is napping, its hard to want to go and prep, cook, puree, and put all of the food into containers. But I said I was going to do it so I just keep on keeping on. 

Puréed Baby Food

I posted quite some time ago about making homemade baby food when I was first getting started. After making food now for about 7 months, I will share a few things that I have learned. 

Things that you need:
1. A good food processor!! This is a must. We bought the Ninja and love it but I know that there are lots of good options out there. If you are really wanting to make your own baby food, you need one that holds a lot. It makes it much easier when trying to make food in bulk.

2. Lots of containers. I got mine at the Dollar Tree. They hold about 2oz which is pretty much a perfect size. I got rectangle ones for veggies and circle ones for fruit. This makes it super easy to distinguish the difference since a lot of fruits and veggies look similar. Why not label you ask? You go through containers very quickly once baby starts eating food. I just felt like it was a wast of time to label and have to worry about either getting the same food in the same containers each time. Make it easy on yourself mama! 

3. There are lots of rules you will find when it comes to feeding your baby. There are certain foods that they shouldn't have until they are older, and certain foods that cause gas ... it goes on and on. So I just did a little research on things that would be good for Mr. Noah. I just kept trying things one at a time to make sure that he didn't have any sort of reaction to anything. Here are a few things that I have read/learned in the process.
- Avoid until one year: peanut butter, honey.
- Introduce slowly: dairy. (I started introducing Noah at 9 months)
- Make baby gassy: broccoli, cauliflower, 
- Things I made: sweet potatoes, green beans, peas, carrots, butternut squash, acorn squash, avocados, peaches, pears, apples, chicken, beef. 

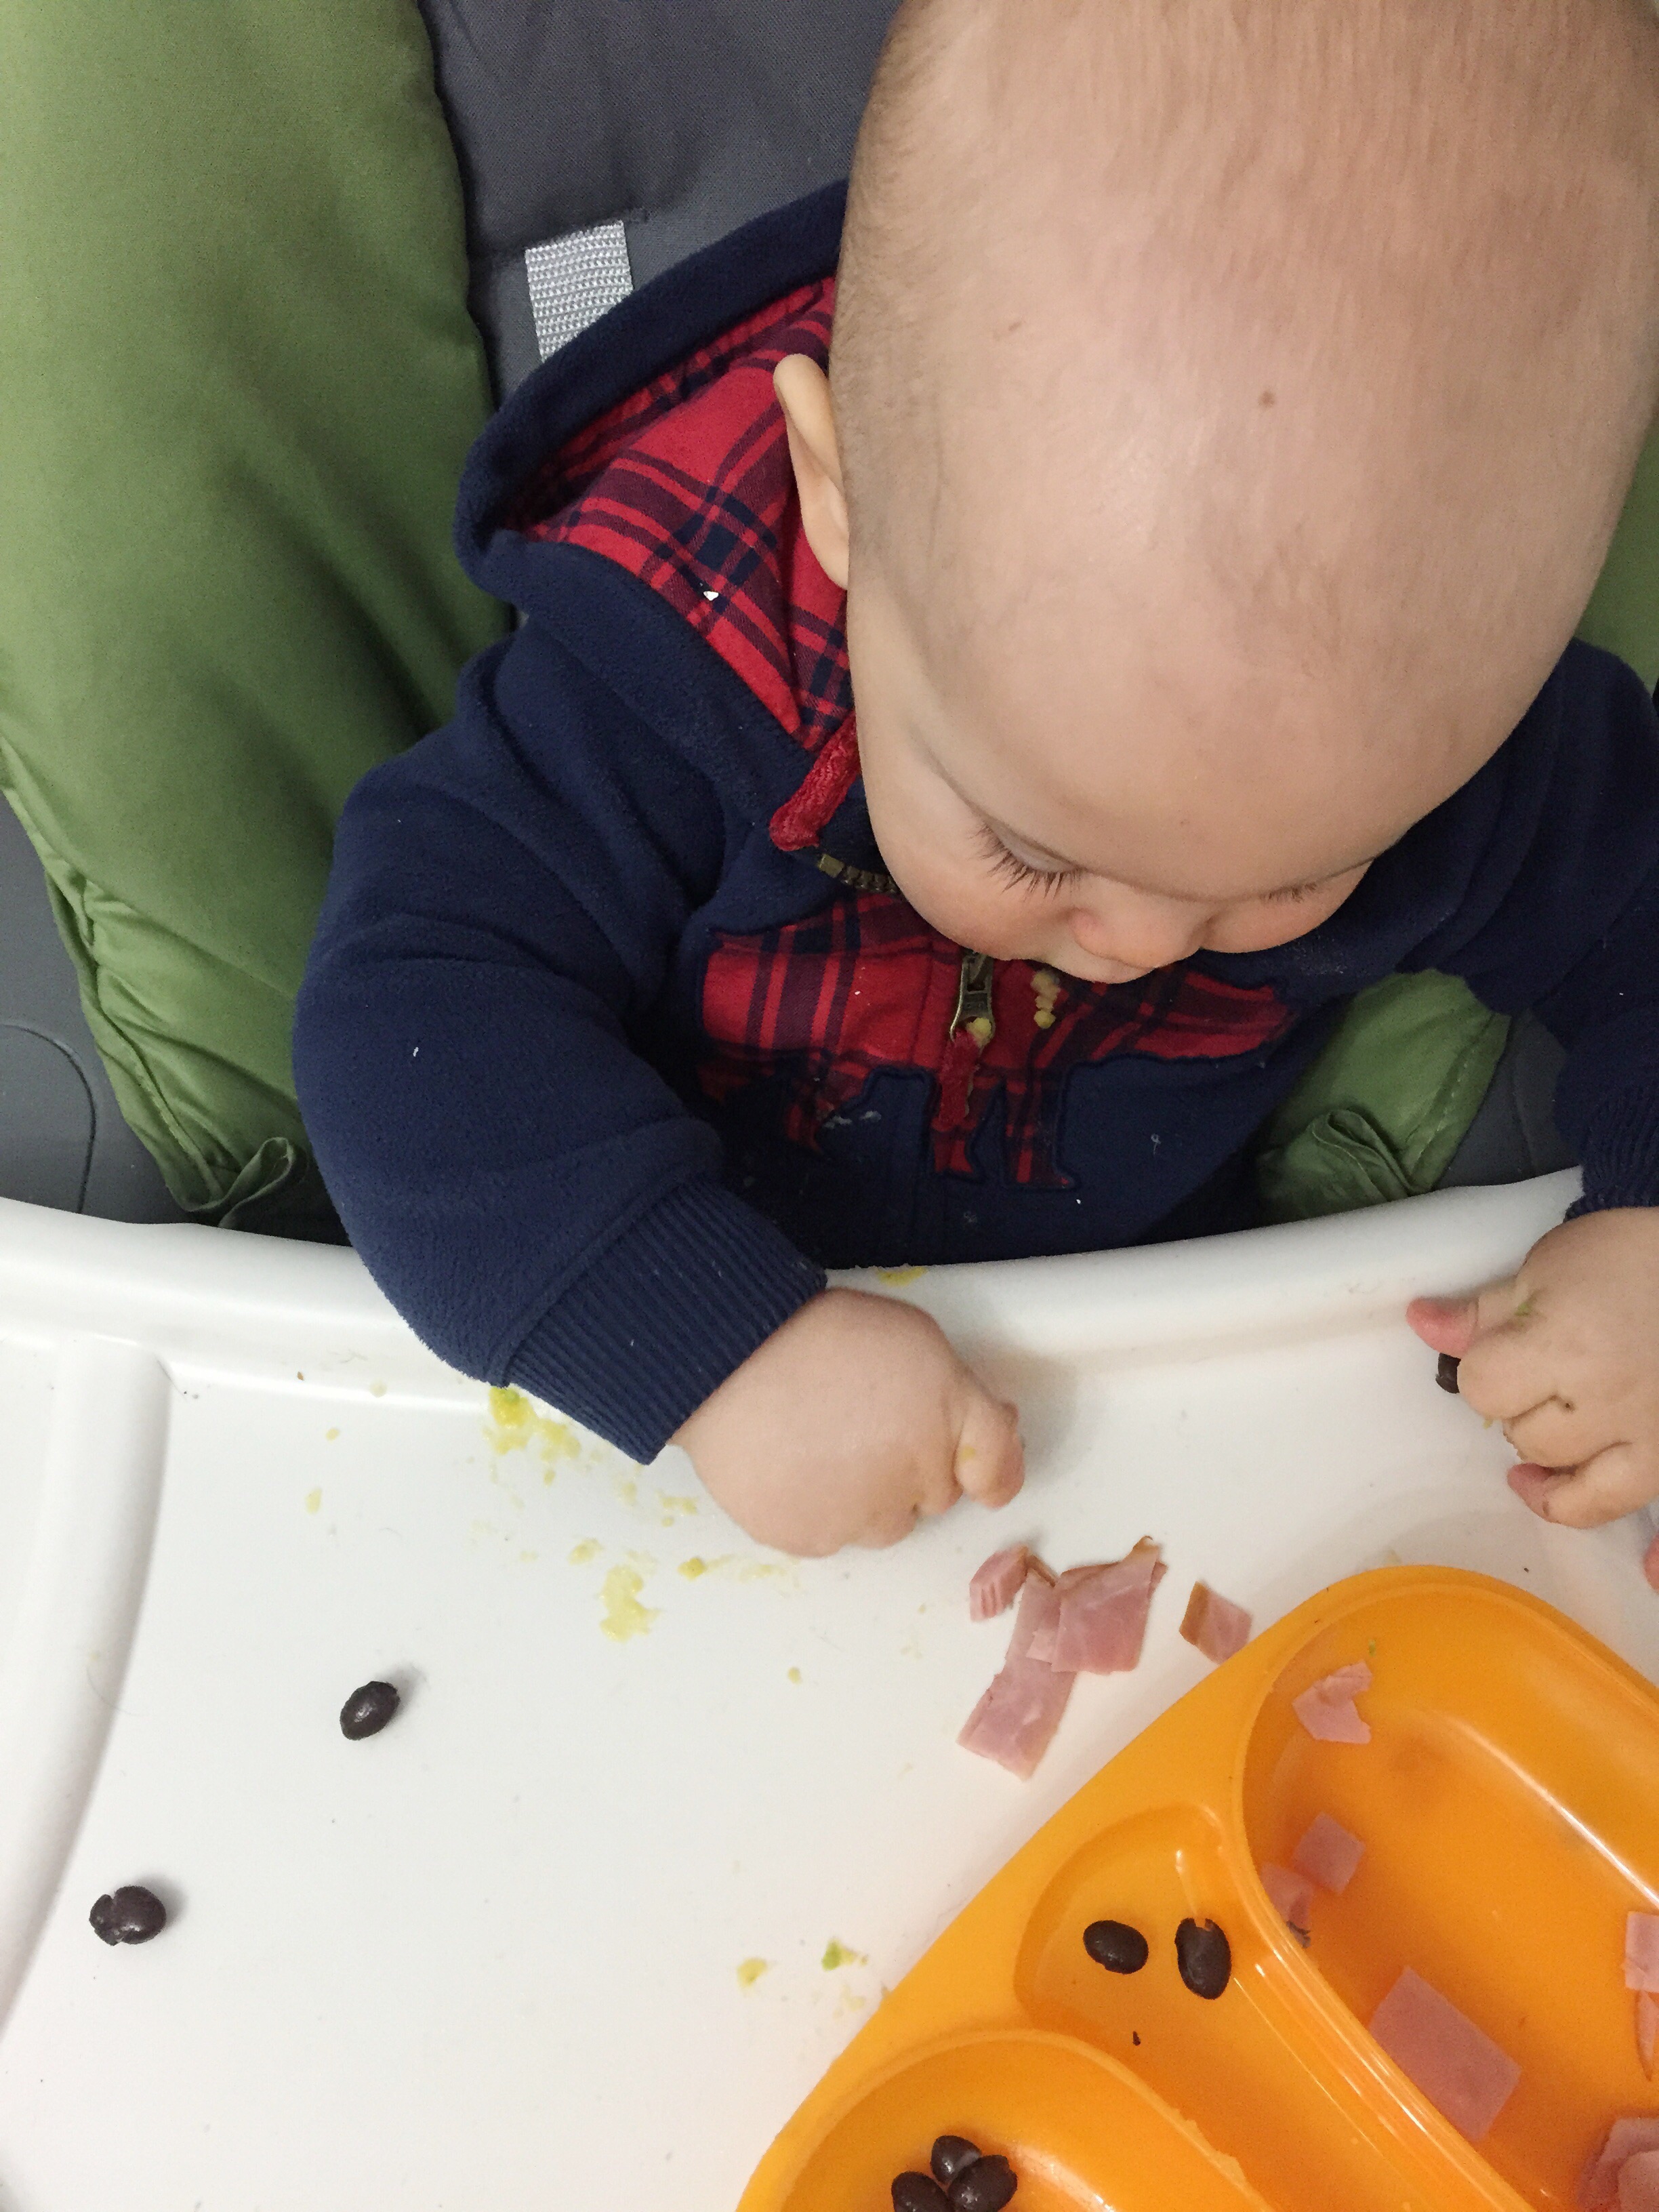
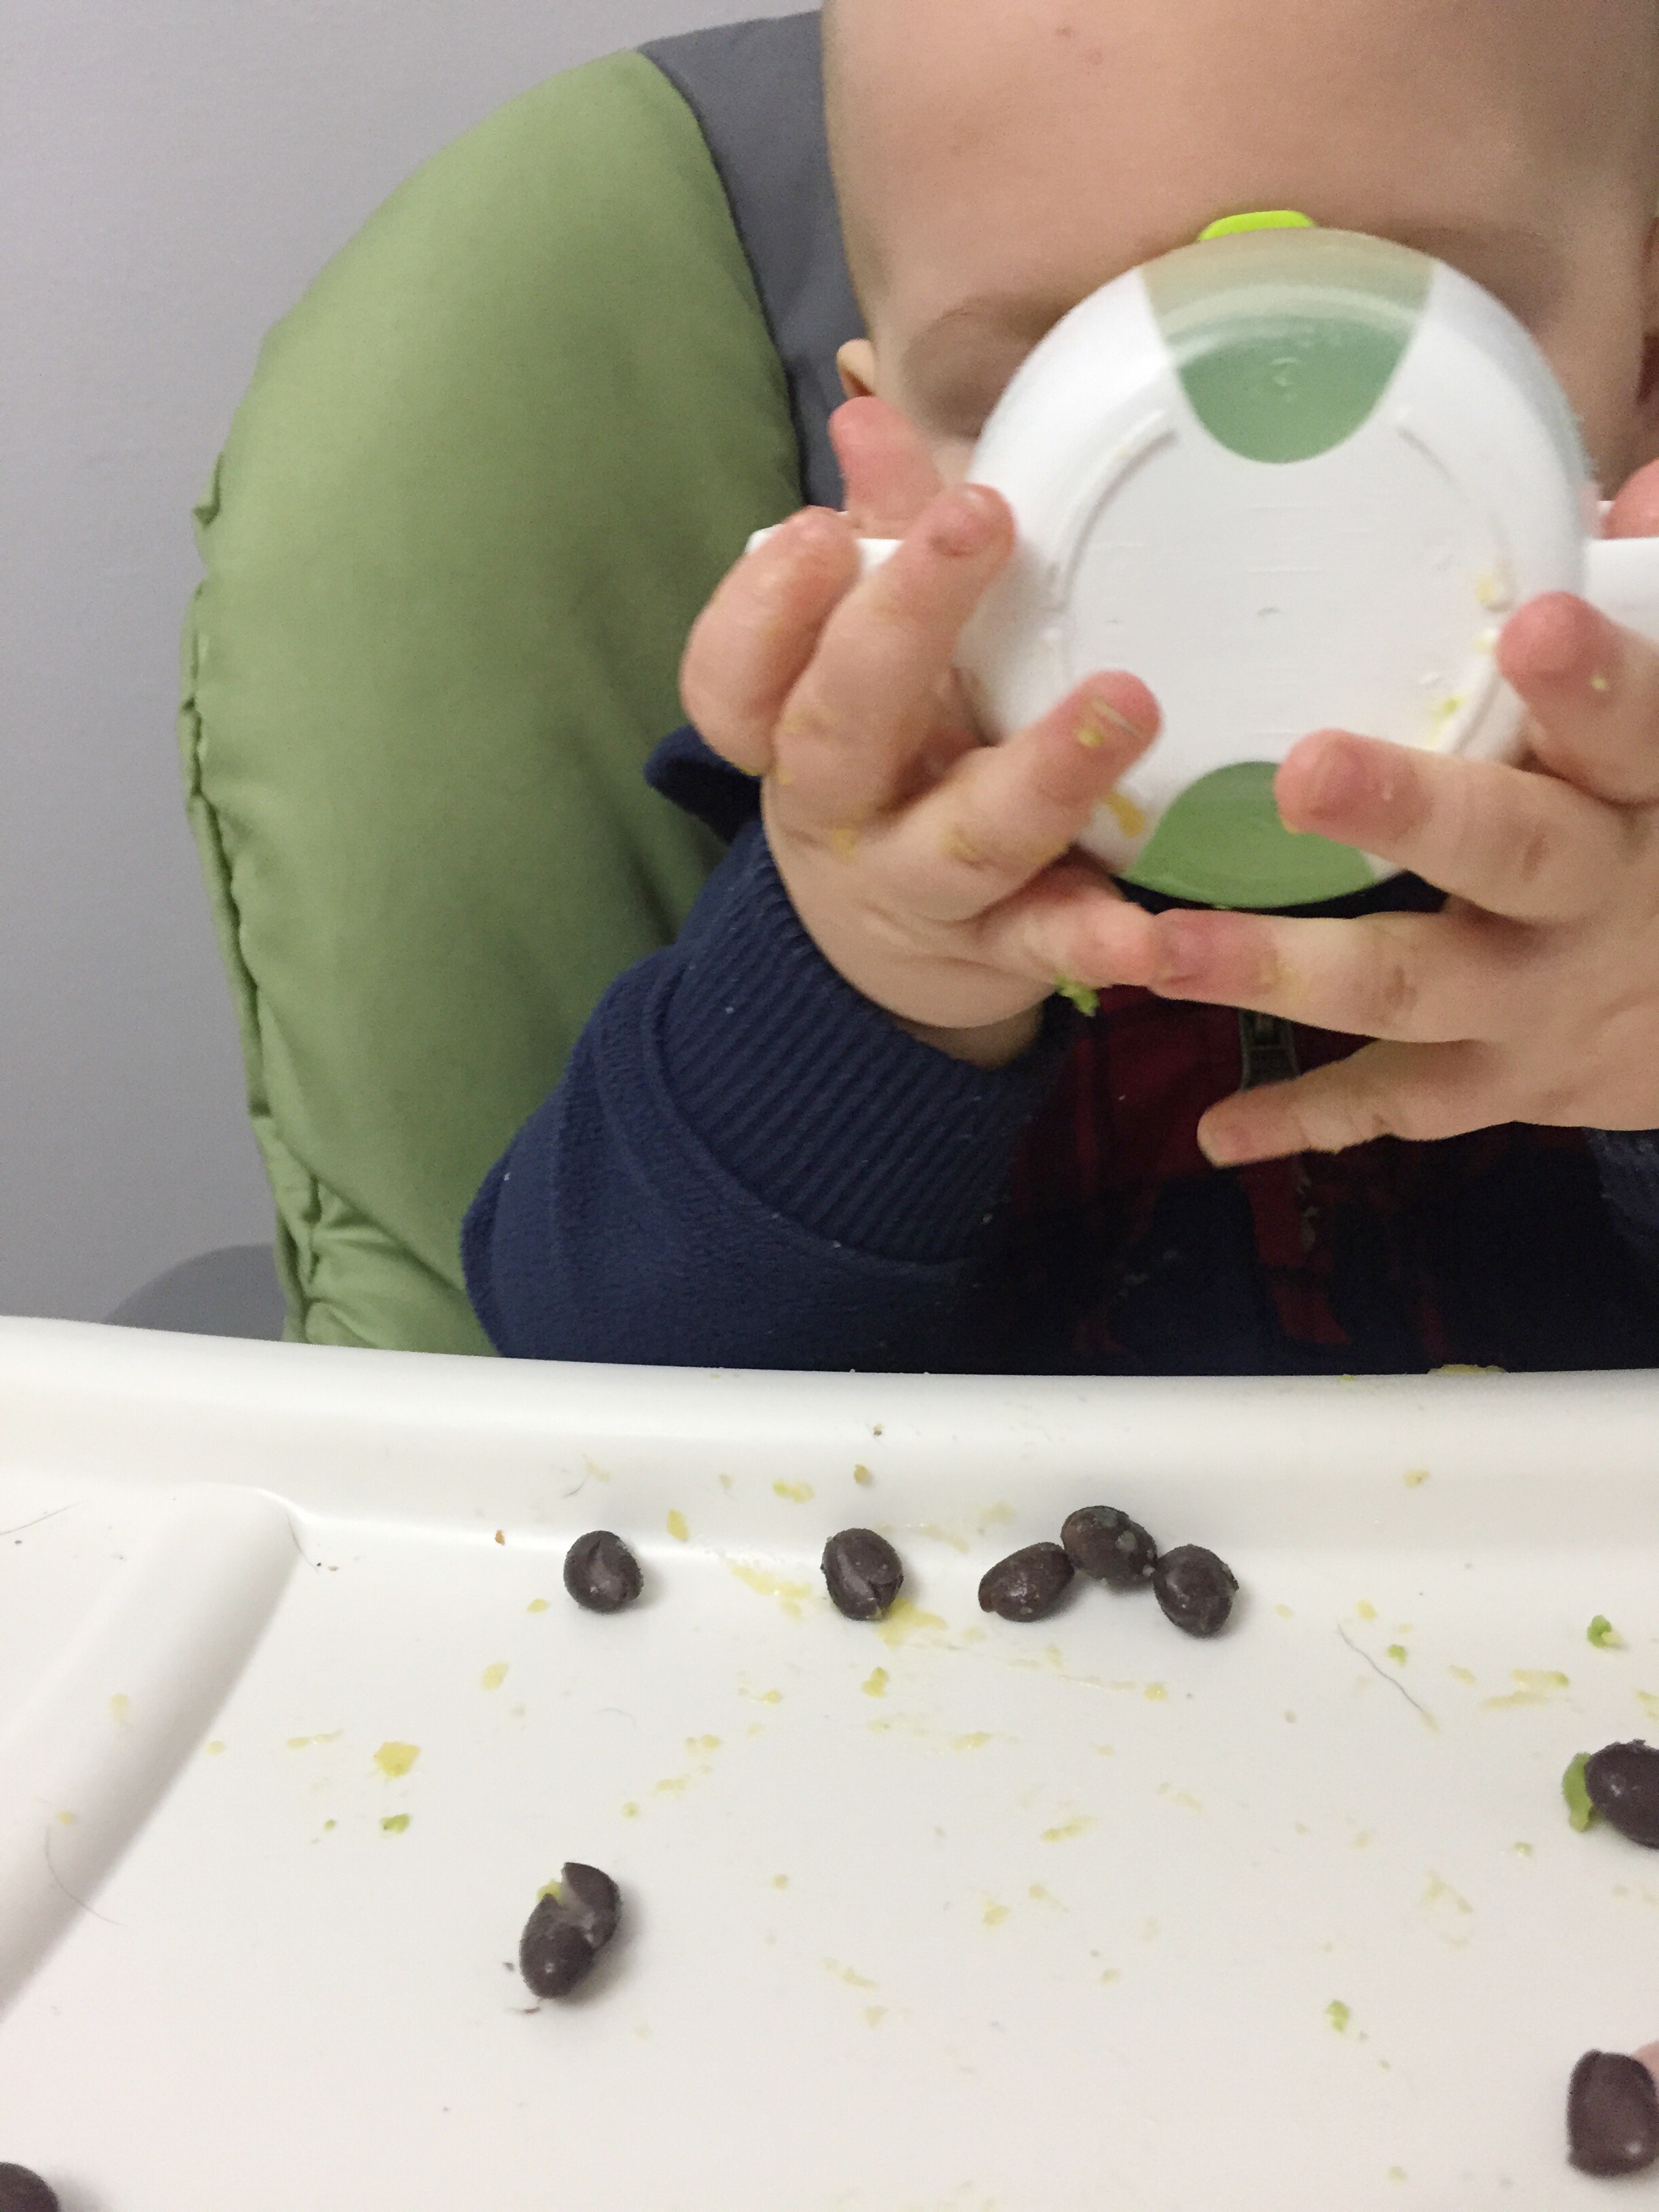
Introducing Table Foods

In the last couple months I have started adding new and whole foods into Noah's diet. And by whole, I mean cut up into small chewable pieces versus puréed.  

New Mom Files: Homemade Baby Food Essentials

Noah has been starting to eat more things off our plates or things that we've been eating. I am careful to make sure that it's not anything that is too seasoned or too spicy. This has been a huge relief. And eating out as a family has become so much easier.  

I still prep a lot of food especially for him. I have started prepping a lot of food at the beginning of the week that can be divided up for all of his meals throughout the week. It's the same concept as when you purée, you cook your foods how you normally wood, let them cool, cut them into small pieces, and divide them into your containers. I use a lot of the same containers that I used for the puréed food since I have slowed that down some.

While Noah is continuing to learn to pick things up (he is getting very good at grabbing Cheerios with his finger and thumb), I still feed him some puréed food too. It's hard to tell, until you get him out of the high chair, how much went in his mouth and how much is in the chair. Or now that he's learned to feed the dog, it really is important to make sure he is eating enough of what he needs.

I am definitely not a pro but I am proud that I have kept it up and continued to make homemade food for Noah. It makes me happy knowing he is getting good food and I think he's pretty happy about it too!

New Mom Files: Homemade Baby Food Essentials

Noah's Daily Eating Plan

So here is a sample of what Noah might eat throughout the day. Note: He is 10 months old and I will continue feeding him formula until he is 1 year or so. 

7:25 am - cherios to keep him from screaming while his breakfast is being fixed
7:30 am - piece of toast, a scrambled egg, + puréed peaches.
9:30 am - 4oz bottle before napping
12:30 pm - ham, cheese, + black beans
2:30 pm - 4oz bottle before napping
5:30 pm - rice, turkey, puréed peas, piece of an apple
8:30 pm - 6-8oz bottle before bed 

xoxo, Britt + Noah

DIY Polaroid Necklace

Does it get much cuter than this? This is a fun spin on a locket necklace. Using simple materials to create a fun and personalized accessory. These make great gifts or are perfect just to make for yourself. 

DIY Polaroid Necklace (click through for tutorial)

Here's what you need:

  • oven-bake clay
  • rolling pin
  • x-acto knife
  • cardstock
  • blank necklace pendant
  • chain
  • super glue (or other glue of choice)
DIY Polaroid Necklace (click through for tutorial)

Preheat your oven to 275 degrees F.

Next cut your card stock. You'll need two pieces for templates. You can make the size based on how large you want to make yours. Our pieces measure 1 inch by 1 1/4 inches and 7/16 inch by 3/4 inch. Cut your piece and set them to the side.

Roll out your clay to a thin even layer. Using your larger template, cut out 2 sections of clay.

DIY Polaroid Necklace (click through for tutorial)

Using your smaller template, cut out a square from one of your larger pieces of clay. 

DIY Polaroid Necklace (click through for tutorial)

Press both pieces of your clay together.

DIY Polaroid Necklace (click through for tutorial)

Your edges may be a little messy, but they can easily be cleaned up by carefully using your x-acto and your fingers to smooth out all of the sides.

DIY Polaroid Necklace (click through for tutorial)

Next you will want to bake your clay for 15.

While its baking you will need to size and print your photo. It will be the same size as your smaller template. Ours was 7/16 inch by 3/4 inch.

DIY Polaroid Necklace (click through for tutorial)

If you want your photo to be permanent, glue your photo in and you will want to seal it. If you want to be able to change it out to your heart's content like us, just use a little piece of tape to hold it in place. 

DIY Polaroid Necklace (click through for tutorial)

Glue on your necklace pendant, put on your chain, and you are set!

DIY Polaroid Necklace (click through for tutorial)

We want to see your necklaces!! Be sure to follow and tag us on InstagramTwitter, or Facebook!! 

Happy Monday! xoxo, Britt + Sky