Mommy Files: Getting Over Being a Perfectionist

I used to be a perfectionist. Well I still am, but it's different. Being a mom of two under two it can be hard to get stuff done. If I manage to actually get it done it's most likely not going to be how I was picturing it. I have learned that's ok.

It's really freeing actually. It feels good to not get freaked out by things that I would have been all bent out of shape for in the past.

Mommy Files: Getting Over Being a Perfectionist | My Only Sunshine
Mommy Files: Getting Over Being a Perfectionist

The day that I took these photos and decided that this was an important topic for me to post about, I was folding towels on my bed while I was waiting for our sheets to dry. I had several towels folded and stacked up. Noah came in and tackled everything that I had done.

My initial reaction was to have a mini freak out and try to quickly fold everything while attempting to distract him. And then I realized that I didn't care if I got all of the laundry folded. Hey. Getting it clean is the important part, right?

We instead decided to have a pillow fight right on top of the towels. We wrestled and had a tickle fight. We had so much fun! After Noah lost interest in those shenanigans, we started playing a game that consisted of me messily folding the towels really quickly while Noah tried to knock them down. Ha. But hey I got them folded, no matter how messy they were. 

Mommy Files: Getting Over Being a Perfectionist

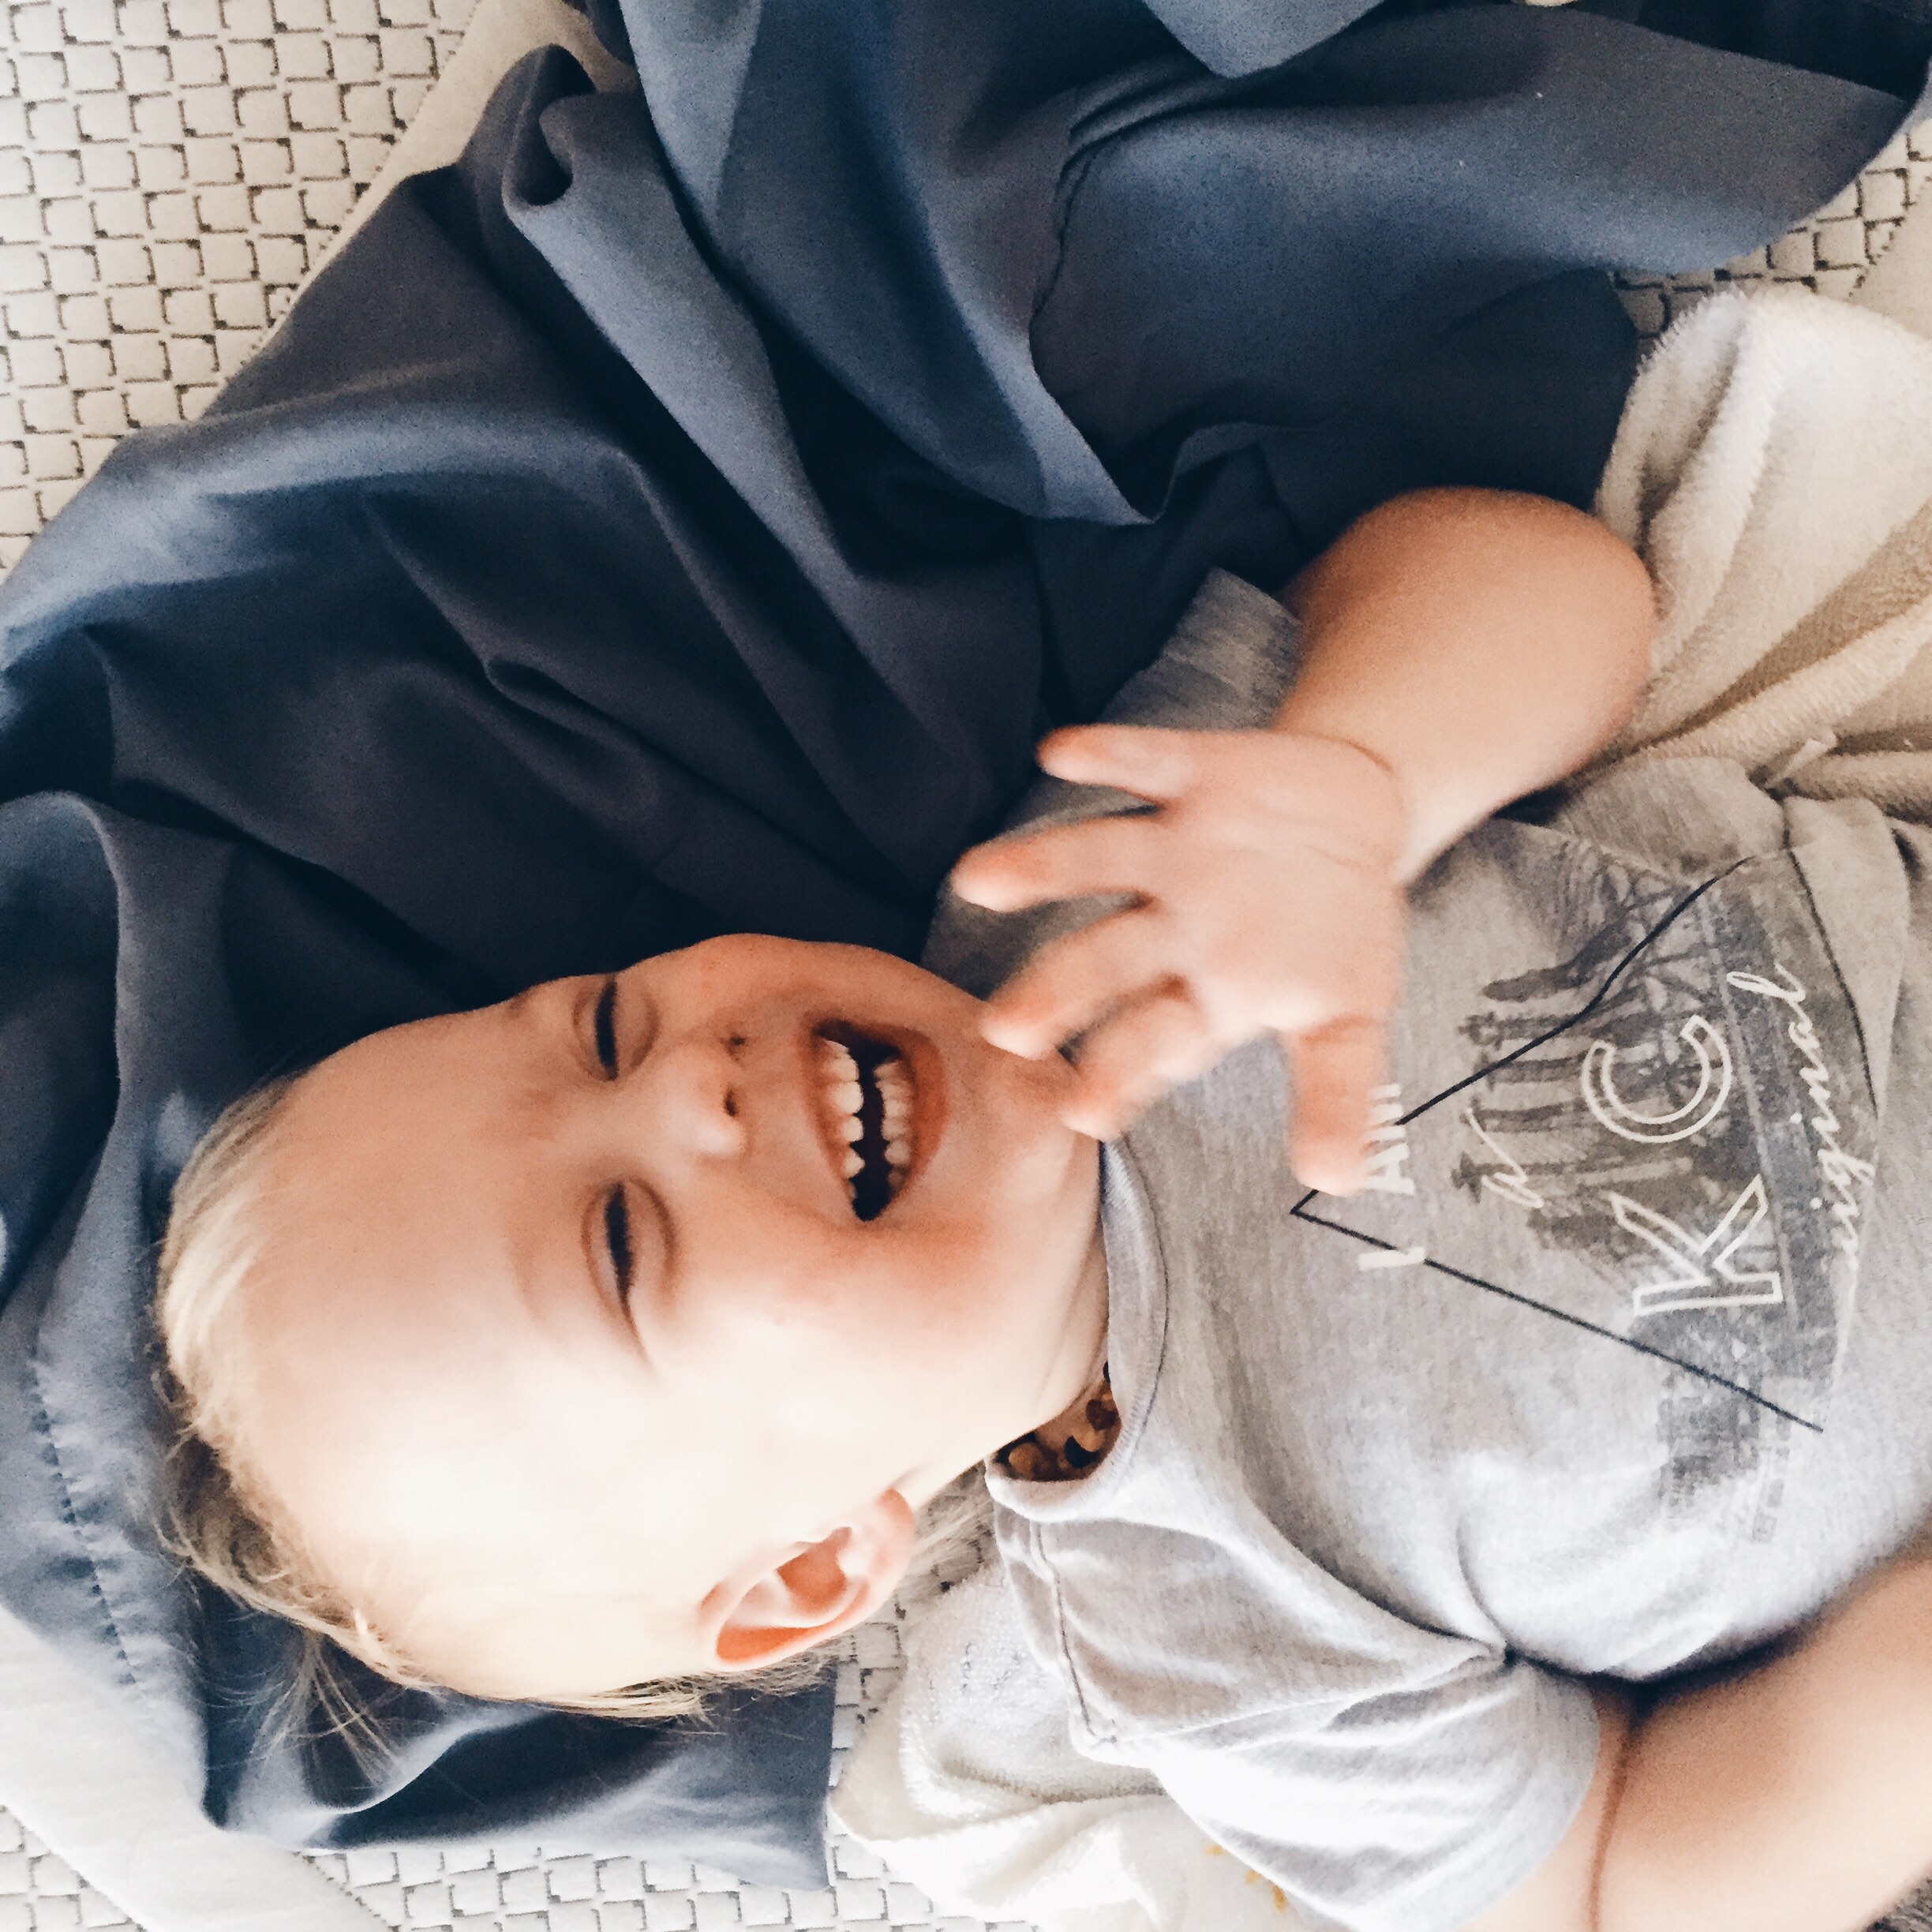
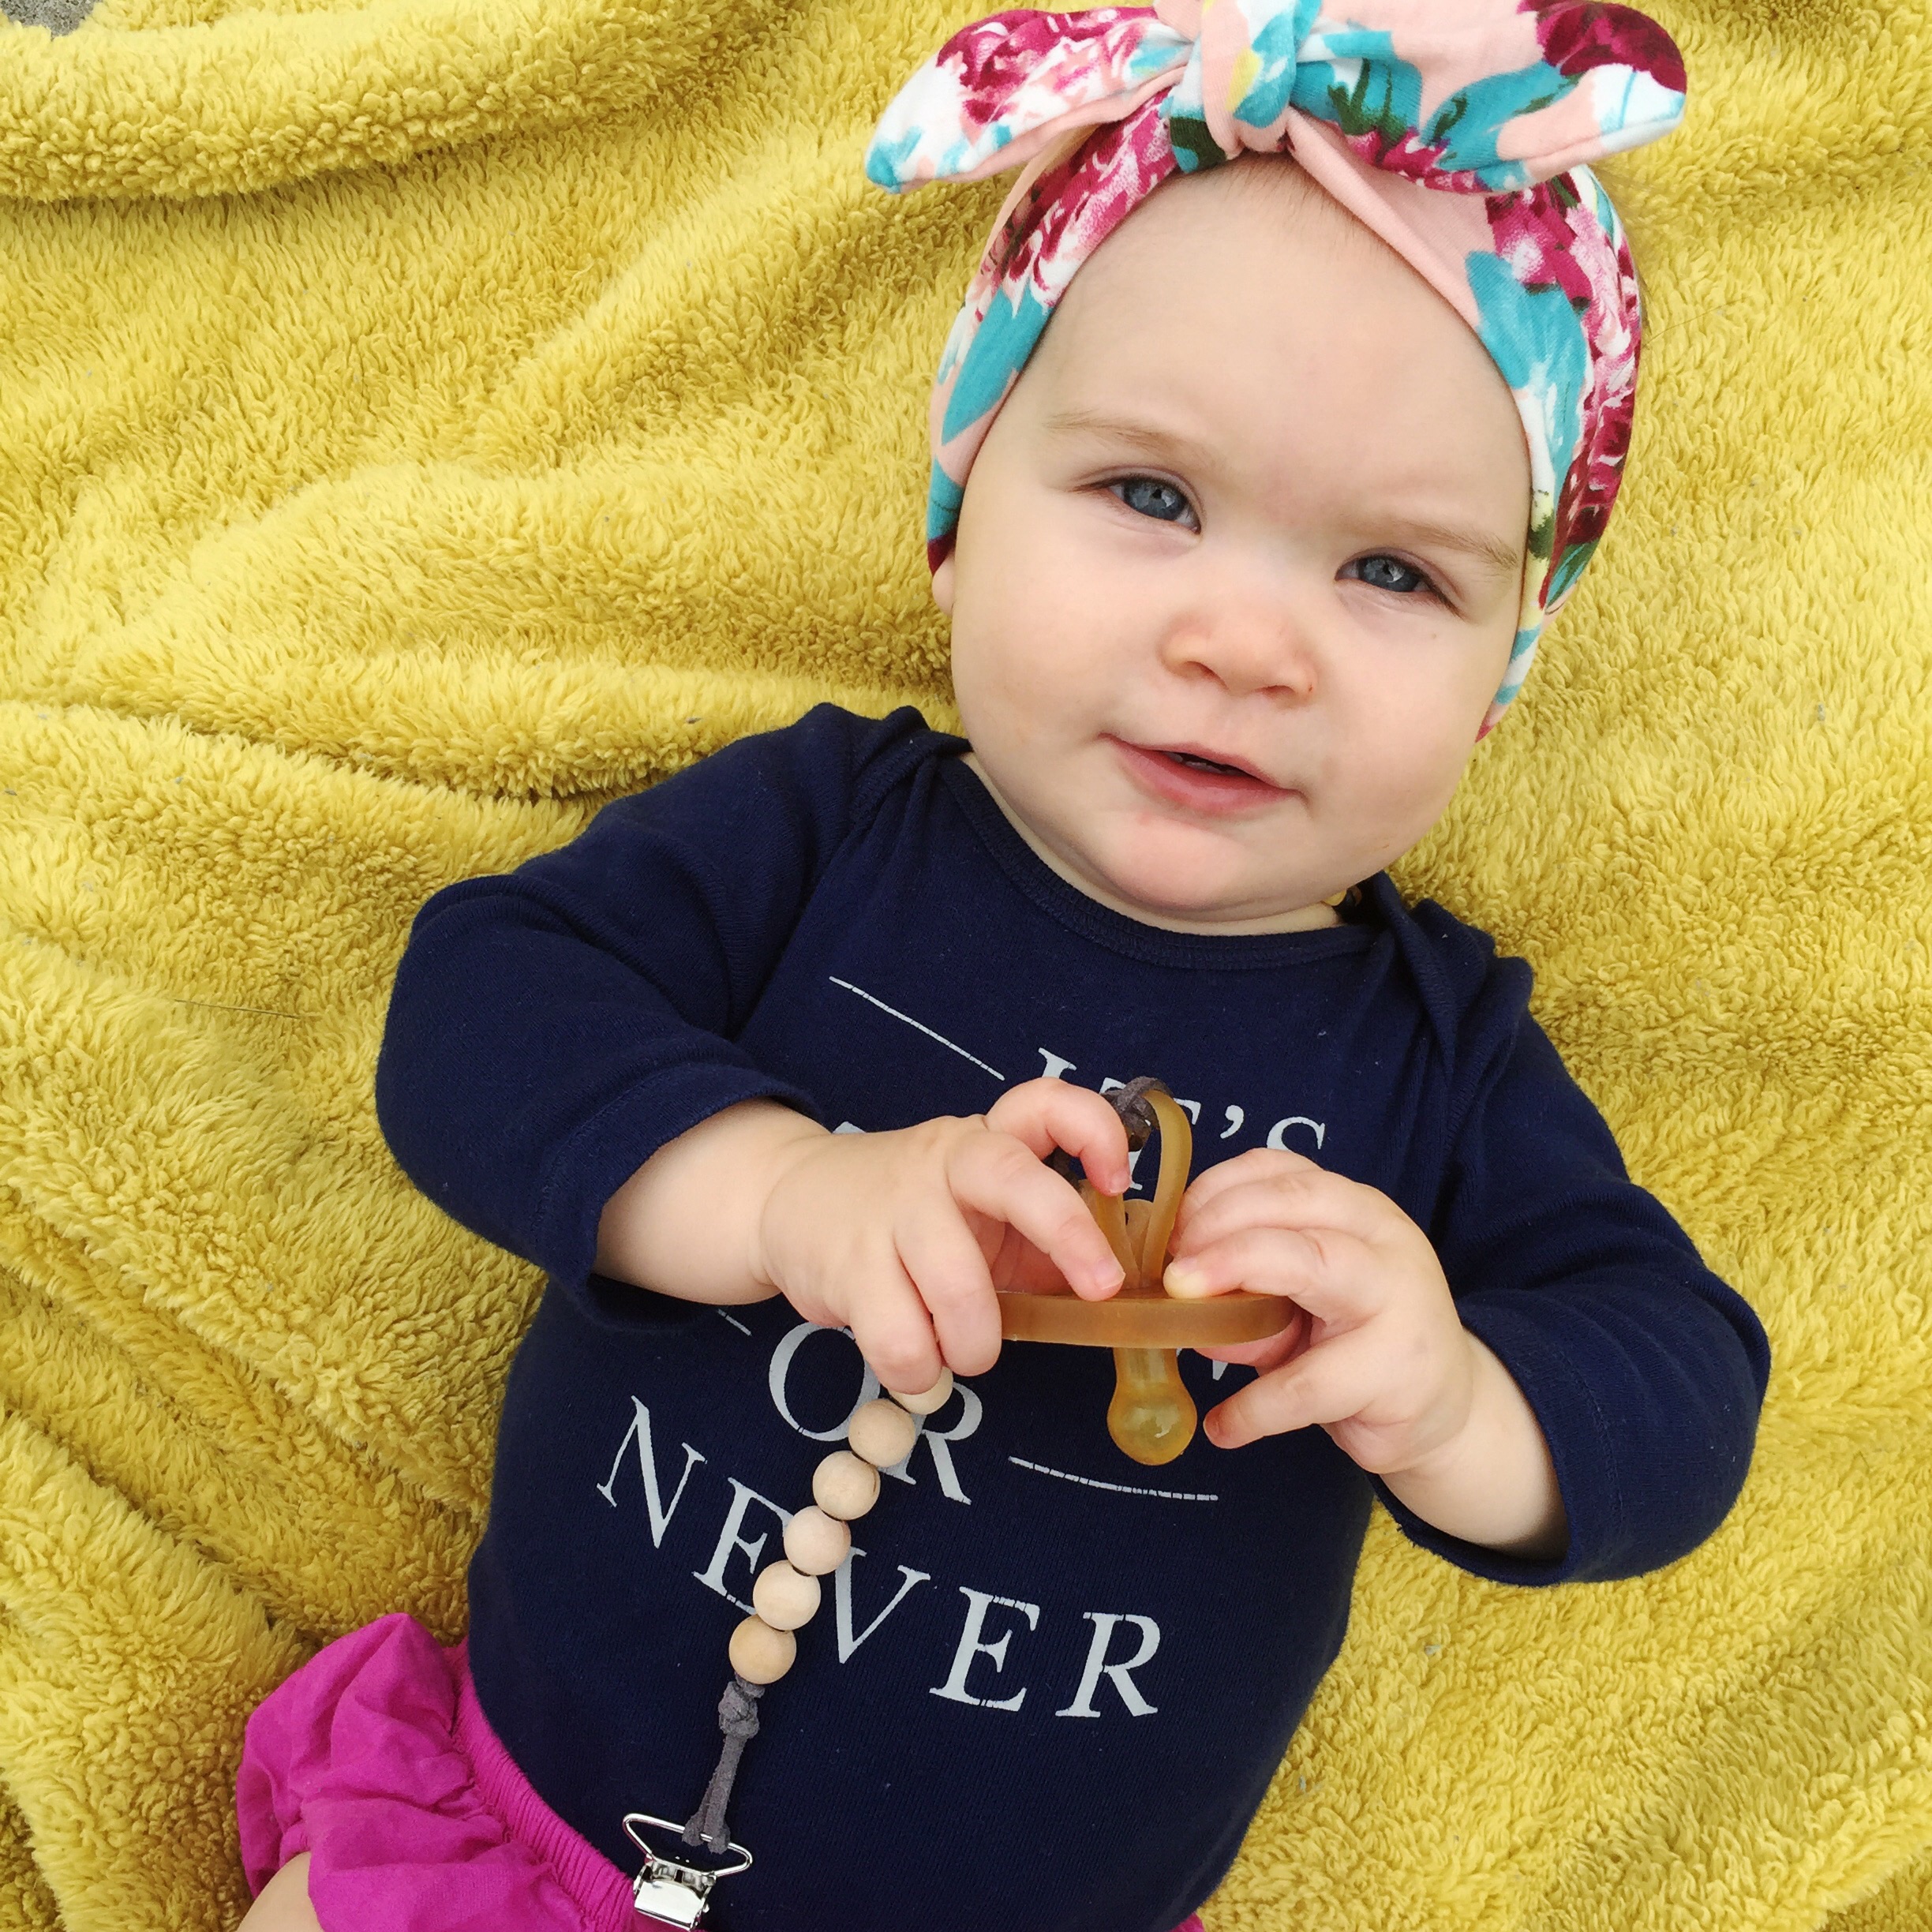
I think its important not only for you as a mom to feel ok with having things messy or not perfect. But I think it is more important for your little ones to see it too. I like that Noah + Sophie have changed that for me. They have helped me realize what is really important. And that even if I want things to be perfect, they aren't going to be, so we might as well embrace the crazy and the mess. Because frankly its more fun anyway.

Thanks for letting me share with you. xo Britt

DIY Pacifier Clip

We are down to one pacifier. We had four and now there is only ONE. Little miss Sophie is notorious for just spitting them out when mamma isn't paying attention; two of our four MIA pacifiers were lost while grocery shopping. I kept saying that I needed to get her a pacifier clip, but I just kept putting it off. Well now it is super important that we keep track of the lone pacifier. 

Most of the pacifier clips that I could find in the store weren't very cute and the ones I like online were pretty expensive. So I decided to make my own clip for her and I am so happy with how it turned out. It has already proved to be totally worth the time I spent making it. 

Diy neutral pacifier clip. Tutorial on myonlysunshineblog.com

Here's what you need:

  • cord

  • wooden beads

  • metal pacifier clip

Diy neutral pacifier clip. Tutorial on myonlysunshineblog.com

I cut a section of cord about 10 inches long. At one end, I made a loop and tied a knot. Then I added the wooden beads. Next I made a loop at the other end and tied another knot. And that is it.

It is seriously so simple! I especially love it because the pacifier and the metal clip are attached using a larks head knot, making it super easy to change it out.

Diy neutral pacifier clip. Tutorial on myonlysunshineblog.com

This pacifier clip is perfect because it is gender neutral and it can go with literally any outfit. But I will probably make a few different colored strings and change them out if I want to. Because you know Soph is a little fashionista :) xo Britt

DIY Graduation Poppers

I always have the best intentions when it comes to giving gifts. I have this master plan to come up with the most awesome thing to make. And it's usually super time consuming, naturally. Then when it comes down to it, I am usually rushing around last minute trying to get my gift together. That my friends, is why I love this diy.

My husband and I got invited to a couple graduation parties this year, so I was trying to come up with the perfect gift idea. But then I realized that when I was graduating, let's be honest, I just wanted money! So I decided that I needed to come up with something fun to give them with money in it instead of just a cheesy card. 

I remembered seeing a super fun money popper on Studio DIY quite a while ago and I thought that it would be so perfect for a graduation gift. Then I was walking through the dollar spot at Target, my usual hangout, you know. And I found confetti poppers! For only $1. It must be fate! I was freaking out. Haha. 

They were already pre-filled with pretty little confetti dots, so I added my own graduation cdap confetti + some moolah. I adhered a fun printable, I designed, around the outside ... and viola ... the perfect graduation gift!!  

Make your own diy graduation poppers + download a free printable

Download + print your free printable here!

Make your own diy graduation poppers + download a free printable

Spread a little sunshine this weekend + maybe some confetti too! xo Britt

DIY Bubble Wands

Bubbles are kind of a big deal at our house. If we get them out it is guaranteed that it's going to be about 20 times harder to get Noah back inside. 

I had tried my hand at making homemade bubble mixture and thought it would be fun and super cute to make our own wands.  

Make your own bubble wands. Click through for tutorial.

Here's what you need:  

  • wire (I used 16 gauge)
  • beads (I used wooden coated beads like these)
  • wire cutters
Make your own bubble wands. Click through for tutorial.

I cut a piece of wire approximately 10 inches long. I twisted a the end into a secure loop. Then I placed on 7 different sized beads. I liked the length of the handle, but you can add or take away beads to make it how you'd like. 

Next I took then end of the wire and twisted it right above the top bead, pushing the end of the wire into the hole of the bead. Work the end of the wand to make a more even circle. If you want to make the heart shaped wand, just press in the middle of the circle and then press the sides in a bit. The wire is very flexible so just work with it until you get your desired shape. 

Make your own bubble wands. Click through for tutorial.

I want these cute adorable bubble wands to last, so I have been rinsing them off after we are done using them and sitting them out on a towel to dry. I just don't want the bubble mixture to get all gunky on the beads. 

Make your own bubble wands. Click through for tutorial.

Noah loves these wands! I am so happy that I took the time to make them for him. This is such a simple diy that is so worth it. I hope you have fun making your own! xo, Britt

DIY Mini Name Bracelets

Why is it that everything is so much cuter when it's tiny?

Ever since I found out I was having a girl I was obsessed with finding Sophie lots of accessories. Like she has more shoes than I do 😜 Any way ... mini accessories can be really expensive. While I try to buy a lot of her outfits and accessories from small businesses, I am a huge fan of making what I can. Or have time for. 

I recently was going through my over abundance of craft supplies (I have a slight problem, ok) I found several strands of colored beads that I had bought during a sale at the craft store, that I had just been sitting on for several months, and a whole bag of letter beads that I had from a previous project. I immediately thought that Sophie needed some mini bracelets. 

OMG! I was so right. These are literally the cutest things!

Make mini name bracelets for your little one.

I even made us a set of matching MAMA + BABY bracelets. 😊 I love them all so much.

Make mini name bracelets for your little one.

Here is what you need:

  • beads
  • stretchy string
  • super glue
  • measuring tape (optional)

I measured Sophie's wrist. I didn't want the bracelet to be too tight, but I also didn't want it to slide off if she was shaking her hands around. I cut a piece of string longer than my measurement. I wanted to be able to have enough extra string to tie it. Then I strung the word on the string. Next I laid the string flat and added colored beads evenly to each side until I reached the desired length. I tied the string tight and added a tiny dot of glue over the knot. Once the glue dried, I cut off the excess string. 

Make mini name bracelets for your little one.

My absolute favorite one is the NUGGET bracelet. I love it so much. I have Sophie wear it the most because she is my perfect little nugget :) What will you put on your bracelets? 

xo Britt