DIY Sensory Shakers

I have been doing a lot of research on Montessori learning. It has been something that I have become pretty serious about and really want to start implementing in our everyday life. I am no pro, in fact I have a ton more reading and learning to do, but I am starting small. 

A lot of Montessori ideas are based on the child exploring and learning on their own. Letting every child make their own success. I love the idea of giving Noah tools and toys that help him grow and learn on his own. One way that young ones can learn a lot by listening. So that is why I decided to make Noah these fun shakers. I know he will love them because he loves playing with things that make noise. :)

image.jpg

I bought a set of spice jars from IKEA for only $3.99. Then I came up with 4 different items to put in them. I wanted to come up with 4 different materials that would make different sounds if shaken. I found scrabble pieces, pennies, buttons and rice. To make it a little fun, I decided to use food coloring to dye the rice blue.  

image.jpg
image.jpg
image.jpg
image.jpg
image.jpg

The shakers are a great way for Noah to learn that different items make different sounds. Plus he thinks its super fun to grab the jars and shake them around. They are so fun and they don't make too much noise, so it doesn't drive you completely nuts ... ha! :) 

I will have a lot more fun Montessori adventures coming up, but I hope we can learn and make fun learning materials together. Happy Wednesday! xo, Britt

DIY Fridge Folder

Today we have a diy that will help organize your life a little more. With this fridge folder you can store any important papers, menus, or even emergency information on your fridge so you have easy access to them.  

Heres what you'll need to get started: 

  • file folder
  • washi tape
  • scrapbook paper
  • string or rope
  • self stick magnets  
  • stick glue
Diy Fridge Folder. Click through for details.

1. Cut out your scrapbook paper to fit onto your file folder. Glue it down and let it dry completely.

Diy Fridge Folder. Click through for details.

2. Add washi tape for decoration. 

Diy Fridge Folder. Click through for details.

3.  Cut your rope (or string) into four pieces. Each piece should be 1.5-2 inches long. 

Diy Fridge Folder. Click through for details.

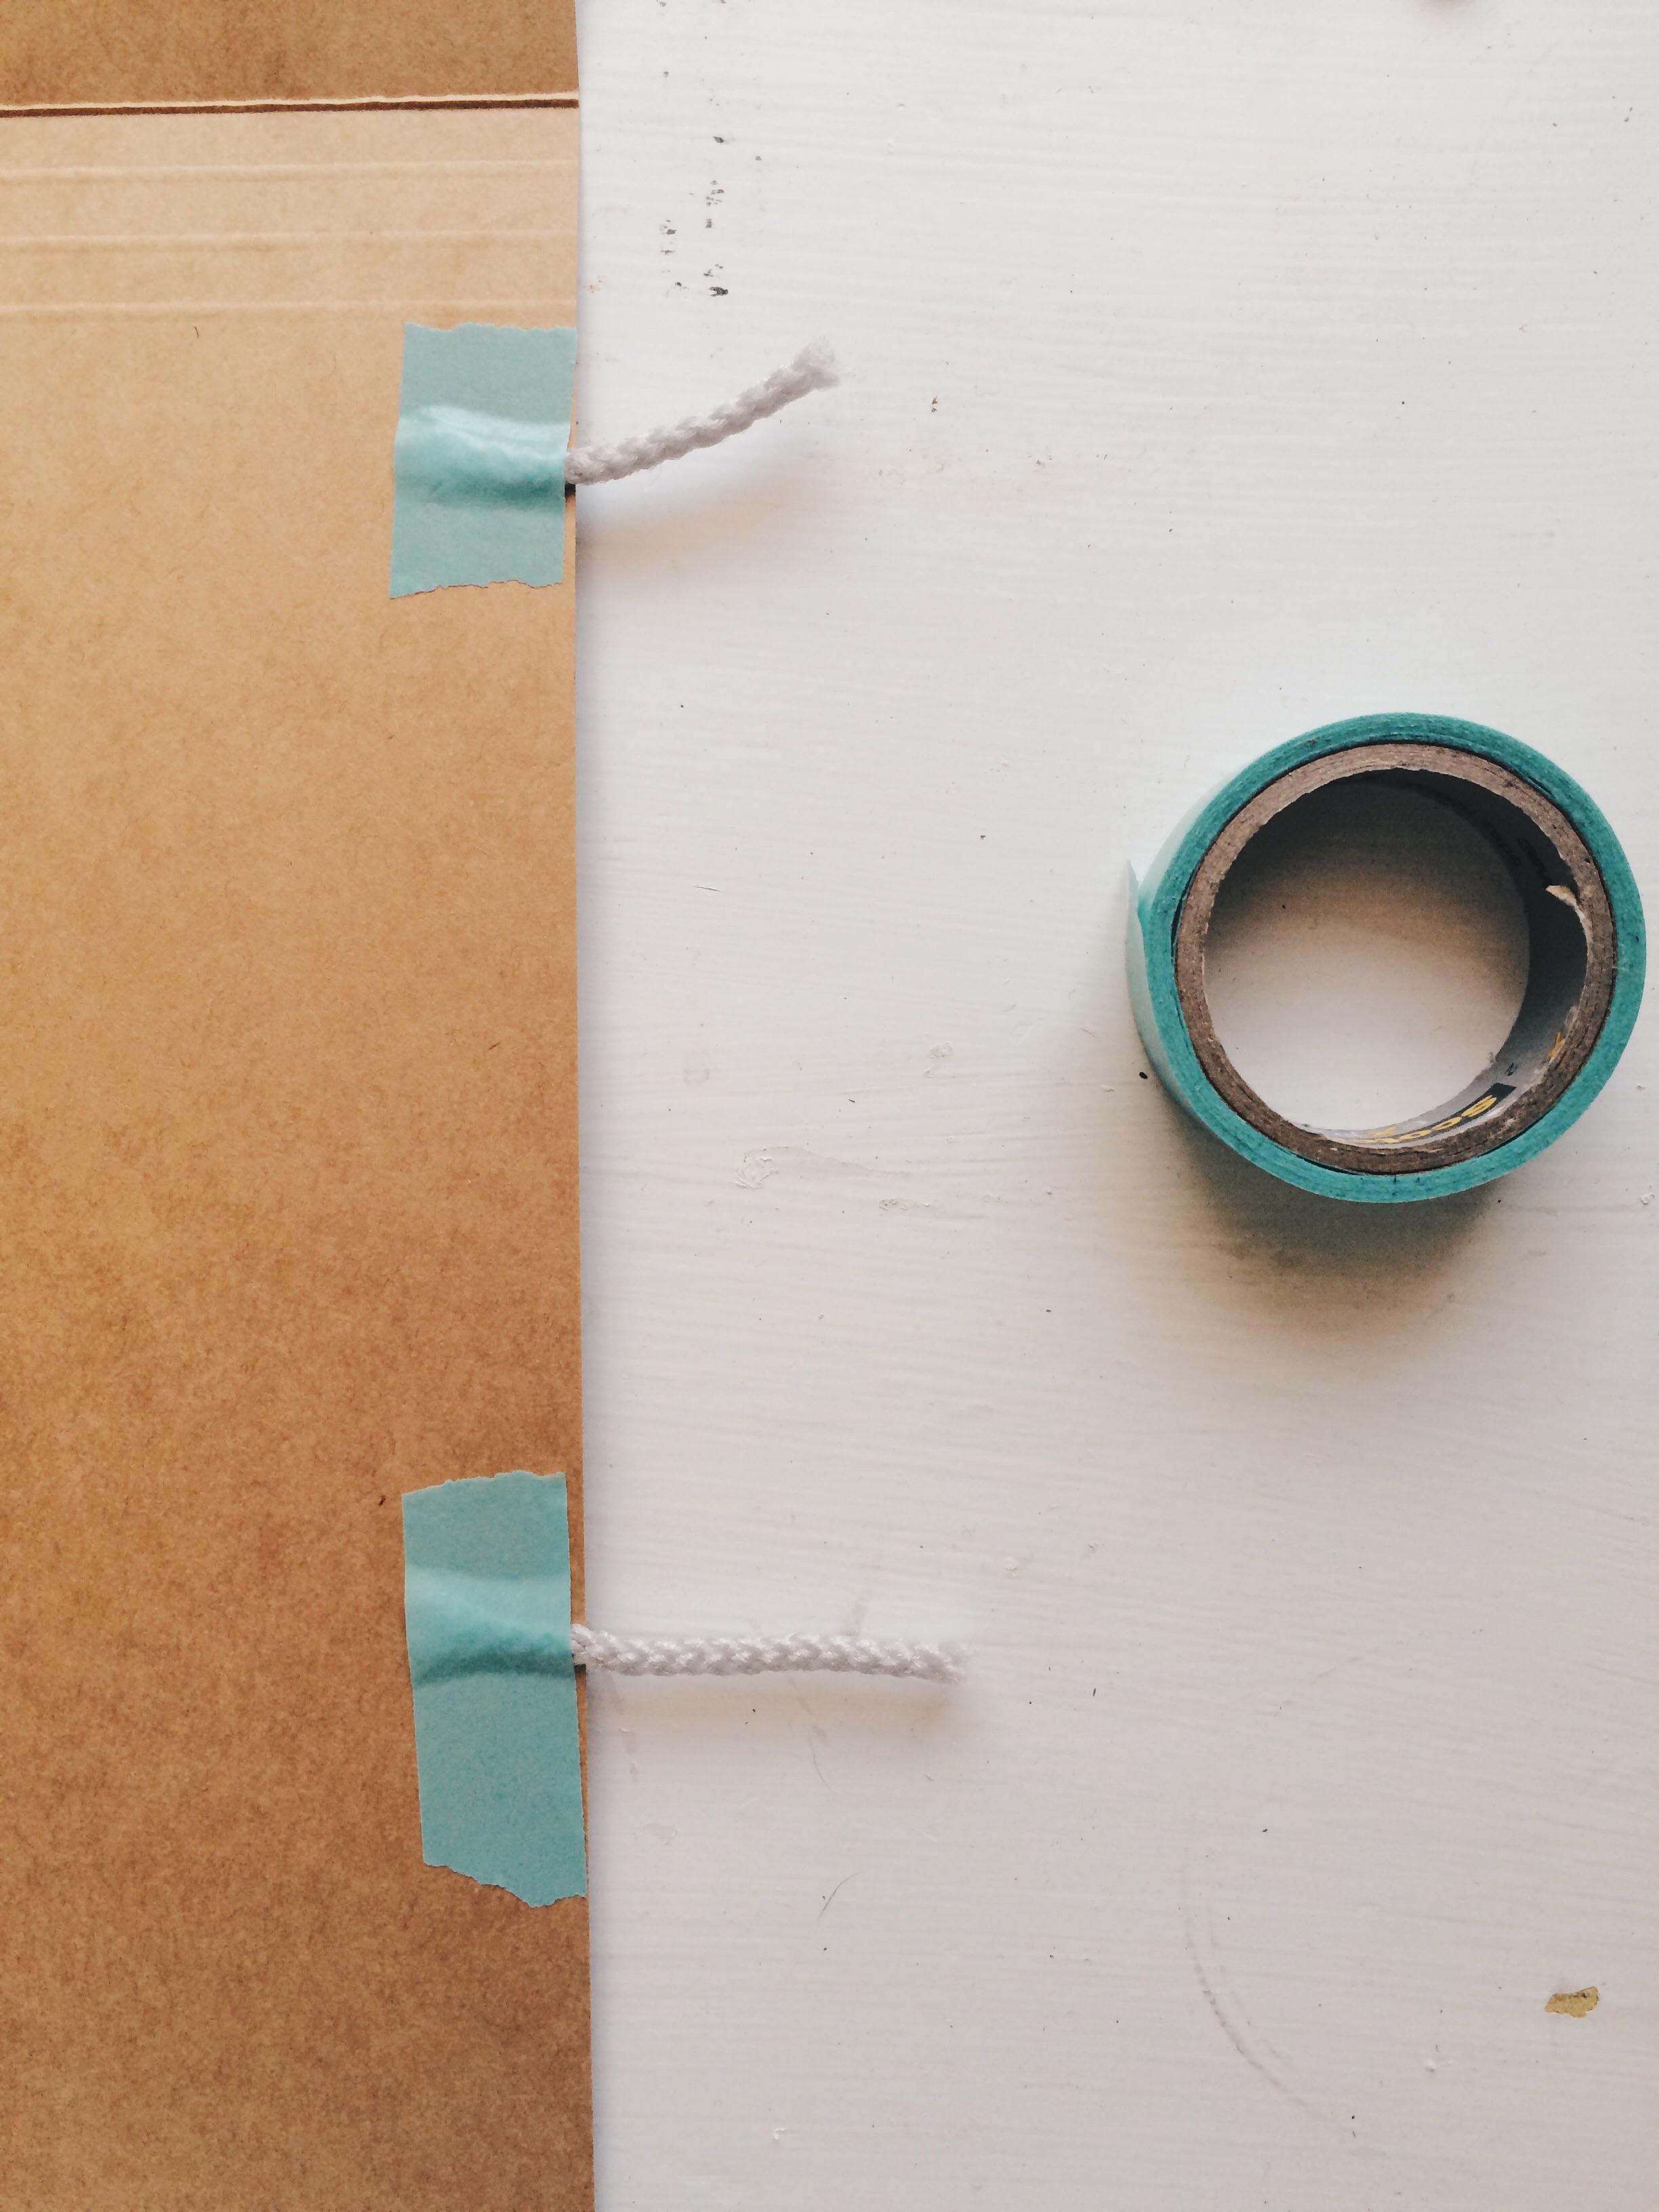
4. On the inside of your file folder tape two pieces of your rope on one of the edges. Repeat this on the opposite edge.

Diy Fridge Folder. Click through for details.

5. Take the other end of your rope pieces and attach them with tape onto the other edge of the folder. Repeat onto all four pieces.

Diy Fridge Folder. Click through for details.

6. Add five magnet strips to the back of your file folder.

Diy Fridge Folder. Click through for details.

Then hang it on your fridge and add whatever papers you want. This fridge folder is both useful and makes a cute decoration on your fridge. :)

Diy Fridge Folder. Click through for details.

xoxo, Sky

Blog Celebrations + Big News

We have been planning to have a fun get-together to celebrate all of our accomplishments for our blog and shop so far. We are still small but we have big things happening, including getting some of our products into a local store! (more details to come on that in a few weeks)

Plus we had some super cute disposable plates, bowls, and cutlery from our new favorite brand Cheeky! So basically we had everything we needed to throw a pretty fun party! All we needed to add was people and food.

We had some family over and made some really good tacos! We ate and enjoyed each others company. No party is complete without cake, so we had a delicious naked confetti cake! It was SO good!

image.jpg
image.jpg
image.jpg
image.jpg

Then we shared some other REALLY BIG News!

BIG NEWS! :)

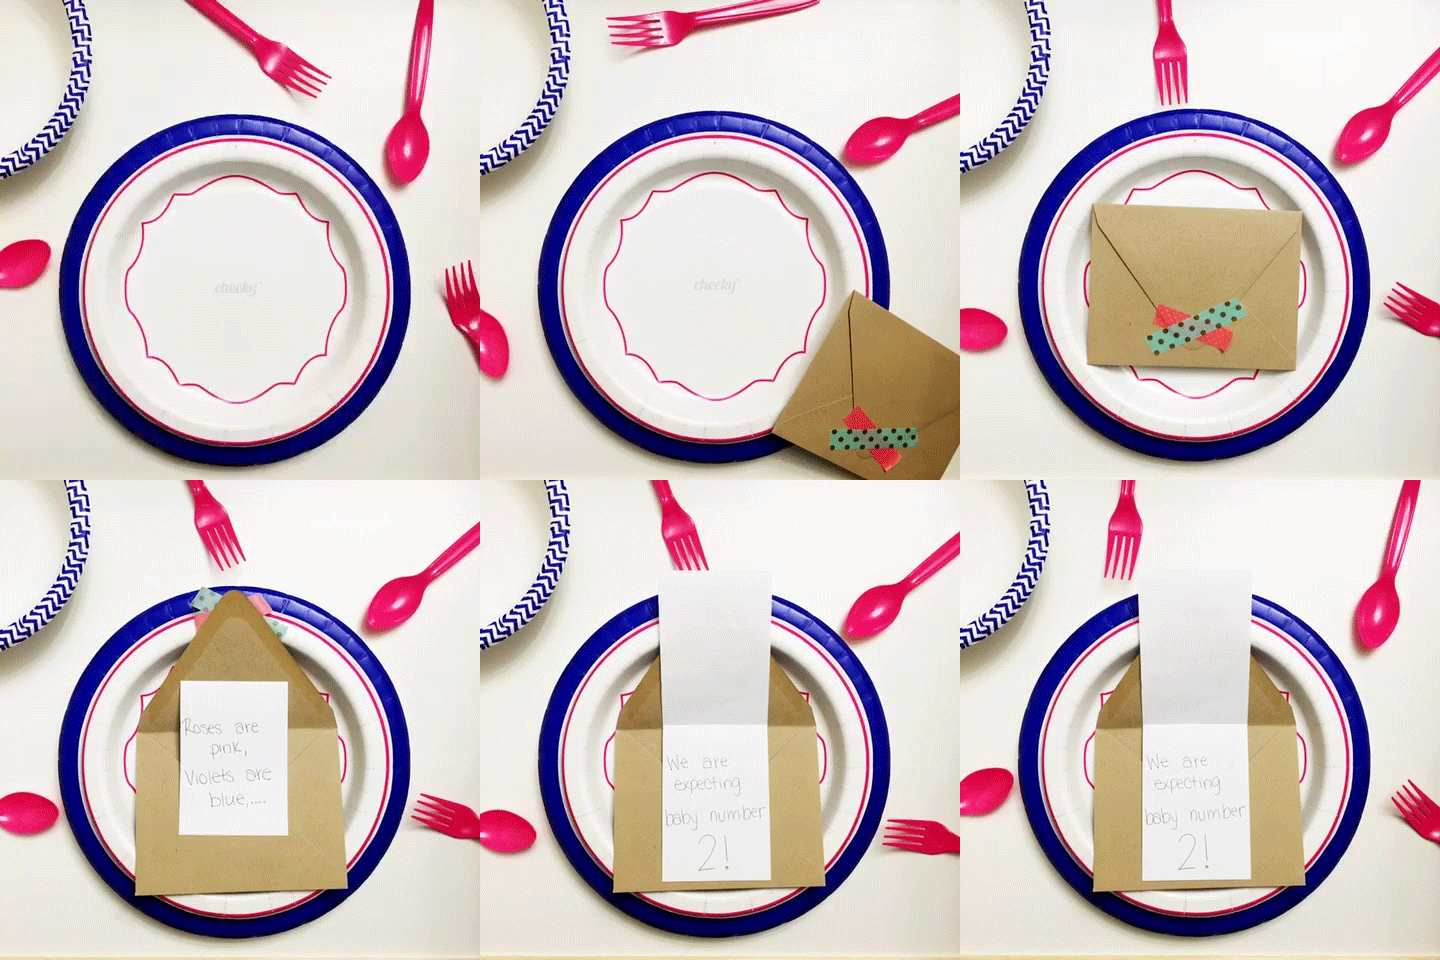
That's right! Baby W number 2 is on the way! And there are so many posts to come about that but we are so happy we can finally tell someone :) We passed out these fun little cards and had them open them at the same time! We loved seeing everyone's reactions.

 Happy Monday lovelies! xoxo, Britt + Sky


DIY Tassel Key Chain

Awhile back we started making these adorable tassels for different projects. They are super simple to make and can go great with a lot of things. Today we are gonna show you how we turned one of our tassels into a fun key chain. 

To get started all you need is:

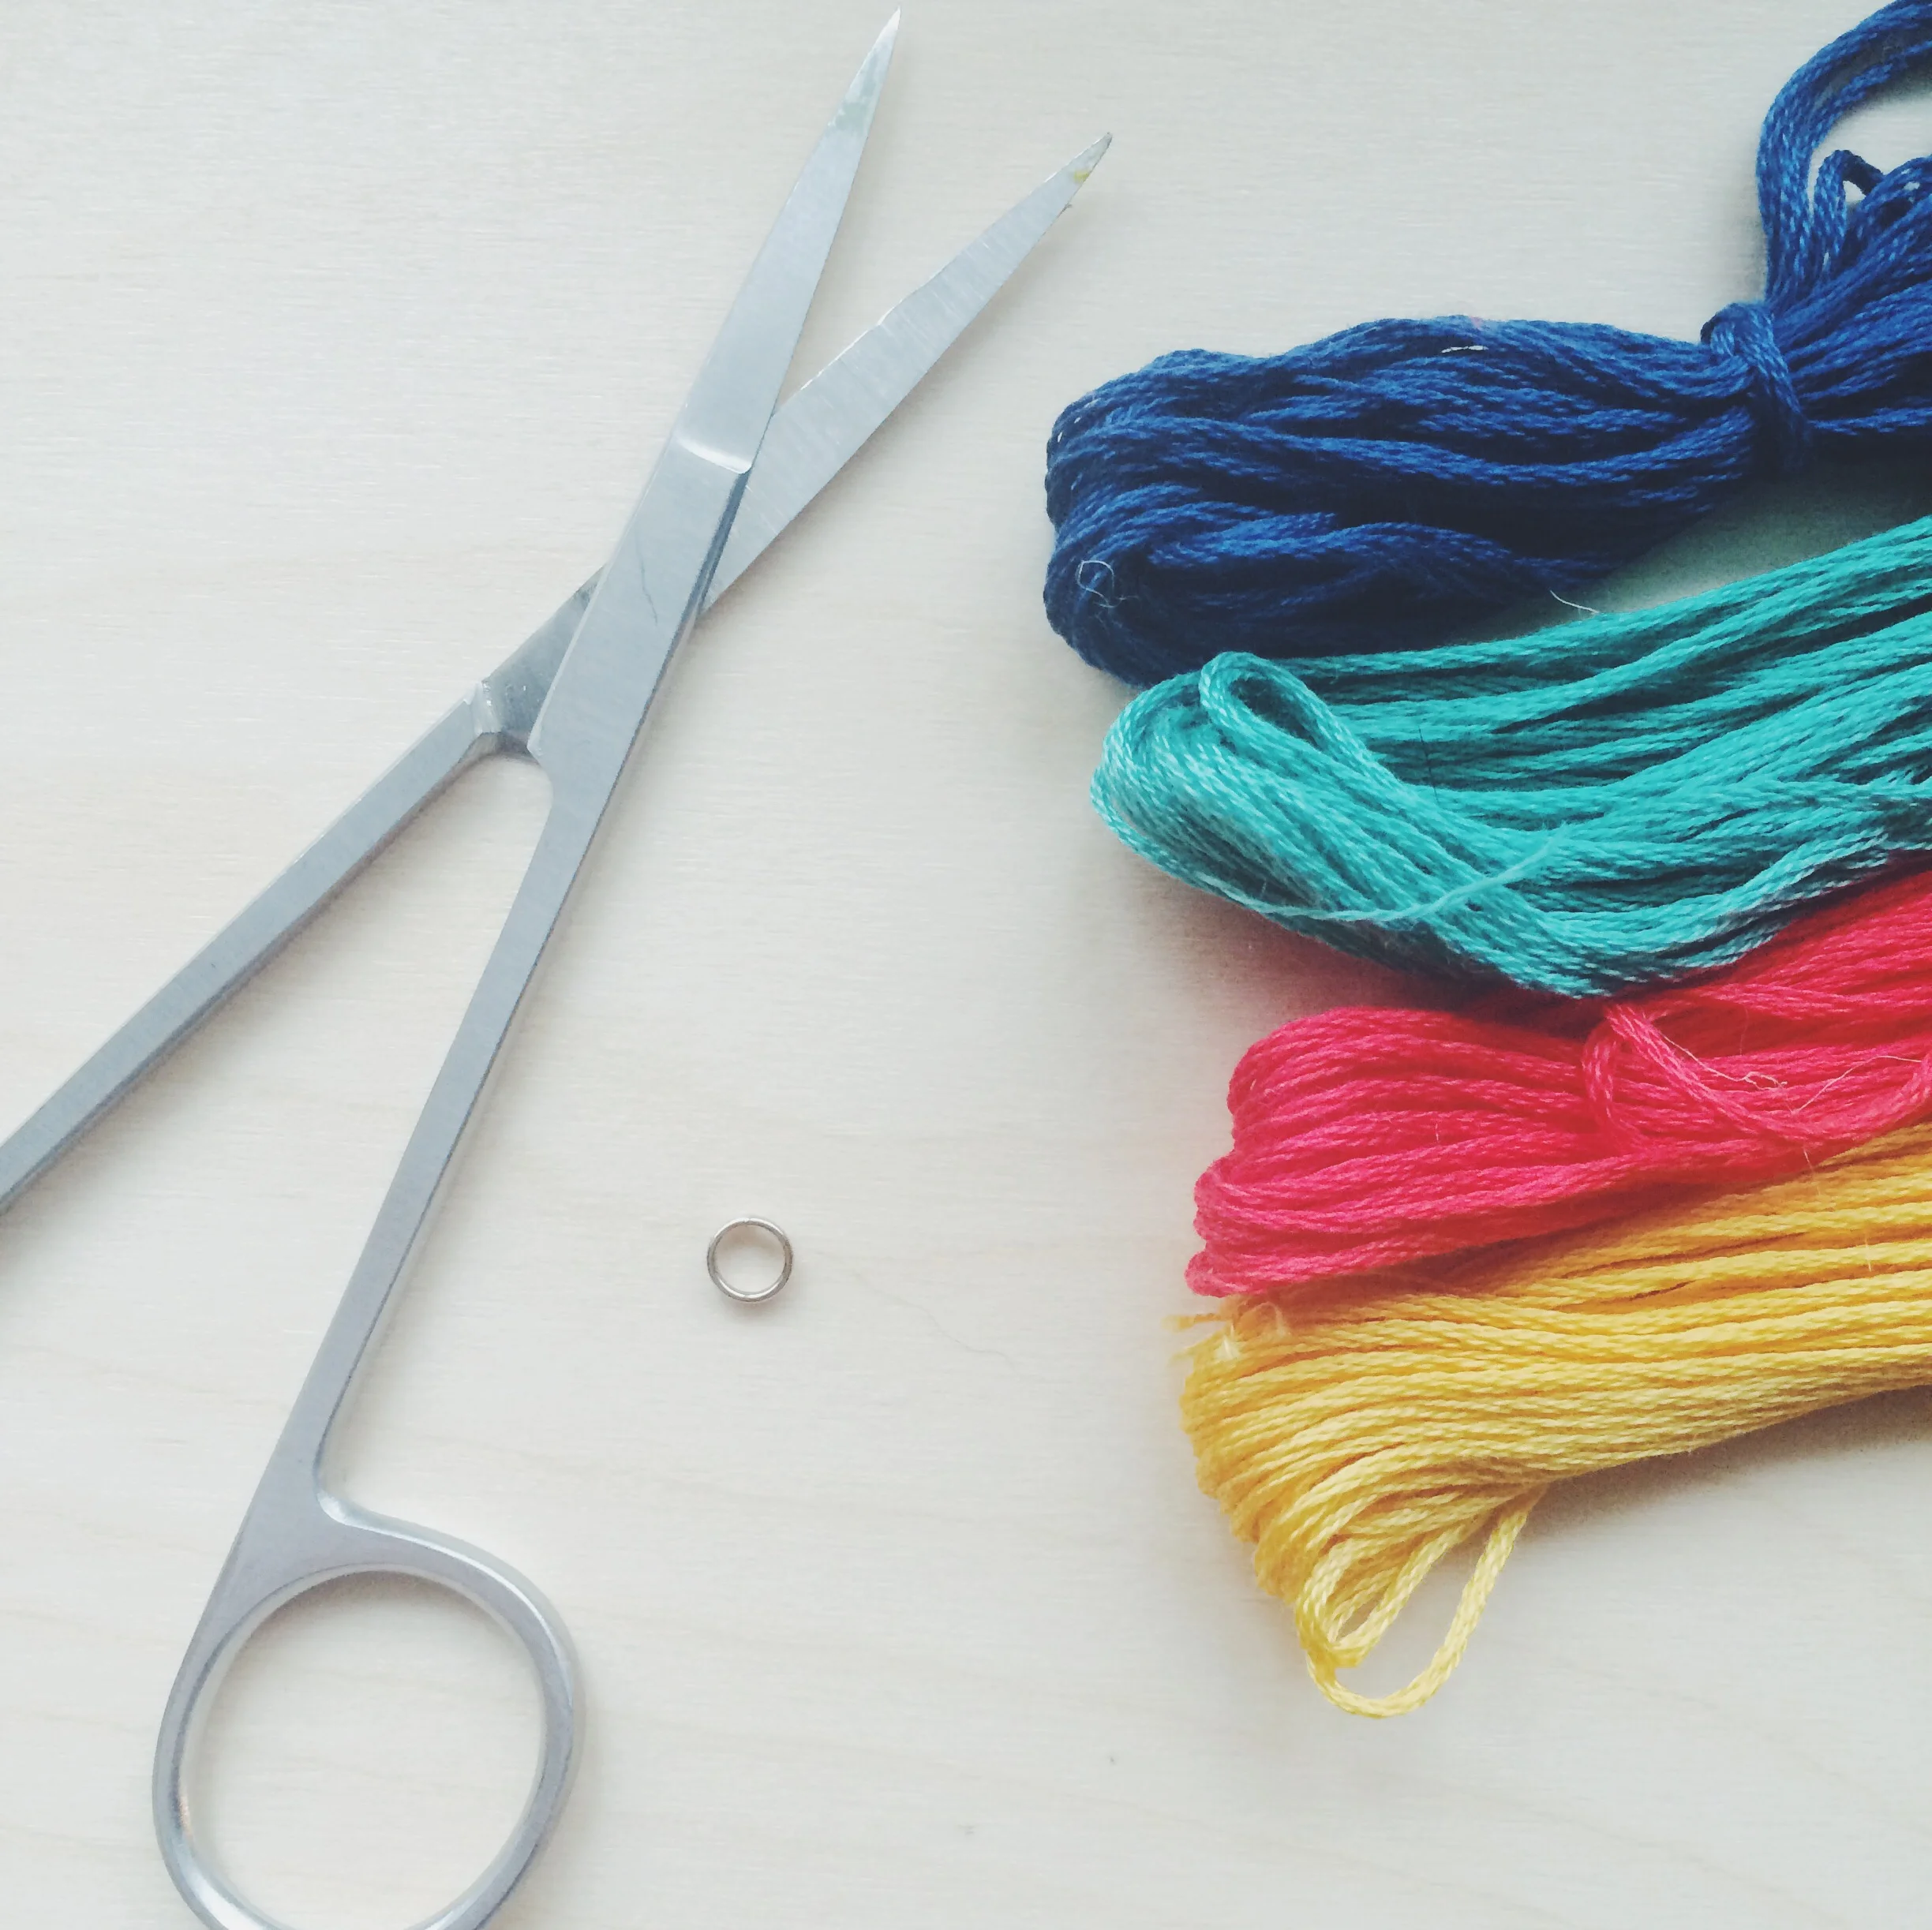
  • embroidery floss (four colors) 
  • jump ring
  • scissors  
Diy Tassel Key Chain. Click through for details.

1. Head on over to our original Diy Tassels post to and follow the steps. On step one you are instucted to wrap the floss around 8 times, but since you have four colors wrap each one around twice. 

Diy Tassel Key Chain. Click through for details.

2. Once you have followed all the Diy Tassels steps you should have an adorable, little tassel. 

Diy Tassel Key Chain. Click through for details.

3. By tying a secure knot in the top of your tassel, form a loop.  

Diy Tassel Key Chain. Click through for details.

4. After you have formed your loop cut off any extra floss. 

Diy Tassel Key Chain. Click through for details.

5. Spread open your jump ring and use it to connect the tassel to your key ring. Then securely close the jump ring. 

Diy Tassel Key Chain. Click through for details.

Now you have this adorable little decoration for your key ring. Or these are also perfect for small, fun gifts. And of course the color selection is endless! 

Diy Tassel Key Chain. Click through for details.

Pick out four of your favorite colors and try it out for yourself. Let us know how it turns out! xoxo, Britt + Sky

Glitter Shamrocks

Haven't had time to decorate for St. Patrick's day or just completly forgot?  Don't worry! Today we have a super easy but cute decoration you can make for any area of your home or office. This is the perfect last minute project because it only takes 10-15 minutes to complete.  And all you need to get started is:

  • green construction paper
  • gold glitter
  • modge podge
  • pencil
  • scissors
  • paint  brush
Glitter Shamrocks. Click through for details.

1.  Sketch a shamrock  onto your contruction paper. Then cut it out and erase any extra pencil marks.

Glitter Shamrocks. Click through for details.

2. Use your Modge Podge and paint brush to create a word or design on the shamrock. (If you're not good at free-handing, just lightly sketch out your design with pencil and then paint over it) 

Glitter Shamrocks. Click through for details.

3. Then coat the glue with glitter and shake the extra into the trash. Let dry for at least ten minutes before attempting to hang up. 

Glitter Shamrocks. Click through for details.


That is all you have to do.  Then just hang them where you want them. We told you it was super easy. And also very inexpensive! If you are a regular crafter you probably have these supplies so you can make this right now without going to the store. This could also be a fu n project for your kiddos.

Glitter Shamrocks. Click through for details.

Although these shamrocks are super simple, they are adorable for any home, office, or any area you want to decorate. We hope you will try them out! xoxo, Britt + Sky