Recycle: DIY Organizer

I have been all about recycling lately! I have been trying my best to recycle all that I can instead of just throwing everything away. So I thought why not come up with some fun ways to reuse things. 

Take an egg carton for example. It is a super fun container that after the eggs are gone, its job is over. But it's very simple to turn it into a super fun organizer. Why go buy something to organize your odds and ends when you could repurpose something.

Get organized with this simple diy.

Cut the top off of the egg carton and add some paint. I used spray paint and it took me only a couple minutes. After the paint dries, use it to organize any little things you want. It will go down into a draw very easily. Or you can have it out to display. It is a super easy and super affordable way to organize. 

Get organized with this simple diy.

What will you organize in yours? xo Britt

New Mom Files: DIY Baby Wipes

Recently I decided to take a stab at making my own baby wipes. I looked at a ton of tutorials online and decided to just give it a try. I love it. They smell so good, I know the ingredients, and they are so simple. The hardest part is making sure you have a new set ready when the ones you are using are getting low. I try to keep a back up pack of store bought  wipes for just in case.

Here's what you need:

  • water
  • papertowels (I have found Viva work the best)
  • sharp knife
  • coconut oil
  • baby shampoo
  • plastic container
New Mom Files: DIY Baby Wipes

Here is what to do:

1. Using a sharp knife, cut your paper towels. Depending on the size of your plastic container you can cut the roll in half or in thirds. I cut mine in thirds.

2. Bring a cup of water to a boil. I just use a small sauce pan on the stove.

3. Once it boils, remove from heat and pour in one tablespoon of the oil and the shampoo. Mix them together. 

4. Pour the water into the plastic container.

5. Add in your paper towels.

6. Put on the lid and then flip over and let sit for one hour. 

7. After an hour, flip it back over. Take out the center cardboard tube, and your good to go!

image.jpg
image.jpg
image.jpg

You should definitely give it a try. It is simple and doesn't take much time. It is also really cost effective. Happy Thursday! xo, Britt

DIY Home Sweet Home Coasters

Today we have coasters you can make to go with yesterday's Home Sweet Home Diy. Here is what you are going to need to get started: 

-four cork coasters

-scrap paper

-a pen (or dark pencil) 

-paint

-painters tape

image.jpg

1. Sketch out a house shape (to math yesterday's) and a heart on your scrap pieces of paper.

image.jpg

2. Cut out the shapes with an x-acto knife or scissors. 

image.jpg

3. Use your cut outs as a stencil to draw them onto your coasters.

image.jpg

4. Use your painters tape to make a border around your outlines. 

image.jpg

5. Paibt carefully into the coaster. 

6. Let dry for at least an hour before using. 

image.jpg
image.jpg

That's all! Now you have adorable coasters to go with your Home Sweet Home picture frame from yesterday. xoxo, Britt + Sky

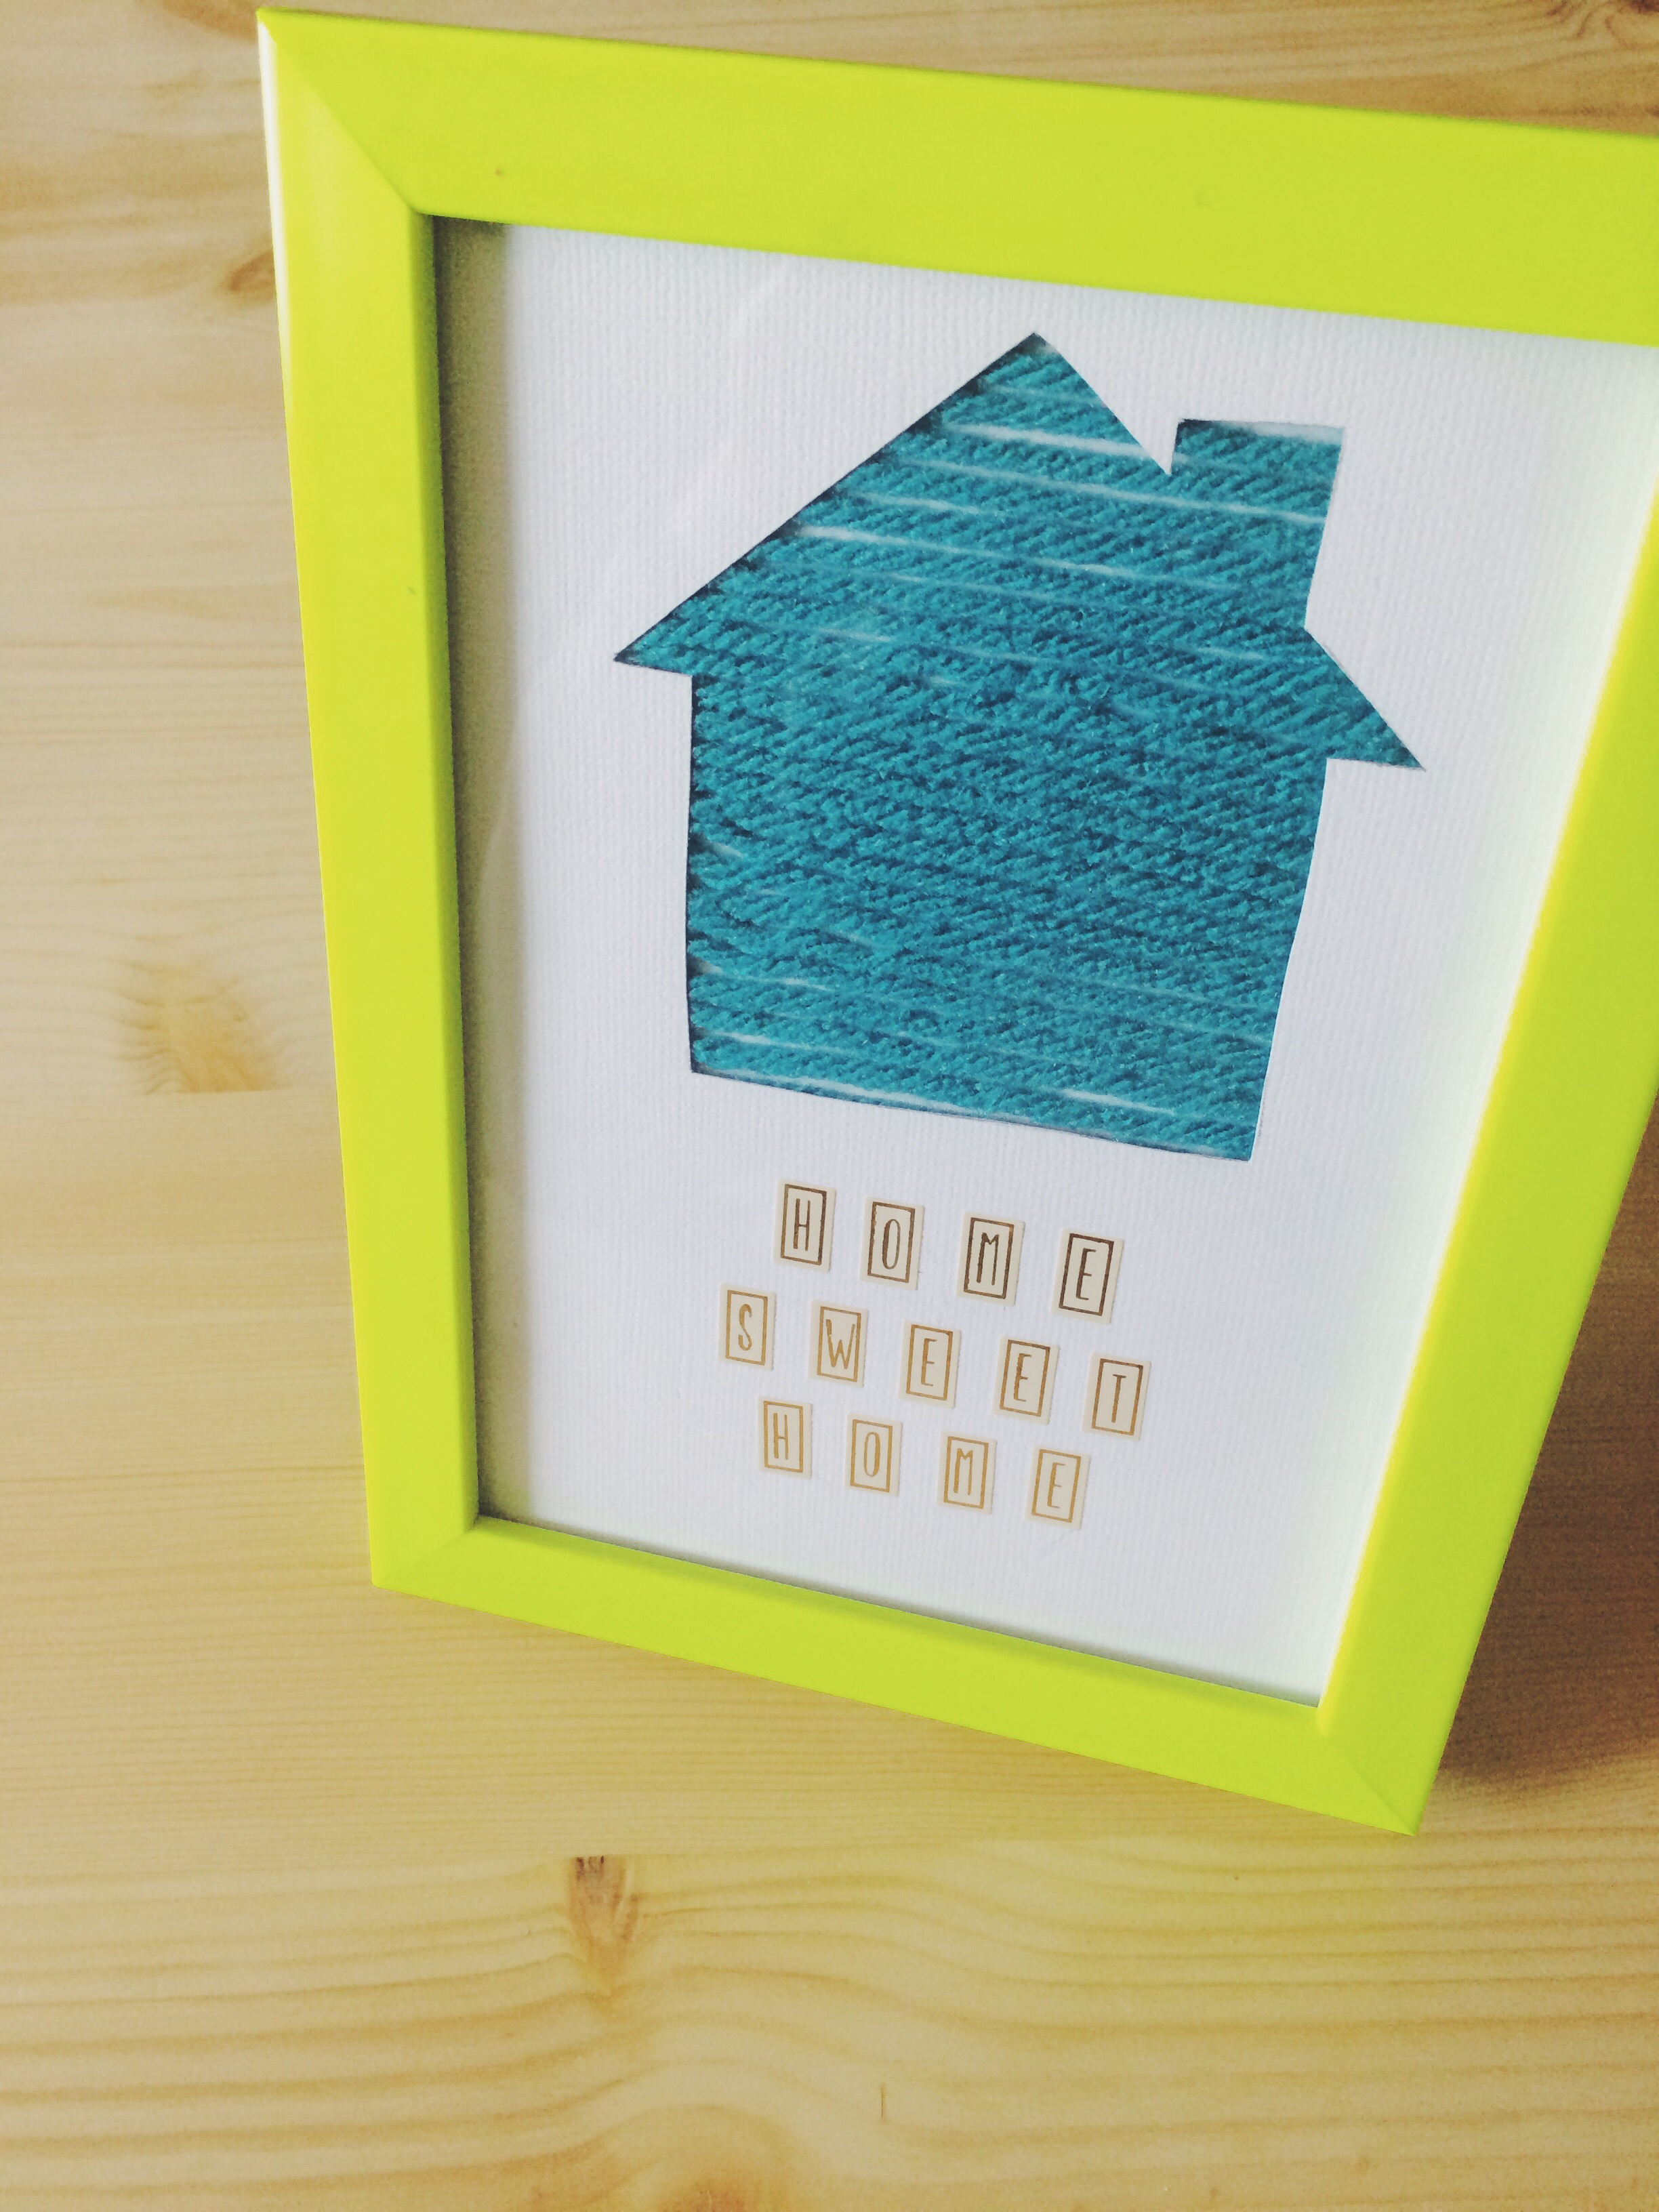
Home Sweet Home DIY + Printable

Today we have a fun 'Home Sweet Home' project you can easily make for your house. All you need to get started is:

  • a 5x7 frame
  • white card stock
  • yarn
  • washi tape
  • letter stickers
  • pencil
  • x-acto knife
image.jpg

1. Cut your card stock to fit your 5x7 frame.

2.Draw your house with pencil. Or if you like ours you can download it here and print it. 

Home Sweet Home Diy + Printable. Click through for details.

3. Use your x-acto knife to cut out your house.

Home Sweet Home Diy + Printable. Click through for details.

4. Use your letters stickers to spell out "Home Sweet Home" under the house cut out.

Home Sweet Home Diy + Printable. Click through for details.

5. Cut out pieces of string that will fit across your house cut out. (Approx. 25-30, but you can adjust accordingly)

6. Flip your house cut out over, stretch the string out across the house cut out, and tape them with washi tape on both edges. 

Home Sweet Home Diy + Printable. Click through for details.

7. Then carefully put it into the frame and place where you would like it!

Home Sweet Home Diy + Printable. Click through for details.

See we told you it is pretty simple, yet oh so adorable! Try it out for yourselves. You can adjust the frame, yarn color, and stickers to your liking. xoxo, Britt + Sky

Versona Giftcard + Clutch Giveaway

If you read our post this morning you already know what is going on. If not we will fill you in. We are giving away a $25 gift card to Versona along with our Prove Them Wrong clutch from our Etsy shop

Versona Giftcard + Clutch Giveaway. Click through for details on how to enter.

To enter head on over to our Instagram and do the following:

  1. Follow us on Instagram.
  2. Go to the giveaway post.
  3. Like the picture and tag two friends (or more) in the comments who you think might like to enter also.
  4. That's all! You are entered.

The giveaway will be open until Wednesday (March 4, 2015). We will accept entrees until midnight central time on Wednesday. And the winner will be announced at noon the following day. (March 5. 2015) Good luck to all! xoxo, Britt + Sky