Valentine Card Inspiration

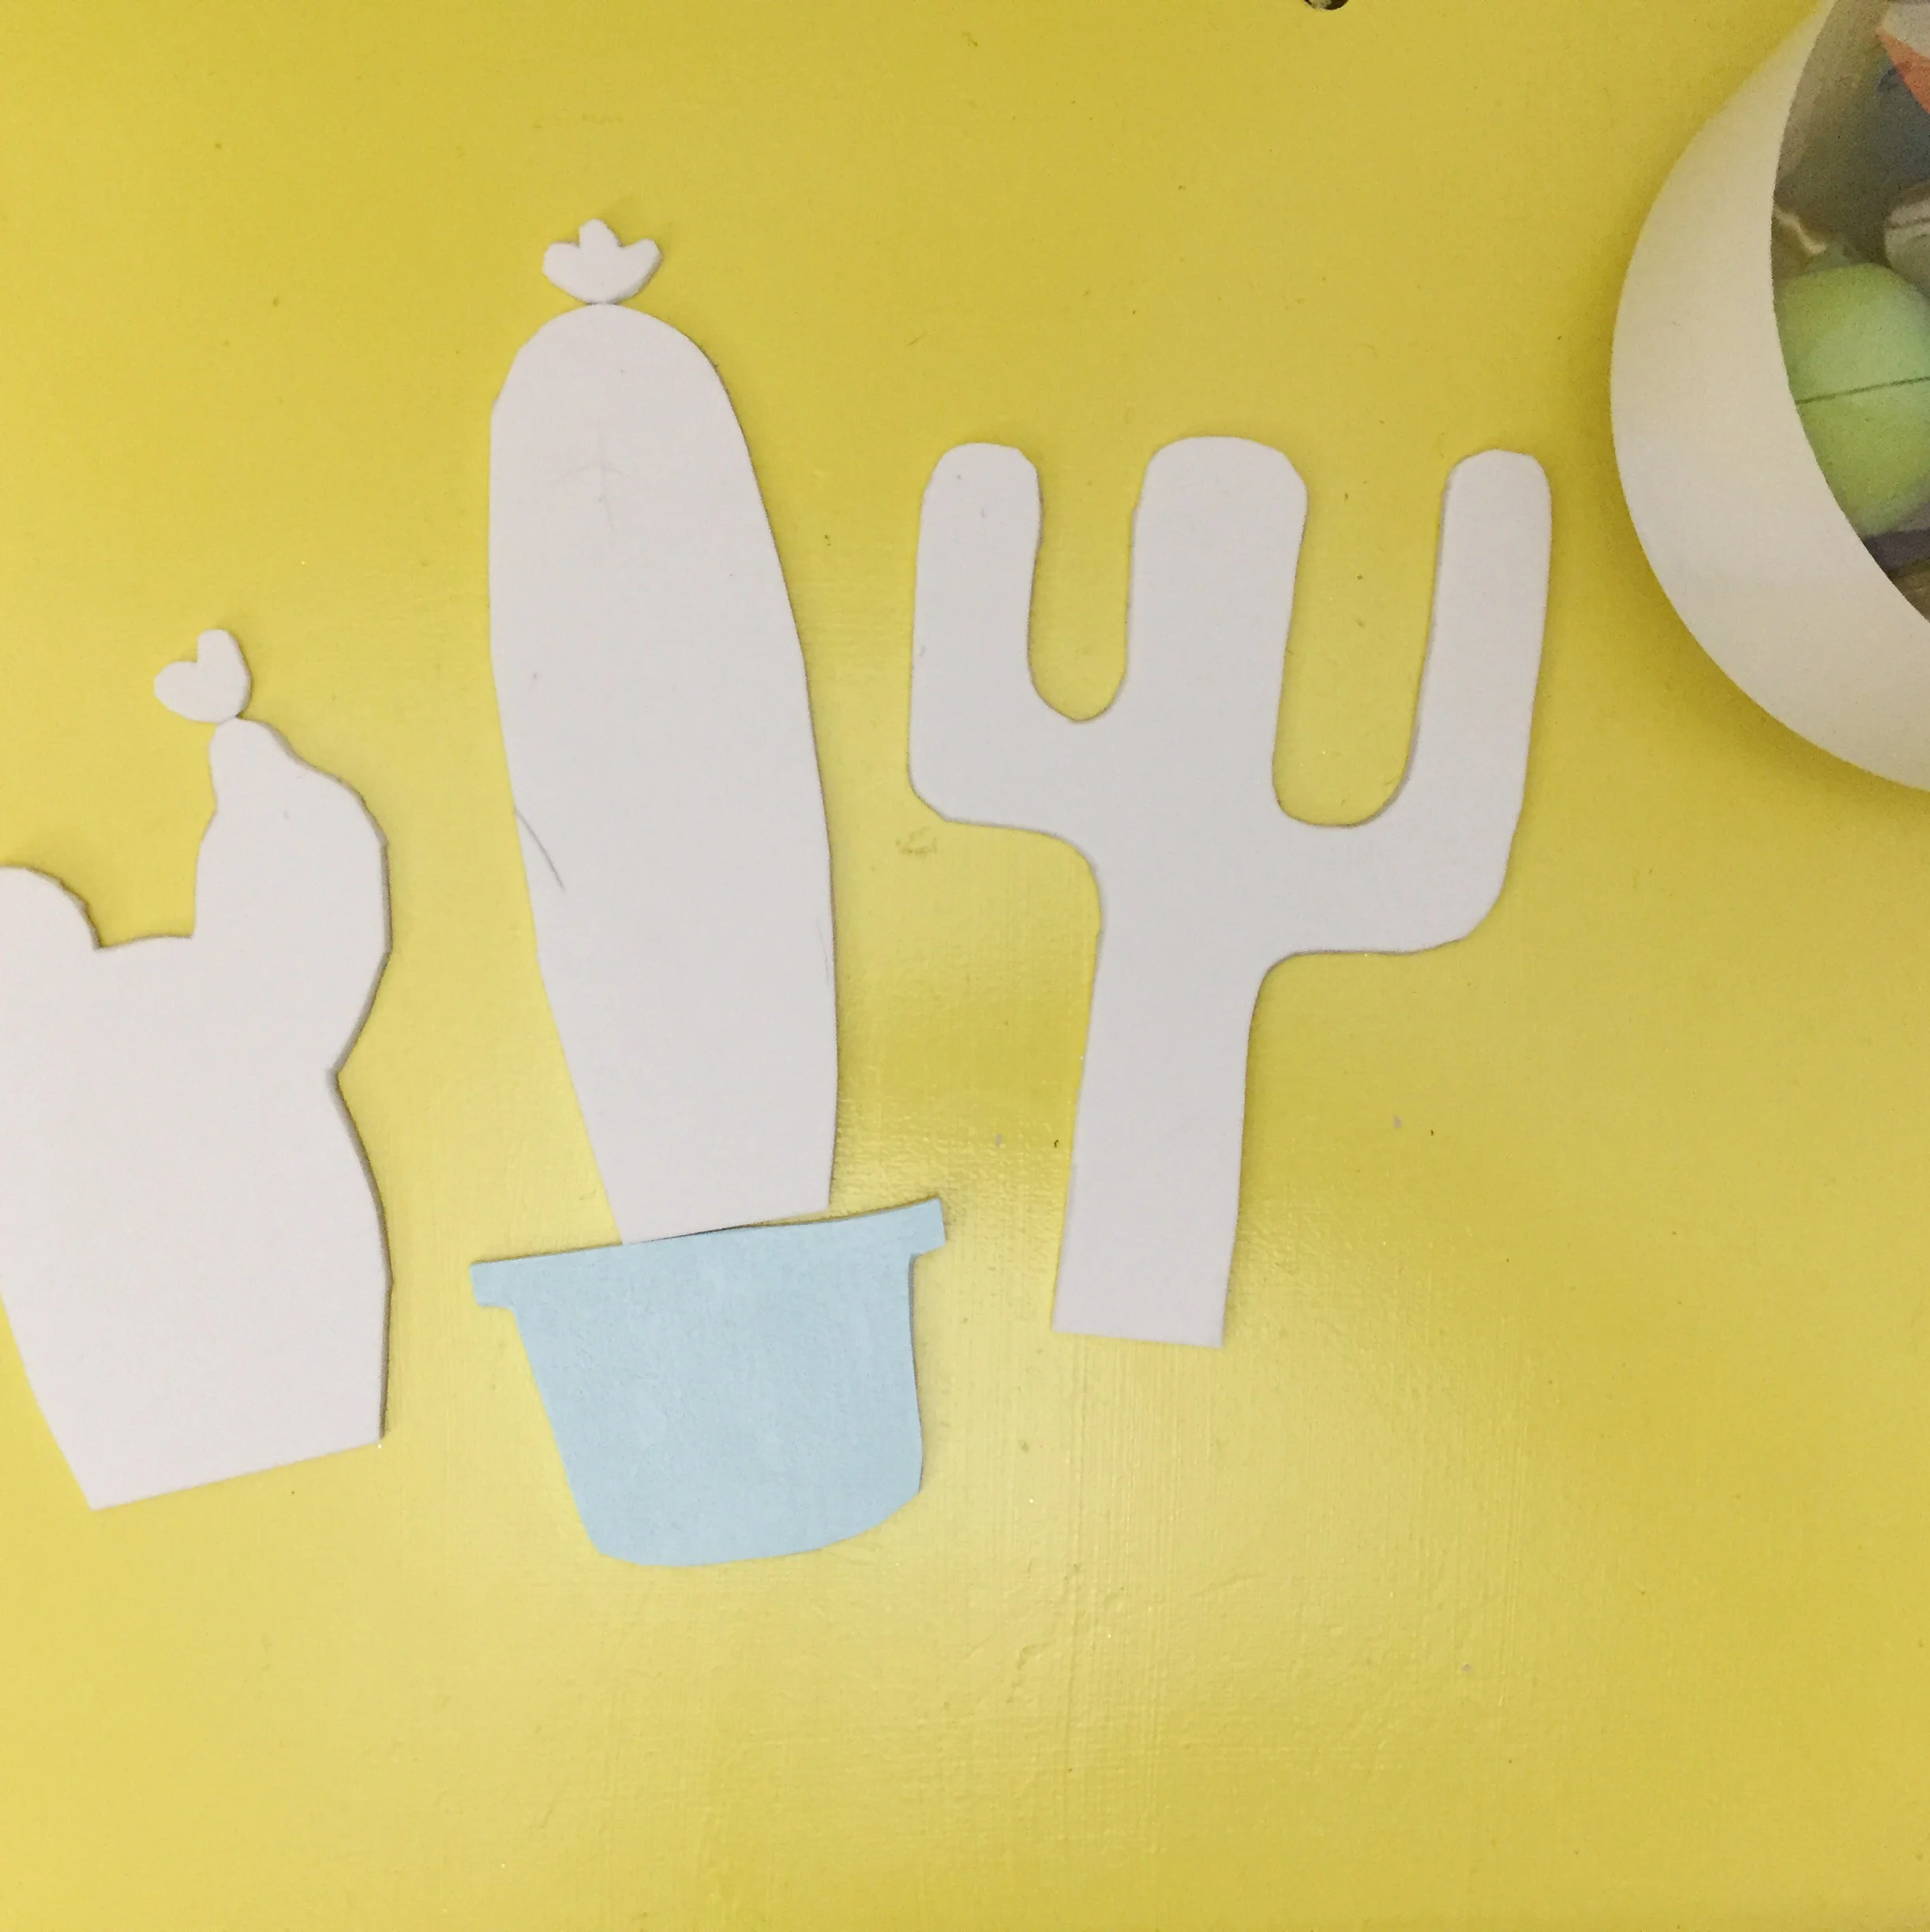
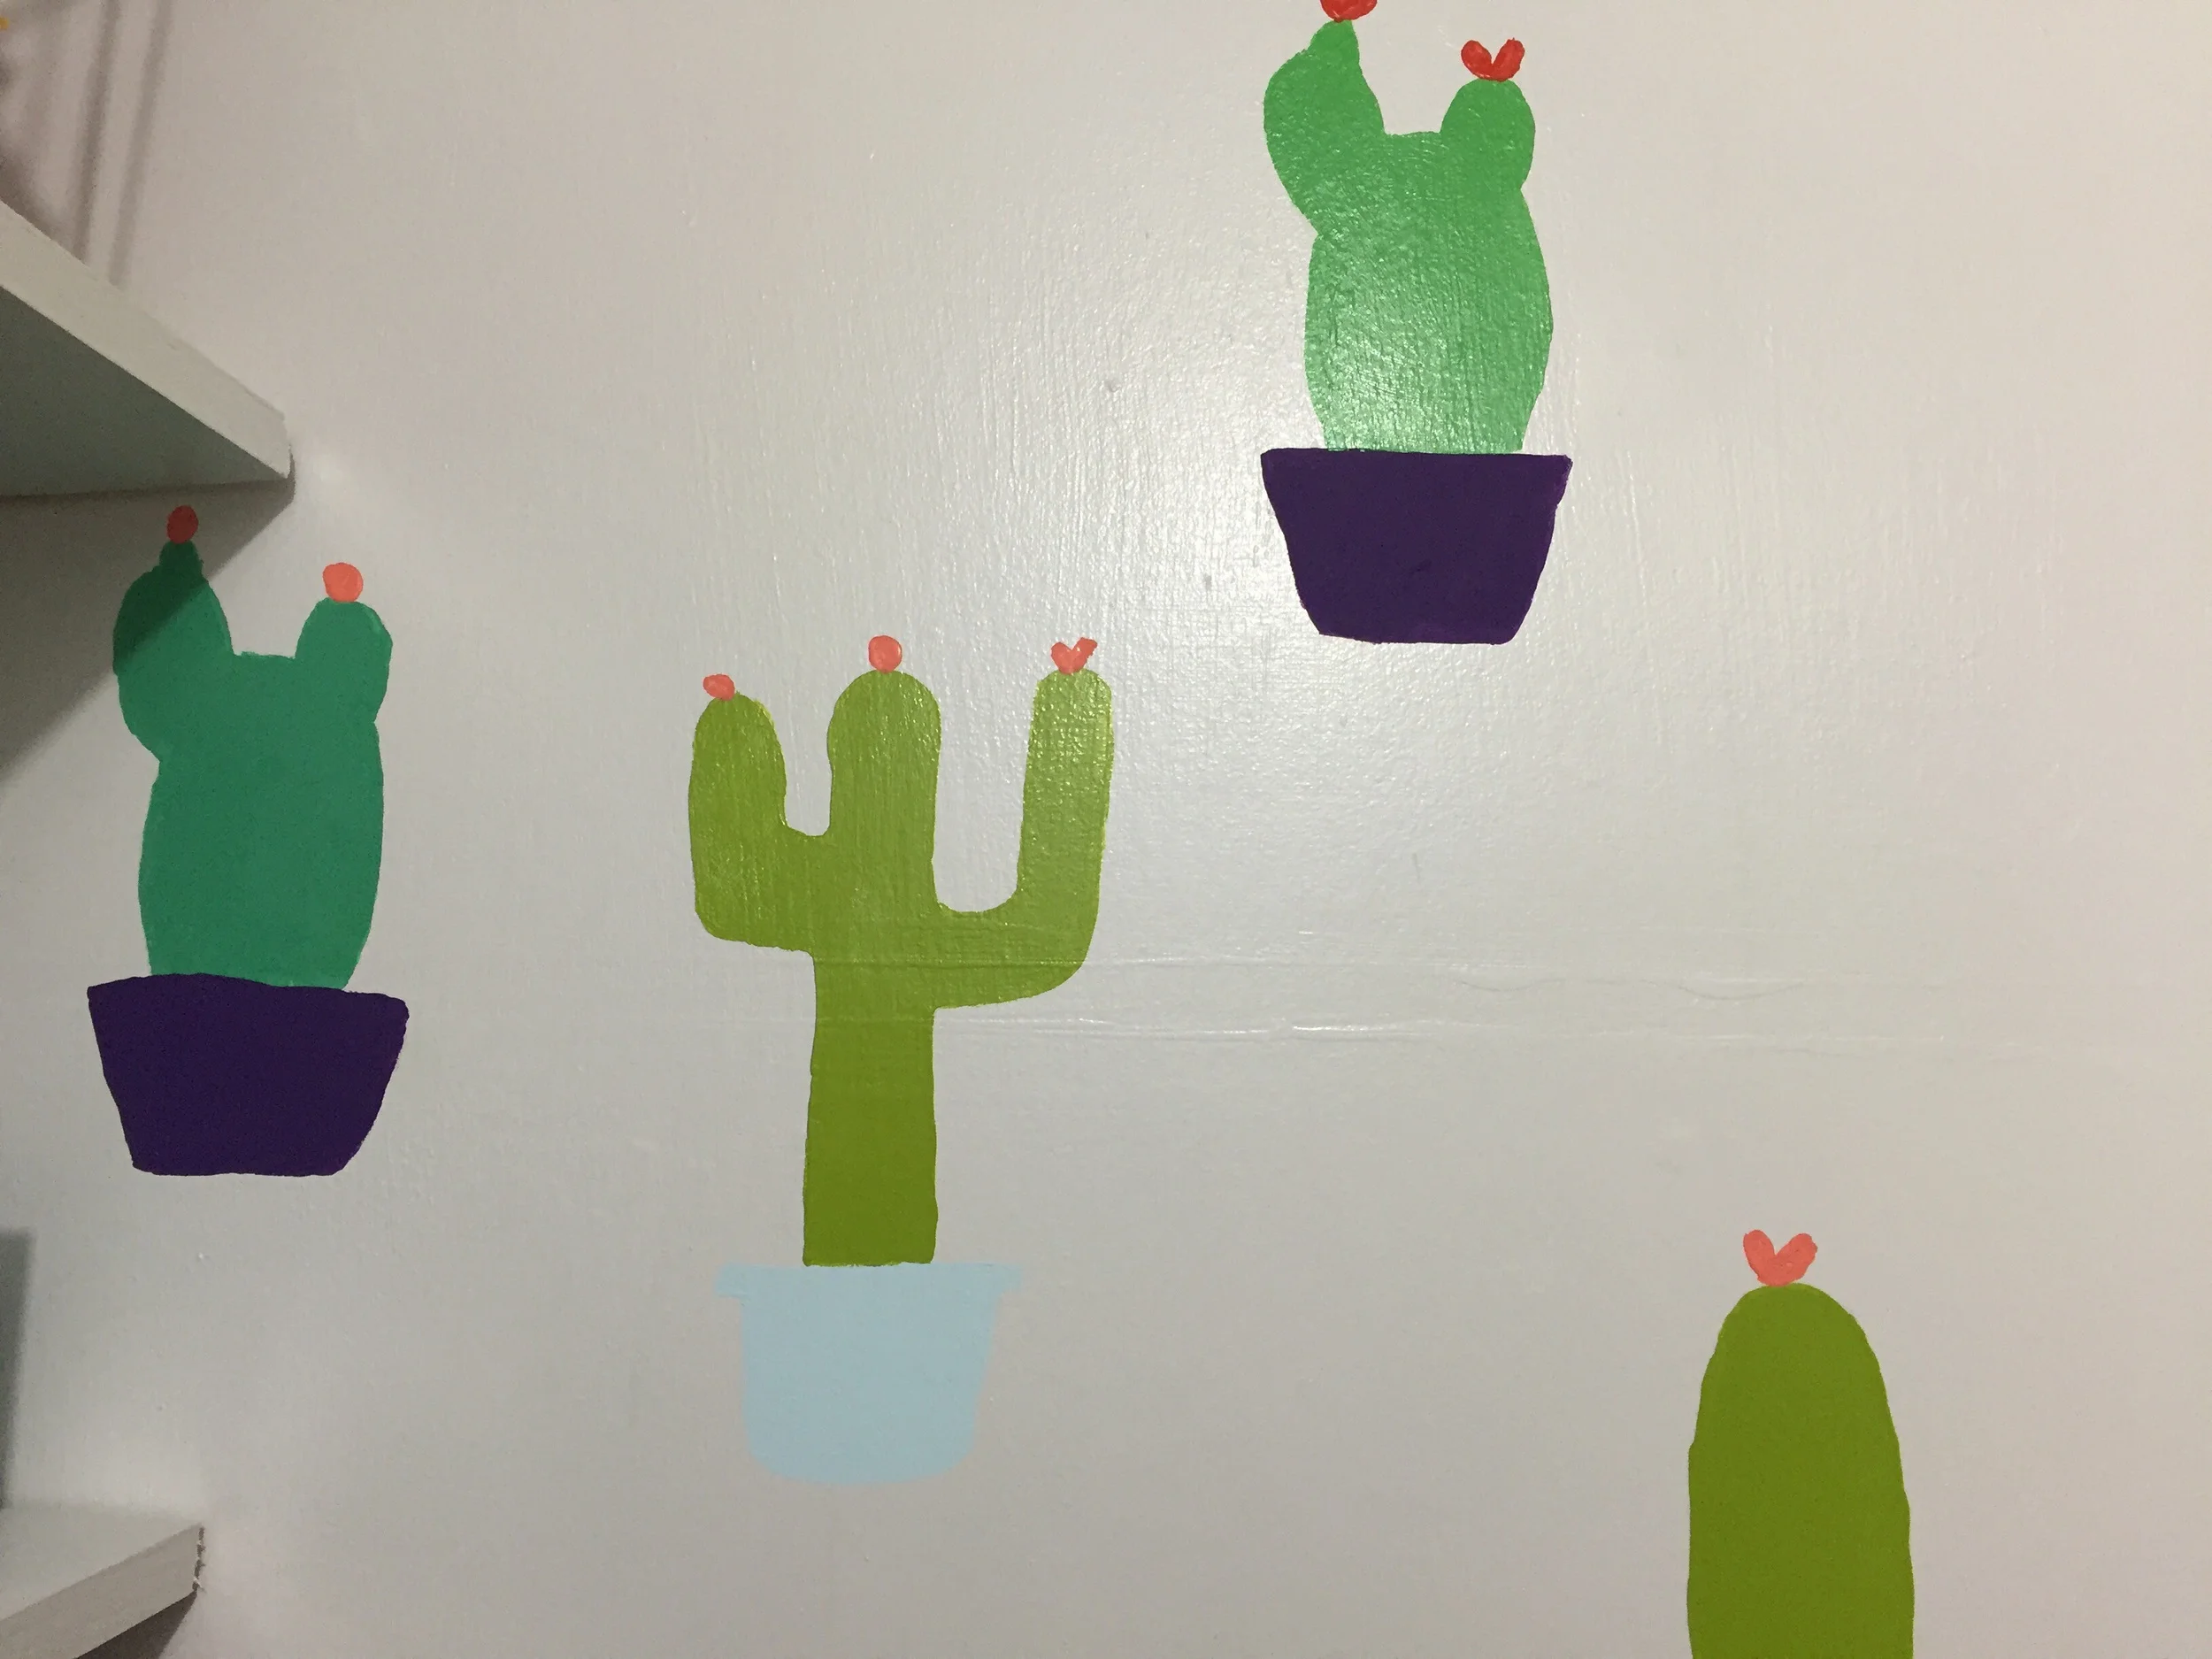
It's Valentine's week as I'm sure you all know. And although most people go out of their way and spend lots of money on their loved ones, you don't have to. Yes it's nice to buy your loved ones things they like, but not everyone can afford all the crazy Valentine's stuff. And really does a stuffed bear and chocolate really and truly profess your love? If you are wanting to show someone you care, tell them. There isn't a better way to do that than making a homemade card! Today I have three cards I made myself to help inspire you for your cards. 

Valentine Card Inspiration

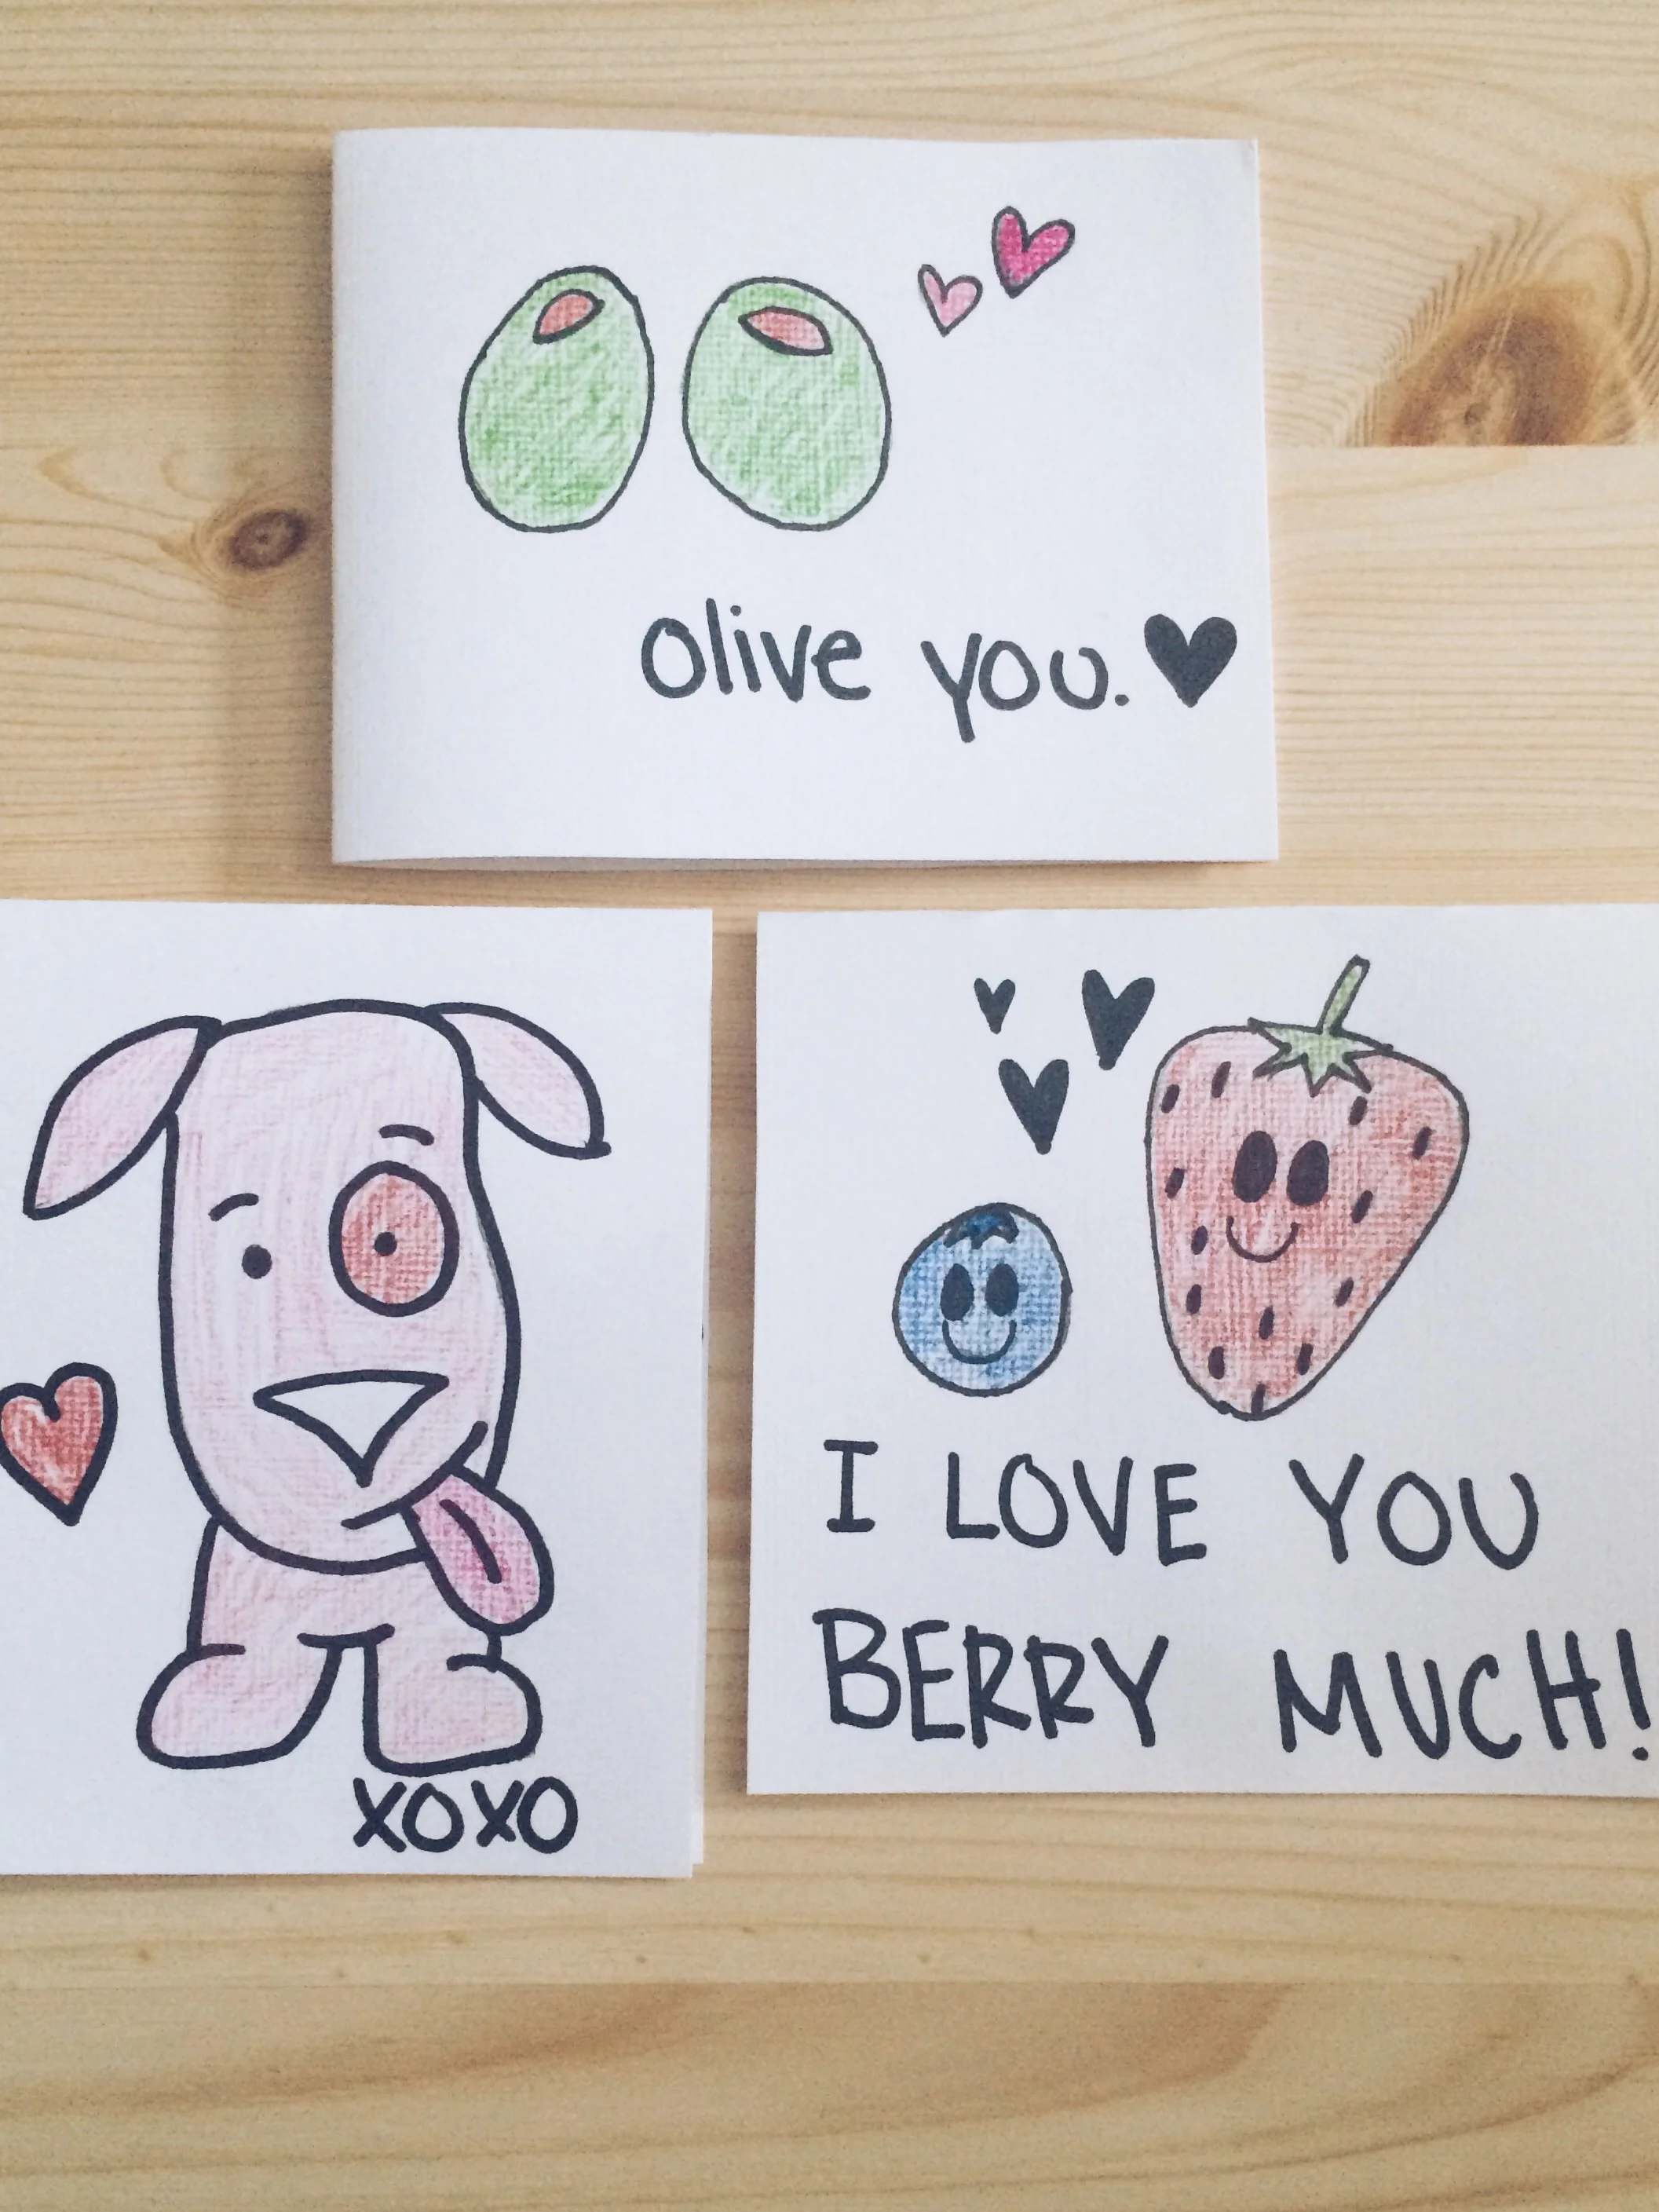
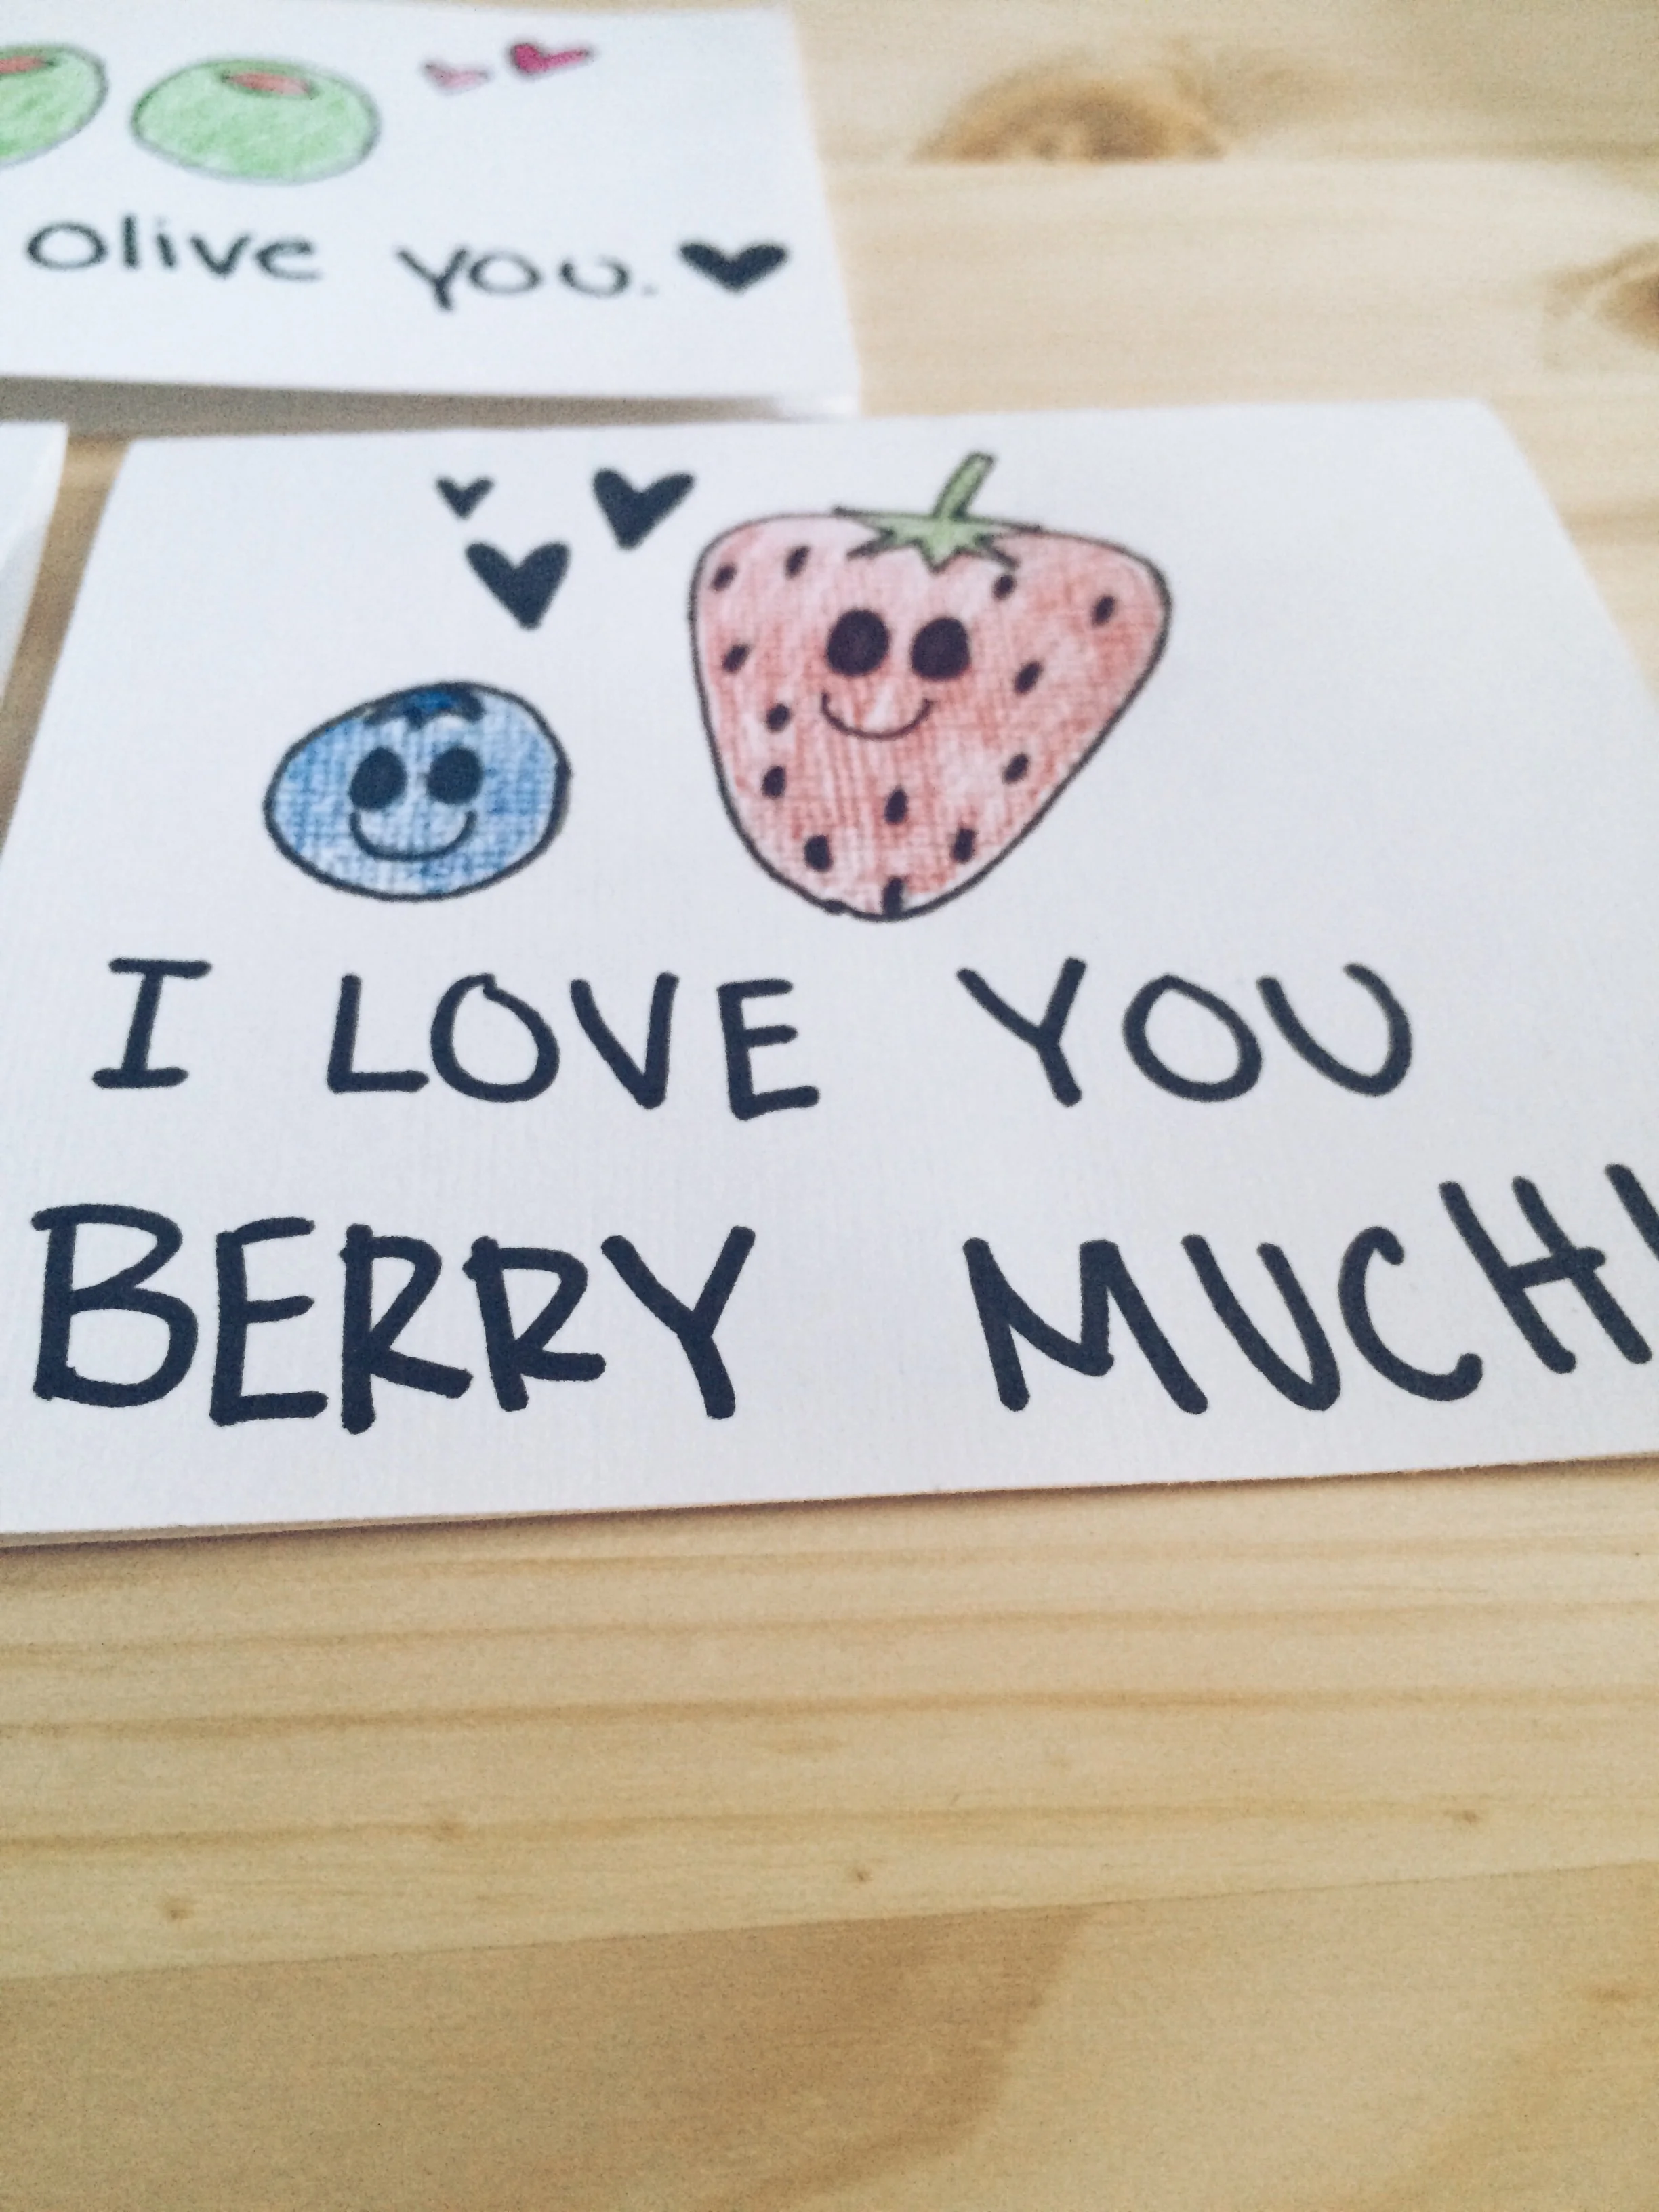
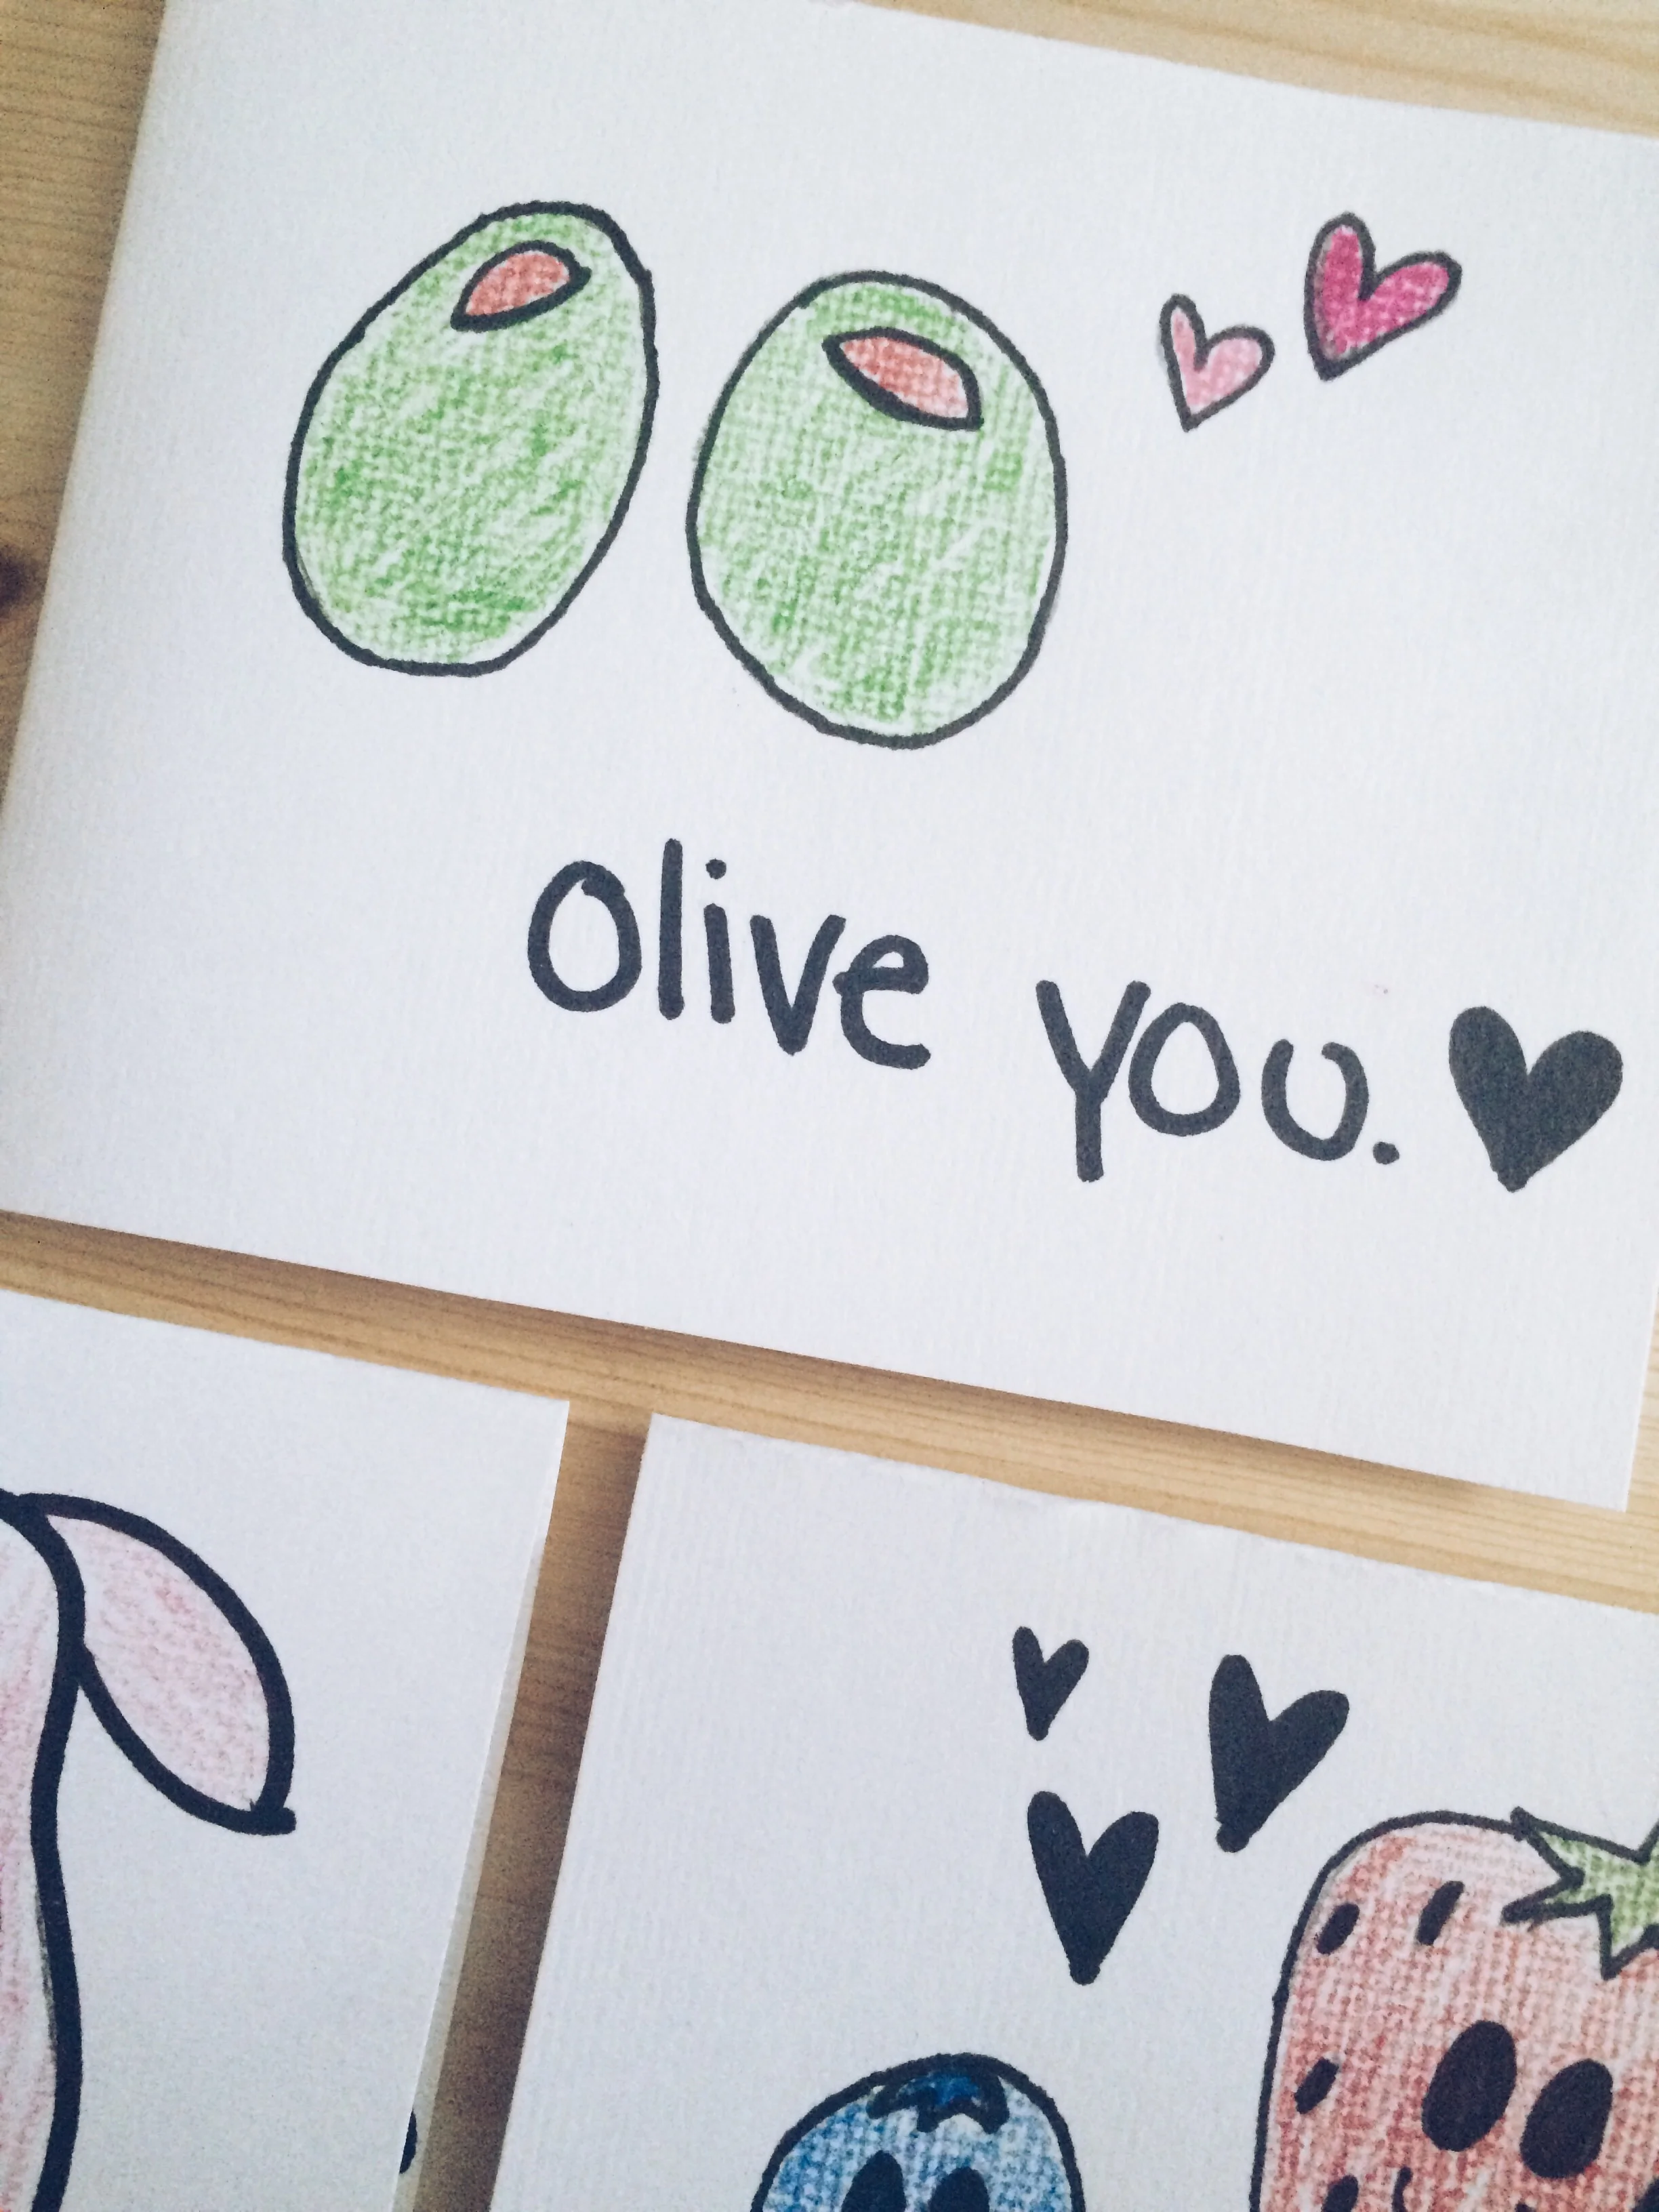
A lot of the cards I personalize for whomever I am sending it to. Whatever they like, I incorporate into the design. But the outside isn't the most important part. On the inside write a loving message, let them know what they mean to you. Handmade cards are way better than just buying one at the store. Try making your cards this Valentines day, I promise your loved ones will enjoy them much more! Also come back the rest of the week for more diy ideas for your Valentine's day! xo, Sky

Sneak Peek: Noah's Birthday

Happy Friday Lovelies! Today we have a little sneak peek of our plans for Noah's birthday party! We are so pumped about it so we couldn't wait to share. :)

Sneak Peek: Noah's Birthday

Have a great weekend! xoxo, Britt + Sky

Tour: Craft Closet

So you got a little sneak peek of our craft closet when we showed you the cacti wall (here), but today we have a full tour for you. We have a log of supplies that we try to keep organized. We built the shelving system to hold most of our containers and baskets of stuff. We also put in the peg board wall to hang some of our supplies. We love how the closet turned out. We hope you do to. 

Tour: Craft Closet
Tour: Craft Closet
Tour: Craft Closet
Tour: Craft Closet
Tour: Craft Closet
Tour: Craft Closet
Tour: Craft Closet
Tour: Craft Closet
Tour: Craft Closet
Tour: Craft Closet
Tour: Craft Closet
Tour: Craft Closet
Tour: Craft Closet
Tour: Craft Closet
Tour: Craft Closet
Tour: Craft Closet

Hope you enjoyed your tour! Happy Thursday! xoxo, Britt + Sky

DIY Pencil Holder

Today we have an adorable pencil holder for you to try out. It's pretty simple and inexpensive!

Here's all you need to get started:

  • empty water bottle
  • hot glue gun
  • yarn
  • bow
Diy Pencil Holder. Click through for instructions.

1. Carefully cut the top off your bottle and dry the inside completely. 

Diy Pencil Holder. Click through for instructions.

2. Hot glue the end of your string near the bottom of the bottle, where you want to start your string. 

Diy Pencil Holder. Click through for instructions.

3. Wrap the string around your bottle, hot gluing the string down every few inches (this will help hold the string in place). Repeat this until your bottle is covered. Sit aside until the hot glue is cooled.

Diy Pencil Holder. Click through for instructions.

4.Hot glue your bow securely on the front, you will want to use quit a bit of glue so it doesn't fall off. Let that glue cool, then just add your pencils and place it on your desk!

Diy Pencil Holder. Click through for instructions.

We really love how this turned out. It's simple but super cute. Depending on where you place it, you can customize your colors and patterns. We hope you have fun making one, but we must warn you to be extra careful using the hot glue gun! Trust us when we say it's very hot. :) xoxo, Britt + Sky

DIY Cacti Wall + Failure

So we had this brilliant plan ...  that's how every good story starts. Right? We were going to cut out foam to make stamps. Then we were going to stamp our back wall in our craft closet. 

DIY Cacti Wall. (click through for details)

We think where we went wrong was the size that we wanted our stamps to be. We had decided that we wanted cacti ... Don't ask, we just like them. :) And we wanted them to be large.

So we free handed them on the foam and cut all of our pieces out. We had three cacti, one pot, and two flowers. We decided to start by stamping the post in random places then we would come in later with the cacti and then even later with the flowers. 

Let's just say We made a huge mess. The paint didn't go on the wal evenly. When we tried to pull the stamp off the wall our backing peeled right off the foam and left the foam piece still stuck in the paint. It was a disaster. 

DIY Cacti Wall. (click through for details)
image.jpgDIY Cacti Wall. (click through for details)
DIY Cacti Wall. (click through for details)

What we decided to do instead was freehand the pots. We liked the idea of them being hand done and that they would all be slightly different. Then using our already cut out cacti we traced them above the pots. Lastly we came in and free handed little flowers on the tops. 

DIY Cacti Wall. (click through for details)

We love how it turned out. It took a little longer than it would have but we had fun in the process. It just goes to show that most of the time, things don't work as planned. But that's ok. xoxo, Britt + Sky

ps: don't mind our mess you can see in the craft closet. you will get a tour later this week!! :)