DIY Photobooth Set Up + Props

A photobooth can add so much fun to any occasion. As we started preparing for our party, we decided that we NEEDED to have a photobooth set up. And it's no fun if you don't have a fun backdrop or props. Well today we have solutions for both :)

DIY Photobooth Set Up + Props (click through for free printable and details)

When we were trying to figure out what we wanted to use for our backdrop, we went to the dollar tree of course. They had super cute wrapping paper! We bought two rolls of our favorite red and white patterned paper, that we hung up side-by-side on the wall. 

DIY Photobooth Set Up + Props (click through for free printable and details)

We also decided that we wanted some fun props to use in the booth. We had bought headband props at the dollar section at target, but we really wanted to have more ... so we have free printable props for you to print, cut, and color (here)!

DIY Photobooth Set Up + Props (click through for free printable and details)

We had fun just setting up our photobooth. We hope you can use our ideas and our printable props for your Christmas fun! xoxo, Britt + Sky

Make It Tacky

We love getting tacky for our annual ugly Christmas sweater party. In honor of that, we have a few easy to make accessories that will go perfectly with your ugly sweater. We also have a couple DIY sweater inspirations for you. I think your gonna like 'em.

Making DIY tacky accessories (click through for tutorial)

What you need:

Accessories:

  • hot glue gun

  • earring 

  • bobby pins

  • bows, ribbons, pom-poms, etc.

Sweatshirts:

  • sweatshirt
  • paint
  • felt
  • buttons
  • pipe cleaner
  • bow

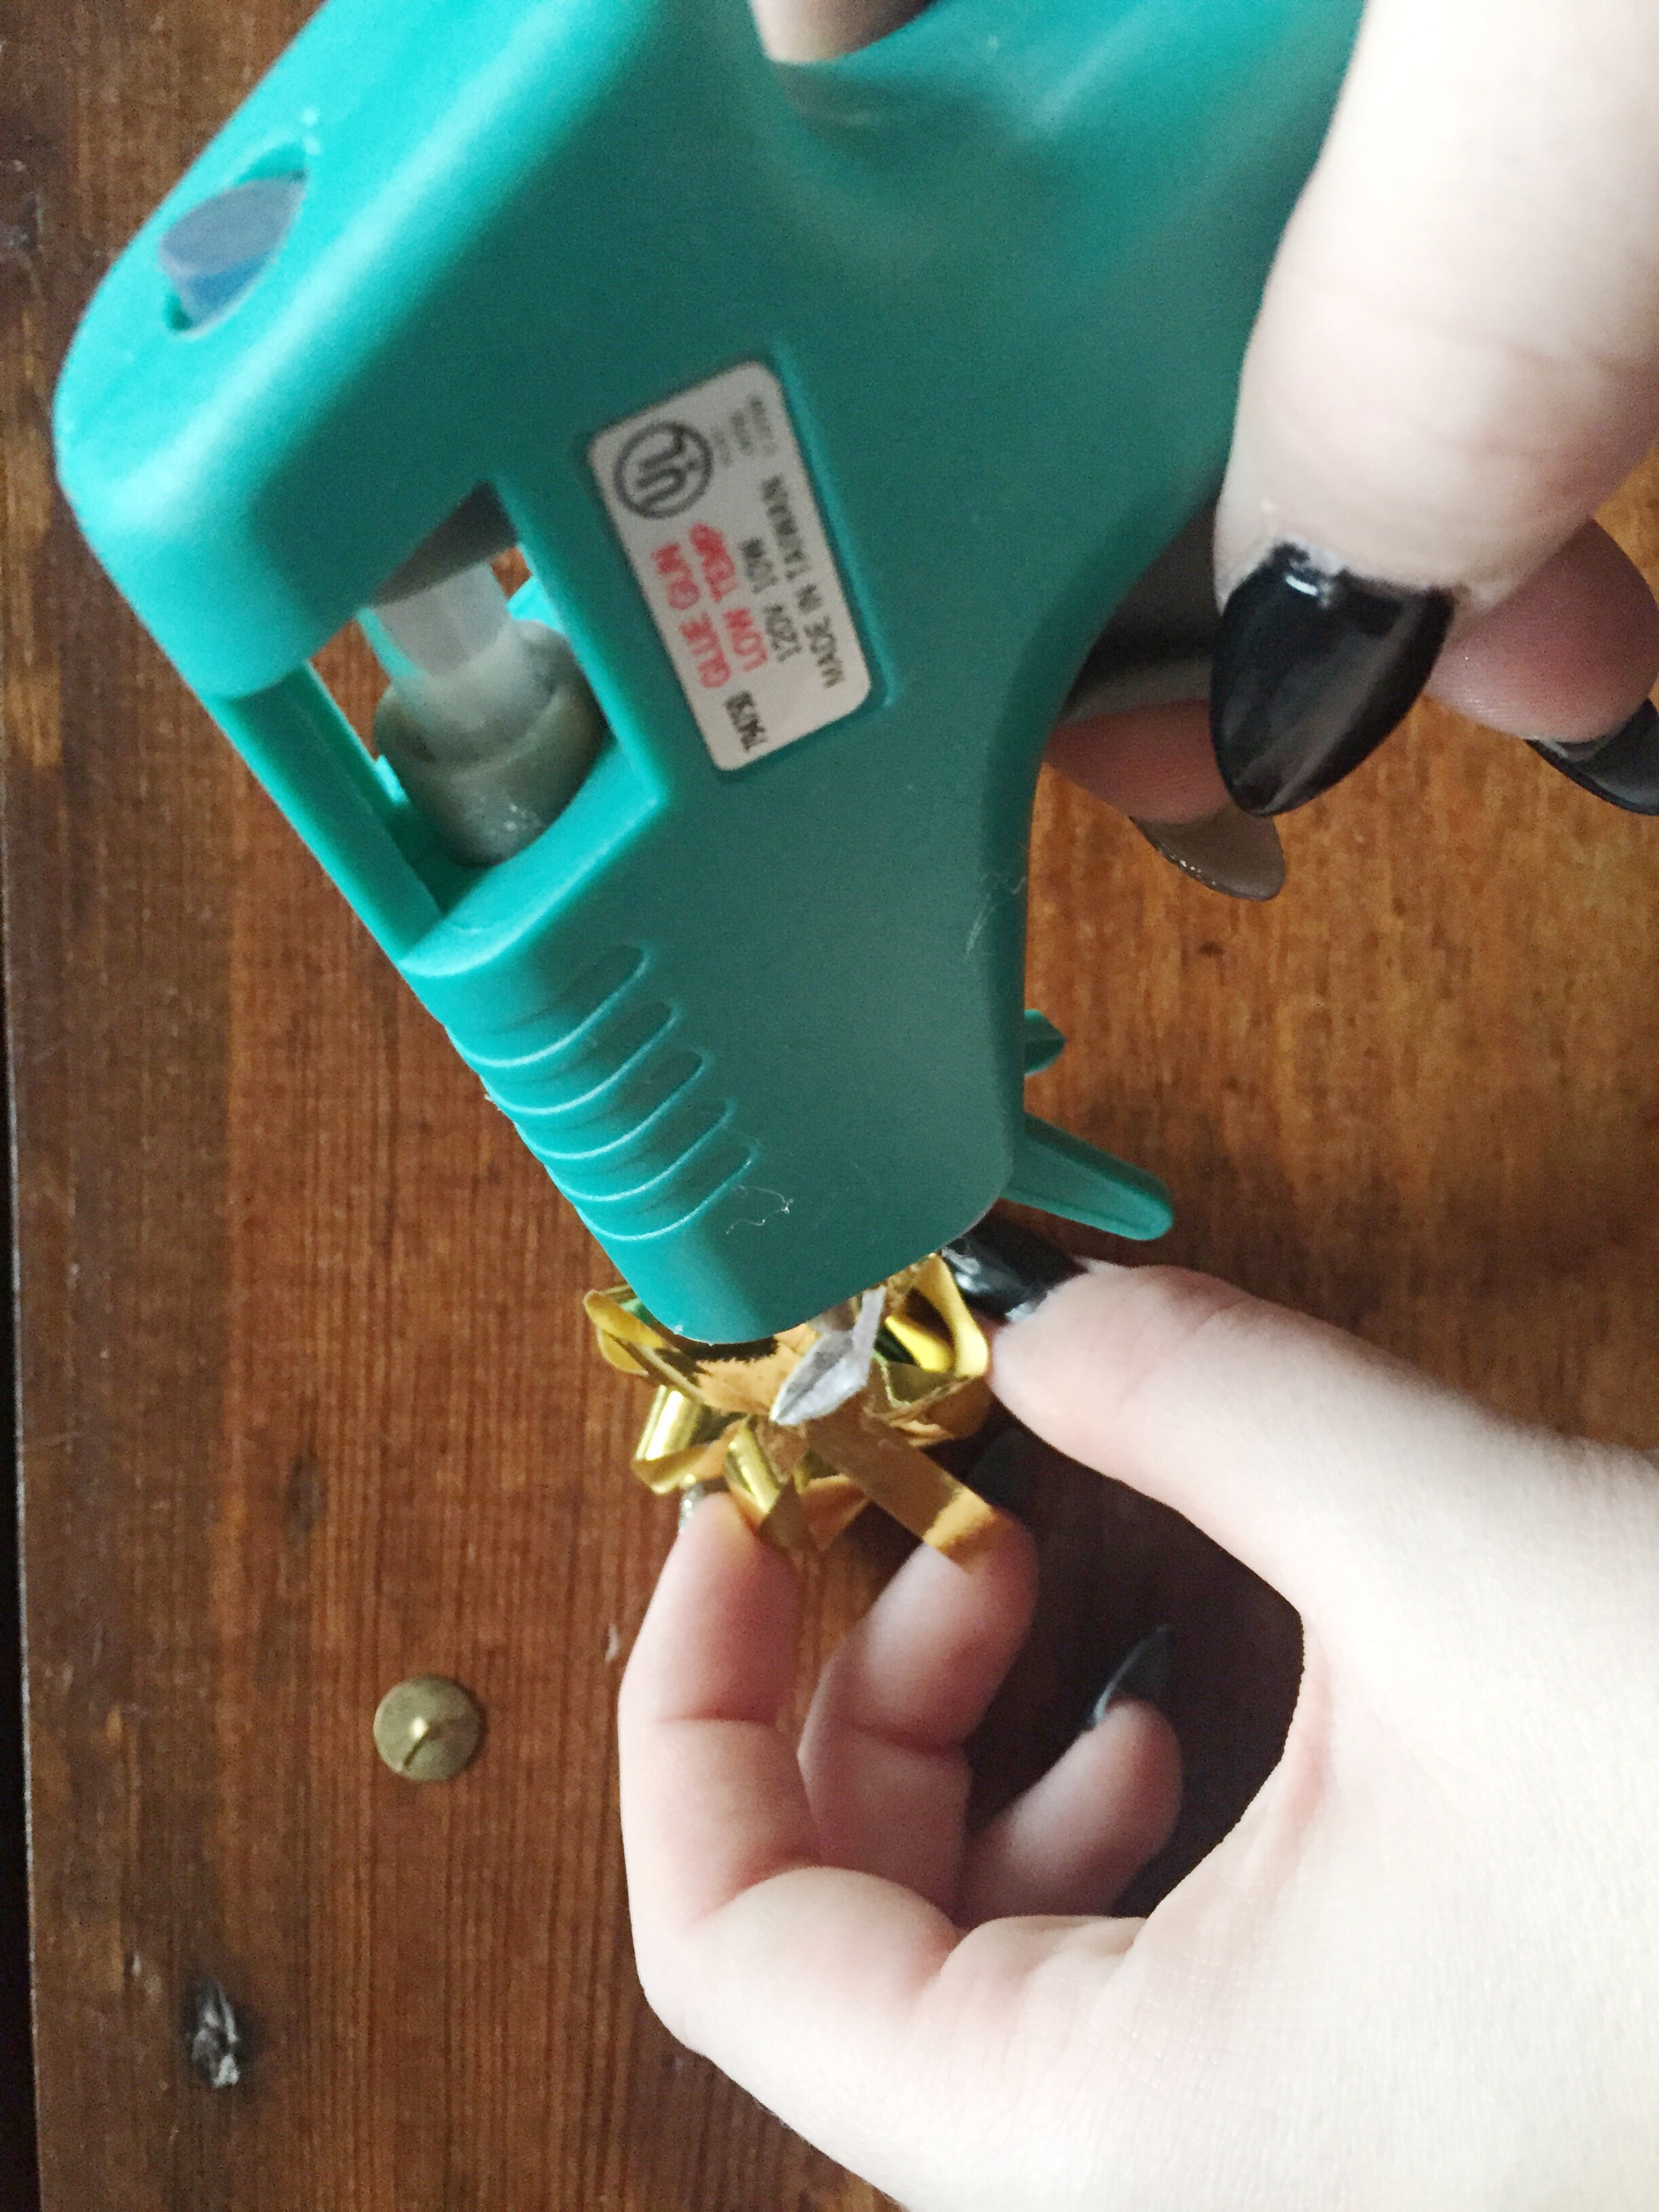
You can pretty much hot glue any tacky or just fun Christmas decoration to a pair of earrings or bobby pin and you have a super simple accessory that adds plenty of tacky to your ensemble. We used gift bows and pom-poms, but your options are really endless. 

Making DIY tacky accessories (click through for tutorial)

The snowman sweatshirt was made by painting on the snowman's body, adding buttons, a felt nose, and then using a pipe cleaner and some felt to make a pair of earmuffs.

Making DIY tacky accessories (click through for tutorial)

The present shirt was made by taping off a square, painting the box, removing the tape, painting the "ribbon," then hot gluing on the large bow. The hardest part for each of these is waiting for your paint to dry. 

Making DIY tacky accessories (click through for tutorial)

We love these super simple accessories and shirts that are really going to step up our tacky level (is that a thing?) for our party! We hope that this gives you a few ideas and inspirations to make your Christmas a little more tacky :) 

xoxo
Britt + Sky

DIY Christmas Tree Table Runner

We knew that we needed to make a Christmas runner for our dinning room table.

We decided to utilize a few things that we already had and some bottle brush trees that we found at the dollar tree.

DIY Christmas Tree Table Runner

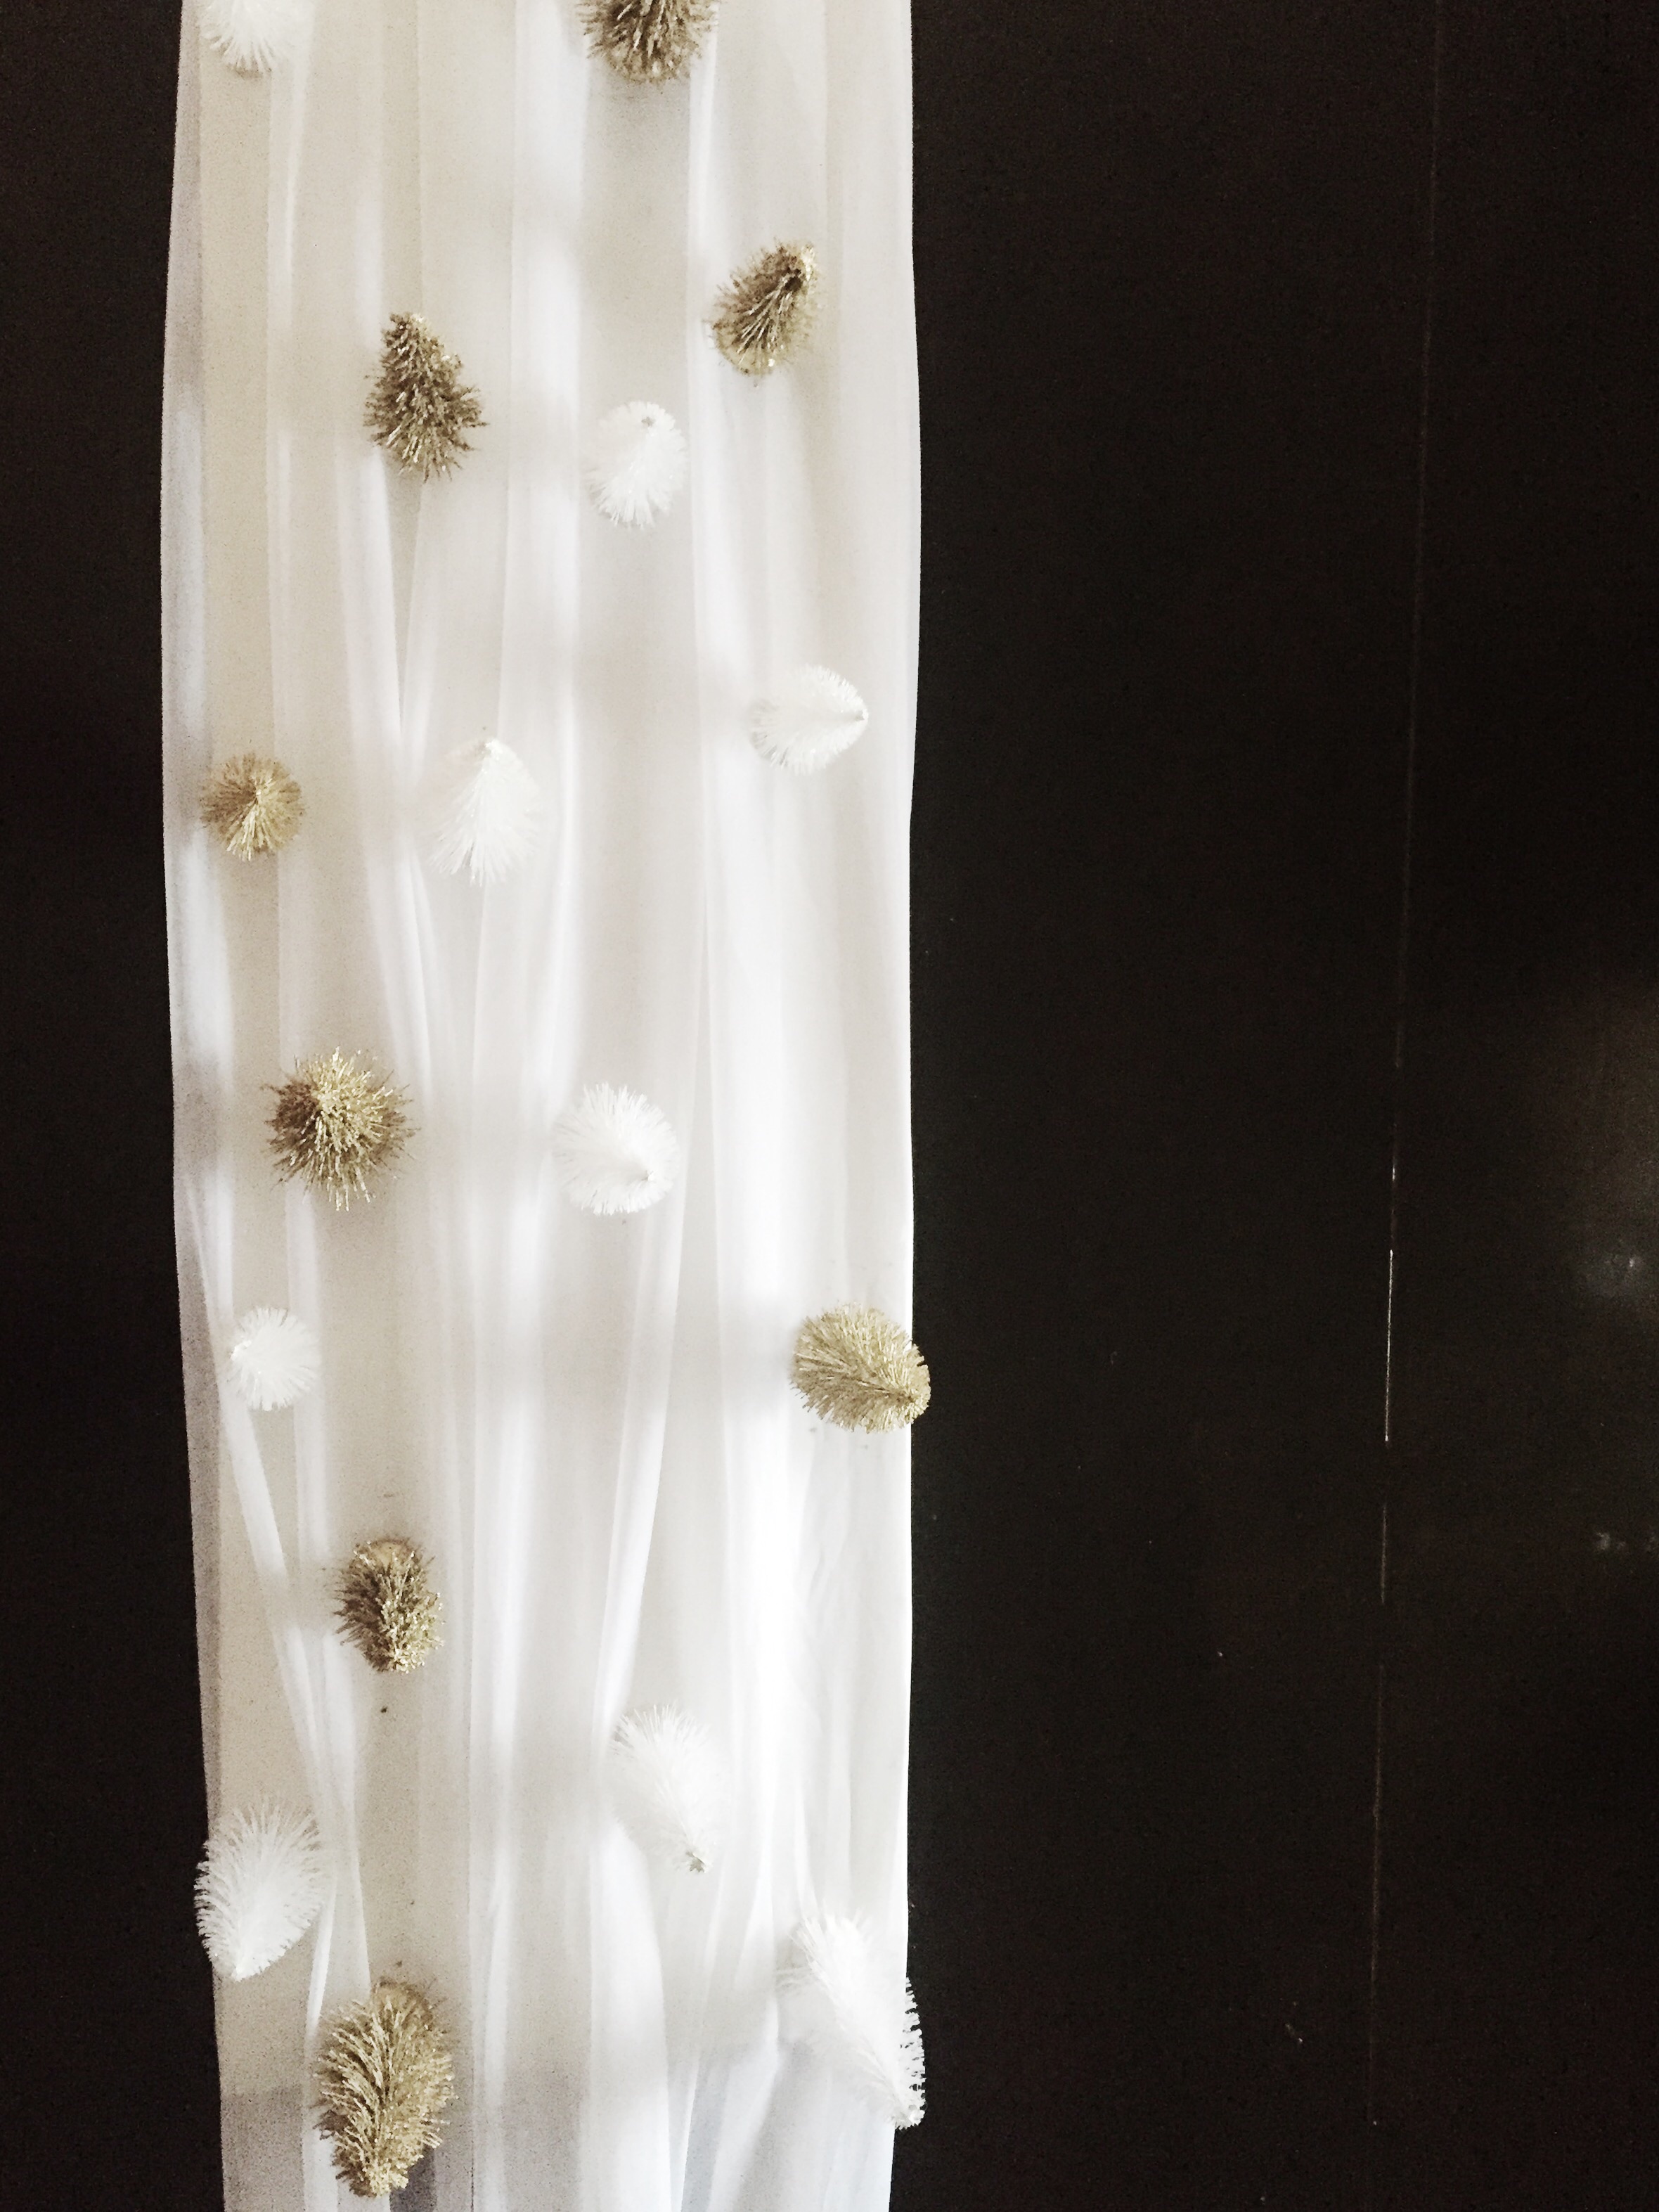
We used the same white table runner that we have been using since the birthday brunch. We put a board that we had in the garage underneath the middle of the runner. Seems weird but we wanted to glue down our trees so that they wouldn't fall over every time someone bumped the table. Once that was ready, we took half of our trees and spray painted them gold ... you know we have a thing for gold ... ha. After our trees had dried, we placed them to get them where we wanted them and then glued them down.

DIY Christmas Tree Table Runner

We love our super simple table runner. 

xoxo 
Britt + Sky

DIY Tacky Christmas Decor

This week we are preparing for our annual ugly Christmas sweater party. We get super into it and love getting everything set up to have the perfect event! To start off, we have a few of our favorite Christmas decor projects. 

Charlie Brown Christmas Tree

We had this super "great idea" that was total fail. So we had a tall vase and a twig that we had nothing to use them for ... so of course we decided to just go with it.

DIY Tacky Christmas (click through for details)

We put some beaded garland into the vase to hold the twig up. Then we used a needle, thread, and some pom-poms to make a fun little garland to decorate it. Its so simple, but it is tacky and fun too.

DIY Tacky Christmas (click through for details)

We feel like it adds some fun to our mantel. 

Tacky Chandelier

So to go along with our ugly sweater party we decided to add a few other fun and tacky decorations. We added some fun garland and bows to the chandelier ... tacky we know, but we like it :)

DIY Tacky Christmas (click through for details)

Tacky Deer Head

And then we also had to included our deer head in all the tacky fun so he got dressed up too.

DIY Tacky Christmas (click through for details)

Happy Monday!

Britt + Sky 

Diy Snow Globes

We made some pretty adorable winter snow globes. We have two tutorials today that you should try. They are pretty inexpensive, easy to make, and super fun! :)

Snowman Snow Globe

Here's what you'll need to get started:

  • small spice jar
  • clay
  • black, white, yellow paint
  • paint color of your choice (for the ear muffs)
  • small twig
Diy Snow Globes. Click through for instructions.

1. Paint the outside of your  jar to look like a winter landscape.

Diy Snow Globes. Click through for instructions.

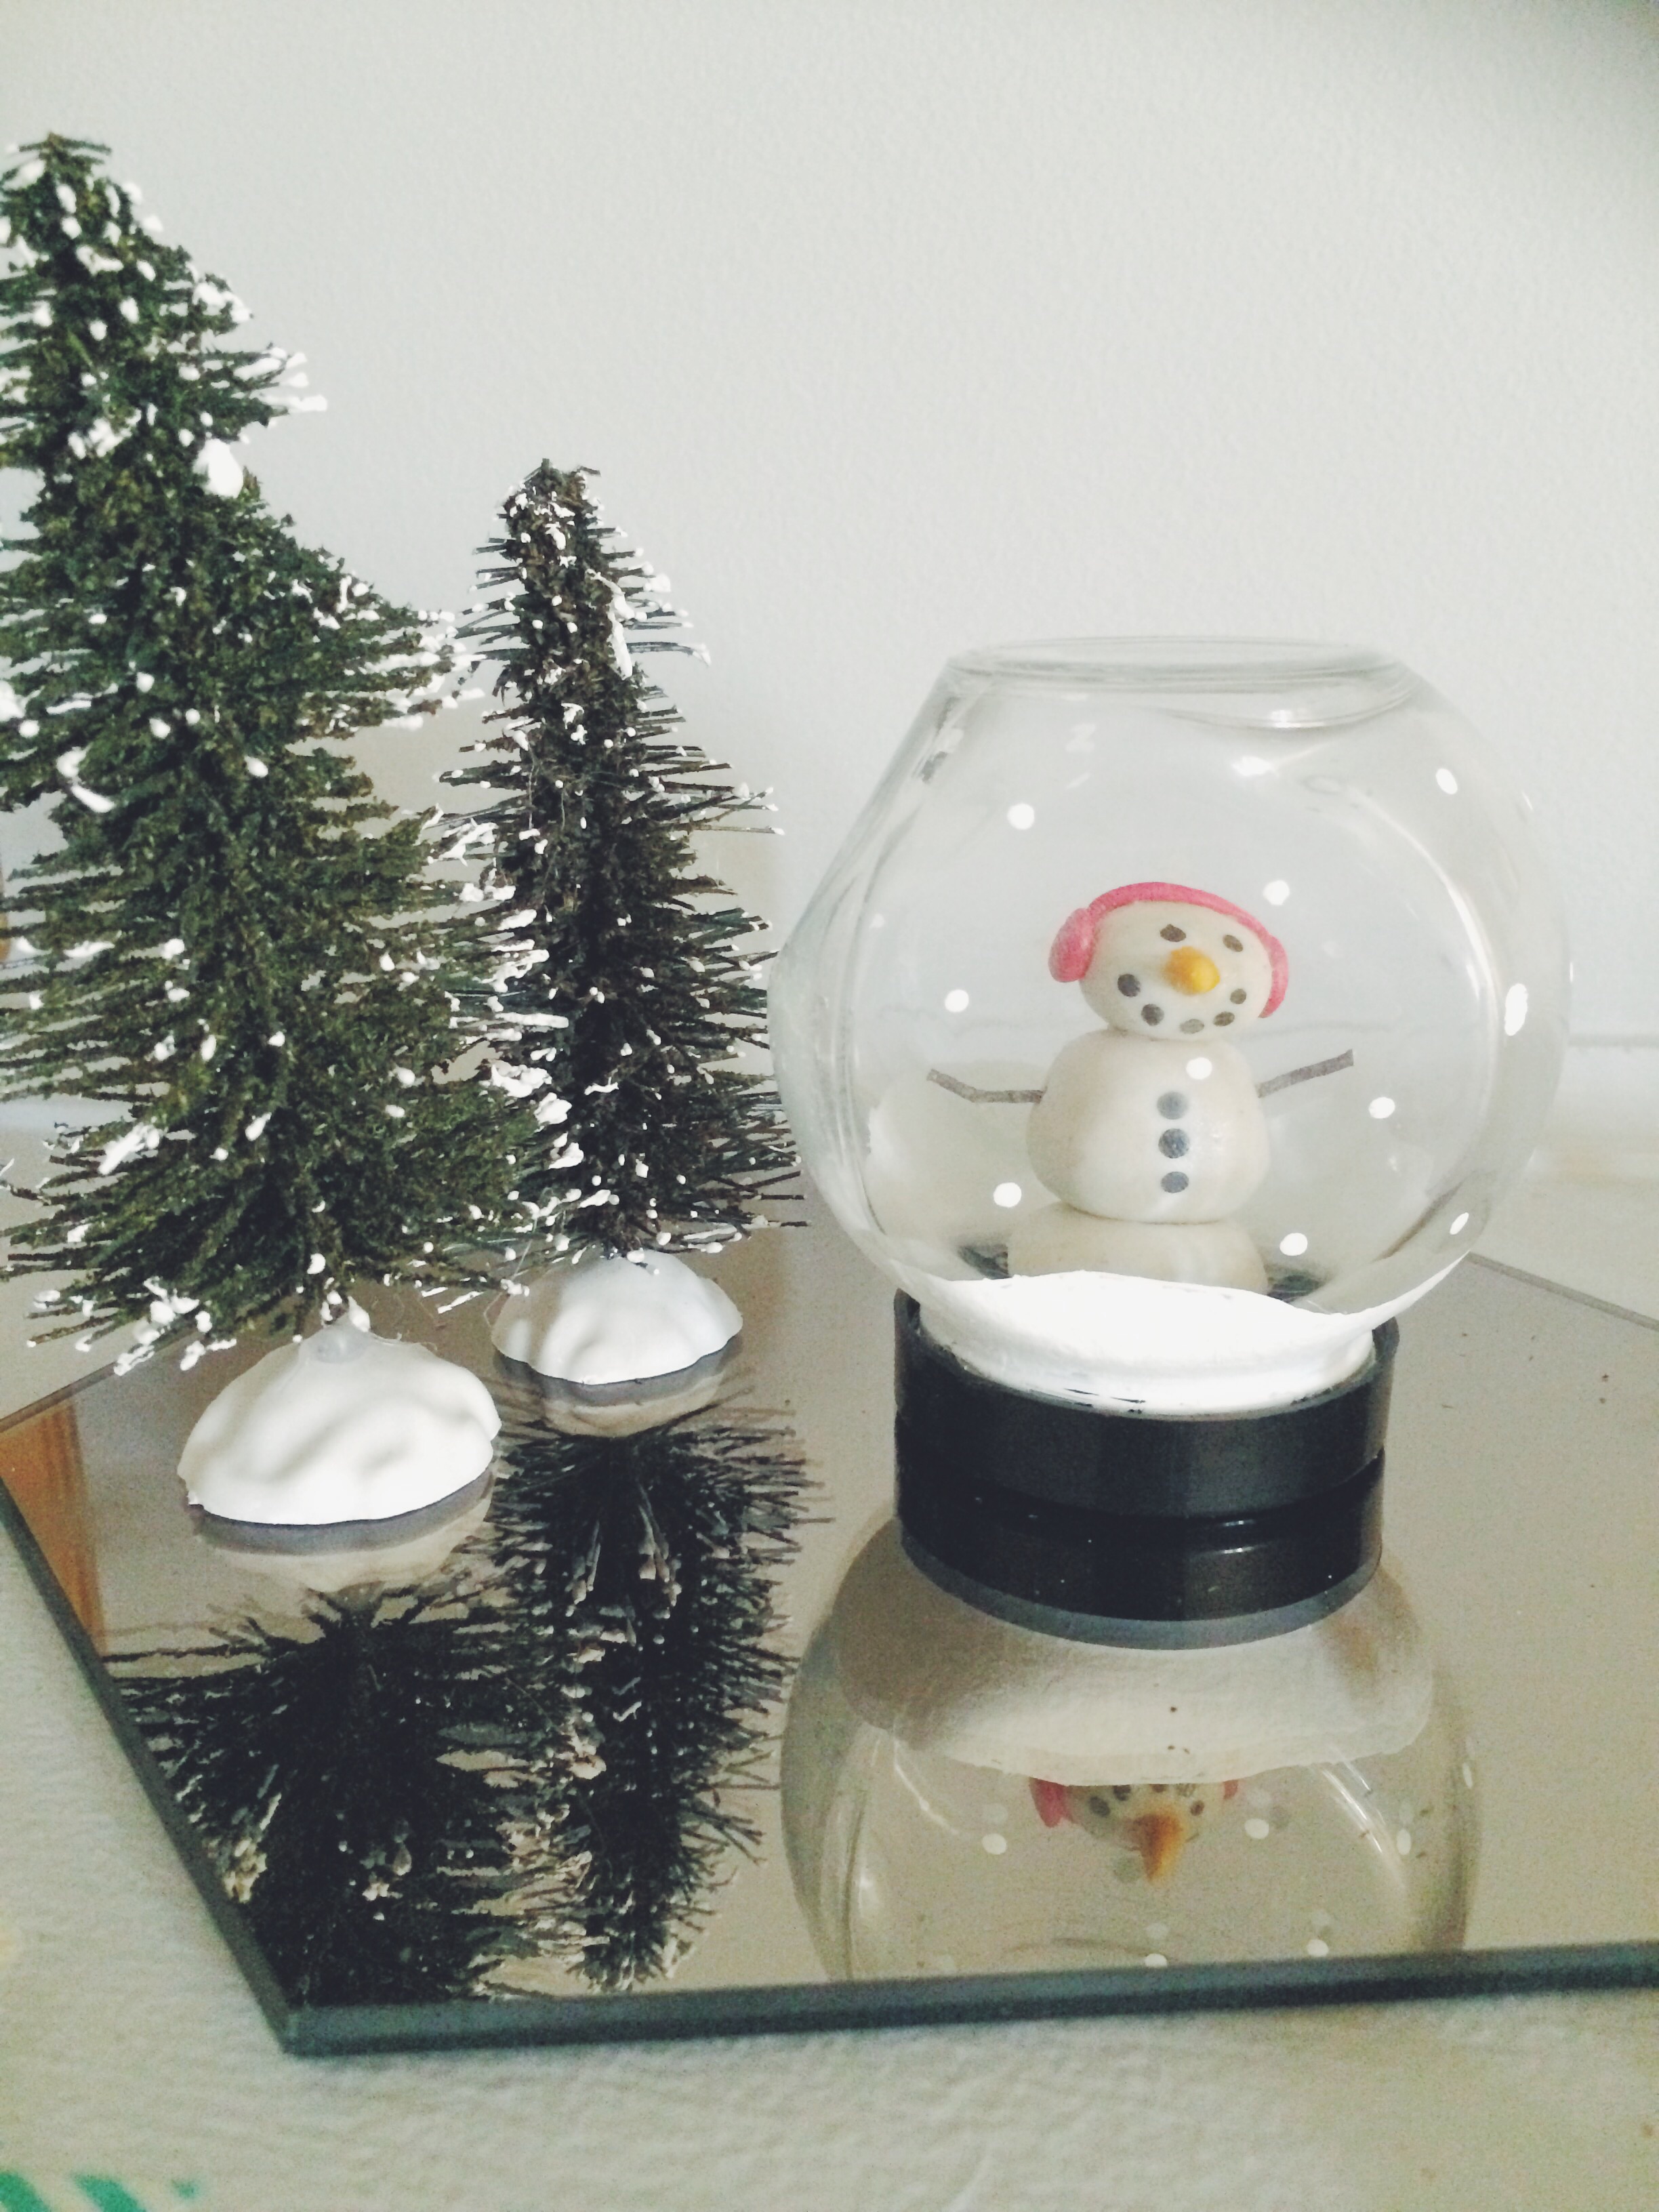
2. Form the three layers of your snow man from your clay; big ball, medium ball, small ball with nose and ear muffs.

Diy Snow Globes. Click through for instructions.

3. Put a tiny piece of clay between each layer of the snow man. This will help him stick. Then bake him in the oven at 350 degrees for 20-30 minutes. When done let cool for 10-15 minutes before moving on.

Diy Snow Globes. Click through for instructions.

4. Paint your snow mans features and add his arms!

Diy Snow Globes. Click through for instructions.

5. Glue your snow man with hot glue to the bottom of your lid.

Diy Snow Globes. Click through for instructions.

6. Screw your jar unto your lid and place it where you want it. That's it! Now you have an adorable tiny snow globe.

Diy Snow Globes. Click through for instructions.

Couple Snow Globe

Here's what you need:

  • mason jar
  • small decorative christmas tree
  • 10-12 mini white pom-poms
  • white thread
  • small wooden people
  • paint
Diy Snow Globes. Click through for instructions.

1. Paint your wooden people to your liking. Sit them aside to dry when finished.

Diy Snow Globes. Click through for instructions.

2. Thread pom-poms into your thread. We strung 2-3 pom-poms per piece of thread. 

Diy Snow Globes. Click through for instructions.

3. Tape the pom-pom strings to the inside of your jar lid.

Diy Snow Globes. Click through for instructions.

4. Hot glue the tree and people into your jar. 

Diy Snow Globes. Click through for instructions.

5. Place your lid on the jar. And now you have a perfect winter scene! 

Diy Snow Globes. Click through for instructions.

Our snow globes aren't like regular one's, they don't have liquid. BUT they are still super cute and better because we were able to make them exactly how we wanted them. Our favorite part was that we got to use cool jars to make them. We really hope you guys try these, they are easy and you can personalize them to your style!

Happy Friday!
Britt + Sky