DIY Painted Acorns

For our first Thanksgiving diy we have these adorable painted acorns. They are fun decorations for any home. 

All you need to get started is: 
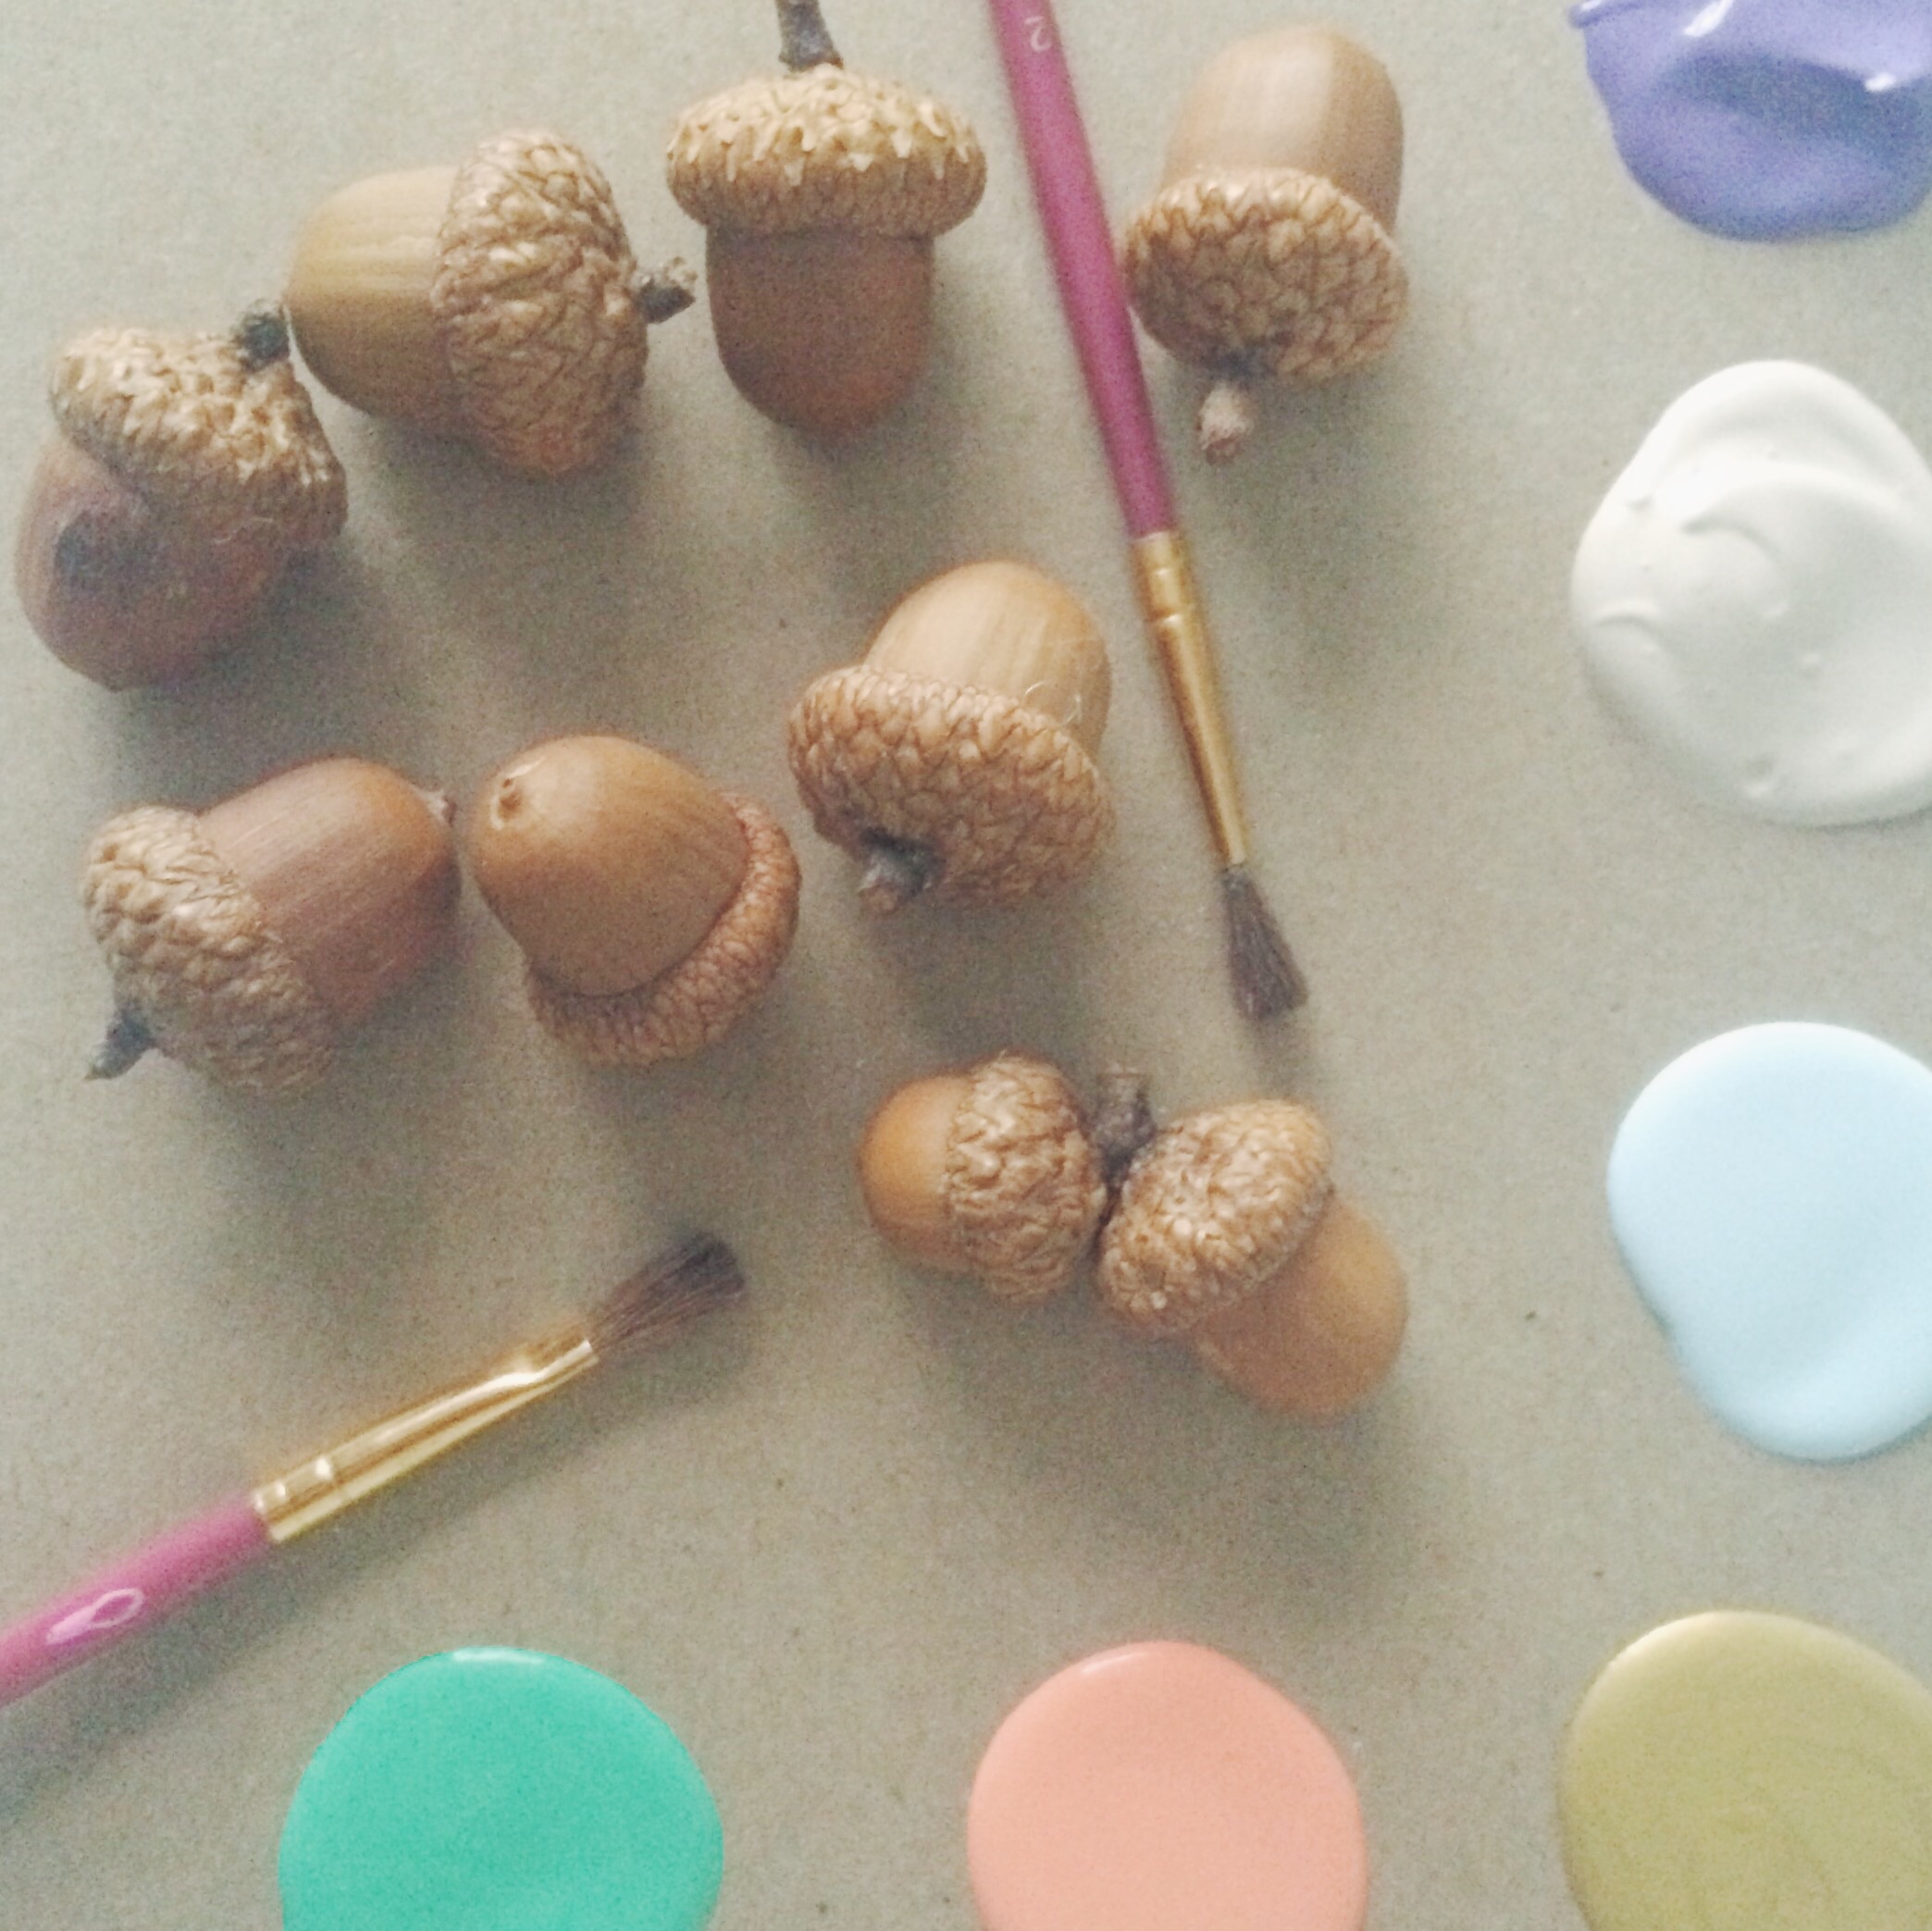
-Acorns

-Paint (Colors of your choice) 

-Hot glue

Painted Acorns. Click through for tutorial.

1. Take all the "lids" off of your acorns.

2. Preheat your oven to 175 degrees and bake your acorns for 15-20 minutes. This helps make sure that any bugs inside won't come out later.

3. Seperate your acorns out into groups of which color you want them to be. (We had six groups for our six colors)

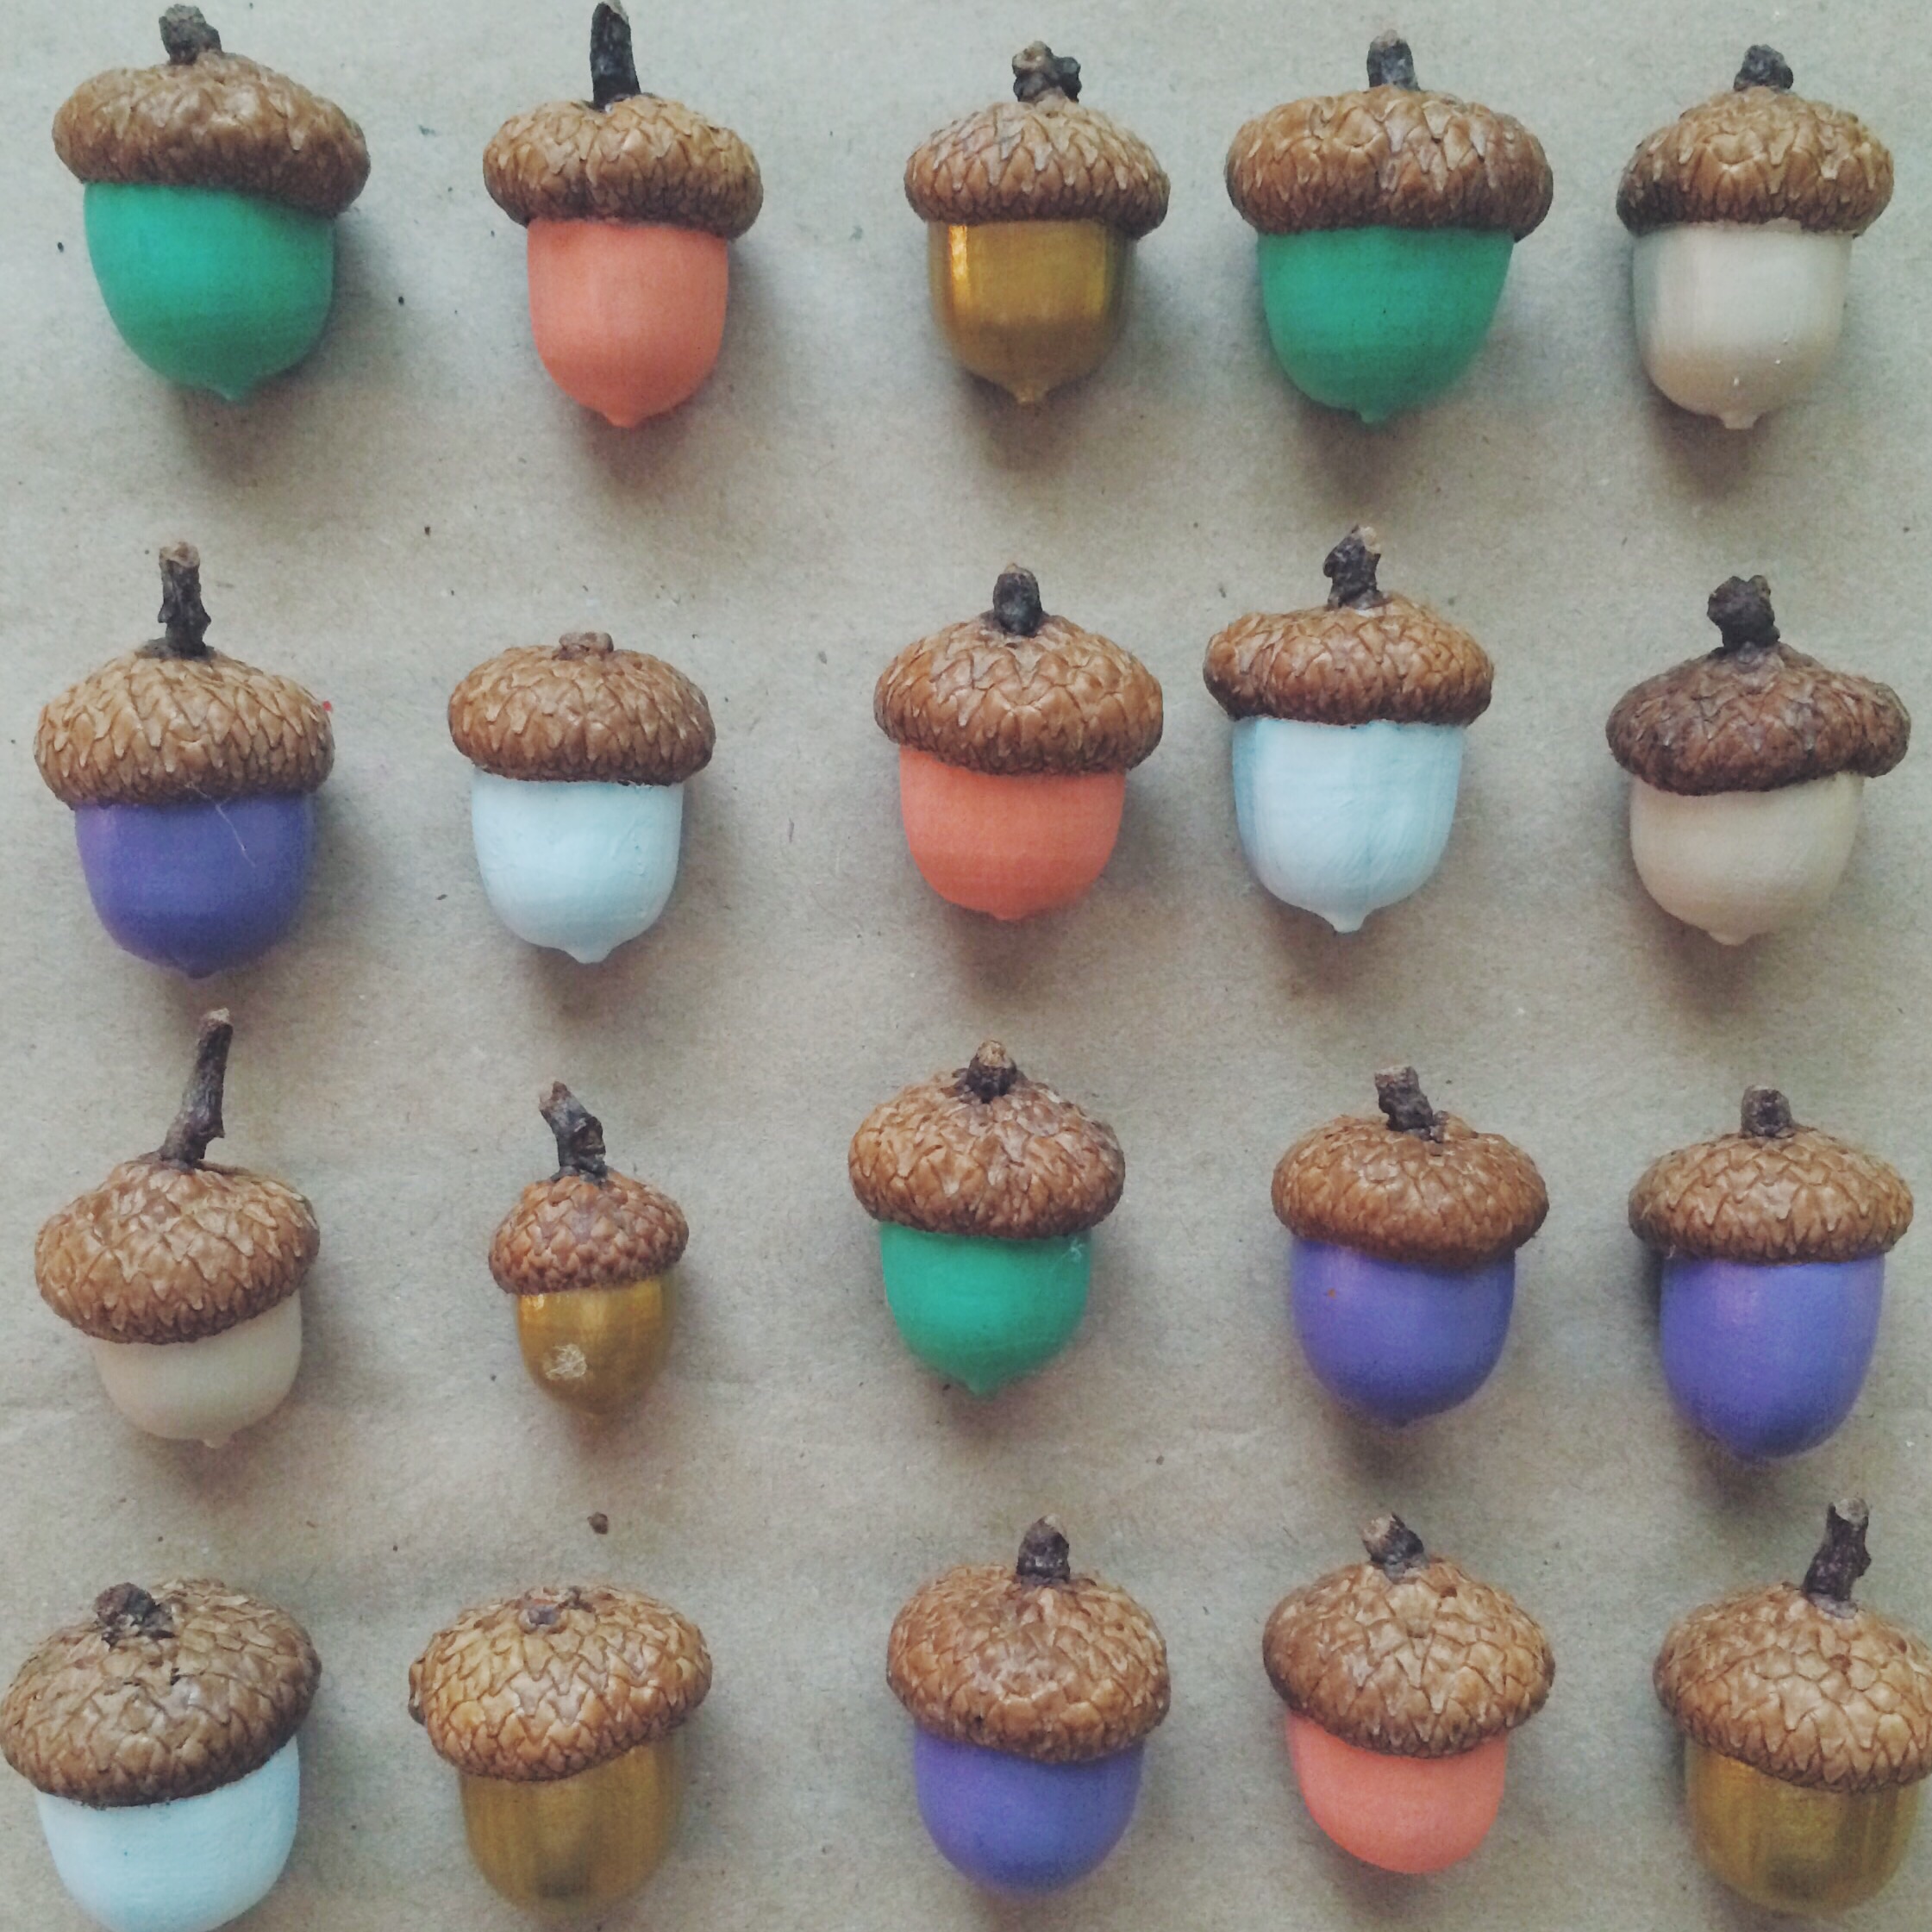
4. Paint the acorns, it will take 2-3 coats. 

5. After the paint has dried, apply a clear sealer coat. (Optional) 

6.Let acorns sit for awhile and dry completely. 

7.Once acorns are dry, hot glue their "lids" back on. 

8. That's it! You now have adorable little acorns to decorate your home. 

Painted Acorns. Click through for tutorial.

You can use these acorns in many different ways in your home. Come back Thursday to see how we used ours!

Painted Acorns. Click through for tutorial.

Happy Tuesday Y'all,

Britt + Sky

What Are You Thankful For?

As we're sure you all know Thanksgiving is in about two weeks. These next two weeks we are going to focus on decorations, recipes, and family fun for your Thanksgiving dinner! To kick it all off we thought we would start by sharing what we are thankful for!

Brittnee:

  1. My husband + my crazy little man, Jake + Noah
  2. My crazy family + friends that are always here for me
  3. P - I - Z - Z - A
  4. My little sister 
  5. A roof over my head
  6. Taylor Swift's new cd ... ha! I am obsessed
  7. Having a job doing what I love
  8. Pinterest
  9. My faith
  10. Weekends

Skylar:

  1. My family and friends who have always been here for love and support
  2. My turtles, Roscoe Eli and Ruby Ann
  3. Big sweaters
  4. The opportunity I have to further my education
  5. Chocolate Milk
  6. My Health
  7. Naps
  8. Everything gold
  9. Kind strangers
  10. Potatoes in all forms

We're are also thankful for you guys! We appreciate everyone who stops by and gets inspired by our posts. You are the reason we do this.:)

We hope in the next couple weeks you can use some of our posts to make your Thanksgiving dinner fun! And don't forget to come back tomorrow for our first diy!

Have a wonderful week,

Britt + Sky

S'more Popcorn Balls

I love s'mores! I love popcorn! So why not combine the two? Today I have a quick and easy s'more popcorn ball recipe that is delicious. With all this cold weather coming in, sweet treats really help make the day better! They are also great for holiday parties!

yummy s'more popcorn balls

Here's what you'll need to get started:

  • 7 cups of popped popcorn
  • 1/2 cup of chocolate chips
  • Bag of marshmallows marshmallows
  • 1/4 cup of butter
  • 4 graham crackers
  1. Place your popcorn into a large mixing bowl. Set aside.
  2. Crush your graham crackers into small pieces and set aside. 
  3. In a medium size pan, melt your butter.
  4. When butter is melted, add marshmallows and stir until completely melted.
  5. Then pour over your popcorn. Mix until popcorn is evenly coated with marshmallows.
  6. Add in your chocolate chips and your graham crackers. Stir until everything is mixed in well.
  7. The next step is messy. To keep your hand less messy its best to spray them with non-stick spray.
  8. Now, with your hands, form the popcorn mixture into balls. Place the popcorn balls onto a tray or plate. You should get between 6-8 popcorn balls depending on how big you make them. 
  9. Let sit for about 30 minutes to cool.
  10. Enjoy! 

These popcorn balls are sooo yummy. They are great to make if you are going to a party or just to give to someone as a gift. 

yummy s'more popcorn balls

I hope you all try this. It doesn't take much time and they are delicious. 

Have a wonderful weekend! xo Britt


New Mommy Files: Bathtime Fun

If there is anything I have learned since becoming a mom is that motherhood is all about trial + error. So I plan on doing posts every once in a while to share my experiences + the things that I have figured out that work for us.

Noah’s bath time is my absolute favorite! I think that Noah loves it too, but Jake (my husband) claims that I might actually like it more than Noah. Granted there are some nights that I feel way too tired to do it + then I feel way guilty because I am too tired … it’s a vicious circle.  Anyway … bath time is our time to play, listen to music + sing, + just hang out. If you follow our Instagram you probably see me posting way too many bath time photos of Noah :) + you probably know that it is usually a whole family event. We may or may not even have a bath time selfie that included Noah, me, Jake, aunt Skylar, + Bentley (our black lab).

It didn’t start out as my favorite time though. It took a lot of trial + error on my part, plus as Noah has gotten older it has become a little easier. We went through three different bathtubs + Noah screaming his head off before we mastered bathing him in the sink, which we did until he was about six months old.

image.jpg
image.jpg

As soon as Noah could sit up I decided to try the whole laundry basket in the tub trick that you see all over Pinterest. Because though Noah could “sit up” he was the wobbliest little thing. And I didn’t trust him or myself to let him sit just freely in the bathtub.  The first time I tried a basket that we just already had at the house. It was a little taller than the tub so that was annoying because it hurt my arms to stay reaching over it and playing. So that basket was retired :)

I decided that maybe Noah would like it if I had a short little basket that would give him support but also give him a lot of freedom. HE HATED IT!! It took me back to the screaming in the sink days! Lets just say we only used it one time and that was the absolute fastest bath that Noah has ever taken!

Then IKEA opened up by us (cue angelic music). On one of my first visits, I spotted a medium sized laundry basket (here) + decided that it was the ONE.  Haha! Random I know. BUT that night, I tried it + we had the best bath time ever! Noah actually played and was comfortable enough to move a little more and splash around. Nothing crazy but it was so fun + I was so happy. The basket was about the same height as the edge of the tub, which made it easy for me to lean over the edge of the tub. Plus it was just the right width that Noah could sit with his back to one side and his chunky little feet touched the other.

image.jpg


Now that Noah is a sitting pro, we have ditched the basket and he just sits in the tub. But I would like to share our favorite things that make our bath times a success:

image.jpg

1. PATRULL Bathtub mat, crocodile green: IKEA (here)
I have this in the bottom of the tub to make it a less slippery surface for Noah to sit on. 

image.jpg

2. Bathtub kneeler, blue polka dot: Dollar Tree
This is a life saver. It totally saves my knees and it was only $1.

image.jpg

3. JOHNSON'S Baby bedtime bath: Drugstore 
Noah takes his baths at night and we love using this stuff for bubble bath. 

image.jpg

Here is my little setup for drying toys. The baskets and suction cups were bought at the Dollar Tree. The total cost was $4 and it works perfect for our current needs.


And then here is one more Noah bath time photos ... I couldn't resist. :)

image.jpg

Hope my bath time insight helps you on your mommy adventures or just entertains you :) If you want to get baby bath time spam photos be sure to follow us on Instagram ... ha! Happy Thursday!!

xoxo
Britt

DIY Pincushion

We love this DIY! We actually made this a long time ago and use it so much that we decided that we should share it with you!

DIY Pincushion (click through for tutorial)

Here’s what you need:

  • Small jar with lid
  • Fabric (you only need approximately a 5-inch by 5-inch piece)
  • Small amount of stuffing
  • Hot glue gun

Here’s what we did:

1.     We cut out approximately a 5-inch by 5-inch circle. We just used a circle object to trace around that was an inch or so larger around than our jar lid.

2.     Laying our fabric face down on the table, we put a small amount of stuffing (you want enough to make the cushion tall enough to have your pins go most of the way in) in the middle and placed the inner circle of the jar lid on top.

3.     We pushed down on the circle and at the same time tightly pulled the edges of the fabric over it.

4.     Using the hot glue gun, we glued the fabric edges to the backside of the circle.

5.     Place the circle into the outer piece of the lid.

6.     Screw on the lid and start using!

DIY Pincushion (click through for tutorial)

Your pins are going to look so cute in your new DIY pincushion! Make sure if you make one you show us! Just follow and tag us on FacebookTwitter, + Instagram.

xoxo

Britt + Sky