DIY Hot Cocoa Bar

A hot cocoa bar is a perfect addition to any holiday party. There is really no right way to set it up, but we thought we'd share what we use for ours.

DIY Hot Cocoa Bar (click through for details)

Here's what we used:

  • kraft paper (got ours at the dollar tree)
  • permanent marker
  • candy canes
  • chocolate chips
  • marshmallows (our homemade ones, here)
  • plastic spoons
  • sprinkles
  • stir sticks (we got ours from the dollar tree)
  • spice jars (ours are from IKEA, here)
  • mason jars
  • other dishes
  • styrofoam cups
  • hot cocoa packs

Here's what we did with it:

DIY Hot Cocoa Bar (click through for details)

There are so many things that you can change up and personalize on a hot cocoa bar. Make it exactly how you like it, but we hope our set up and ideas inspire you! 

Have a great weekend!
xoxo
Britt + Sky

Homemade Marshmallows

Hot cocoa without marshmallows? Now that's just not right!
In these cold weather months, hot cocoa is a staple for us. As we started filling our cups with store bought marshmallows, we thought, why not make our own. Its always fun and interesting to see what actually goes into something that you are eating and we really liked the idea of making them different shapes. I mean you might as well have cute marshmallows in that cute mug, right?

Homemade Marshmallow Recipe (click through for recipe)

Candy thermometer
3 packets unflavored gelatin
1 1/2 cups water
2 cups sugar
1 cup light corn syrup
2 Tablespoons vanilla extract (or other flavoring syrup)
powdered sugar for coating

Grease the pan of your choice. (We used a cookie sheet with edges because we wanted thinner marshmallows, but 9x13 is perfect for thicker ones)

In a large bowl, mix half of your water (3/4 cup) and all three packets of unflavored gelatin. Cover and sit it to the side. 

Combine the remainder of your water (3/4 cup), 3/4 cup of your corn syrup, and the sugar into a pan and turn your burner to medium heat. Whisk together. The sugar needs to dissolve and the mixture needs to come to a rolling boil. Let this mixture get to 240 degrees (F). 

Once it has reached 240 degrees (F), mix in the remaining 1/4 cup of corn syrup.

While mixing on medium speed, begin adding your boiling mixture to your gelatin at a slow and steady pace. Once all of it is combined, mix on medium for about 10 minutes. Or until the ingredients have stiffened and tripled in volume.

Pour the mixture into your greased pan and try to smooth out as much as possible. Let these sit for 8 to 10 hours. We just made them before we went to bed and they were ready to go when we needed them in the morning. 

Cover an area of your counter with powdered sugar. Flip over your pan to release your marshmallow. Then cut your marshmallow into your desired shapes, coat with powdered sugar to keep them from being sticky, and you are good to go. Random side-note: We used star and bell shaped cookie cutters to make our mallow shapes. That left us with quite a bit of leftovers that we ended up just cutting into small pieces that are about the size of the small store bought ones.

Homemade Marshmallow Recipe (click through for recipe)

Place your marshmallows in a air-tight container and they can keep for about three weeks. 

Homemade Marshmallow Recipe (click through for recipe)

We love how the marshmallows turned out and how they looked in our hot cocoa! This is a super fun project to do for the holidays and is a huge hit with little ones. Have fun making mallows! xoxo, Britt + Sky

DIY Photobooth Set Up + Props

A photobooth can add so much fun to any occasion. As we started preparing for our party, we decided that we NEEDED to have a photobooth set up. And it's no fun if you don't have a fun backdrop or props. Well today we have solutions for both :)

DIY Photobooth Set Up + Props (click through for free printable and details)

When we were trying to figure out what we wanted to use for our backdrop, we went to the dollar tree of course. They had super cute wrapping paper! We bought two rolls of our favorite red and white patterned paper, that we hung up side-by-side on the wall. 

DIY Photobooth Set Up + Props (click through for free printable and details)

We also decided that we wanted some fun props to use in the booth. We had bought headband props at the dollar section at target, but we really wanted to have more ... so we have free printable props for you to print, cut, and color (here)!

DIY Photobooth Set Up + Props (click through for free printable and details)

We had fun just setting up our photobooth. We hope you can use our ideas and our printable props for your Christmas fun! xoxo, Britt + Sky

Make It Tacky

We love getting tacky for our annual ugly Christmas sweater party. In honor of that, we have a few easy to make accessories that will go perfectly with your ugly sweater. We also have a couple DIY sweater inspirations for you. I think your gonna like 'em.

Making DIY tacky accessories (click through for tutorial)

What you need:

Accessories:

  • hot glue gun

  • earring 

  • bobby pins

  • bows, ribbons, pom-poms, etc.

Sweatshirts:

  • sweatshirt
  • paint
  • felt
  • buttons
  • pipe cleaner
  • bow

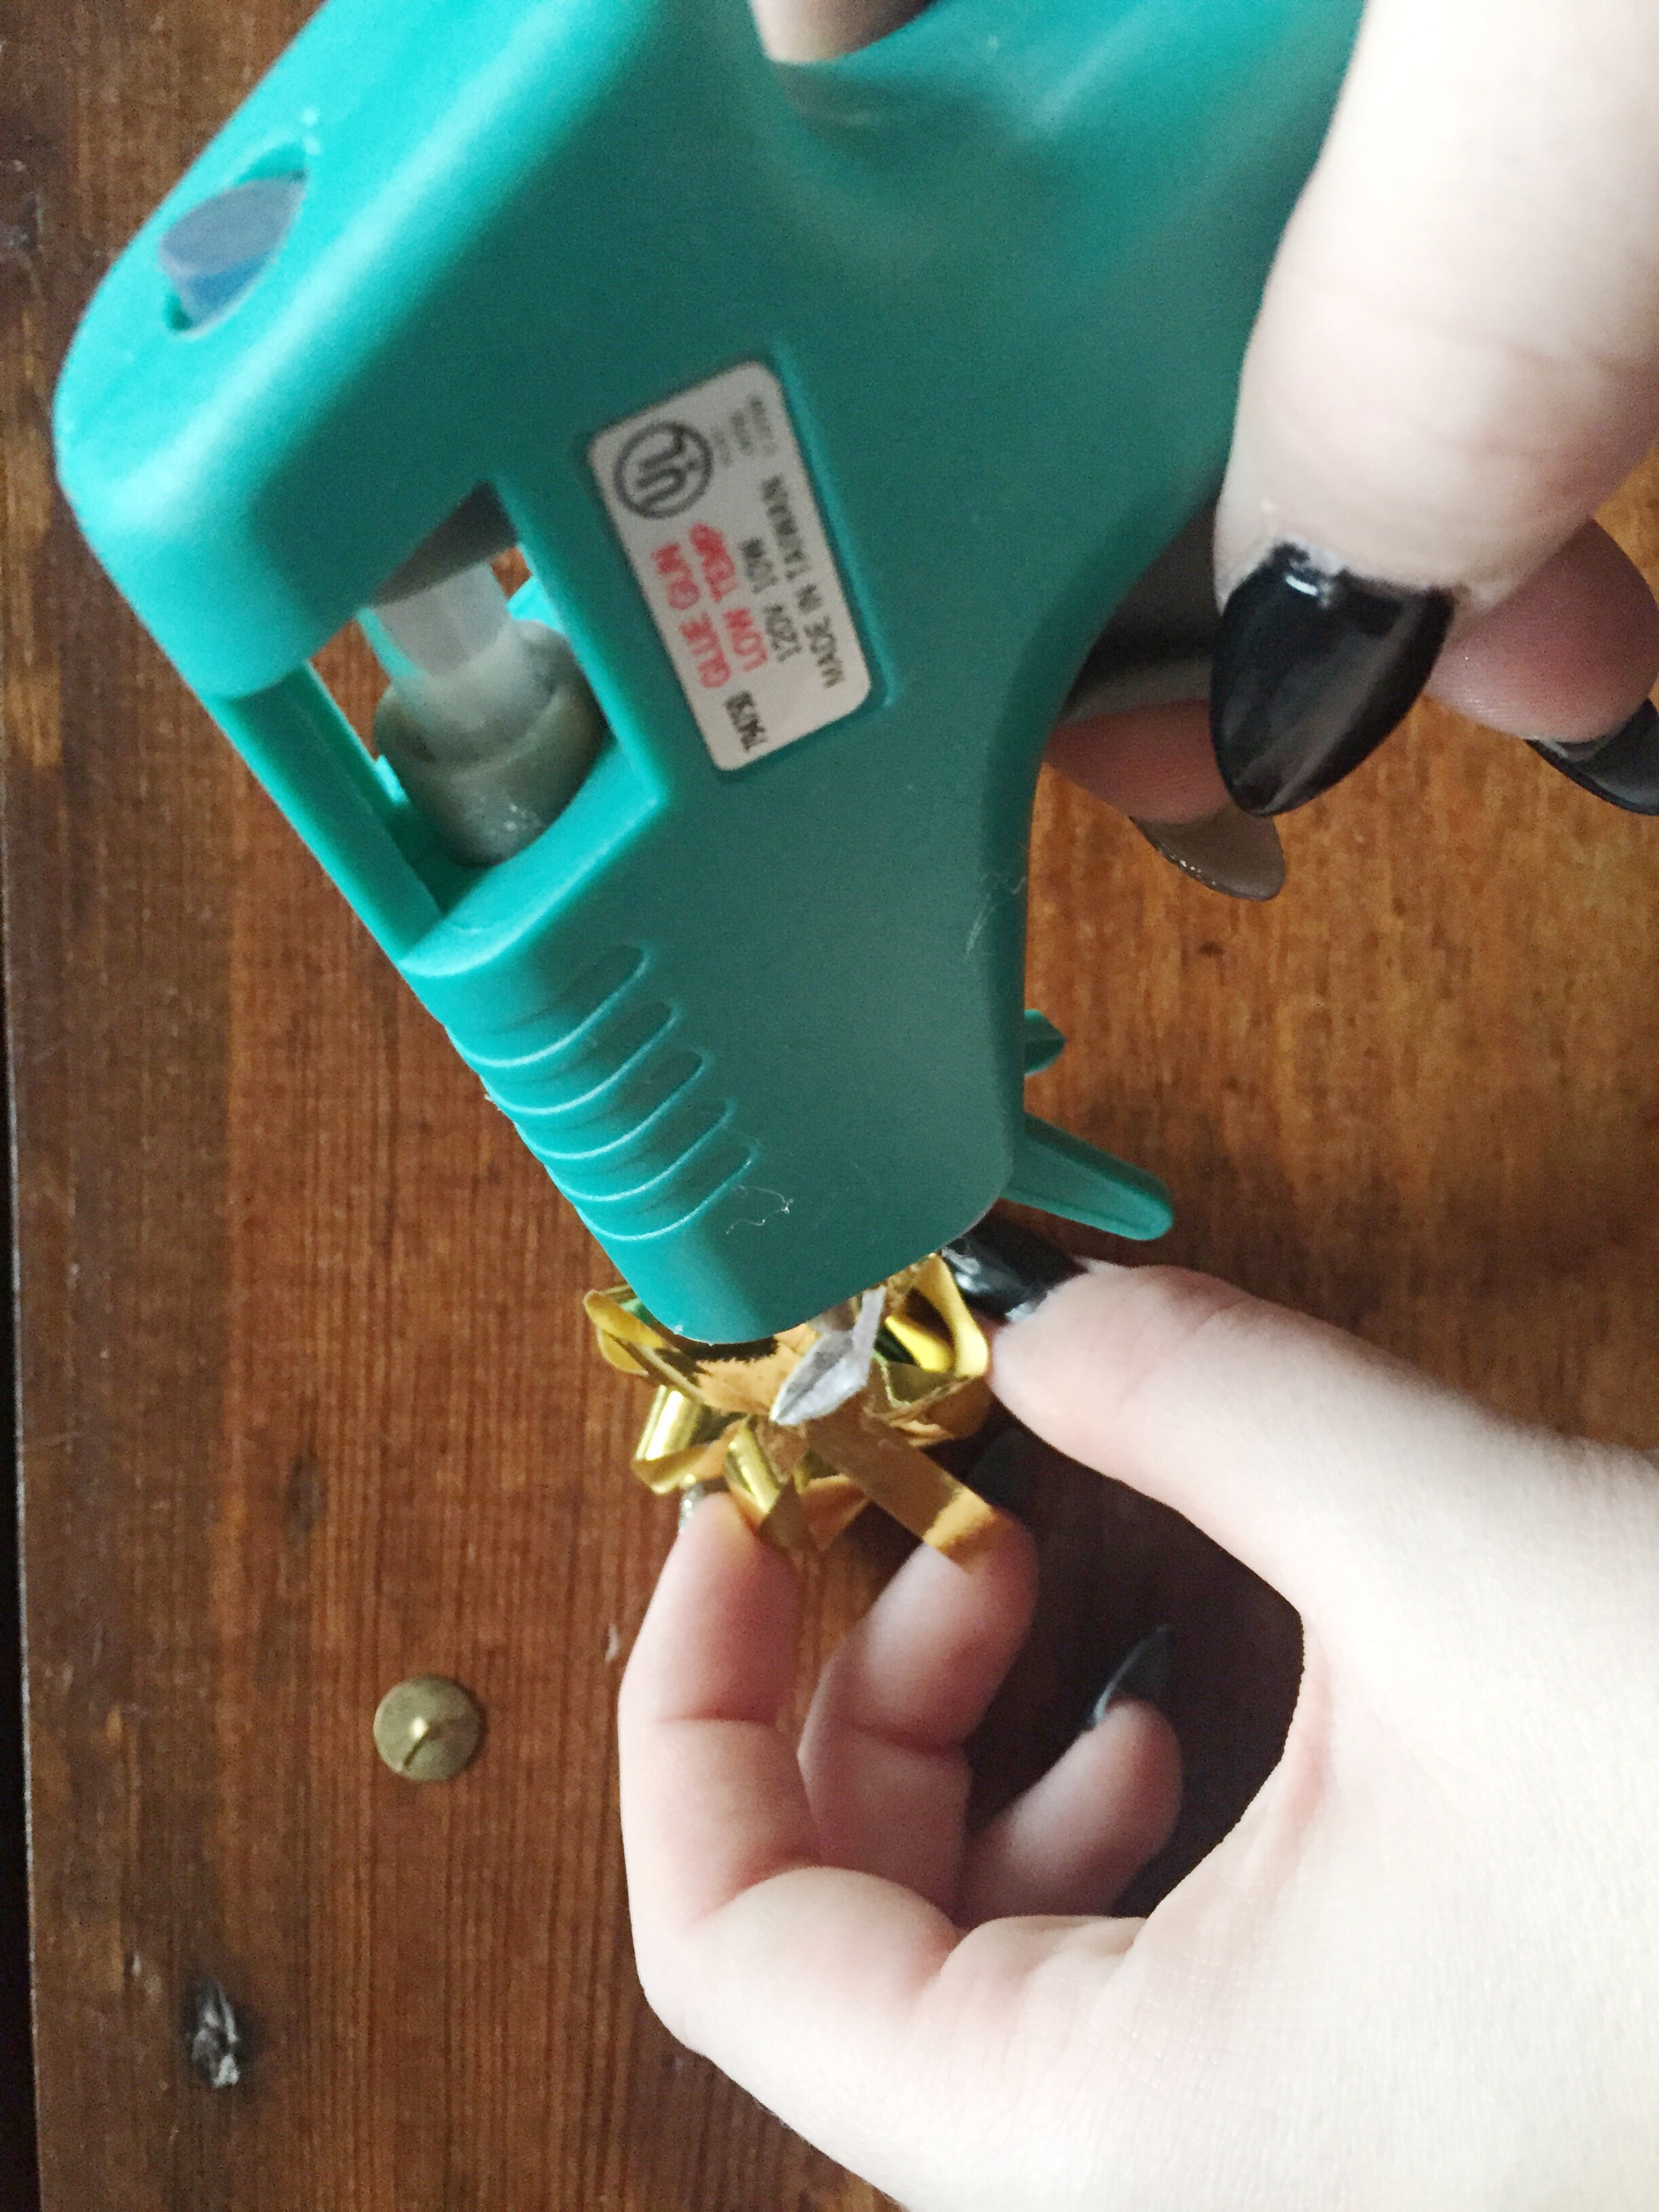
You can pretty much hot glue any tacky or just fun Christmas decoration to a pair of earrings or bobby pin and you have a super simple accessory that adds plenty of tacky to your ensemble. We used gift bows and pom-poms, but your options are really endless. 

Making DIY tacky accessories (click through for tutorial)

The snowman sweatshirt was made by painting on the snowman's body, adding buttons, a felt nose, and then using a pipe cleaner and some felt to make a pair of earmuffs.

Making DIY tacky accessories (click through for tutorial)

The present shirt was made by taping off a square, painting the box, removing the tape, painting the "ribbon," then hot gluing on the large bow. The hardest part for each of these is waiting for your paint to dry. 

Making DIY tacky accessories (click through for tutorial)

We love these super simple accessories and shirts that are really going to step up our tacky level (is that a thing?) for our party! We hope that this gives you a few ideas and inspirations to make your Christmas a little more tacky :) 

xoxo
Britt + Sky

DIY Christmas Tree Table Runner

We knew that we needed to make a Christmas runner for our dinning room table.

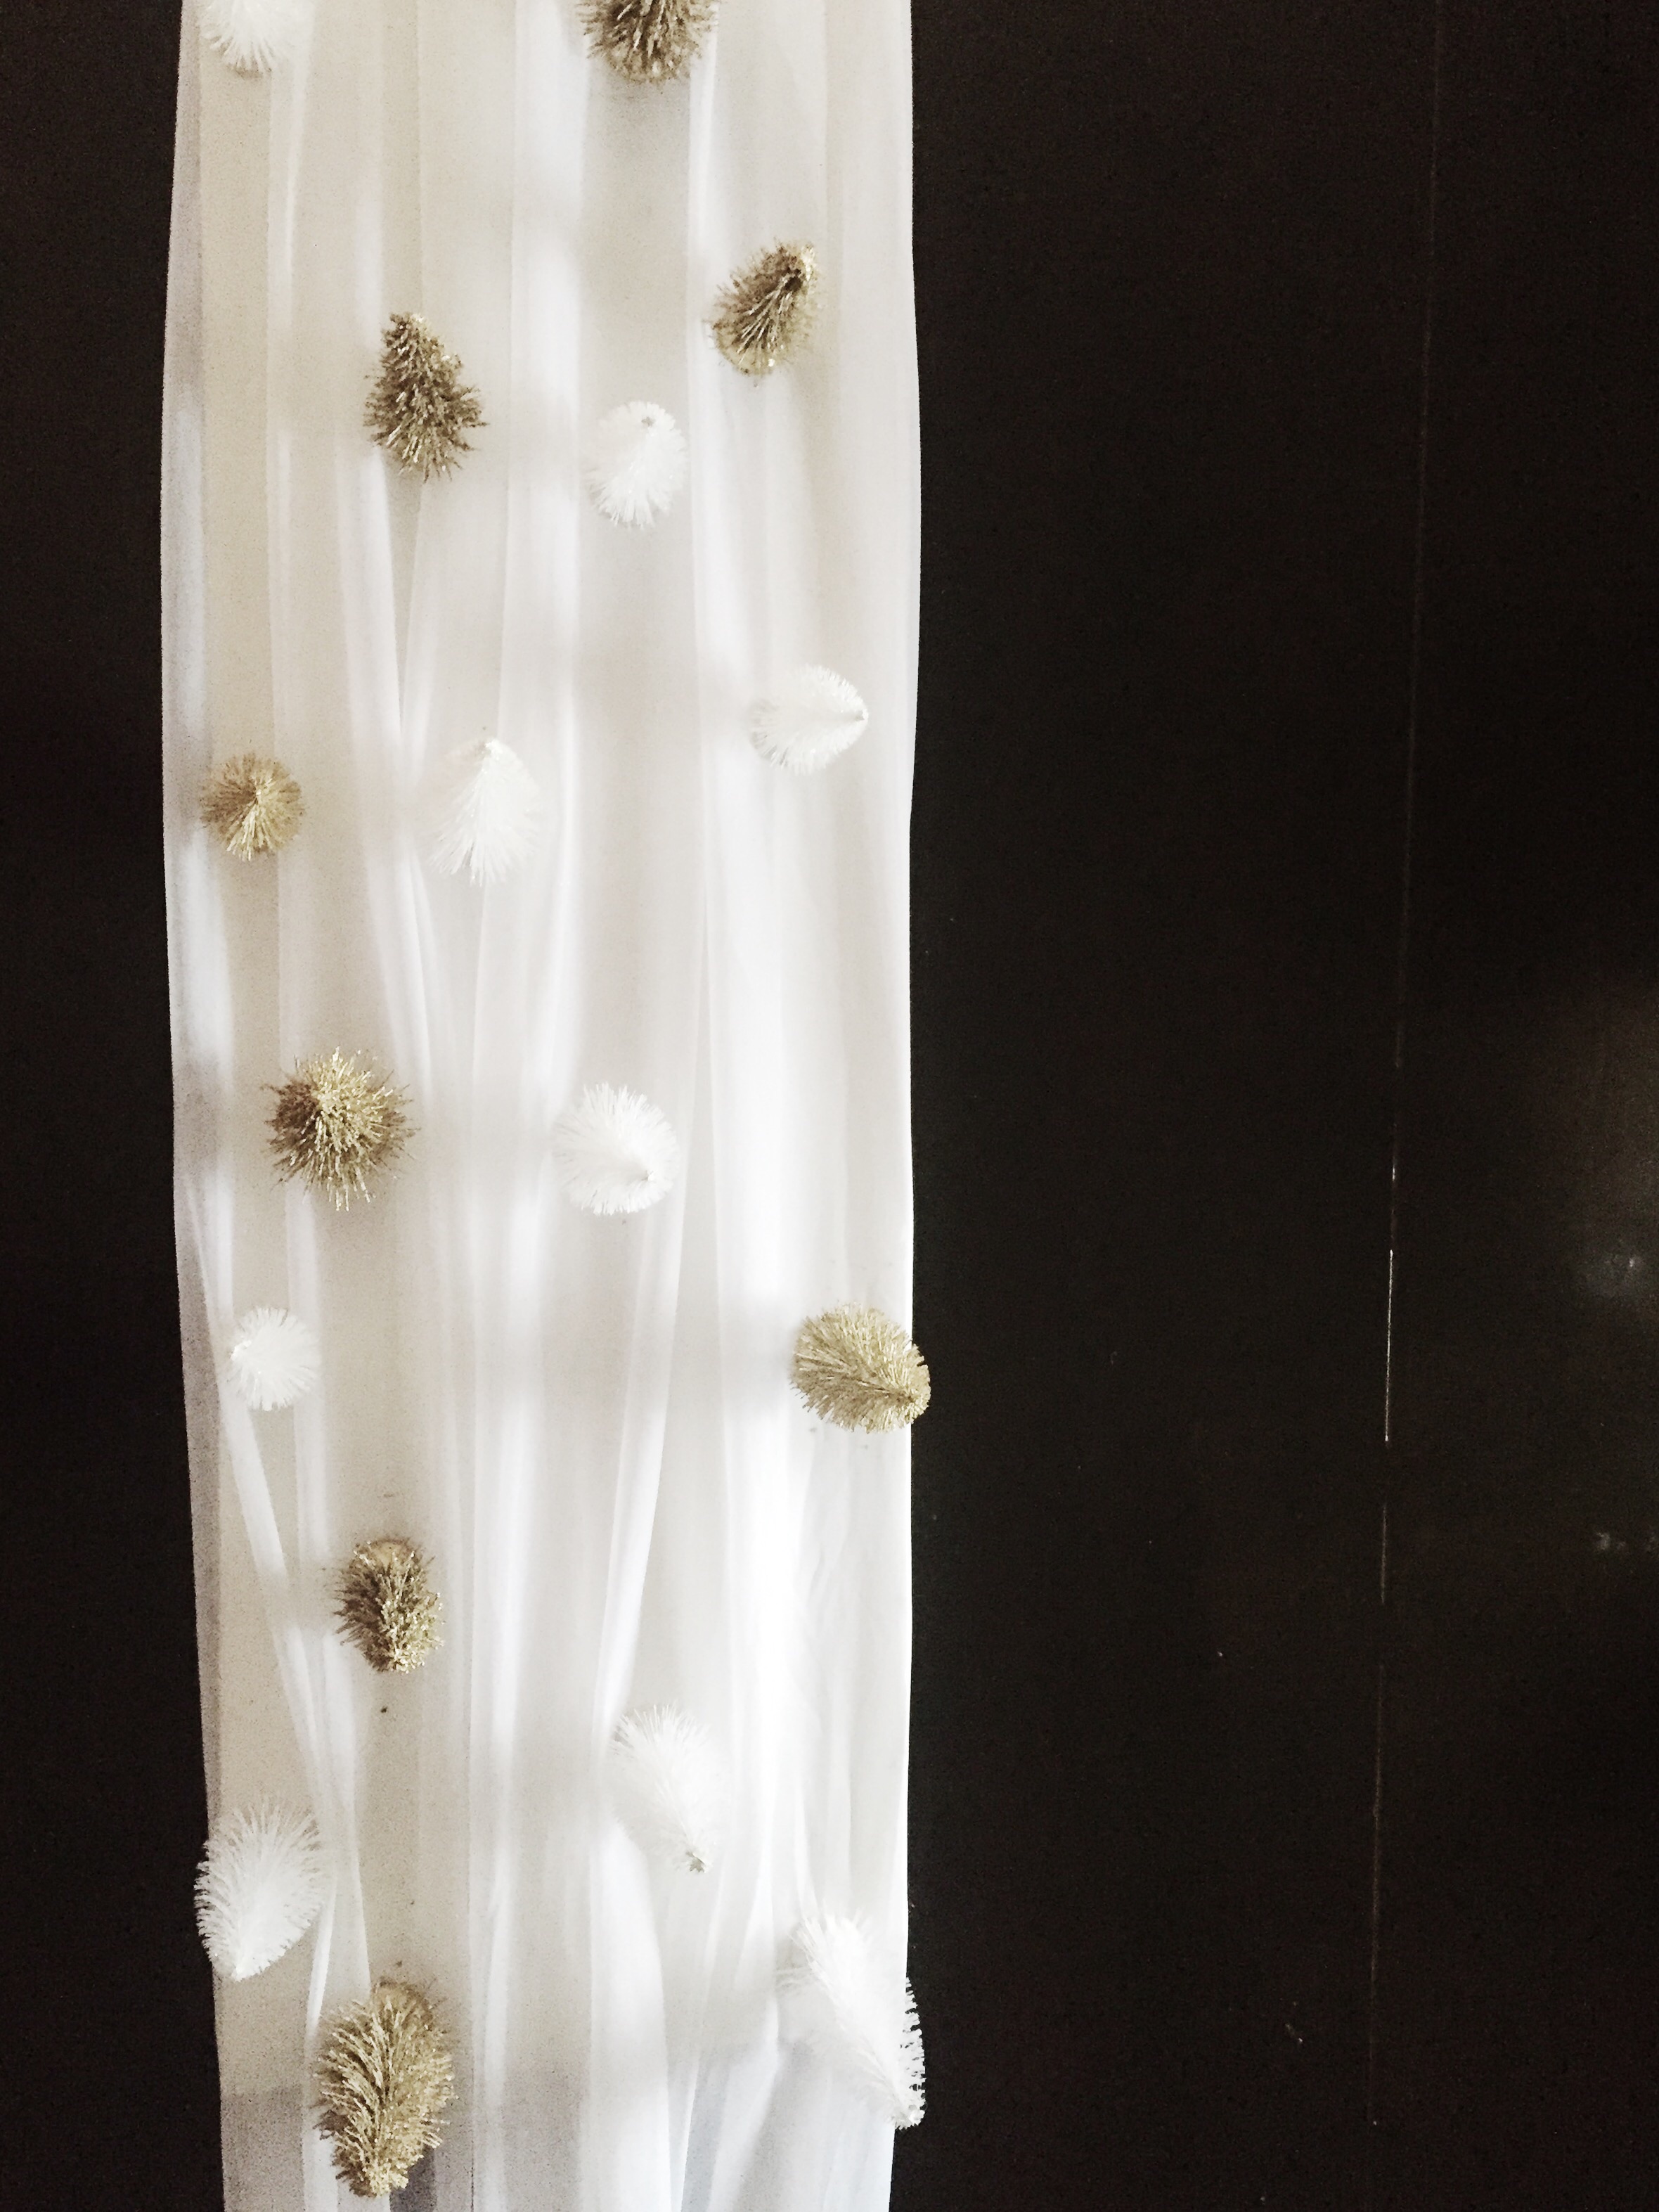
We decided to utilize a few things that we already had and some bottle brush trees that we found at the dollar tree.

DIY Christmas Tree Table Runner

We used the same white table runner that we have been using since the birthday brunch. We put a board that we had in the garage underneath the middle of the runner. Seems weird but we wanted to glue down our trees so that they wouldn't fall over every time someone bumped the table. Once that was ready, we took half of our trees and spray painted them gold ... you know we have a thing for gold ... ha. After our trees had dried, we placed them to get them where we wanted them and then glued them down.

DIY Christmas Tree Table Runner

We love our super simple table runner. 

xoxo 
Britt + Sky