Last Minute DIY Gift Ideas

It is really hard to believe that Christmas is almost here! Like just a few days! If you are like me you have the best intentions of getting all of your gifts bought or made way before now. But there are always a few people that you struggle with finding the perfect gift and you still don't have anything. Have no fear. I have put together my favorite easy DIY ideas from our archives to help get you into gear.

1. DIY Simple Personalized Gifts

I hope these DIY ideas help you finish up your gifts. Only a few days left. No pressure :) xo, Britt

Happy Birthday Sky!

Welp today is my crazy little sisters birthday!  😂 So I am sharing some fun photos from her party we had this weekend. 

image.jpg

Sky is quite a gem so that's just the party that I put together for her.  

image.jpg
image.jpg
image.jpg
image.jpg
image.jpg
image.jpg
image.jpg

It's awesome when you get lucky enough to have a sister that is also your best friend. She is there to eat junk food with, to make me laugh until I cry, take my babies for a bit when I need a break, and go on adventures with. She is always there for me and my crazy little family. I couldn't ask for a better sister. Happy birthday Sky! xo, Britt

Clock DIY - IKEA Hack

I have been wanting to share my new gallery wall for a while now. But there was something missing. And I finally got it finished. I really wanted to find a cute clock to complete my wall. 

image.jpg

Being the bargain hunter that I am. I decided to go with this $1.99 clock from IKEA.

image.jpg

I knew that it was going to need some work to be ready for my wall, but I was up for the challenge.
Here is what you need to complete the clock:

- clock
- spray paint
- card stock or chipboard
- glue

image.jpg

Here's what I did:

1. I took the plastic cover off the front of the clock and taped off the hands.

2. Then Jake spray painted the entire thing white for me.

3. Using the plastic cover, I traced a circle on chipboard.

image.jpg

4. Next I cut the circle in half and made a small notch for the hands with a hole punch.

5. Lastly I taped the chipboard evenly in the clock.

I like the fact that it is super clean and simple. And a fun part is that you can customize this with any color to fit your room. You can also add numbers or ticks if that would help you know what time it is. :) To accomplish the look that I was aiming for I decided to leave the numbers off.

Happy Thursday lovelies! xo, Britt

DIY Money Jar

Today I have a quick and easy way for you to make a money jar for your loose change. The best part is it's also adorable! Here's what you're going to need to get started:

  • A mason jar 
  • Canning lid
  • Fabric
  • Sharpie
  • Scissors
  • Glue (I used rubber cement)
Money Jar. Click through for instructions.

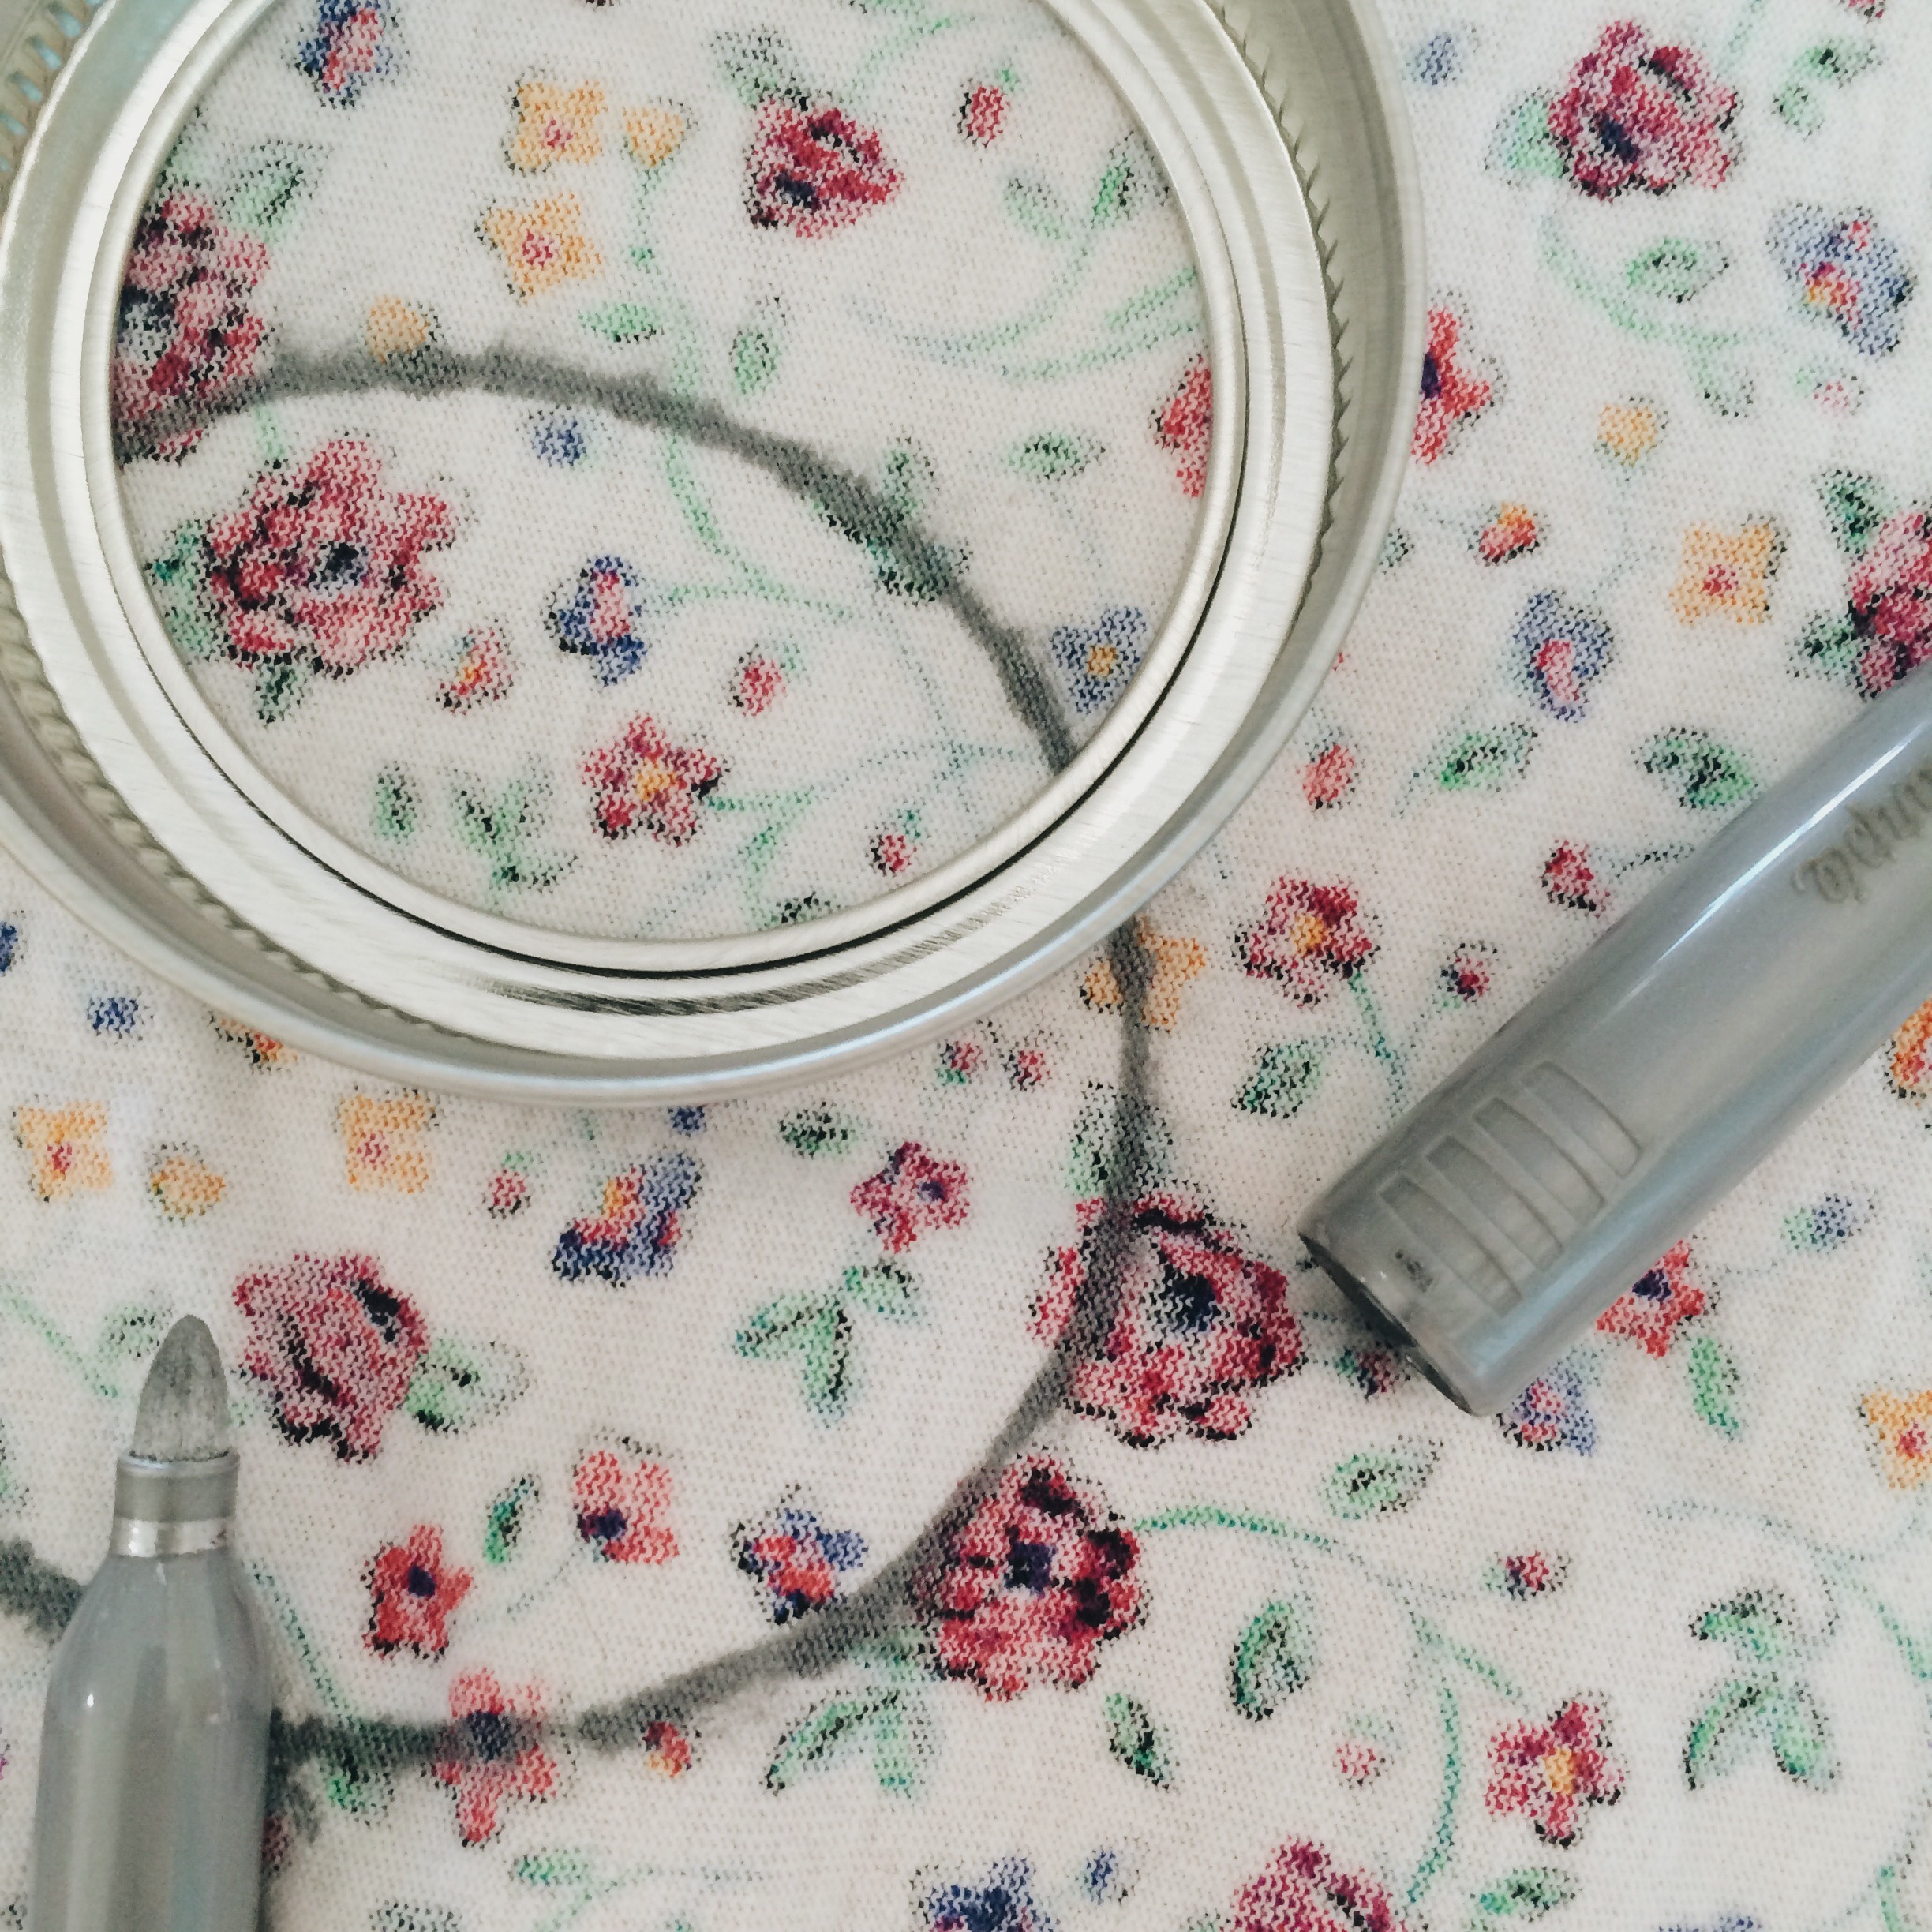
1. With your sharpie, trace the outer edge of the canning lid onto the back of your fabric. (I used a lighter colored sharpie because I didn't want it to show through the fabric.)

Money Jar. Click through for instructions.

2. Cut out the circle, but don't worry about getting it perfect! The edges won't show anyway.

Money Jar. Click through for instructions.

3. Fold your circle in half. In the middle of the flat edge, cut a slit about 1/2 an inch deep. 

Money Jar. Click through for instructions.

4. Put a thin layer of glue around the rim of the jar. Lay your fabric circle upside down on a flat surface. Place the jar upside down, evenly on the fabric. (Make sure the fabric is stretched tight over the opening before the glue dries.)

Money Jar. Click through for instructions.

5. Put the canning lid (minus the middle piece) back on the jar.

Money Jar. Click through for instructions.

6. Then all you have to do is add money and sit it somewhere for decoration.

Money Jar. Click through for instructions.

It's cute enough to leave sitting out, so everyone can contribute! It could be for a family trip, a big family purchase, etc. It's not hard at all and only took about ten minutes! You should try it. And personalize it to your style.

xo, Sky

DIY Painted + Basket

Last week I was prepping myself for an IKEA trip. I always have to have a list or I get a little overwhelmed. And I saw Tell Love and Chocolate's painted IKEA GADDIS basket. I loved the idea. I had wanted a different basket to hold a few of Noah's toys in the living room and the basket was perfect.

I didn't want to make my basket too colorful since there are several other pieces in the living room that have a lot of color. I decided to use a little black paint to add some detail to the basket. I started by painting one "plus" on the side. Then I painted the next "plus" diagonal to the first one. I kept my pattern going around the entire basket.  

image.jpg
image.jpg

I love how it turned out. It was very simple and inexpensive to do but I love the character that it adds to an otherwise plain basket. xo, Britt