DIY Candles

We go through a lot of candles at our house. Last month, I am pretty sure we went through like 10 candles that we got from IKEA. There have been several cute containers that we have found and thought to ourselves that they would be perfect for a candle. SO naturally we decided that we wanted to make some of our own. 

DIY Candles (click through for tutorial)

Here's what you need:

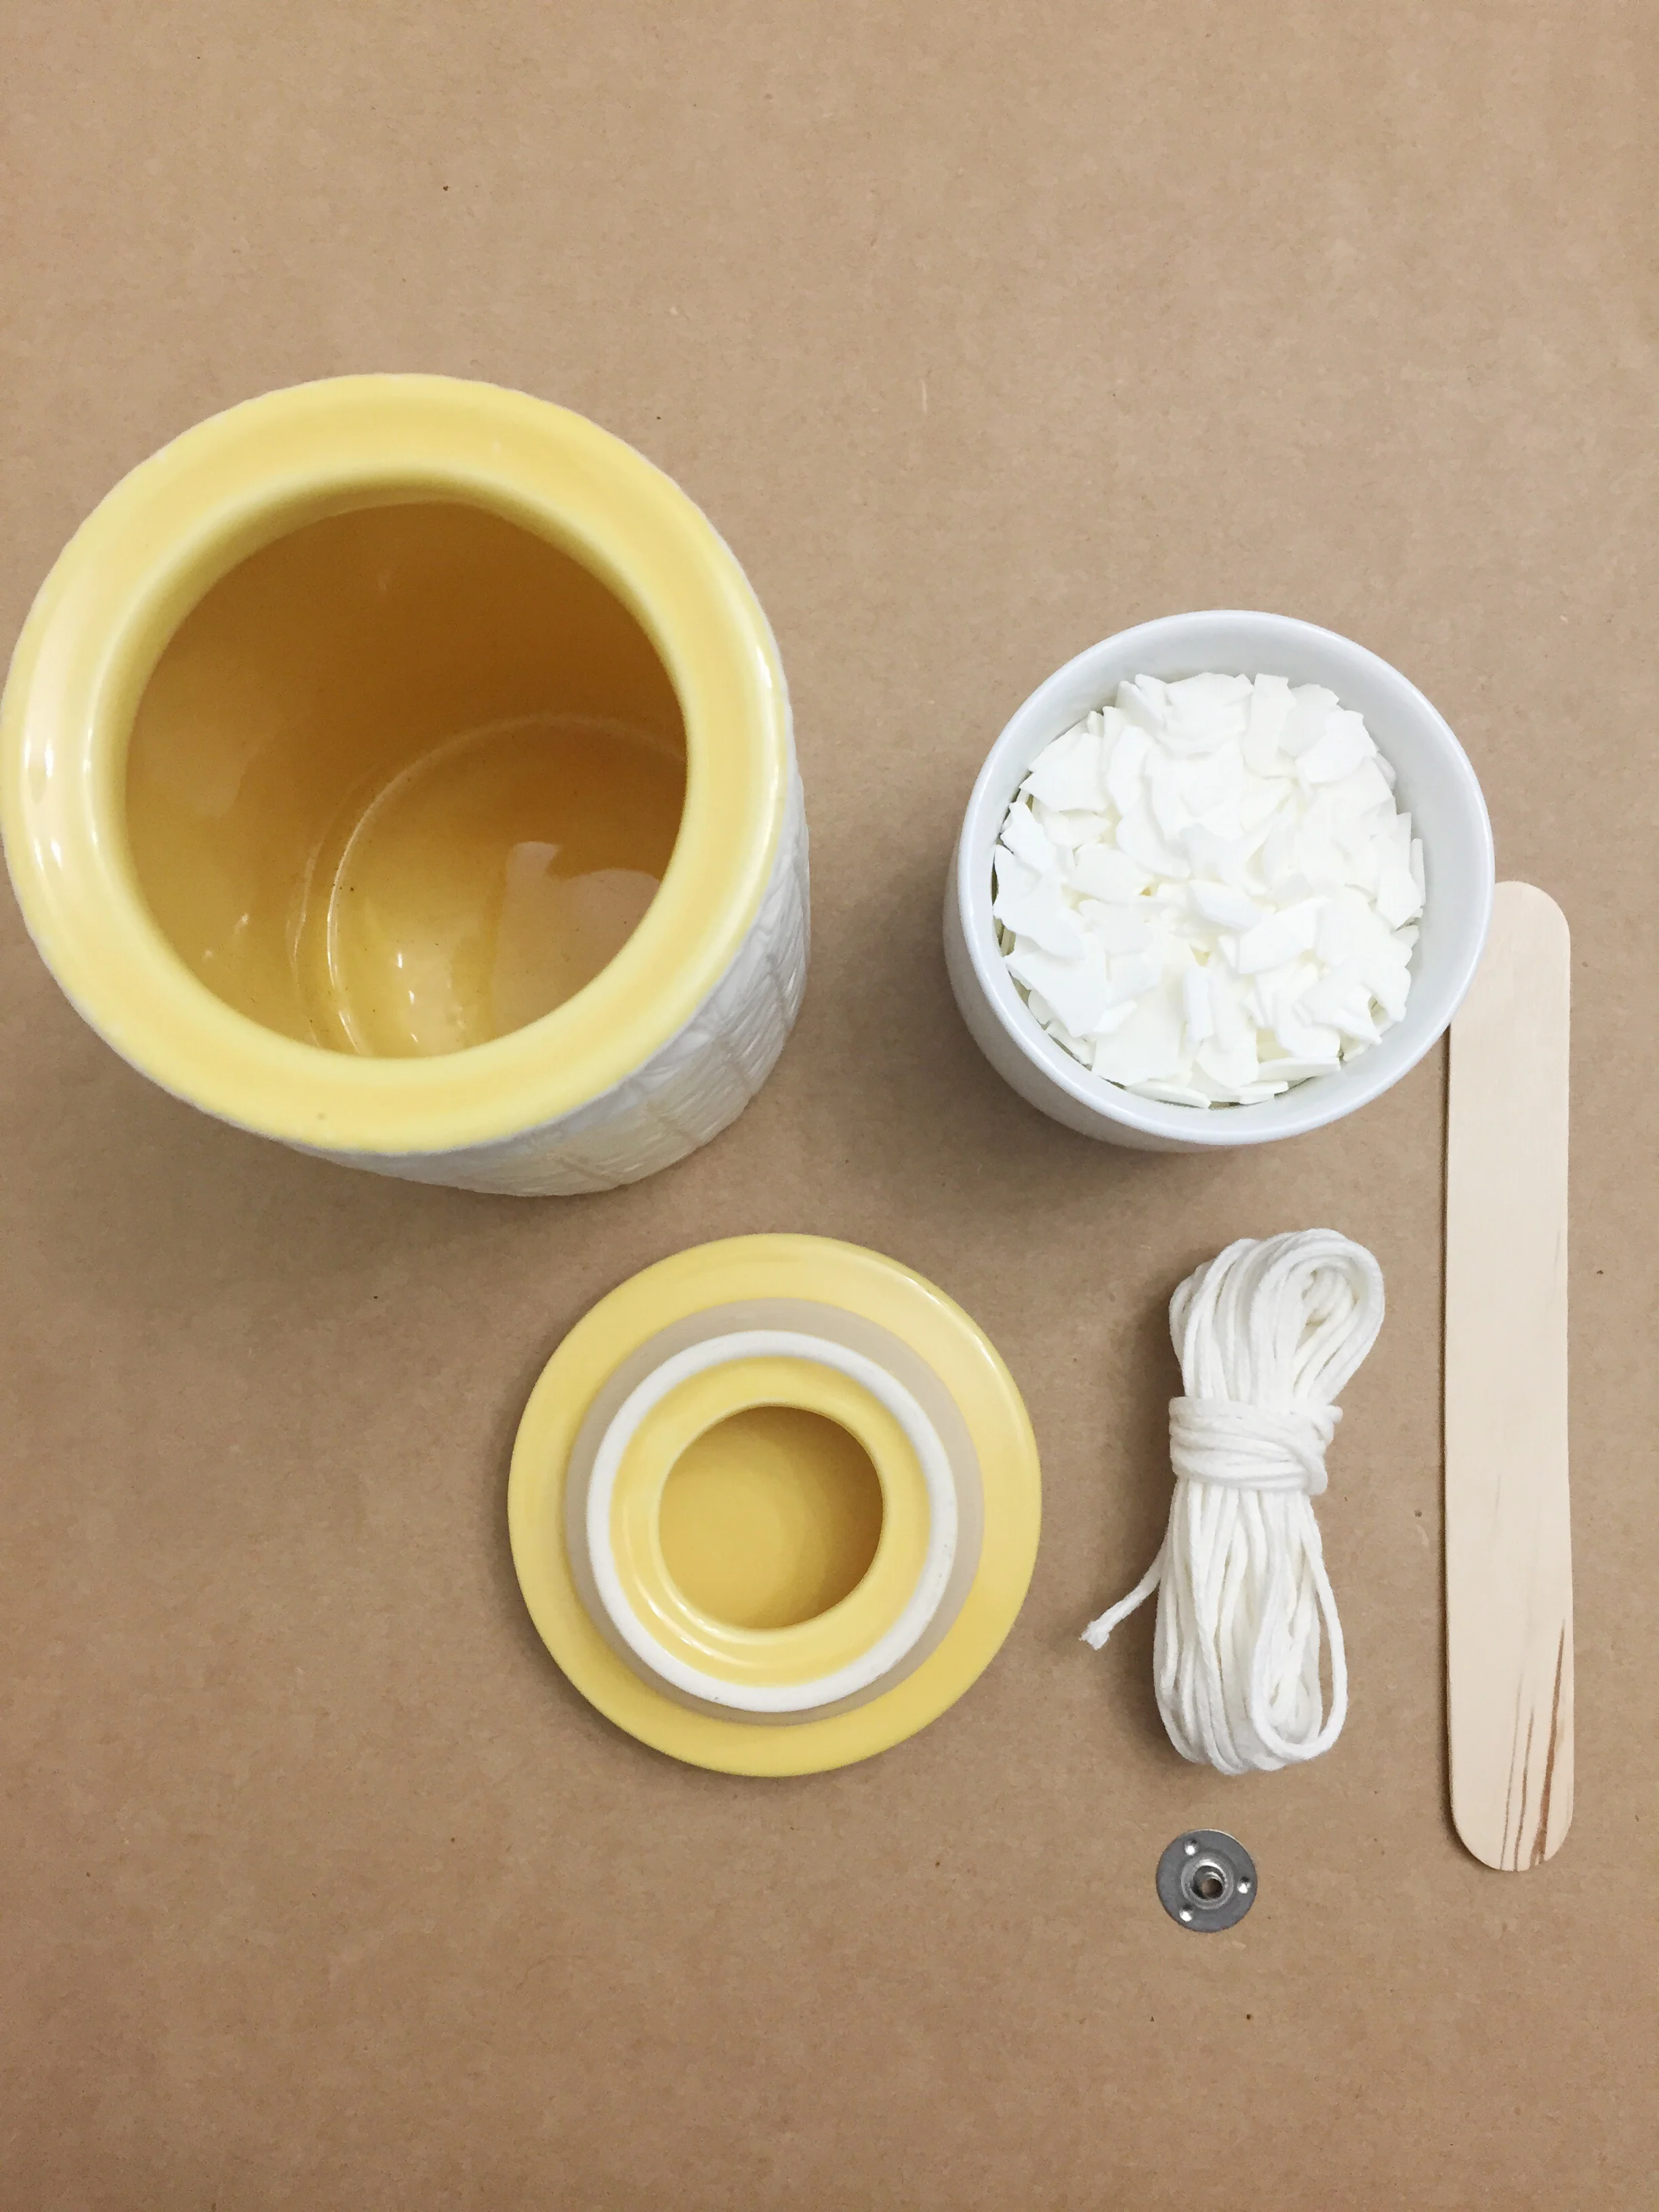
  • wax (we used soy wax that we bought at Hobby Lobby)
  • cute container
  • measuring cup
  • essential oil
  • candle wicks
  • wick clips
  • popsicle sticks
  • tape
  • scissors
DIY Candles (click through for tutorial)

Here's what we did:

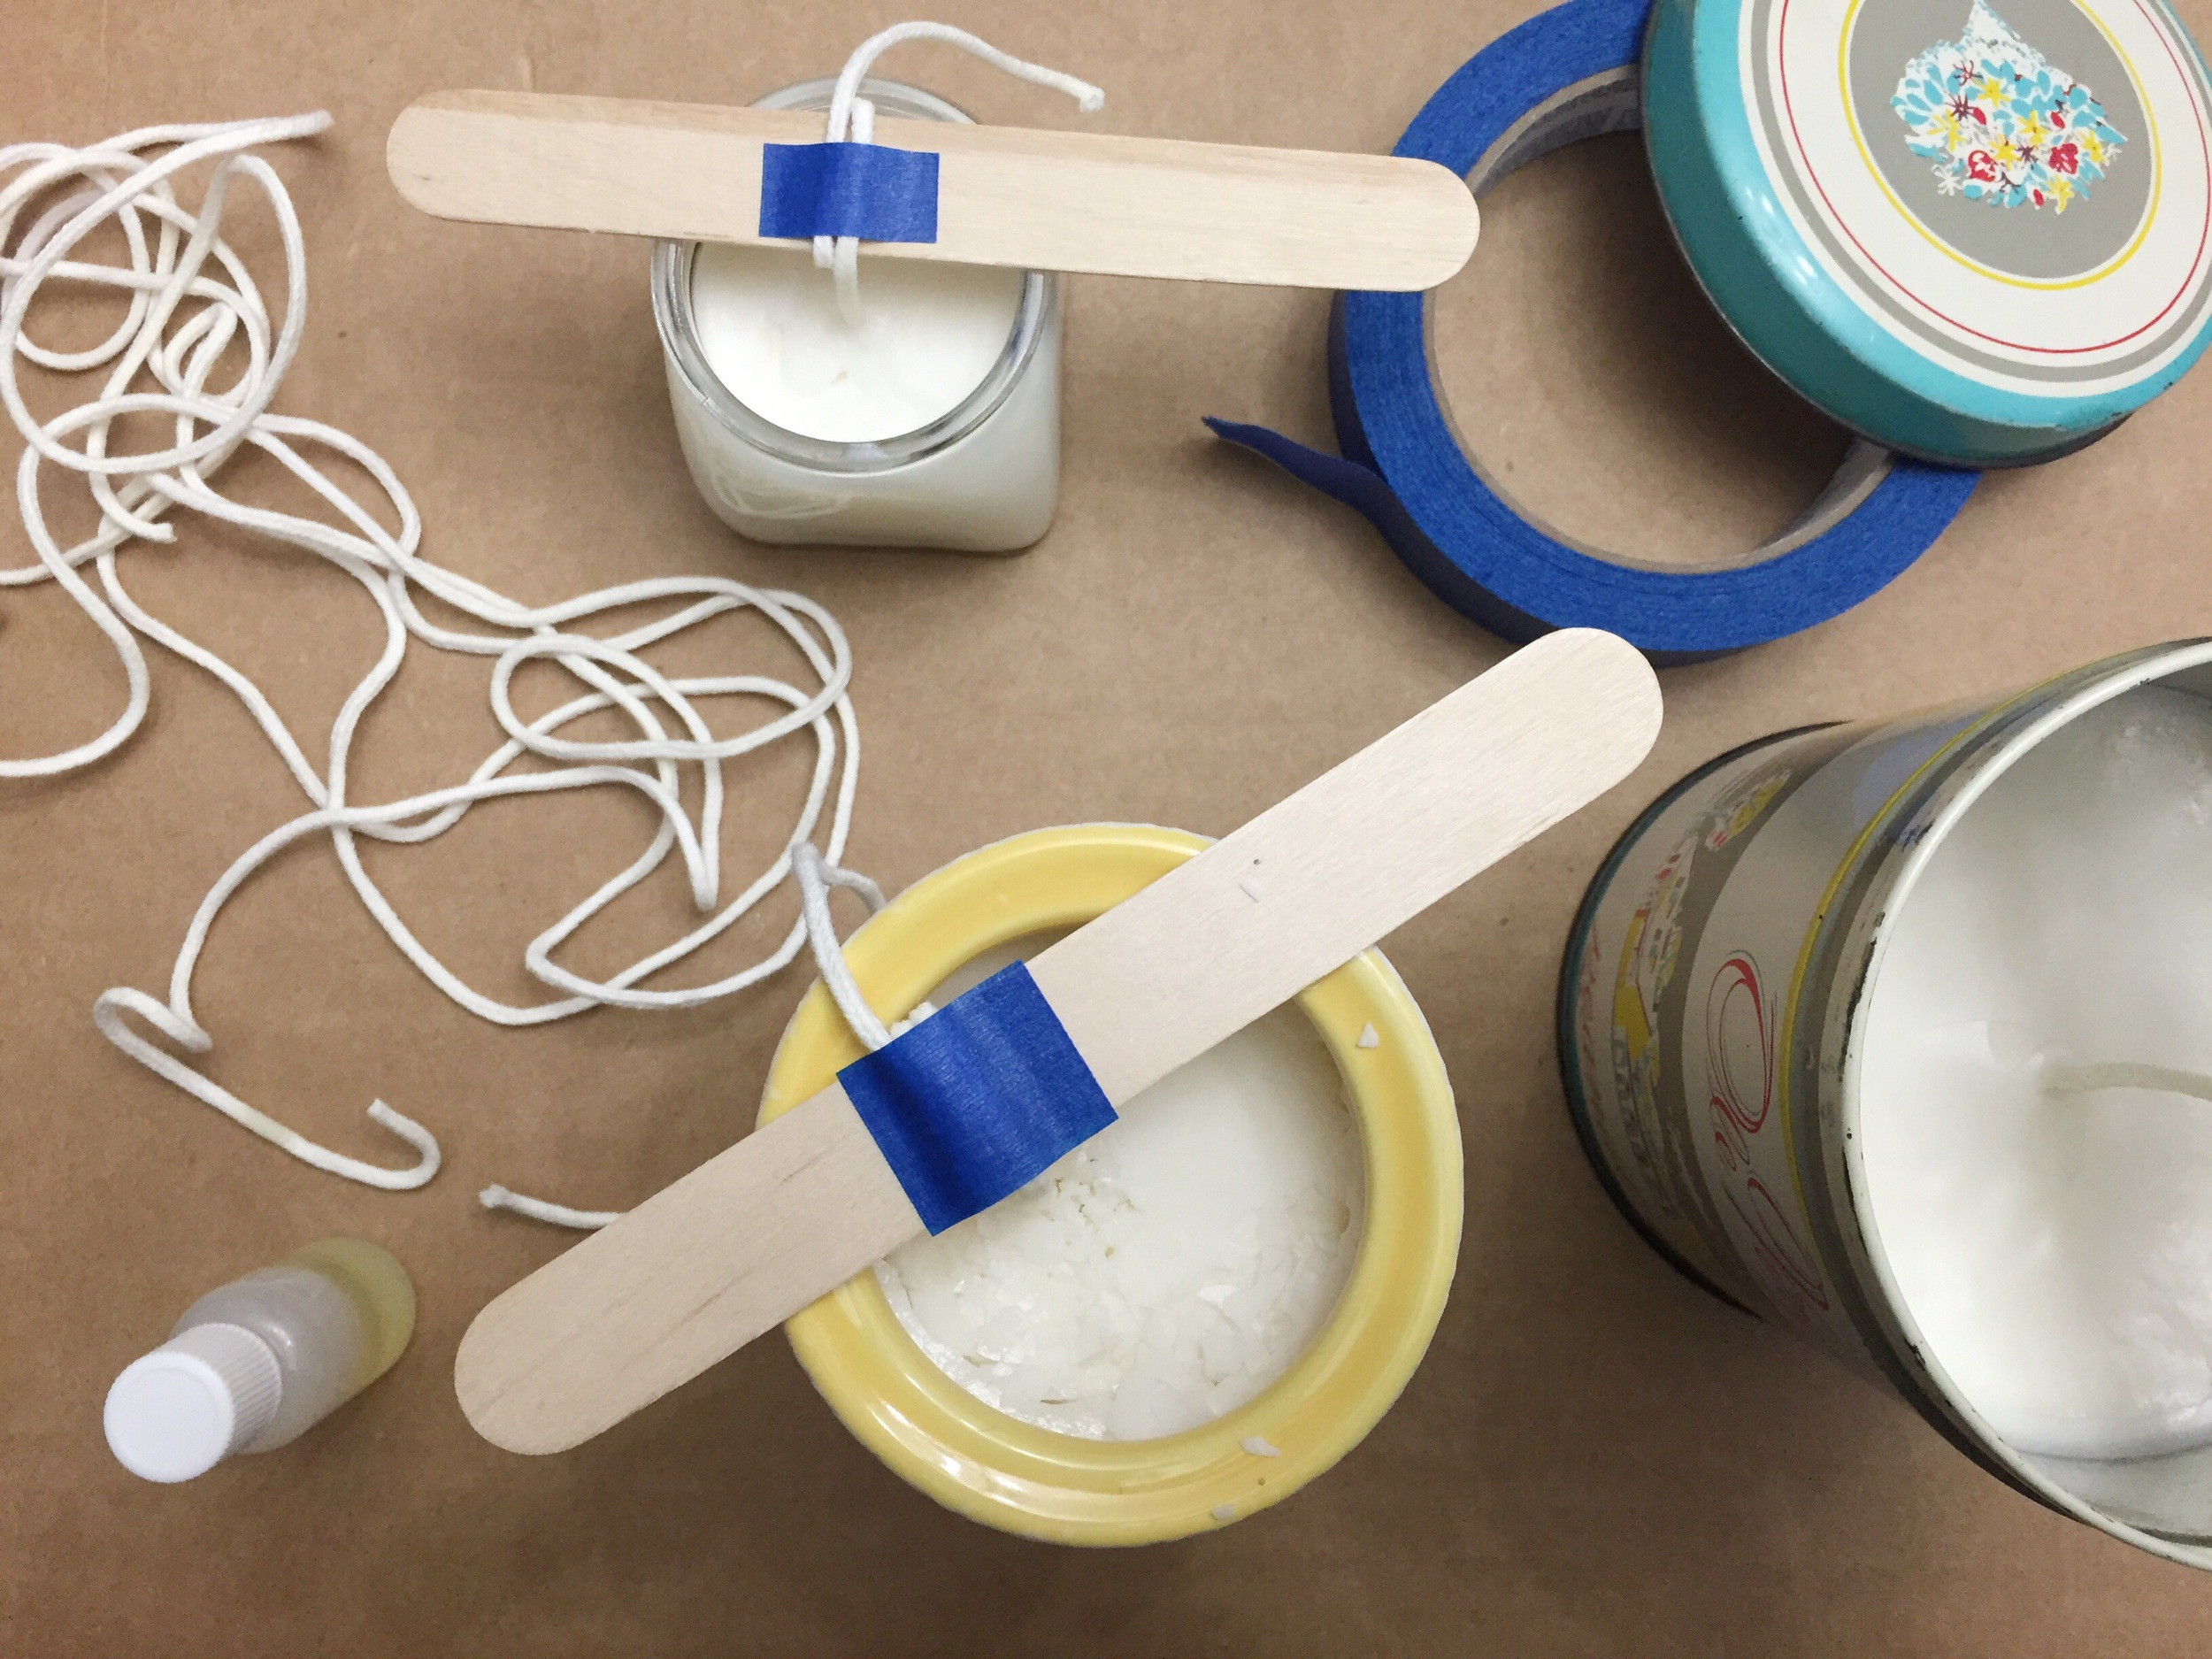
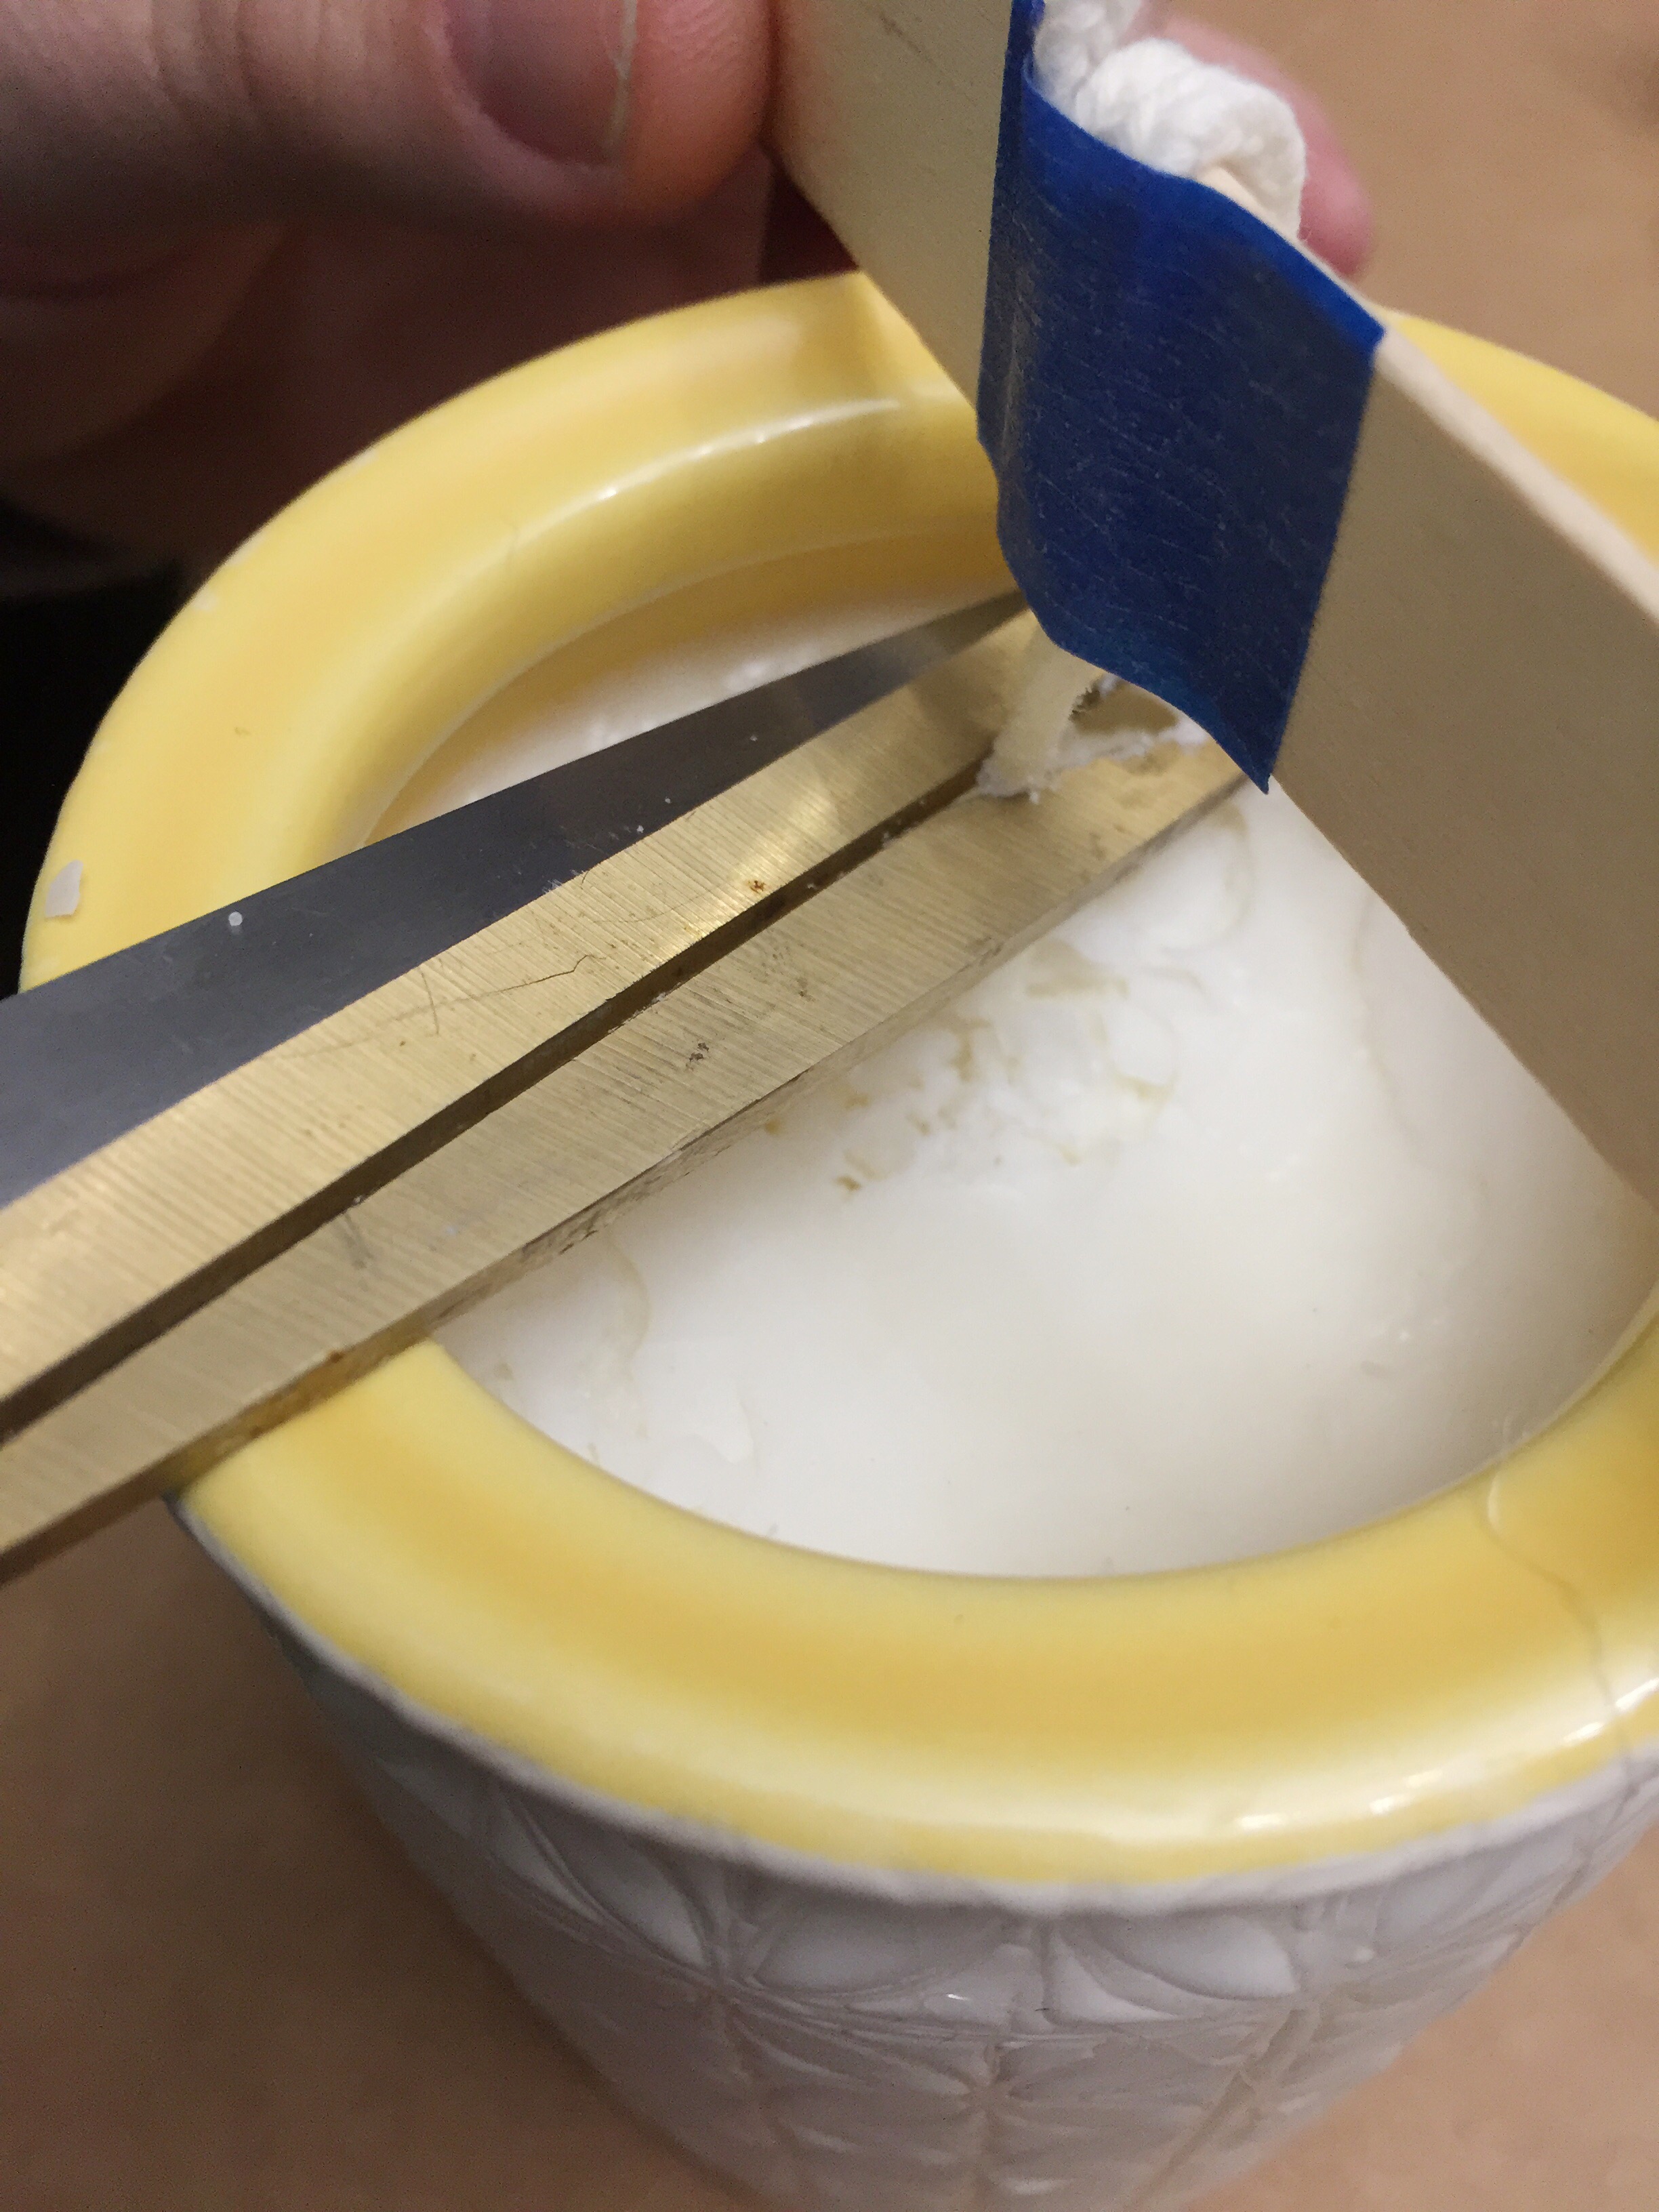
First we put the wick into the wick clip and using hot glue connected it to the bottom of the container. Then we pulled the wick tight and wrapped the excess around the popsicle stick and taped it in place. This is all to keep the wick in place. 

DIY Candles (click through for tutorial)

We sat the container to the side. Then we melted the wax chips in our measuring cup. (You don't have to do it in a measuring cup but it makes it a lot easier to pour into the container that way.) We started by putting it into the microwave for 3 minutes. Everyone's microwave is different so the times will vary. The wax just needs to be melted completely.

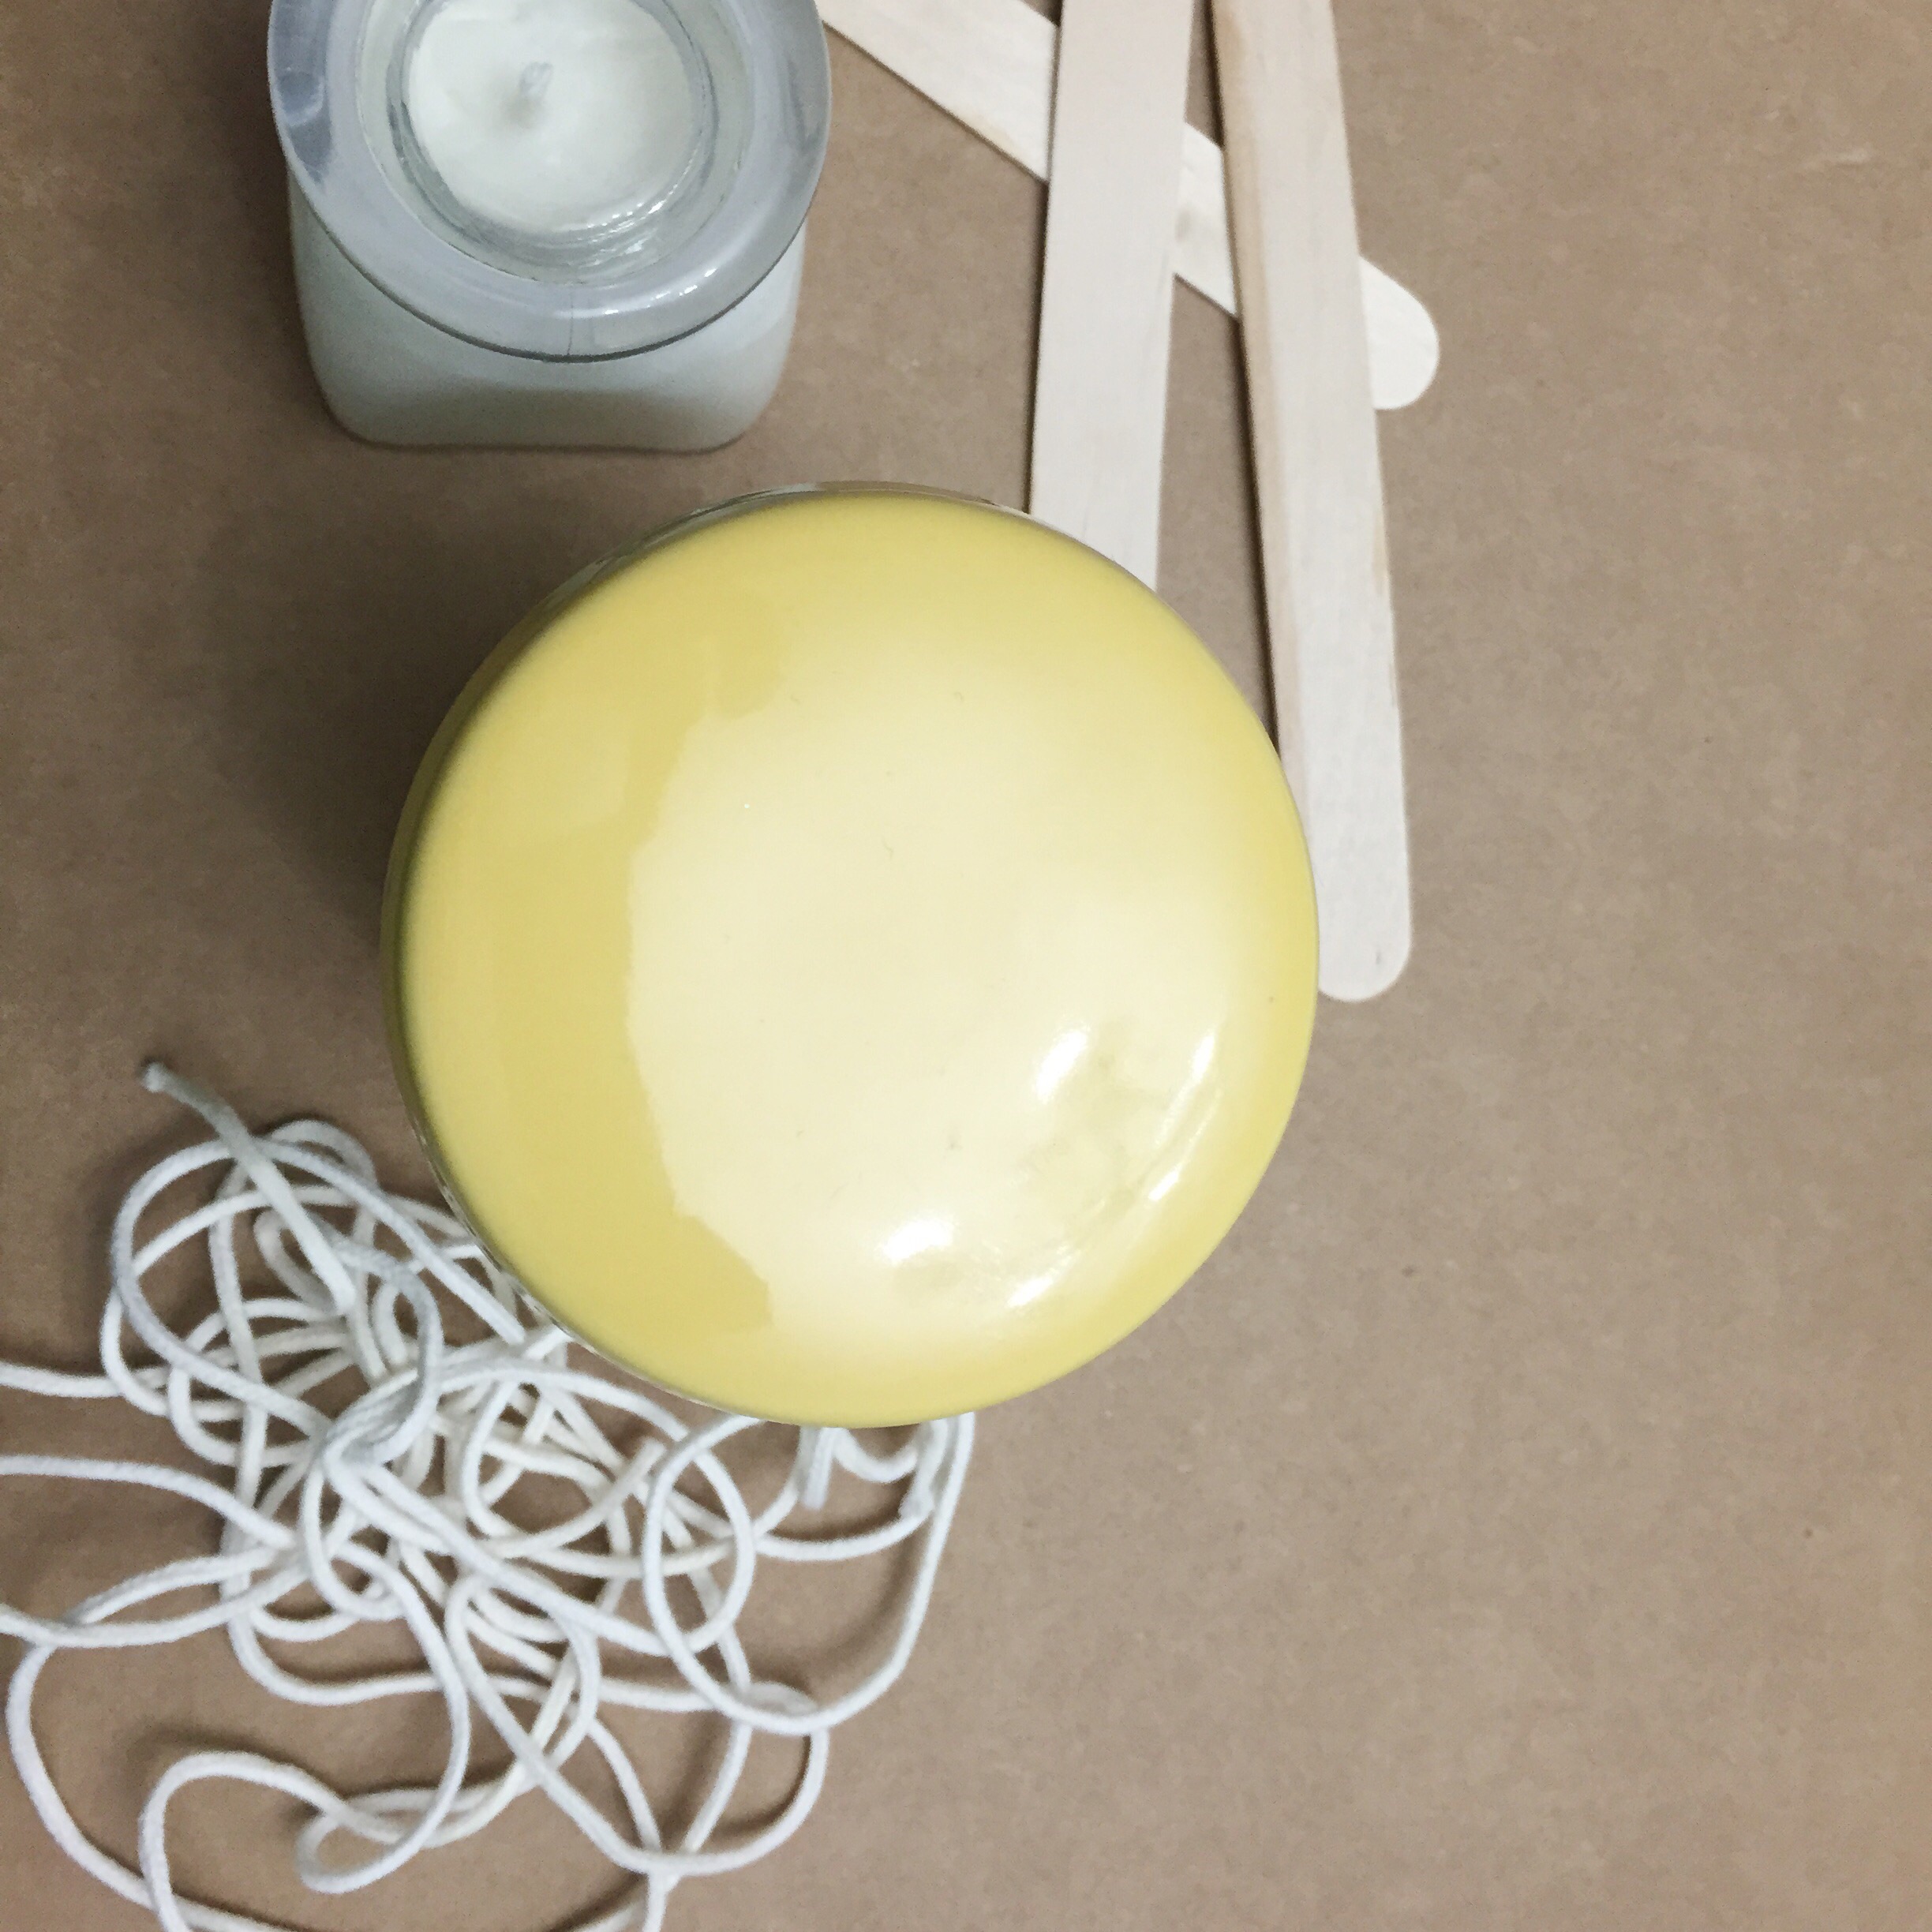
Once it's melted, add a few drops of your oil. Mix it all around. Then pour the your wax into the container. And then its a waiting game. We made ours before bed and they were ready by morning. 

DIY Candles (click through for tutorial)

Cut your wick and you are good to go. 

DIY Candles (click through for tutorial)

We had already bought a super cute container at Target that we wanted to make into a candle for a gift, but we ended up finding a few other containers that we thought would make cute candles and making them as well while we were at it. 

DIY Candles (click through for tutorial)

This is a super simple project and would make a great gift for anyone on your list! What container do you have that you would make a candle in? xoxo, Britt + Sky

DIY Simple Pocket Tshirt

Sometimes we wait until the last possible minute to get someone a gift. We have the best intentions, time just gets the best of us sometimes. But today we have a perfect personalized DIY gift option. 

DIY Simple Pocket Tshirt (click through for tutorial)

here's what you need:

  • tshirt
  • scrap fabric
  • pins
  • sewing machine
  • iron

here's what we did: 

First we cut a square in our scrap fabric and ironed it to get it all straight. Then we folded it into the shape of pocket we wanted and ironed down the folds. Placing pins in just to keep it from moving. 

DIY Simple Pocket Tshirt (click through for tutorial)

​ Next we sewed across the top of the pocket. Finally we sewed the pocket on the shirt, going around the edges but not the top. 

DIY Simple Pocket Tshirt (click through for tutorial)

It's seriously so simple but you can personalize and make great shirts that your friends will love. And it only takes a few minutes so there is still time for you to get it done before the holidays. 

xoxo
Britt + Sk

Simple Personalized Gifts

Christmas is in less than two weeks! And we are sure many of you have not finished shopping yet. But don't worry! It's not too late. Today we have some quick and simple diy gifts that are super cute. Homemade gifts are great for anyone you need a gift for and can be personalized for any type of person.


Monogrammed Planter

What you will need:

  • planter
  • orange acrylic paint
  • clear coat spray
  • plant
  • sharpie
  1. Print and cut out a letter. You can use either the persons first initial or last initial.
  2. Trace the letter on the planter with sharpie.
  3. Paint in the letter with the color of your choice.
  4. Outline your letter with black paint. Allow it to dry fully.
  5. Spray two coats of clear coat spray on the planter to seal it.
  6. Add your plant to the pot and give as a gift!
Diy Personalized Gifts. Click through for more.

We really love how our planter turned out. The color of our 'M' and the plant look together. This planter was very inexpensive and simple to make. 

Diy Personalized Gifts. Click through for more.

Painted Candle Jar

What you will need:

  • small jar (we found ours at a thrift store for 25cents!)
  • red Martha Stewart glass paint
  • sticker paper
  • pebbles
  • small candle
  1. Print a Christmas Tree onto your sticker paper (other shapes can be used also) and cut it out.
  2. Stick the tree 'sticker' evenly on your jar.
  3. Paint the rest of your jar red.
  4. Allow to fully dry. (At least one hour)
  5. Bake on 350 degrees for 30 minutes. Allow to cool at least 15 minutes.
  6. Add pebbles and your candle. 
  7. Wrap up and give to a loved one!
Diy Personalized Gifts. Click through for more.

This is also a very simple but cute present that almost anyone would love to receive. And you could personalize it in anyway you can think of: family initials, special dates, fun shapes, or anything you could print out or draw! 

Diy Personalized Gifts. Click through for more.

Personalized Mug

What you will need:

  • white coffee cup
  • red Martha Stewart glass paint
  • marshmallows
  • hot chocolate packs
  • sticker paper
  1. Print out a letter on the sticker paper. Cut out the letter.
  2. Place the letter center on one side of the coffee cup.
  3. Paint over the letter sticker, like shown in the picture.
  4. Let the paint dry for at least one hour.
  5. Bake on 350 degrees for 30 minutes. Let cool for at least 15 minutes before picking up.
  6. Add marshmallows and hot chocolate packs to the cup for a perfect gift!
Diy Personalized Gifts. Click through for more.

This makes for the perfect present. Everyone loves a personalized gift and hot chocolate! Now you can get two-in-one! It's a yummy and cute gift.

Diy Personalized Gifts. Click through for more.

With the short days left before Christmas these gifts are a great idea to make for the people left on your list. Store bought gifts can be nice, but with hand made gifts you can insure no one else will get them the same gift! These gifts are simple, inexpensive, and adorable. We suggest you try these for some of your presents this year.

Our Birthday Board we made awhile back is also a cute, personalized handmade gift that is perfect for someone in your family.

And keep watching this week for many more simple gifts to make for this Christmas!

Have a wonderful Monday!

Britt + Sky

Source: http://

DIY Hot Cocoa Bar

A hot cocoa bar is a perfect addition to any holiday party. There is really no right way to set it up, but we thought we'd share what we use for ours.

DIY Hot Cocoa Bar (click through for details)

Here's what we used:

  • kraft paper (got ours at the dollar tree)
  • permanent marker
  • candy canes
  • chocolate chips
  • marshmallows (our homemade ones, here)
  • plastic spoons
  • sprinkles
  • stir sticks (we got ours from the dollar tree)
  • spice jars (ours are from IKEA, here)
  • mason jars
  • other dishes
  • styrofoam cups
  • hot cocoa packs

Here's what we did with it:

DIY Hot Cocoa Bar (click through for details)

There are so many things that you can change up and personalize on a hot cocoa bar. Make it exactly how you like it, but we hope our set up and ideas inspire you! 

Have a great weekend!
xoxo
Britt + Sky

DIY Photobooth Set Up + Props

A photobooth can add so much fun to any occasion. As we started preparing for our party, we decided that we NEEDED to have a photobooth set up. And it's no fun if you don't have a fun backdrop or props. Well today we have solutions for both :)

DIY Photobooth Set Up + Props (click through for free printable and details)

When we were trying to figure out what we wanted to use for our backdrop, we went to the dollar tree of course. They had super cute wrapping paper! We bought two rolls of our favorite red and white patterned paper, that we hung up side-by-side on the wall. 

DIY Photobooth Set Up + Props (click through for free printable and details)

We also decided that we wanted some fun props to use in the booth. We had bought headband props at the dollar section at target, but we really wanted to have more ... so we have free printable props for you to print, cut, and color (here)!

DIY Photobooth Set Up + Props (click through for free printable and details)

We had fun just setting up our photobooth. We hope you can use our ideas and our printable props for your Christmas fun! xoxo, Britt + Sky