DIY Easter Centerpiece

I am always trying to come up with fun centerpieces for my table. I like for them to be inexpensive, fairly easy, and something that I can save and reuse.  

As I was trying to figure out what I should do for Easter, I found these super cute berry baskets at the craft store. So I bought them and decided that I would find a way to make them work :)

image.jpg

I purchased cute and colorful paper grass to use in the baskets. And our mom found these awesome chalkboard eggs. They are perfect for customizing! Noah and Skylar decorated them with some colorful chalk. I think this will make a fun yearly tradition of decorating the eggs. 

image.jpg
image.jpg

I used 5 baskets that I have spread across the table. Depending on the size of your table you could do more or less. As a rule of thumb, I try to use an odd number.  

If you are looking for a fun, inexpensive, and kid-friendly easter decor project, this is for you. You and the kiddos will have fun customizing it! xo, Britt

DIY Easter Door Hanger

You know we always have a fun door hanger for every season. We made one for the holidays here, and one for Noah's birthday here. We couldn't help but make a fun one for Easter. To add a little fun to it we used a twig that we spray painted gold instead of our normal dowel rod. 

DIY Easter Door Hanger (click through for details)

Here's what you need:

  • canvas
  • acrylic paint
  • paint brush
  • string
  • stick
  • scissors
  • x-acto knife

Here's what we did:

1. We cut the canvas to the size we wanted.

2. We freehanded our bunny using acrylic paint and a paintbrush.

3. We spray painted the perfect twig that we found in the yard. The dog had to stay inside so that she wouldn't try to eat it :)

4. After the paint dried, we cut three small slits evenly across the top.

5. Using our string, we looped it through the slits and tied the canvas to the twig. Then we added the string to hang it on the door. 

DIY Easter Door Hanger (click through for details)

We love how simple and cute this is! We hope you love it too! :) xoxo, Britt + Sky

Easter Egg Lanterns

Its almost Easter and we have a week full of fun decorations and diys coming your way. To kick off the week we have a super simple diy that you can make for your home this Easter. It's also a great project to get the kiddos involved with. 

The only supplies you need are:

  • white paper lanterns
  • paint
  • string
  • washi tape
Easter Egg Lanterns. Click through for more.

This project was super fun because it was just like decorating Easter eggs. We just painted our paper lanterns like we would our own Easter eggs. They are simple but they look cute hanging over our mantel. After we let them dry (wait at least an hour just to be safe), we used our string to hang them up. And attached them to our wall with a piece of washi tape. 

Easter Egg Lanterns. Click through for more.

They turned out pretty cute and the colors we chose are great for Easter. To get more ideas for Easter stop by tomorrow (and the rest of the week)!! :) xoxo, Britt + Sky

Glitter Shamrocks

Haven't had time to decorate for St. Patrick's day or just completly forgot?  Don't worry! Today we have a super easy but cute decoration you can make for any area of your home or office. This is the perfect last minute project because it only takes 10-15 minutes to complete.  And all you need to get started is:

  • green construction paper
  • gold glitter
  • modge podge
  • pencil
  • scissors
  • paint  brush
Glitter Shamrocks. Click through for details.

1.  Sketch a shamrock  onto your contruction paper. Then cut it out and erase any extra pencil marks.

Glitter Shamrocks. Click through for details.

2. Use your Modge Podge and paint brush to create a word or design on the shamrock. (If you're not good at free-handing, just lightly sketch out your design with pencil and then paint over it) 

Glitter Shamrocks. Click through for details.

3. Then coat the glue with glitter and shake the extra into the trash. Let dry for at least ten minutes before attempting to hang up. 

Glitter Shamrocks. Click through for details.


That is all you have to do.  Then just hang them where you want them. We told you it was super easy. And also very inexpensive! If you are a regular crafter you probably have these supplies so you can make this right now without going to the store. This could also be a fu n project for your kiddos.

Glitter Shamrocks. Click through for details.

Although these shamrocks are super simple, they are adorable for any home, office, or any area you want to decorate. We hope you will try them out! xoxo, Britt + Sky

Noah's First Valentine's Day

I love holidays! I have always loved them, but ever since Noah was born I have enjoyed them so much more. I really have tried to start fun traditions for our little family for each holiday. 

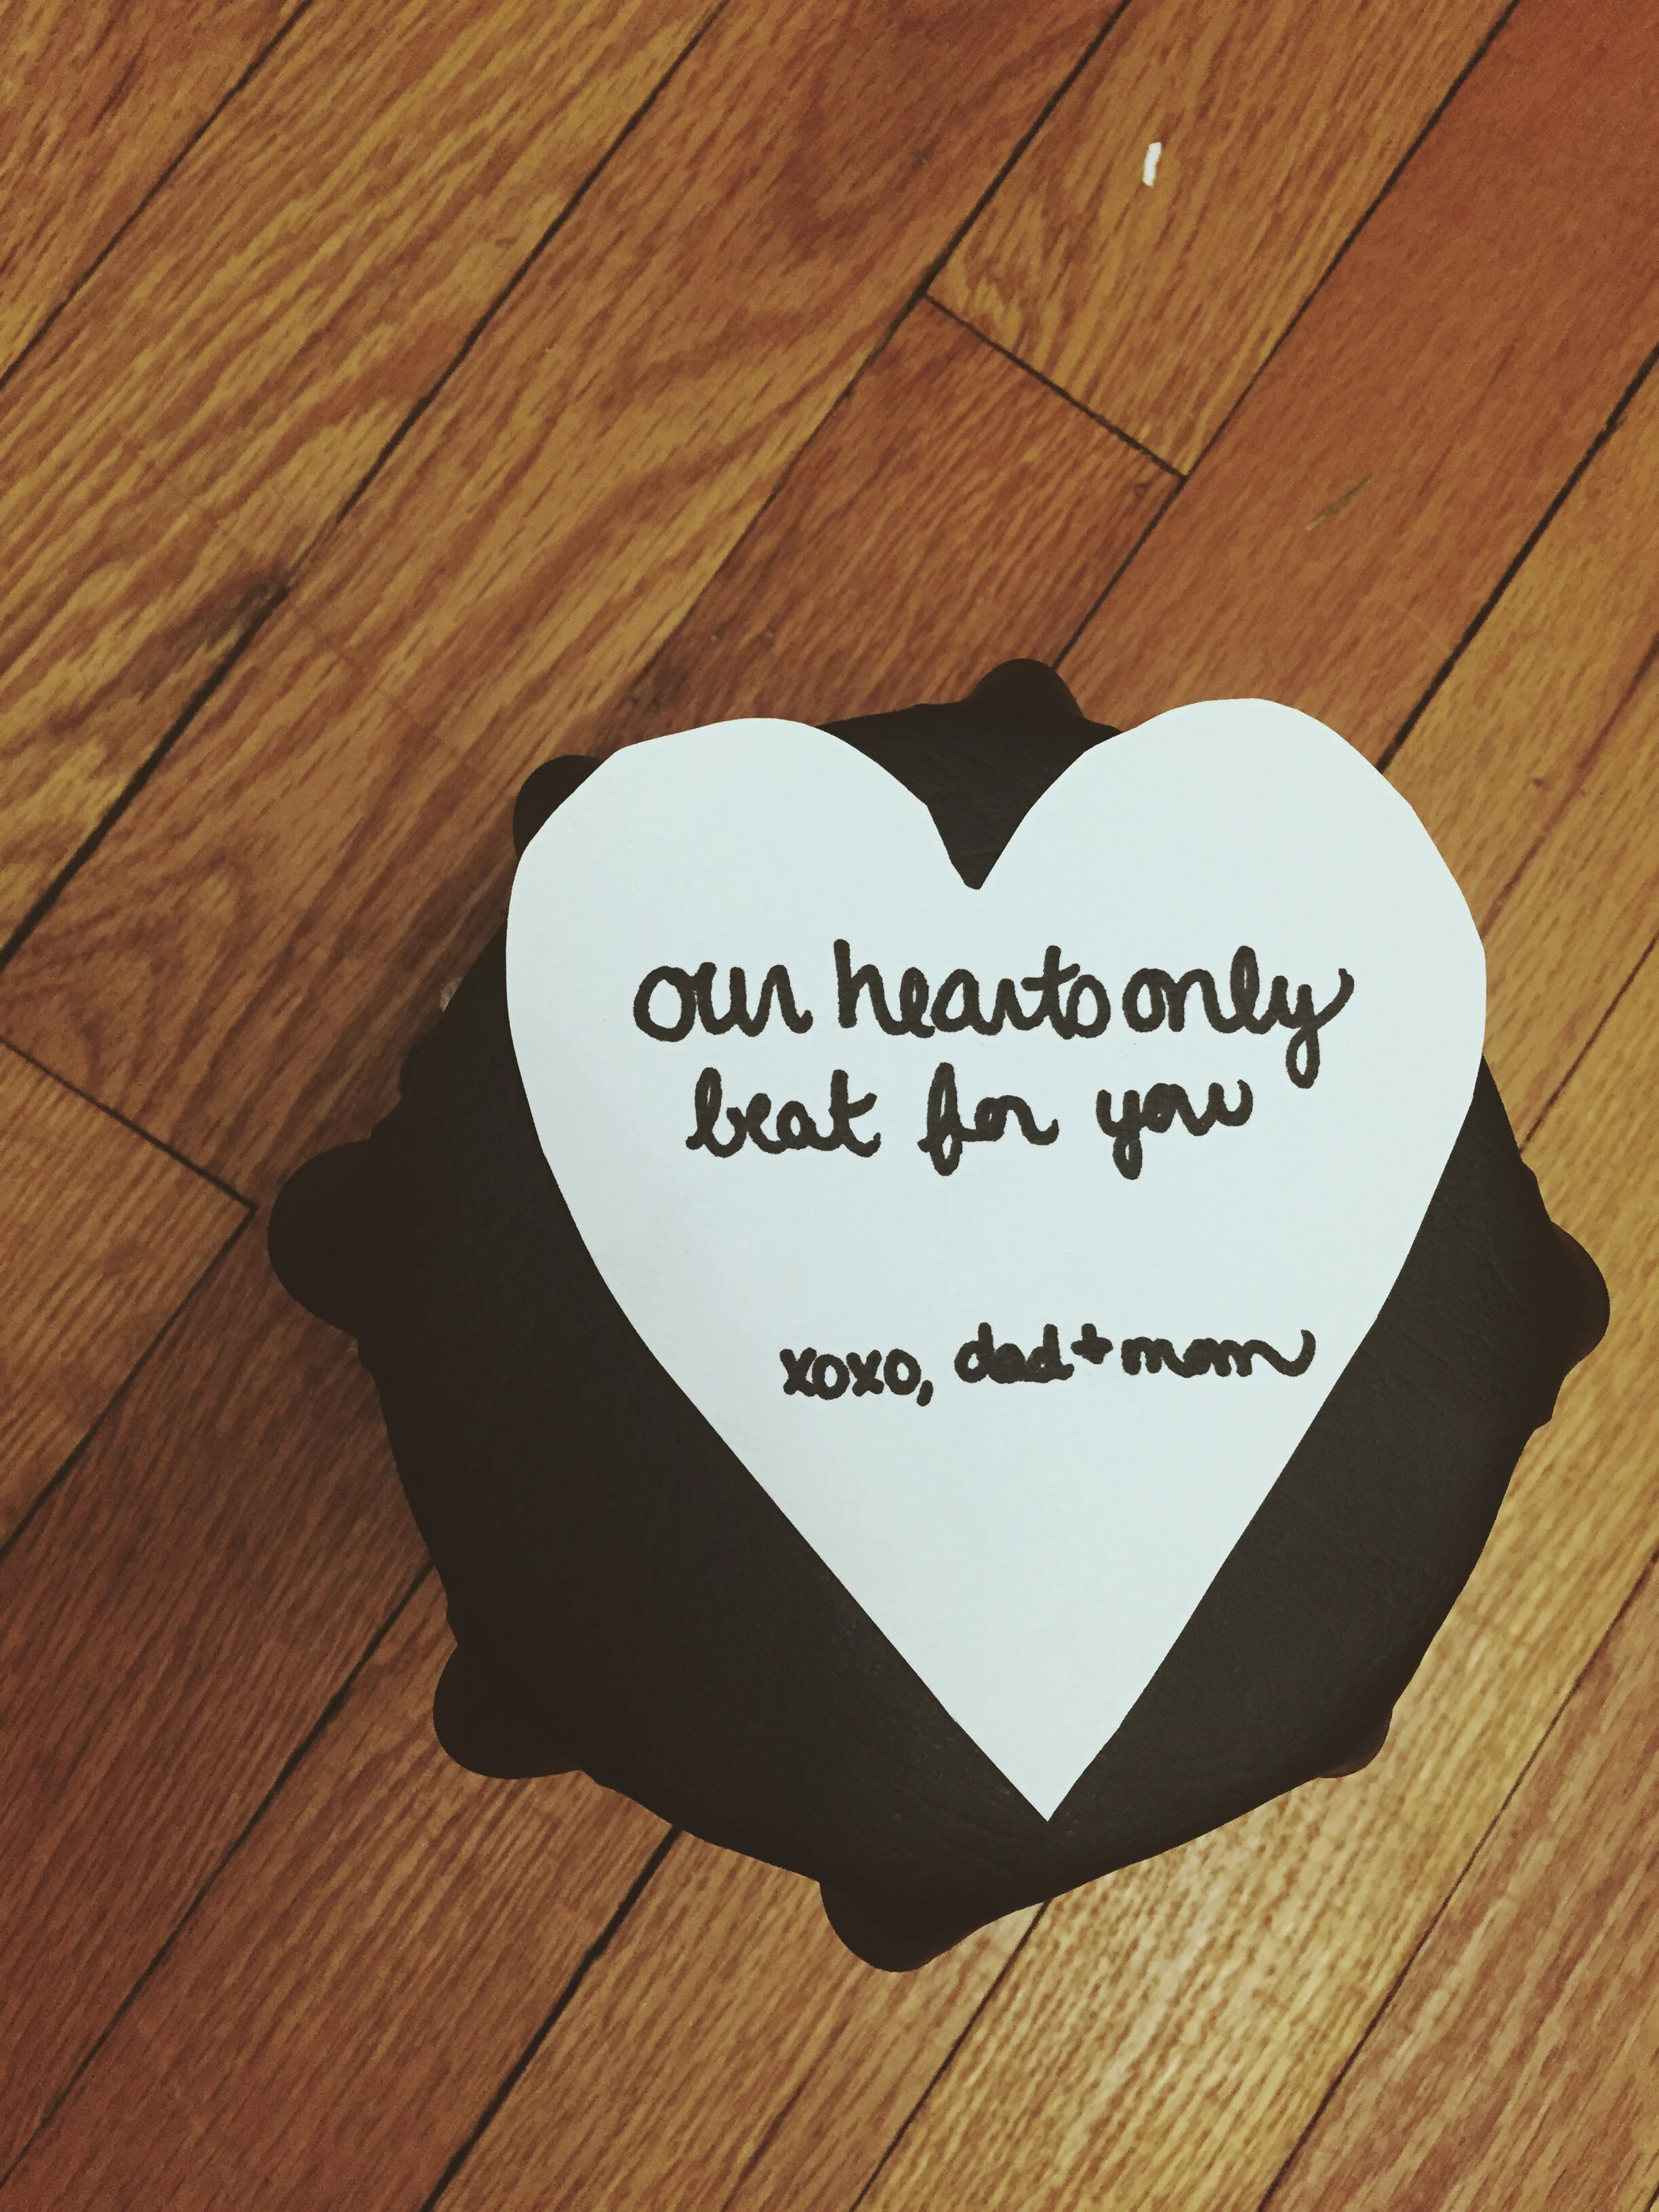
For Valentine's day I didn't want to go overboard. I want Noah to know that I love him and his daddy very much and that's all that matters. I am sure one day that chocolate will become part of our tradition, but for now I want to focus on a fun homemade gift for the little mister. 

As you probably know by now, I am all about putting thought and care into a homemade gift versus going out and just buying something random. I am also about budgeting, so it's also a huge plus if my homemade gift doesn't cost much. 

I decided about two months ago what I wanted to make Noah. And I am so happy how it turned out. 

Noah's First Valentine's Day (click through to read more)

I actually found and adapted my little drum from one I found on A Beautiful Mess (here).  I used a container from our recycling, a piece of fabric from our stash, a piece of vinyl, and string. 

This was so simple and I cannot wait for Noah to play with this! Happy Valentine's Day! xo, Britt